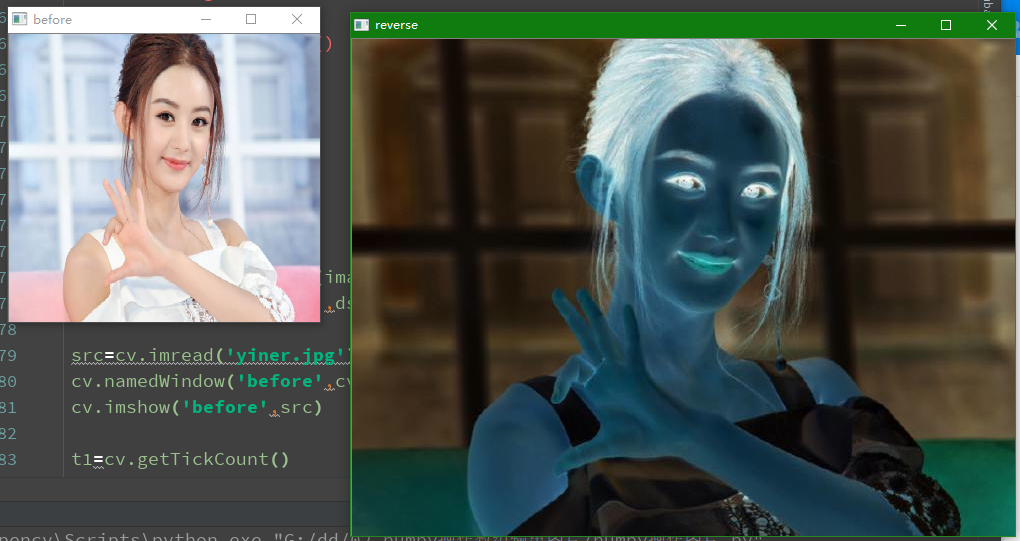
def inverse(image):
    dst=cv.bitwise_not(image)
    cv.imshow('reverse',dst)

src=cv.imread('yiner.jpg')
cv.namedWindow('before',cv.WINDOW_NORMAL)
cv.imshow('before',src)

t1=cv.getTickCount()
inverse(src)
t2=cv.getTickCount()

time = (t2 - t1)*1000/cv.getTickFrequency()
print('time:%s'%time)
cv.waitKey(0)
cv.destroyAllWindows()
一 读取一张图片,修改颜色通道后输出
# -*- coding:GBK -*-
import cv2 as cv
import numpy as np

def access_pixles(image):

    print(image.shape)
    height=image.shape[0]
    width=image.shape[1]
    channel=image.shape[2]
    print(f'{width},channel:{channel},height:{height}')
    #统一修改每个像素点的值
    for row in range(height):
        for col in range(width):
            for c in range(channel):
                pv=image[row,col,c]
                image[row,col,c]=255-pv
    cv.imshow('修改后',image)

src=cv.imread('./ym.jpeg')
#cv.namedWindow("原来", cv.WINDOW_NORMAL)
cv.imshow('修改前',src)
#毫秒级别的计时函数,记录了系统启动以来的时间毫秒
t1=cv.getTickCount()
access_pixles(src)
t2=cv.getTickCount()
#getTickFrequency用于返回CPU的频率,就是每秒的计时周期数
time=(t2-t1)*1000/cv.getTickFrequency()
print('time:%s'%time)
cv.waitKey(0)
cv.destroyAllWindows()
原图:
修改后的图片:

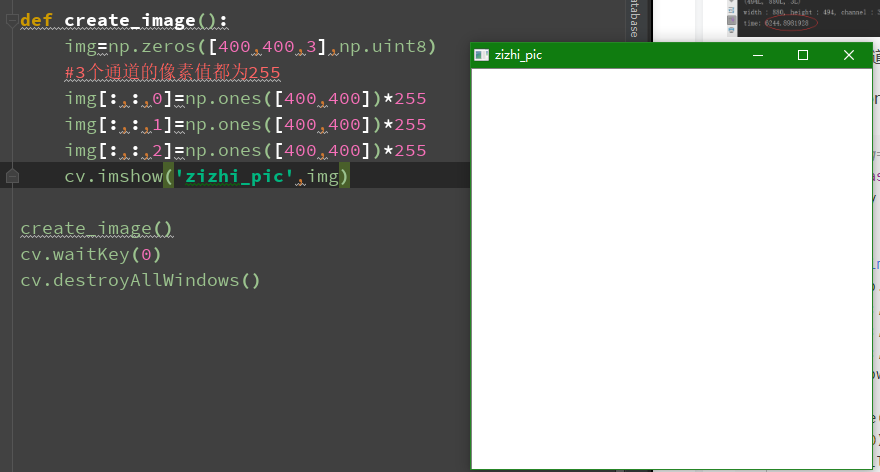
二 自制图片
- 1 3通道图片
代码
import cv2 as cv
import numpy as np

def create_image():
    img=np.zeros([400,400,3],np.uint8)
    #3个通道的像素值都为255
    img[:,:,0]=np.ones([400,400])*255
    img[:,:,1]=np.ones([400,400])*255
    img[:,:,2]=np.ones([400,400])*255
    cv.imshow('zizhi_pic',img)

create_image()
cv.waitKey(0)
cv.destroyAllWindows()
- 单通道图片
import cv2 as cv
import numpy as np


def create_image():
    img = np.ones([400, 400, 1], np.uint8)
    img = img * 127
    cv.imshow("one chan", img)


create_image()
cv.waitKey(0)
cv.destroyAllWindows()
- 调用库函数来实现像素取反