当前端口:
-- mysql端口:3316;数据库:myshop1;表:t_product_1、t_product_2
-- mysql端口:3326;数据库:myshop2;表:t_product_1、t_product_2
分库分表策略:按照 id%2 分库,按照 create_time%2 分表。
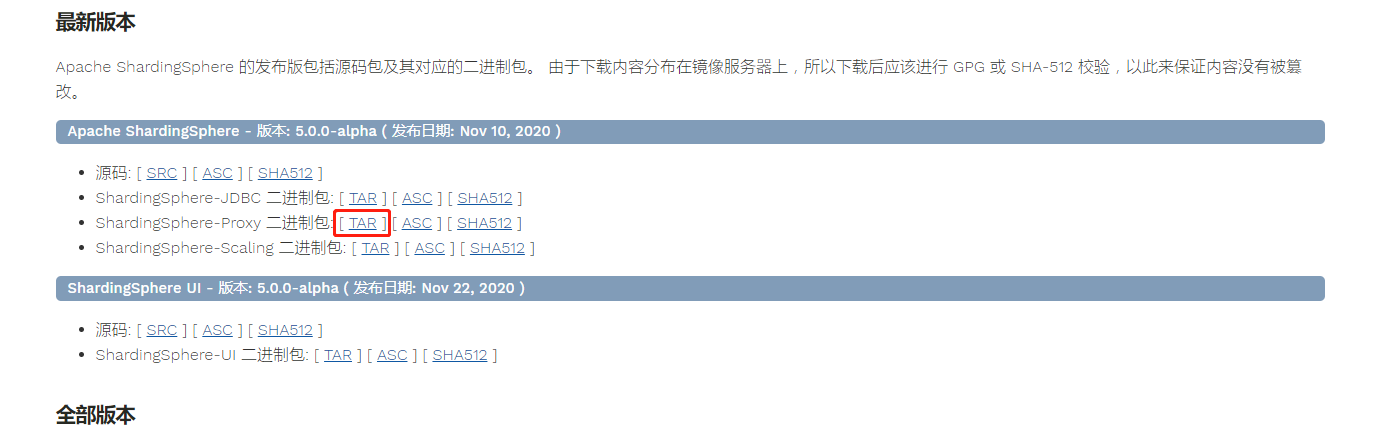
1、下载ShardingSphere-Proxy
ShardingSphere-Proxy 二进制包: [ TAR ]
下载地址:https://shardingsphere.apache.org/document/current/cn/downloads/
当前版本是:apache-shardingsphere-5.0.0-alpha-shardingsphere-proxy
2、修改bin目录的配置config-sharding.yaml内容
schemaName: sharding_db
dataSourceCommon:
username: root
password: 123456
connectionTimeoutMilliseconds: 30000
idleTimeoutMilliseconds: 60000
maxLifetimeMilliseconds: 1800000
maxPoolSize: 50
minPoolSize: 1
maintenanceIntervalMilliseconds: 30000
dataSources:
ds_0:
url: jdbc:mysql://localhost:3316/myshop1?useUnicode=true&characterEncoding=utf-8
ds_1:
url: jdbc:mysql://localhost:3326/myshop2?useUnicode=true&characterEncoding=utf-8
rules:
- !SHARDING
tables:
t_product:
actualDataNodes: ds_${0..1}.t_product_${0..1}
tableStrategy:
standard:
shardingColumn: create_time
shardingAlgorithmName: t_product_inline
keyGenerateStrategy:
column: id
keyGeneratorName: snowflake
bindingTables:
- t_product
defaultDatabaseStrategy:
standard:
shardingColumn: id
shardingAlgorithmName: database_inline
defaultTableStrategy:
none:
shardingAlgorithms:
database_inline:
type: INLINE
props:
algorithm-expression: ds_${id % 2}
t_product_inline:
type: INLINE
props:
algorithm-expression: t_product_${create_time % 2}
keyGenerators:
snowflake:
type: SNOWFLAKE
props:
worker-id: 123
3、修改bin目录的配置server.yaml内容
governance:
name: governance_ds
registryCenter:
type: ZooKeeper
serverLists: localhost:2181
props:
retryIntervalMilliseconds: 500
timeToLiveSeconds: 60
maxRetries: 3
operationTimeoutMilliseconds: 500
overwrite: false

authentication:
users:
root:
password: root
sharding:
password: sharding
authorizedSchemas: sharding_db

props:
max-connections-size-per-query: 1
acceptor-size: 16 # The default value is available processors count * 2.
executor-size: 16 # Infinite by default.
proxy-frontend-flush-threshold: 128 # The default value is 128.
# LOCAL: Proxy will run with LOCAL transaction.
# XA: Proxy will run with XA transaction.
# BASE: Proxy will run with B.A.S.E transaction.
proxy-transaction-type: LOCAL
proxy-opentracing-enabled: false
proxy-hint-enabled: false
query-with-cipher-column: true
sql-show: false
check-table-metadata-enabled: false
4、添加驱动包
mysql-connector-java-8.0.23.jar
要与你的mysql版本一致,不然会报错的:com.zaxxer.hikari.pool.HikariPool - HikariPool-1 - Exception during pool initialization.
5、启动zookeeper
配置文件的内容会存到zk中。
启动shardingsphere-proxy之后,会把配置信息存到zk的。如果修改了配置,再次启动shardingsphere-proxy,发现zk的没有同步修改,需要手动删掉zk的数据,shardingsphere-proxy启动后会再生成的。
6、启动shardingsphere-proxy
点击bin/start.bat
如果最后命令行显示: [main] o.a.s.p.frontend.ShardingSphereProxy - ShardingSphere-Proxy start success.,就表示成功了。
ShardingSphereProxy会在3307端口启用一个mysql连接。
连接mysql,端口3307,用户名密码:root,root。
然后就可以查询和操作了。