最近公司要做一台nginx缓存服务器供测试用,为了使用高版本的nginx和公司业务要求,这里使用编译安装的方法进行nginx的安装。缓存服务器的配置会在下一篇文章中介绍。
下载安装包,这里下载的是1.16.1版本,更多版本去官网查看http://nginx.org/en/download.html,并解压:
[root@node4 ~]# wget http://nginx.org/download/nginx-1.16.1.tar.g
[root@node4 ~]# ls
anaconda-ks.cfg  nginx-1.16.1.tar.gz
安装依赖包,这里用的是阿里的源,源地址为 https://mirrors.aliyun.com/epel/7Server/x86_64/:
[root@node4 ~]# yum -y install gcc pcre-devel openssl openssl-devel libxslt-devel perl-ExtUtils-Embed
编译安装:
[root@node4 ~]# cd /usr/nginx/
[root@node4 nginx]# ls
anaconda-ks.cfg nginx-1.16.1
[root@node4 nginx]# cd nginx-1.16.1/ [root@node4 nginx-1.16.1]# ./configure --prefix=/usr/share/nginx --sbin-path=/usr/sbin/nginx --conf-path=/etc/nginx/nginx.conf --error-log-path=/var/log/nginx/error.log --http-log-path=/var/log/nginx/access.log --pid-path=/var/run/nginx.pid --lock-path=/var/run/nginx.lock --http-client-body-temp-path=/var/cache/nginx/client_temp --http-proxy-temp-path=/var/cache/nginx/proxy_temp --http-fastcgi-temp-path=/var/cache/nginx/fastcgi_temp --http-uwsgi-temp-path=/var/cache/nginx/uwsgi_temp --http-scgi-temp-path=/var/cache/nginx/scgi_temp --user=nginx --group=nginx --with-http_ssl_module --with-http_realip_module --with-http_addition_module --with-http_sub_module --with-http_dav_module --with-http_flv_module --with-http_mp4_module --with-http_gunzip_module --with-http_gzip_static_module --with-http_random_index_module --with-http_secure_link_module --with-http_stub_status_module --with-http_auth_request_module --with-mail --with-mail_ssl_module --with-file-aio --with-ipv6 --with-cc-opt='-O2 -g -pipe -Wp,-D_FORTIFY_SOURCE=2 -fexceptions -fstack-protector --param=ssp-buffer-size=4 -m64 -mtune=generic' --with-http_perl_module --with-http_v2_module --with-http_xslt_module --with-http_slice_module --add-module=/usr/local/ngx_cache_purge-2.3 --with-threads
若编译时无法添加ngx_cache_purge模块,可以先将该模块下载下来,然后解压到相应的路径:
[root@node4 ~]# wget http://labs.frickle.com/files/ngx_cache_purge-2.3.tar.gz
[root@node4 ~]# ls
anaconda-ks.cfg  nginx-1.16.1.tar.gz   ngx_cache_purge-2.3.tar.gz
[root@node4 ~]# tar zxf ngx_cache_purge-2.3.tar.gz -C /usr/local
添加完ngx_cache_purge模块后进行安装nginx:
[root@node4 nginx-1.16.1]# make && make install
添加nginx用户:
[root@node4 nginx-1.16.1]# useradd -s /sbin/nologin -M nginx
创建缓存目录:
[root@node4 nginx-1.16.1]# mkdir -p /var/cache/nginx/client_temp
启动nginx:
[root@node4 nginx-1.16.1]# cd /usr/sbin/
[root@node4 sbin]# ./nginx
[root@node4 sbin]#
nginx检查:
[root@node4 sbin]# ./nginx -t
nginx: the configuration file /etc/nginx/nginx.conf syntax is ok
nginx: configuration file /etc/nginx/nginx.conf test is successful
查看nginx版本:
[root@node4 sbin]# ./nginx -v
nginx version: nginx/1.16.1
将nginx加入到/etc/init.d/环境,这里我使用脚本实现配置,脚本文件为nginx,在/etc/init.d目录下,赋予执行权限:
[root@node4 sbin]# cd /etc/init.d
[root@node4 init.d]# vim nginx
#!/bin/sh
#
# nginx        Startup script for nginx
#
# chkconfig: - 85 15
# processname: nginx
# config: /etc/nginx/nginx.conf
# config: /etc/sysconfig/nginx
# pidfile: /var/run/nginx.pid
# description: nginx is an HTTP and reverse proxy server
#
### BEGIN INIT INFO
# Provides: nginx
# Required-Start: $local_fs $remote_fs $network
# Required-Stop: $local_fs $remote_fs $network
# Default-Start: 2 3 4 5
# Default-Stop: 0 1 6
# Short-Description: start and stop nginx
### END INIT INFO

# Source function library.
. /etc/rc.d/init.d/functions

if [ -L $0 ]; then
    initscript=`/bin/readlink -f $0`
else
    initscript=$0
fi

sysconfig=`/bin/basename $initscript`

if [ -f /etc/sysconfig/$sysconfig ]; then
    . /etc/sysconfig/$sysconfig
fi

nginx=${NGINX-/usr/sbin/nginx}
prog=`/bin/basename $nginx`
conffile=${CONFFILE-/etc/nginx/nginx.conf}
lockfile=${LOCKFILE-/var/lock/subsys/nginx}
pidfile=${PIDFILE-/var/run/nginx.pid}
SLEEPMSEC=${SLEEPMSEC-200000}
UPGRADEWAITLOOPS=${UPGRADEWAITLOOPS-5}
RETVAL=0

start() {
    echo -n $"Starting $prog: "

    daemon --pidfile=${pidfile} ${nginx} -c ${conffile}
    RETVAL=$?
    echo
    [ $RETVAL = 0 ] && touch ${lockfile}
    return $RETVAL
}

stop() {
    echo -n $"Stopping $prog: "
    killproc -p ${pidfile} ${prog}
    RETVAL=$?
    echo
    [ $RETVAL = 0 ] && rm -f ${lockfile} ${pidfile}
}

reload() {
    echo -n $"Reloading $prog: "
    killproc -p ${pidfile} ${prog} -HUP
    RETVAL=$?
    echo
}

upgrade() {
    oldbinpidfile=${pidfile}.oldbin

    configtest -q || return
    echo -n $"Starting new master $prog: "
    killproc -p ${pidfile} ${prog} -USR2
    echo

    for i in `/usr/bin/seq $UPGRADEWAITLOOPS`; do
        /bin/usleep $SLEEPMSEC
        if [ -f ${oldbinpidfile} -a -f ${pidfile} ]; then
            echo -n $"Graceful shutdown of old $prog: "
            killproc -p ${oldbinpidfile} ${prog} -QUIT
            RETVAL=$?
            echo
            return
        fi
    done

    echo $"Upgrade failed!"
    RETVAL=1
}

configtest() {
    if [ "$#" -ne 0 ] ; then
        case "$1" in
            -q)
                FLAG=$1
                ;;
            *)
                ;;
        esac
        shift
    fi
    ${nginx} -t -c ${conffile} $FLAG
    RETVAL=$?
    return $RETVAL
}

rh_status() {
    status -p ${pidfile} ${nginx}
}

# See how we were called.
case "$1" in
    start)
        rh_status >/dev/null 2>&1 && exit 0
        start
        ;;
    stop)
        stop
        ;;
    status)
        rh_status
        RETVAL=$?
        ;;
    restart)
        configtest -q || exit $RETVAL
        stop
        start
        ;;
    upgrade)
        rh_status >/dev/null 2>&1 || exit 0
        upgrade
        ;;
    condrestart|try-restart)
        if rh_status >/dev/null 2>&1; then
            stop
            start
        fi
        ;;
    force-reload|reload)
        reload
        ;;
    configtest)
        configtest
        ;;
    *)
        echo $"Usage: $prog {start|stop|restart|condrestart|try-restart|force-reload|upgrade|reload|status|help|configtest}"
        RETVAL=2
esac

exit $RETVAL
#保存退出

[root@node4 init.d]# chmod +x nginx
此时可以使用systemctl(centos7)或者service(centos6)来操作nginx了。若无法启动nginx,,可以尝试先将所有启动的nginx进程删掉,然后再重新启动。强制kill掉nginx可以使用命令pkill -9 nginx。
[root@node4 ~]# systemctl restart nginx
[root@node4 ~]# ps -ef | grep nginx
root      23389      1  0 16:10 ?        00:00:00 nginx: master process /usr/sbin/nginx -c /etc/nginx/nginx.conf
nginx     23391  23389  0 16:10 ?        00:00:00 nginx: worker process
root      23393   2305  0 16:10 pts/0    00:00:00 grep --color=auto nginx
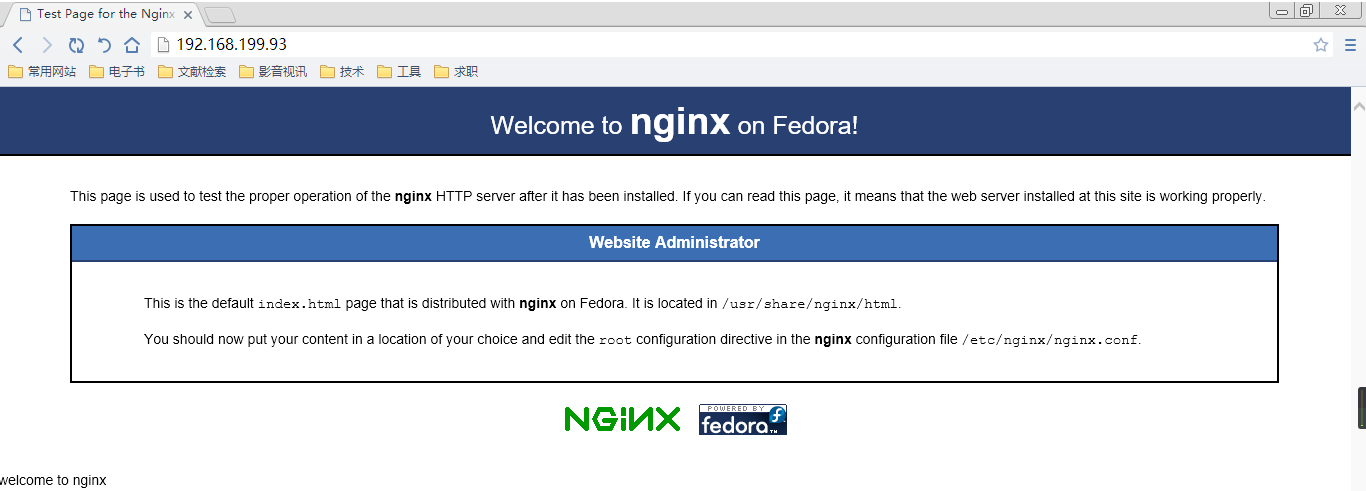
配置文件的进程参数是auto,nginx启动后再输入地址测试访问。
[root@node4 ~]# vim /etc/nginx/nginx.conf
#user  nobody;
worker_processes  auto;
安装完毕,下一篇写缓存服务器配置及优化。