package com.example.android_dialog;

import android.app.Activity;
import android.os.Bundle;
import android.widget.RadioGroup;
import android.widget.RadioGroup.OnCheckedChangeListener;

public class RadioTestActivity extends Activity {
    @Override
    protected void onCreate(Bundle savedInstanceState) {
        super.onCreate(savedInstanceState);

        setContentView(R.layout.test);

        RadioGroup group = (RadioGroup) findViewById(R.id.group);
        group.setOnCheckedChangeListener(new OnCheckedChangeListener() {

            @Override
            public void onCheckedChanged(RadioGroup arg0, int arg1) {

                switch (arg1) {
                case R.id.b1:
                    System.out.println("1");
                    break;
                case R.id.b2:
                    System.out.println("2");
                    break;
                case R.id.b3:
                    System.out.println("3");
                    break;
                case R.id.b4:
                    System.out.println("4");
                    break;

                }
            }
        });
    }
}
界面布局:
<?xml version="1.0" encoding="utf-8"?>
<LinearLayout xmlns:android="http://schemas.android.com/apk/res/android"
    android:layout_width="match_parent"
    android:layout_height="match_parent"
    android:orientation="vertical" >

    <RadioGroup
        android:id="@+id/group"
        android:layout_width="match_parent"
        android:layout_height="wrap_content"
        android:orientation="horizontal" >

        <RadioButton
            android:id="@+id/b1"
            android:layout_width="wrap_content"
            android:layout_height="wrap_content"
            android:layout_weight="1"
            android:background="@drawable/btn_selector"
            android:button="@null" />

        <RadioButton
            android:id="@+id/b2"
            android:layout_width="wrap_content"
            android:layout_height="wrap_content"
            android:layout_weight="1"
            android:background="@drawable/btn_selector"
            android:button="@null" />

        <RadioButton
            android:id="@+id/b3"
            android:layout_width="wrap_content"
            android:layout_height="wrap_content"
            android:layout_weight="1"
            android:background="@drawable/btn_selector"
            android:button="@null" />

        <RadioButton
            android:id="@+id/b4"
            android:layout_width="wrap_content"
            android:layout_height="wrap_content"
            android:layout_weight="1"
            android:background="@drawable/btn_selector"
            android:button="@null" />
    </RadioGroup>

</LinearLayout>
select
<?xml version="1.0" encoding="utf-8"?>
<selector xmlns:android="http://schemas.android.com/apk/res/android">

    <item android:state_checked="true" android:drawable="@drawable/a2"/>
    <!-- not selected -->
    <item android:drawable="@drawable/a1"/>

</selector>
效果:
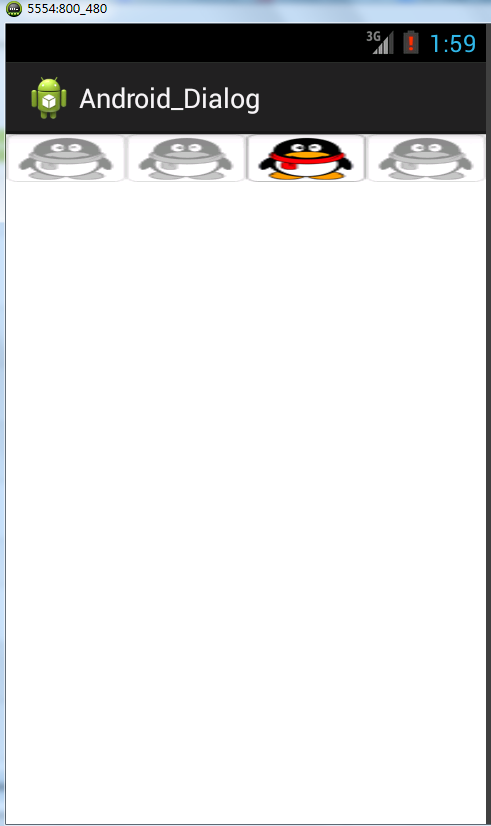
PS:该代码可以代替tabhost的头名称,在类似的导航栏上也可以使用