获得验证码图片的俩个来源:
1、有网站生成验证码图片的源码
2、通过python的requests下载验证码图片当我们的训练样本
我们通过第一种方式来得到训练样本,下面是生成验证码的php程序:
  1 <?php
  2 class checkcode
  3 {
  4     //验证码的宽度
  5     public $width = 160;
  6
  7     //验证码的高
  8     public $height = 60;
  9
 10     //设置字体的地址
 11     private $font;
 12
 13     //设置字体色
 14     public $font_color;
 15
 16     //设置随机生成因子
 17     public $charset = 'abcdefghkmnprstuvwyzABCDEFGHKLMNPRSTUVWYZ23456789';
 18
 19     //设置背景色
 20     public $background = '#EDF7FF';
 21
 22     //生成验证码字符数
 23     public $code_len = 4;
 24
 25     //字体大小
 26     public $font_size = 20;
 27
 28     //验证码
 29     private $code;
 30
 31     //图片内存
 32     private $img;
 33
 34     //文字X轴开始的地方
 35     private $x_start;
 36
 37     function __construct()
 38     {
 39
 40         $this->font = './font/2.ttf';
 41
 42     }
 43
 44     /**
 45      * 生成随机验证码。
 46      */
 47     protected function creat_code()
 48     {
 49
 50         $this->code = $_GET['code'];    //通过get方式调用这个验证码的接口
 51     }
 52
 53     /**
 54      * 获取验证码
 55      */
 56     public function get_code()
 57     {
 58         return strtolower($this->code);
 59     }
 60
 61     /**
 62      * 生成图片
 63      */
 64     public function doimage()
 65     {
 66         $code = $this->creat_code();
 67         $this->img = imagecreatetruecolor($this->width, $this->height);
 68         if (!$this->font_color) {
 69             $this->font_color = imagecolorallocate($this->img, rand(0, 156), rand(0, 156), rand(0, 156));
 70         } else {
 71             $this->font_color = imagecolorallocate($this->img, hexdec(substr($this->font_color, 1, 2)), hexdec(substr($this->font_color, 3, 2)), hexdec(substr($this->font_color, 5, 2)));
 72         }
 73         //设置背景色
 74         $background = imagecolorallocate($this->img, hexdec(substr($this->background, 1, 2)), hexdec(substr($this->background, 3, 2)), hexdec(substr($this->background, 5, 2)));
 75         //画一个柜形,设置背景颜色。
 76         imagefilledrectangle($this->img, 0, $this->height, $this->width, 0, $background);
 77         $this->creat_font();
 78         $this->creat_line();
 79         $this->output();
 80     }
 81
 82     /**
 83      * 生成文字
 84      */
 85     private function creat_font()
 86     {
 87         $x = $this->width / $this->code_len;
 88         for ($i = 0; $i < $this->code_len; $i++) {
 89             imagettftext($this->img, $this->font_size, rand(-30, 30), $x * $i + rand(0, 5), $this->height / 1.4, $this->font_color, $this->font, $this->code[$i]);
 90             if ($i == 0) $this->x_start = $x * $i + 5;
 91         }
 92     }
 93
 94     /**
 95      * 画线
 96      */
 97     private function creat_line()
 98     {
 99         imagesetthickness($this->img, 3);
100         $xpos = ($this->font_size * 2) + rand(-5, 5);
101         $width = $this->width / 2.66 + rand(3, 10);
102         $height = $this->font_size * 2.14;
103
104         if (rand(0, 100) % 2 == 0) {
105             $start = rand(0, 66);
106             $ypos = $this->height / 2 - rand(10, 30);
107             $xpos += rand(5, 15);
108         } else {
109             $start = rand(180, 246);
110             $ypos = $this->height / 2 + rand(10, 30);
111         }
112
113         $end = $start + rand(75, 110);
114
115         imagearc($this->img, $xpos, $ypos, $width, $height, $start, $end, $this->font_color);
116
117         if (rand(1, 75) % 2 == 0) {
118             $start = rand(45, 111);
119             $ypos = $this->height / 2 - rand(10, 30);
120             $xpos += rand(5, 15);
121         } else {
122             $start = rand(200, 250);
123             $ypos = $this->height / 2 + rand(10, 30);
124         }
125
126         $end = $start + rand(75, 100);
127
128         imagearc($this->img, $this->width * .75, $ypos, $width, $height, $start, $end, $this->font_color);
129     }
130
131     /**
132      * 输出图片
133      */
134     private function output()
135     {
136         header("content-type:image/png
");
137         imagepng($this->img);
138         imagedestroy($this->img);
139     }
140 }
141
142 $checkcode = new checkcode();
143 $checkcode->doimage();
调用这个验证码程序:
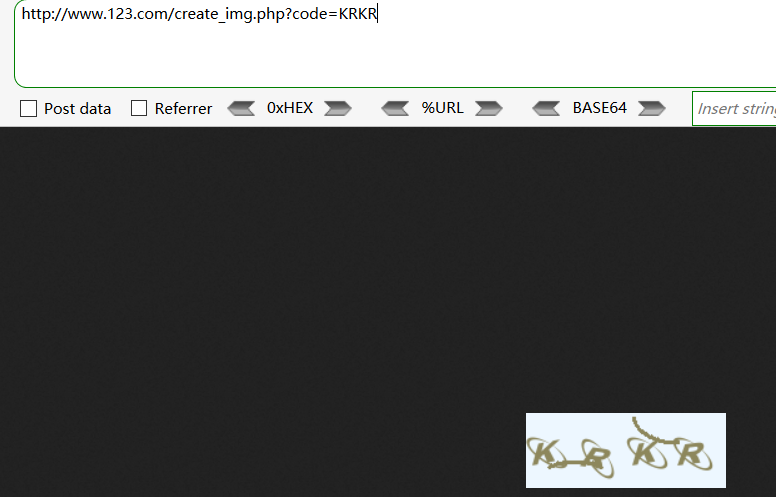
修改gennerate_captcha.py
 1 #-*- coding:utf-8 -*-
 2 from captcha.image import ImageCaptcha
 3 from PIL import Image
 4 import numpy as np
 5 import random
 6 import string
 7 from io import BytesIO
 8 import requests as req
 9
10 class generateCaptcha():
11     def __init__(self,
12                  width = 160,#��֤��ͼƬ�Ŀ�      把宽、高、字符数改为与上面php相同
13                  height = 60,#��֤��ͼƬ�ĸ�
14                  char_num = 4,#��֤���ַ�����
15                  characters = string.digits + string.ascii_uppercase + string.ascii_lowercase):#��֤����ɣ�����+��д��ĸ+Сд��ĸ
16         self.width = width
17         self.height = height
18         self.char_num = char_num
19         self.characters = characters
20         self.classes = len(characters)
21
22     def gen_captcha(self,batch_size = 50):
23         X = np.zeros([batch_size,self.height,self.width,1])
24         img = np.zeros((self.height,self.width),dtype=np.uint8)
25         Y = np.zeros([batch_size,self.char_num,self.classes])
26         image = ImageCaptcha(width = self.width,height = self.height)
27
28         while True:
29             for i in range(batch_size):
30                 captcha_str = ''.join(random.sample(self.characters,self.char_num))
31                 imgurl = 'http://192.168.155.3/create_img.php?code='+captcha_str   //图片的来源通过requests库获取,captcha_str是随机生成的4位验证码。
32                 response = req.get(imgurl)
33                 img = image.generate_image(captcha_str).convert('L')
34                 img = np.array(img.getdata())
35                 X[i] = np.reshape(img,[self.height,self.width,1])/255.0
36                 for j,ch in enumerate(captcha_str):
37                     Y[i,j,self.characters.find(ch)] = 1
38             Y = np.reshape(Y,(batch_size,self.char_num*self.classes))
39             yield X,Y
40
41     def decode_captcha(self,y):
42         y = np.reshape(y,(len(y),self.char_num,self.classes))
43         return ''.join(self.characters[x] for x in np.argmax(y,axis = 2)[0,:])
44
45     def get_parameter(self):
46         return self.width,self.height,self.char_num,self.characters,self.classes
47
48     def gen_test_captcha(self):
49         image = ImageCaptcha(width = self.width,height = self.height)
50         captcha_str = ''.join(random.sample(self.characters,self.char_num))
51         img = image.generate_image(captcha_str)
52         img.save(captcha_str + '.jpg')
53
54         X = np.zeros([1,self.height,self.width,1])
55         Y = np.zeros([1,self.char_num,self.classes])
56         img = img.convert('L')
57         img = np.array(img.getdata())
58         X[0] = np.reshape(img,[self.height,self.width,1])/255.0
59         for j,ch in enumerate(captcha_str):
60             Y[0,j,self.characters.find(ch)] = 1
61         Y = np.reshape(Y,(1,self.char_num*self.classes))
62         return X,Y
剩下就是训练这个模型了。
训练需要花很长时间,我这个模型没有训练好。
先看下结果:
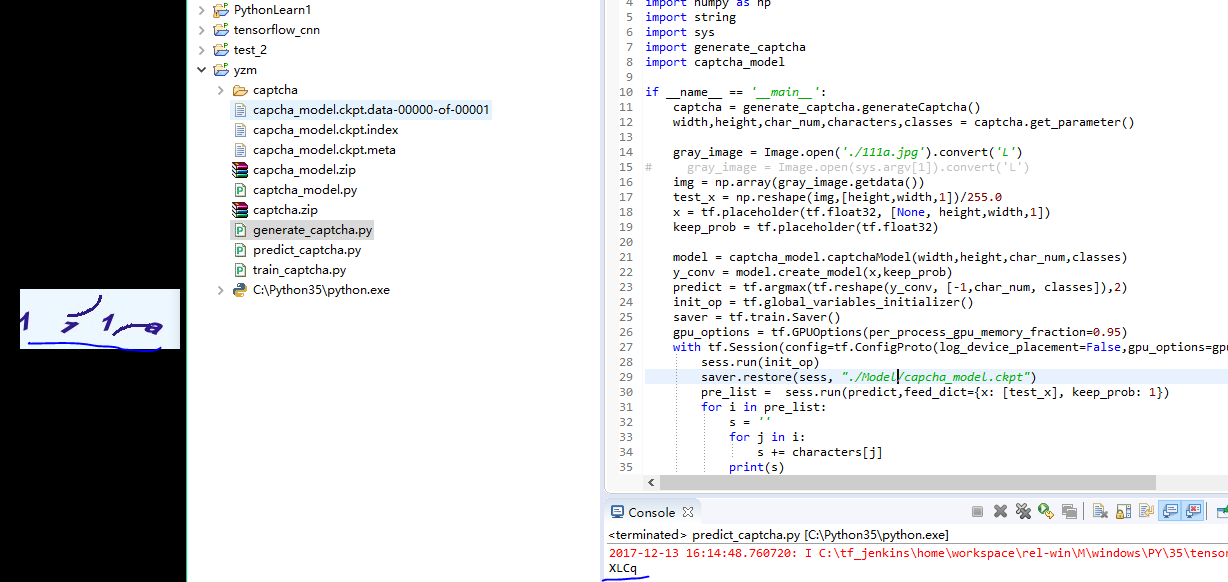
以上就是cnn验证码识别的全过程。后续我们可以用这个训练好的模型,实现自动化接口测试等程序了。