本文采用Eclipse及其对应的插件来编辑、管理、运行Robot Framework.
https://www.eclipse.org/downloads/ 本文安装 Eclipse IDE 2020‑03 64bit
下载得到文件: eclipse-inst-win64.exe 在windows上双击运行。 具体的安装过程略。
安装Eclipse的插件
可参考文档:https://github.com/NitorCreations/RobotFramework-EclipseIDE/wiki/Installation
Installing using update site
- Start Eclipse, then select Help > Install New Software.
- Click Add, in the top-right corner. In the Add Repository dialog that appears, enter "RobotFramework-EclipseIDE" for the Name and the following URL for the Location: http://sourceforge.net/projects/robotide/files/stable/
- Click OK.
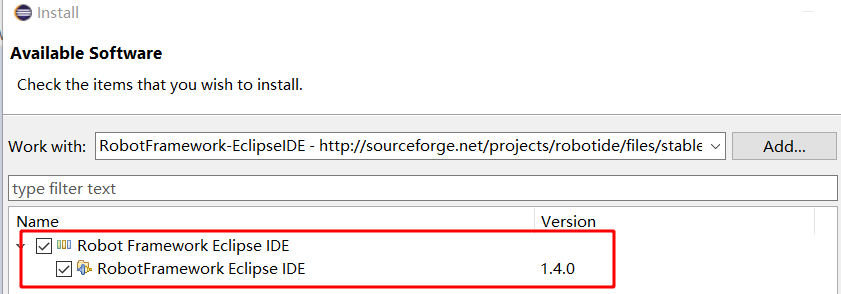
- In the Available Software dialog, select the checkbox next to Robot Framework Eclipse IDE and click Next.
- In the next window, you'll see a list of the tools to be downloaded. Click Next.
- Read and accept the license agreements, then click Finish.
- When the installation completes, restart Eclipse.
- See usage for more information about configuring and using the plugin.
接受协议,安装之后,需要重新启动。
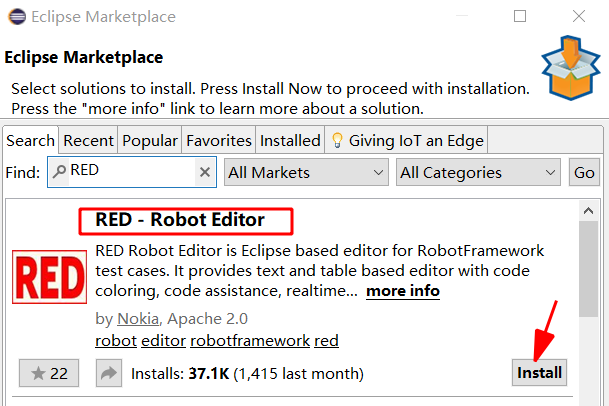
安装 RED - Robot Editor
Install from Marketplace/Update Site
Marketplace: Click Help -> Eclipse Marketplace -> and type into Find field "RED" Update Site: Click Help -> Install New Software -> Add and set address in Location to:
http://master.dl.sourceforge.net/project/red-robot-editor/repository
由于Robot使用UTF-8编码格式,因此需要设置Eclipse默认使用UTF-8格式。

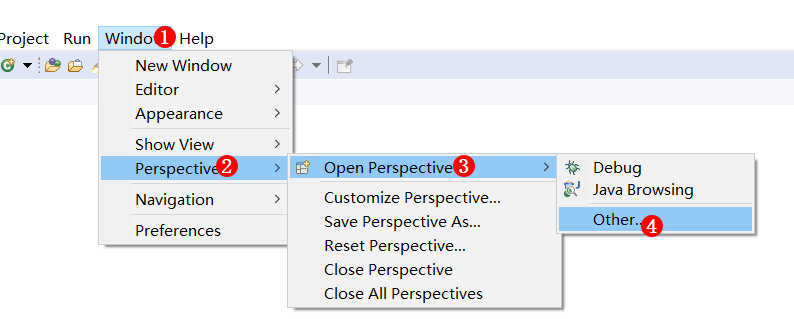
重启Eclipse之后,设置Robot视图。

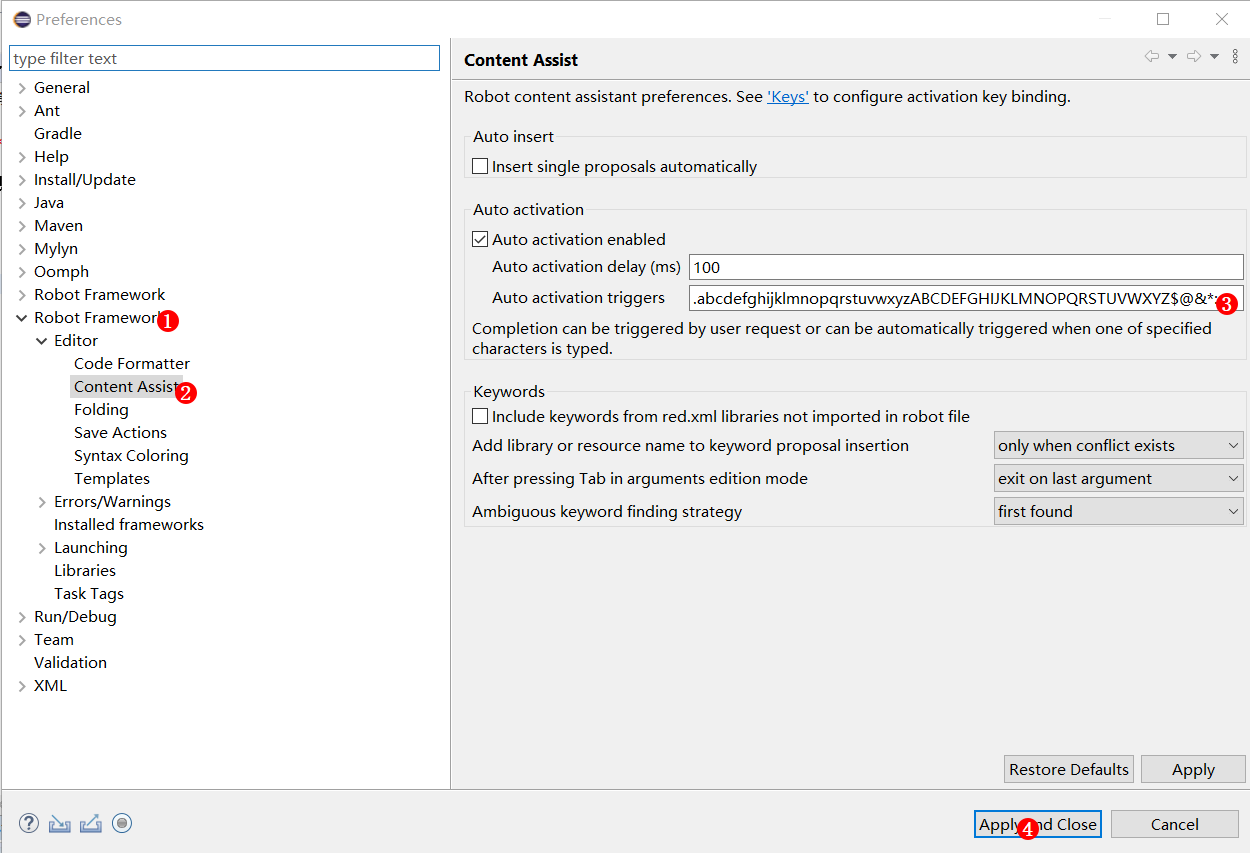
设置代码内容自动辅助,代码自动补齐
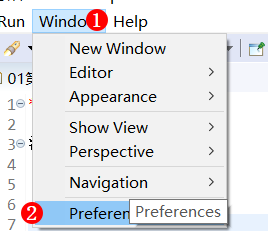
Window -> Preferences -> Robot Framework -> Editor -> Content Assist.
.abcdefghijklmnopqrstuvwxyzABCDEFGHIJKLMNOPQRSTUVWXYZ$@&*:
下面就可以创建Robot的工程了。
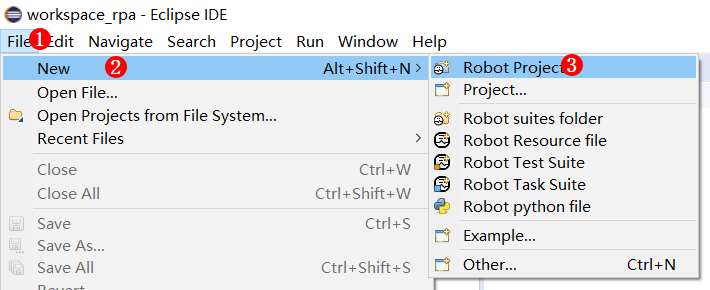
建立第一个Robot工程
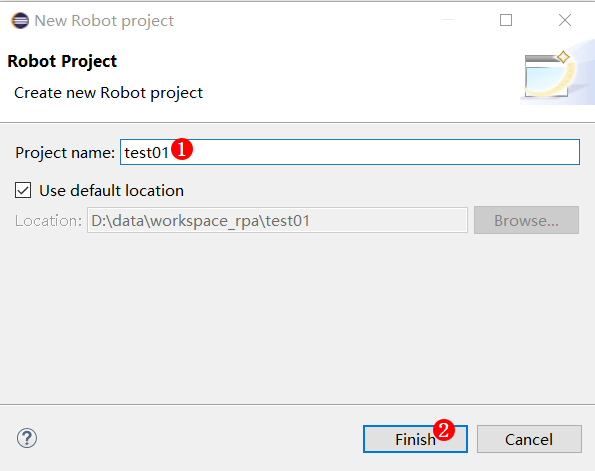
工程文件结构如下:

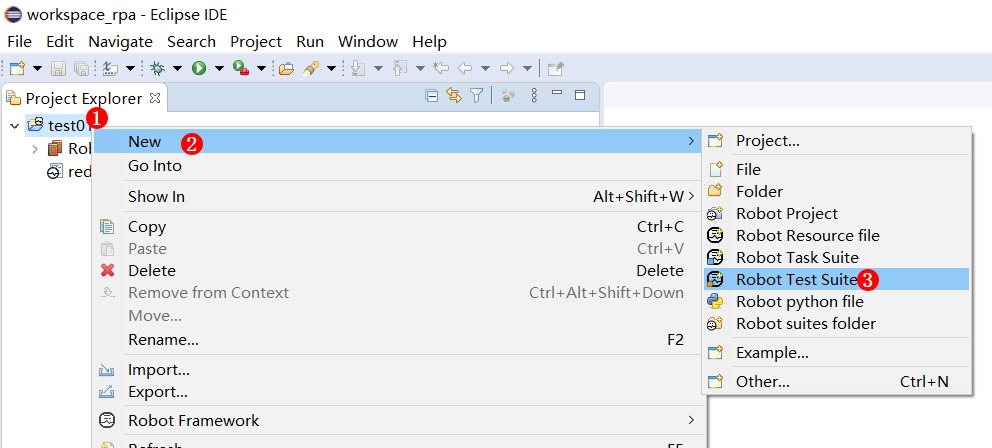
新建第一个测试套件,在工程test01鼠标右键弹出如下菜单
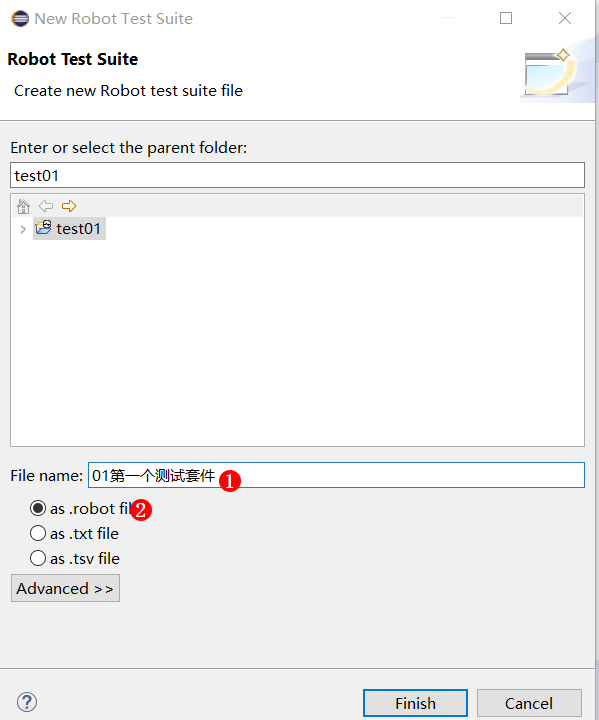
在测试套件里写一个测试用例: 测试用例1

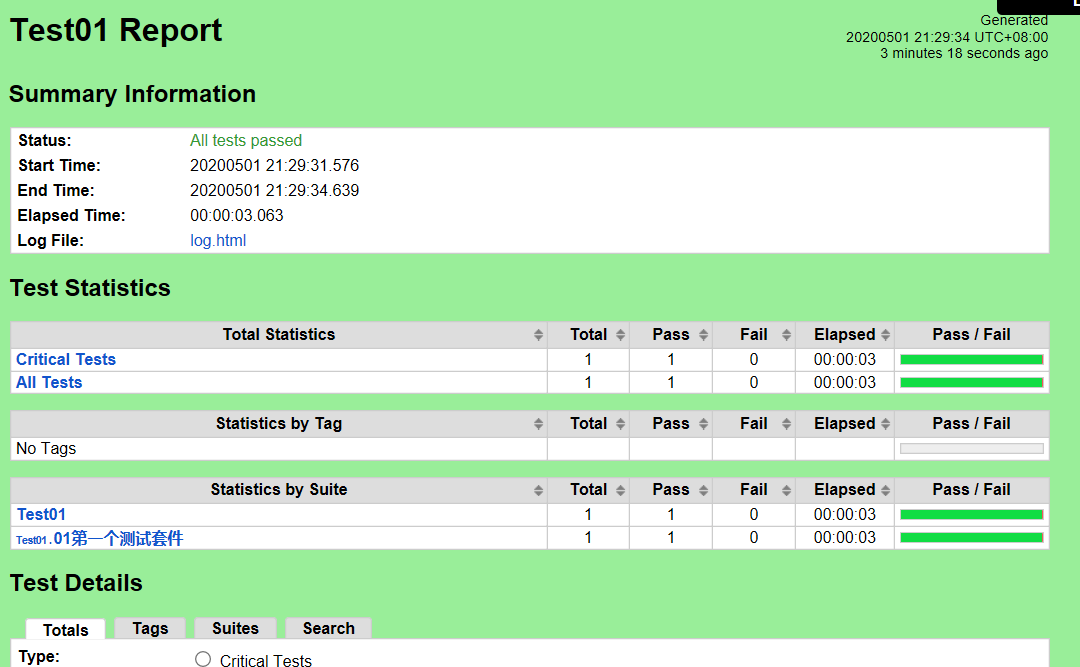
运行测试用例

运行结果如下:
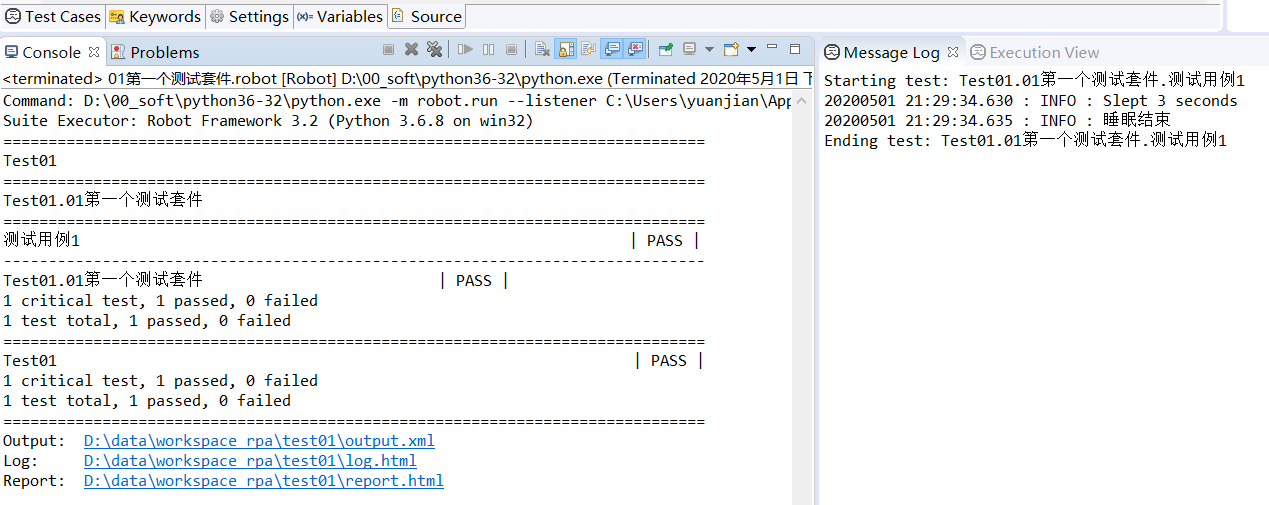
上面显示全部测试通过。
还可以点击上面的链接查看 report.html