<!DOCTYPE html>
<html lang="en">
<head>
    <meta charset="UTF-8">
    <title>dom</title>
    <style>
        .box{
            width: 100px;
            height: 100px;
            background-color: red;
        }
    </style>
</head>
<body>
<div class="box" id="hezi">

</div>
<button type="button" id="big">
    变大
</button>
<button type="button" id="small">
    变小
</button>
<button type="button" id="changeColor">
    变色
</button>
</body>
<script>
    var oBig = document.getElementById('big');
    var oSmall = document.getElementById('small');
    var oHezi = document.getElementById('hezi');
    oBig.onclick = function () {
        oHezi.style.width = '300px';
        oHezi.style.height = '400px';
    }
    oSmall.onclick = function () {
        oHezi.style.height = '20px';
        oHezi.style.width = '50px';
    }
    oChangeColor = document.getElementById('changeColor');
    oChangeColor.onclick = function () {
        oHezi.style.backgroundColor = '#666';
    }
</script>
</html>
getElementById函数可以通过ID名字去操作该标签
onclick事件:点击事件,在点击时,会触发该事件
<!DOCTYPE html>
<html lang="en">
<head>
    <meta charset="UTF-8">
    <title>购物车</title>
</head>
<style type="text/css">
    *{
        padding: 0;
        margin: 0;
    }
    .box{
        width: 500px;
        height: 90px;
        margin: 100px auto;
        background-color: rgba(255, 255, 0, 0.4);
        position: relative;
    }
    .car{
        width: 150px;
        height: 30px;
        background-color: #fff;
        position: absolute;
        left: 300px;
        border: 1px solid green;
        z-index: 9;
    }
    .shop{
        width: 310px;
        height: 70px;
        background-color: #fff;
        position: absolute;
        border: 1px solid green;
        left: 140px;
        top: 30px;
        display: none;
    }

</style>
<body>
<div class="box">
    <div class="car" id="mycar">我的购物车</div>
    <div class="shop t" id="shop"></div>
</div>
</body>
<script type="text/javascript">
    var myCar = document.getElementById('mycar');
    var shop = document.getElementById('shop');

    myCar.onmouseover = function () {
        shop.style.display = 'block';
        myCar.style.borderBottomWidth= '0';
    };
    myCar.onmouseout = function () {
        this.style.border = '1px solid green';
        shop.style.display = 'none';
    };
</script>
</html>
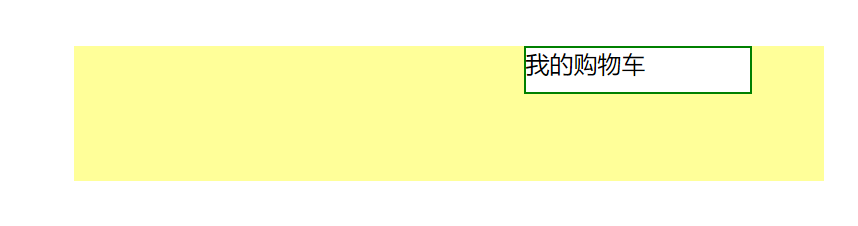
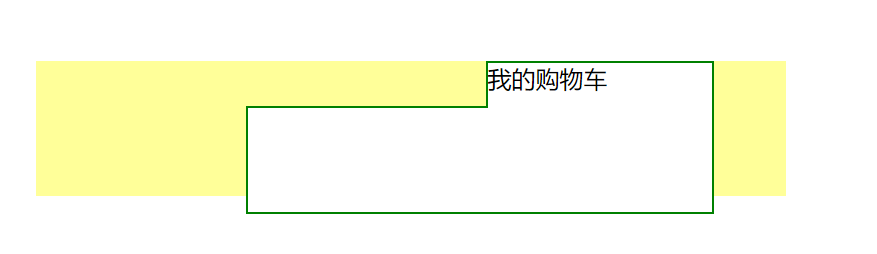
对于购物车:在触碰时会弹出这个操作,有两种写法。
一个是把要下面那个大块先隐藏,之后触碰的时候显示,
二是在触碰时,把类的属性添加进去。
<!DOCTYPE html>
<html lang="en">
<head>
    <meta charset="UTF-8">
    <title>hover</title>
    <style>
        button{
            margin: 10px;
            width: 100px;
            height: 40px;
            cursor: pointer;
        }
        .current{
            background-color: red;
        }
    </style>
</head>
<body>
<button>按钮1</button>
<button>按钮2</button>
<button>按钮3</button>
<button>按钮4</button>
<button>按钮5</button>
</body>
<script>
    var btnArray = document.getElementsByTagName("button");
    for(var i = 0; i < btnArray.length; i++){
        btnArray[i].onmouseover = function () {
            for(var j = 0; j < btnArray.length; j++){
                btnArray[j].className = '';
            }
            this.className = "current";
        }
    }

</script>
</html>
![]()
效果大致如此,思想是排异的思想,让按钮3亮起来很容易。
但是想再让按钮2亮起来,而按钮3变白,就需要用到这个代码了。
<!DOCTYPE html>
<html lang="en">
<head>
    <meta charset="UTF-8">
    <title>tab栏选项卡</title>
    <style type="text/css">
        .banner{
            width: 300px;
            height: 80px;
            background-color: red;
            margin: 0 auto;

        }
        .banner a{
            float: left;
            width: 100px;
            height: 80px;
            /*background-color: #fff;*/
            line-height: 80px;
            text-align: center;
        }
        .pic{
            background-color: red;
            width: 300px;
            height: 140px;
            margin: 0 auto;
        }
    </style>
</head>
<body>
<div class="banner">
    <a class="one">首页</a>
    <a class="sec">新闻</a>
    <a class="third">图片</a>
</div>
<div class="pic">
    <li class="pic1">首页内容</li>
    <li class="pic2">新闻内容</li>
    <li class="pic3">图片内容</li>
</div>

</body>
<script type="text/javascript">
    var o = document.getElementsByTagName('a');
    var b = document.getElementsByTagName('li');
    for(var i = 0; i < o.length; i++){
        // 增加一个属性 方便只有b调取
        o[i].index = i;
        o[i].onmouseover = function () {
            for(var j = 0; j < o.length; j++){
                o[j].style.backgroundColor = 'white';
                b[j].style.display = 'none';
            }
            this.style.backgroundColor = 'red';

            b[this.index].style.display = 'block';
        };

    }

</script>
</html>
这段代码要注意的是var是一个全局变量,即使,在内部写,在预编译的时候,也会变成一个全局变量,如果想要对某一个事件进行特殊的操作,做好把这个变量写成一个属性。
function Student() {
        this.name = 'easy';
        this.age = 20;
    }

    Student.prototype.alterName = function () {
      alert(this.name);
    };

    var stu1 = new Student();
    var stu2 = new Student();

    stu1.alterName();
    stu2.alterName();

    alert(stu1.alterName() == stu2.alterName());
定义对象最常用的方法,jQuery已经封装好了。