跨域问题5种解决方案:
1、设置请求头
2、JSONP
3、HTTPClient
4、SpringCloud zuul网关
5、Nginx
注:此博客先模拟前3种,后续博客模拟4.5
一、解决方案一----设置请求头
设置请求头,在请求的资源中设置Access-Control-Allow-Origin请求头
response.setHeader("Access-Control-Allow-Origin", "*");
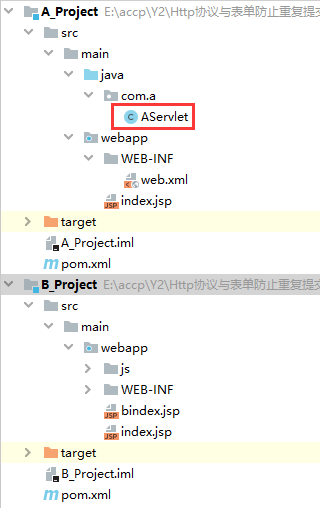
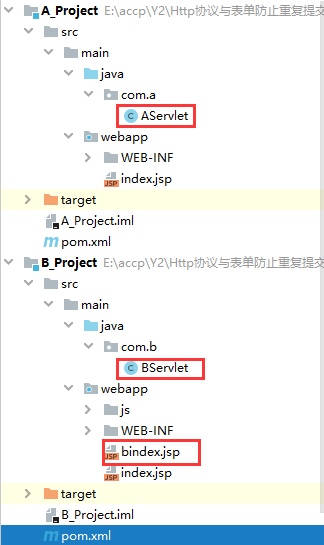
1、目录展示
2、A项目导入依赖

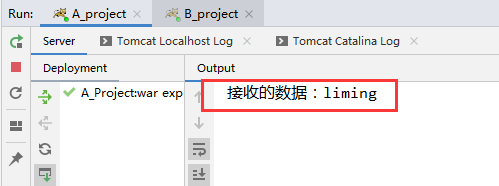
3、A项目AServlet
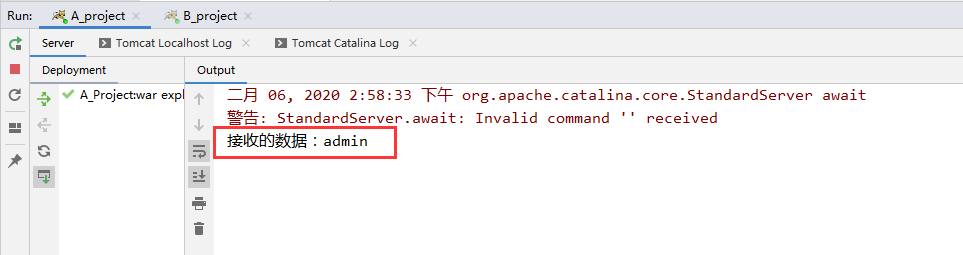
package com.a;

import javax.servlet.ServletException;
import javax.servlet.annotation.WebServlet;
import javax.servlet.http.HttpServlet;
import javax.servlet.http.HttpServletRequest;
import javax.servlet.http.HttpServletResponse;
import java.io.IOException;

@WebServlet("/AServlet")
public class AServlet extends HttpServlet {
    protected void doPost(HttpServletRequest request, HttpServletResponse response) throws ServletException, IOException {
        doGet(request,response);
    }

    protected void doGet(HttpServletRequest request, HttpServletResponse response) throws ServletException, IOException {
        //1、接收数据
        String username = request.getParameter("username");
        System.out.println("接收的数据:"+username);

        //2、响应结果
        response.getWriter().write("success!");

        //3、设置响应头
        response.setHeader("Access-Control-Allow-Origin", "*");

    }
}
4、B项目bindex.jsp
<%--
  Created by IntelliJ IDEA.
  User: zheng
  Date: 2020/2/6
  Time: 14:25
  To change this template use File | Settings | File Templates.
--%>
<%@ page contentType="text/html;charset=UTF-8" language="java" %>
<html>
<head>
    <title>跨域解决方案</title>
    <script type="text/javascript" src="js/jquery-1.8.3.min.js"></script>
    <script>
        $(function () {
            $("#button").click((function () {
                //获取文本框的值
                var username=$("#username").val();
                //发送Ajax请求到www.a.com的A工程
                $.ajax({
                    url:"http://www.a.com:8080/A/AServlet",
                    data:{"username":username},
                    type:"POST",
                    success:function (result) {
                        alert(result);
                    },
                    error:function () {
                        alert("系统错误!")
                    }
                })
            }))
        })
    </script>
</head>
<body>
    数据:<input type="text" name="username" id="username"/>
    <input type="button" id="button" value="请求"/>
</body>
</html>
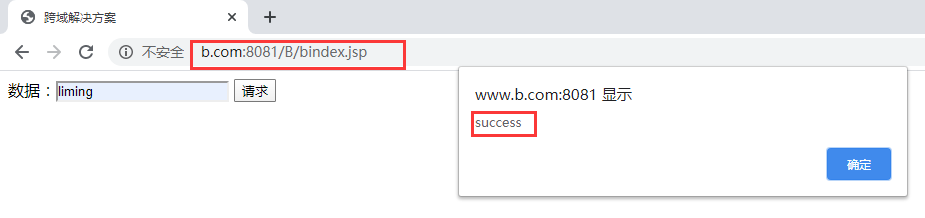
5、跨域效果


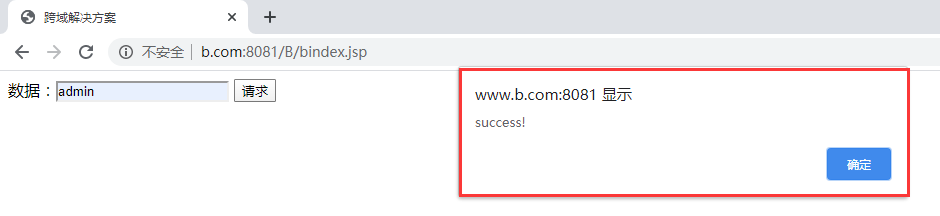
6、解决效果
二、解决方案二----JSONP
普通的跨域访问问题,浏览器会进行拦截,凡是src属性的都不会拦截
JSONP实现原理:动态加载<script>标签,利用src属性进行服务器资源的访问,但是只支持Get请求
1、目录展示
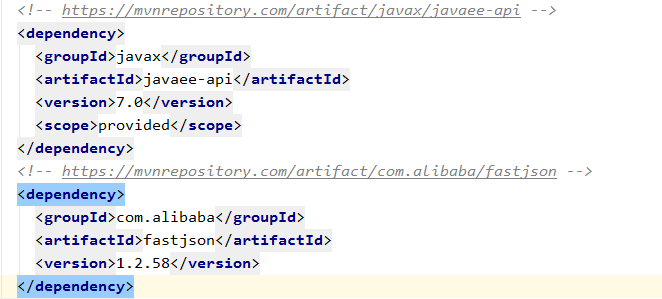
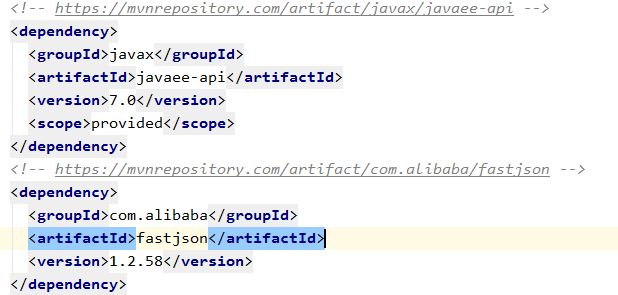
2、A项目导入依赖
3、A项目AServlet
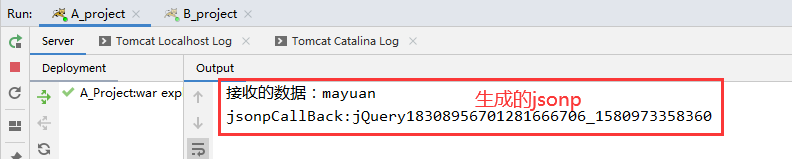
package com.a;

import com.alibaba.fastjson.JSON;

import javax.servlet.ServletException;
import javax.servlet.annotation.WebServlet;
import javax.servlet.http.HttpServlet;
import javax.servlet.http.HttpServletRequest;
import javax.servlet.http.HttpServletResponse;
import java.io.IOException;

@WebServlet("/AServlet")
public class AServlet extends HttpServlet {
    protected void doPost(HttpServletRequest request, HttpServletResponse response) throws ServletException, IOException {
        doGet(request,response);
    }

    protected void doGet(HttpServletRequest request, HttpServletResponse response) throws ServletException, IOException {
        //1、接收数据
        String username = request.getParameter("username");
        System.out.println("接收的数据:"+username);

        //2、接收Ajax传递的数据
        String jsonpCallBack = request.getParameter("jsonpCallBack");
        System.out.println("jsonpCallBack:"+jsonpCallBack);

        String success = JSON.toJSONString("success");
        //3.响应结果,数据必须为JSON格式
        response.getWriter().write(jsonpCallBack+"("+success+")");
    }
}
4、B项目bindex.jsp
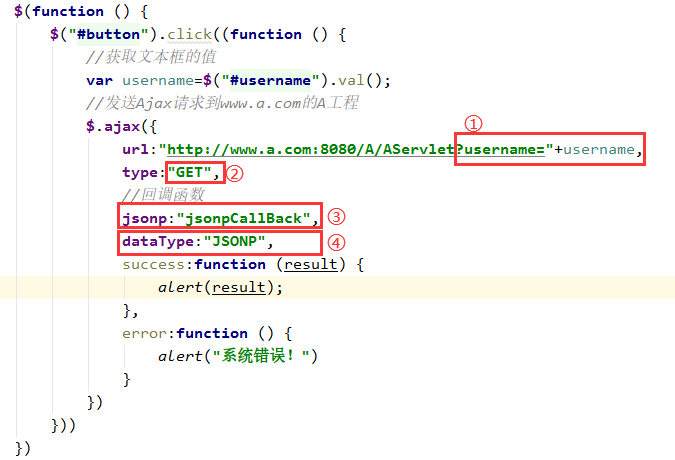
<%--
  Created by IntelliJ IDEA.
  User: zheng
  Date: 2020/2/6
  Time: 14:25
  To change this template use File | Settings | File Templates.
--%>
<%@ page contentType="text/html;charset=UTF-8" language="java" %>
<html>
<head>
    <title>跨域解决方案</title>
    <script type="text/javascript" src="js/jquery-1.8.3.min.js"></script>
    <script>
        $(function () {
            $("#button").click((function () {
                //获取文本框的值
                var username=$("#username").val();
                //发送Ajax请求到www.a.com的A工程
                $.ajax({
                    url:"http://www.a.com:8080/A/AServlet?username="+username,
                    type:"GET",
                    //回调函数
                    jsonp:"jsonpCallBack",
                    dataType:"JSONP",
                    success:function (result) {
                        alert(result);
                    },
                    error:function () {
                        alert("系统错误!")
                    }
                })
            }))
        })
    </script>
</head>
<body>
    数据:<input type="text" name="username" id="username"/>
    <input type="button" id="button" value="请求"/>
</body>
</html>
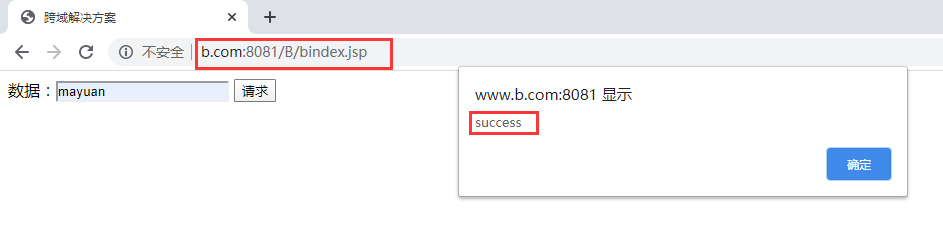
5、效果展示
三、解决方案三----HTTPClient
使用HTTPClient解决:就是不通过浏览器发送请求
B工程的页面发送的Ajax没有办法请求到A工程,因为浏览器会拦截,走后台,后台通过HTTPClient请求请求到A工程,获取到响应结果
1、目录展示
2、A项目导入依赖
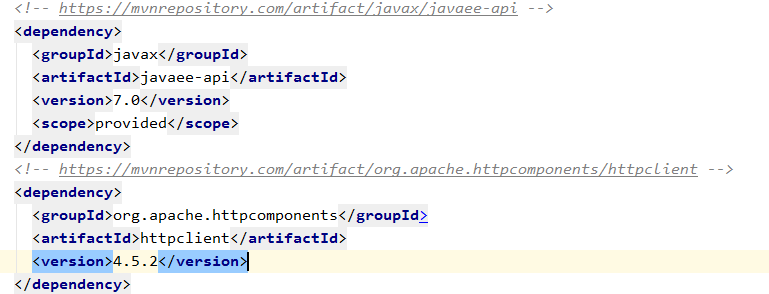
3、B项目导入依赖
4、B项目bindex.jsp
<%--
  Created by IntelliJ IDEA.
  User: zheng
  Date: 2020/2/6
  Time: 14:25
  To change this template use File | Settings | File Templates.
--%>
<%@ page contentType="text/html;charset=UTF-8" language="java" %>
<html>
<head>
    <title>跨域解决方案</title>
    <script type="text/javascript" src="js/jquery-1.8.3.min.js"></script>
    <script>
        $(function () {
            $("#button").click((function () {
                //获取文本框的值
                var username=$("#username").val();
                //发送Ajax请求到www.a.com的A工程
                $.ajax({
                    url:"BServlet?username="+username,
                    type:"GET",
                    success:function (result) {
                        alert(result);
                    },
                    error:function () {
                        alert("系统错误!")
                    }
                })
            }))
        })
    </script>
</head>
<body>
    数据:<input type="text" name="username" id="username"/>
    <input type="button" id="button" value="请求"/>
</body>
</html>
5、B项目BServlet
package com.b;

import org.apache.http.client.methods.CloseableHttpResponse;
import org.apache.http.client.methods.HttpGet;
import org.apache.http.impl.client.CloseableHttpClient;
import org.apache.http.impl.client.HttpClients;
import org.apache.http.util.EntityUtils;
import sun.net.www.http.HttpClient;

import javax.servlet.ServletException;
import javax.servlet.annotation.WebServlet;
import javax.servlet.http.HttpServlet;
import javax.servlet.http.HttpServletRequest;
import javax.servlet.http.HttpServletResponse;
import java.io.IOException;

@WebServlet("/BServlet")
public class BServlet extends HttpServlet {
    protected void doPost(HttpServletRequest request, HttpServletResponse response) throws ServletException, IOException {
        doGet(request,response);
    }

    protected void doGet(HttpServletRequest request, HttpServletResponse response) throws ServletException, IOException {
        //内部通过HTTPClient进行转发
        //构建一个连接
        CloseableHttpClient client = HttpClients.createDefault();
        //构建请求
        HttpGet get=new HttpGet("http://www.a.com:8080/A/AServlet?username="+request.getParameter("username"));
        //发送请求
        CloseableHttpResponse httpResponse = client.execute(get);
        //获取返回结果
        String result = EntityUtils.toString(httpResponse.getEntity());
        //将A工程响应的结果给页面
        response.getWriter().write(result);
    }
}
6、A项目AServlet
package com.a;

import com.alibaba.fastjson.JSON;

import javax.servlet.ServletException;
import javax.servlet.annotation.WebServlet;
import javax.servlet.http.HttpServlet;
import javax.servlet.http.HttpServletRequest;
import javax.servlet.http.HttpServletResponse;
import java.io.IOException;

@WebServlet("/AServlet")
public class AServlet extends HttpServlet {
    protected void doPost(HttpServletRequest request, HttpServletResponse response) throws ServletException, IOException {
        doGet(request,response);
    }

    protected void doGet(HttpServletRequest request, HttpServletResponse response) throws ServletException, IOException {
        //1、接收数据
        String username = request.getParameter("username");
        System.out.println("接收的数据:"+username);

        //2、响应结果
        response.getWriter().write("success");

    }
}
7、效果展示