随着应用需求逐步迭代,应用的代码体积将会越来越大,为了更好的管理应用工程,我们开始借助CocoaPods版本管理工具对原有应用工程进行拆分。但是仅仅完成代码拆分还不足以解决业务之间的代码耦合,为了更好的让拆分出去的业务工程能够独立运行,必须进行组件拆分并且实现组件服务化。
组件化开发优点:
1.组件和组件之间没有明确的约束。
2.组件单独开发、单独测试,不能揉入主项目中开发,测试也可以针对性的测试。
组件主要分为三类:
基础功能组件:
基础 UI 组件:
产品业务组件:
使用 CocoaPods 制作私有库实现过程:
1、创建索引库:
可使用 GitHub、Gitlab、Gitee、等,以 GitHub 为例:
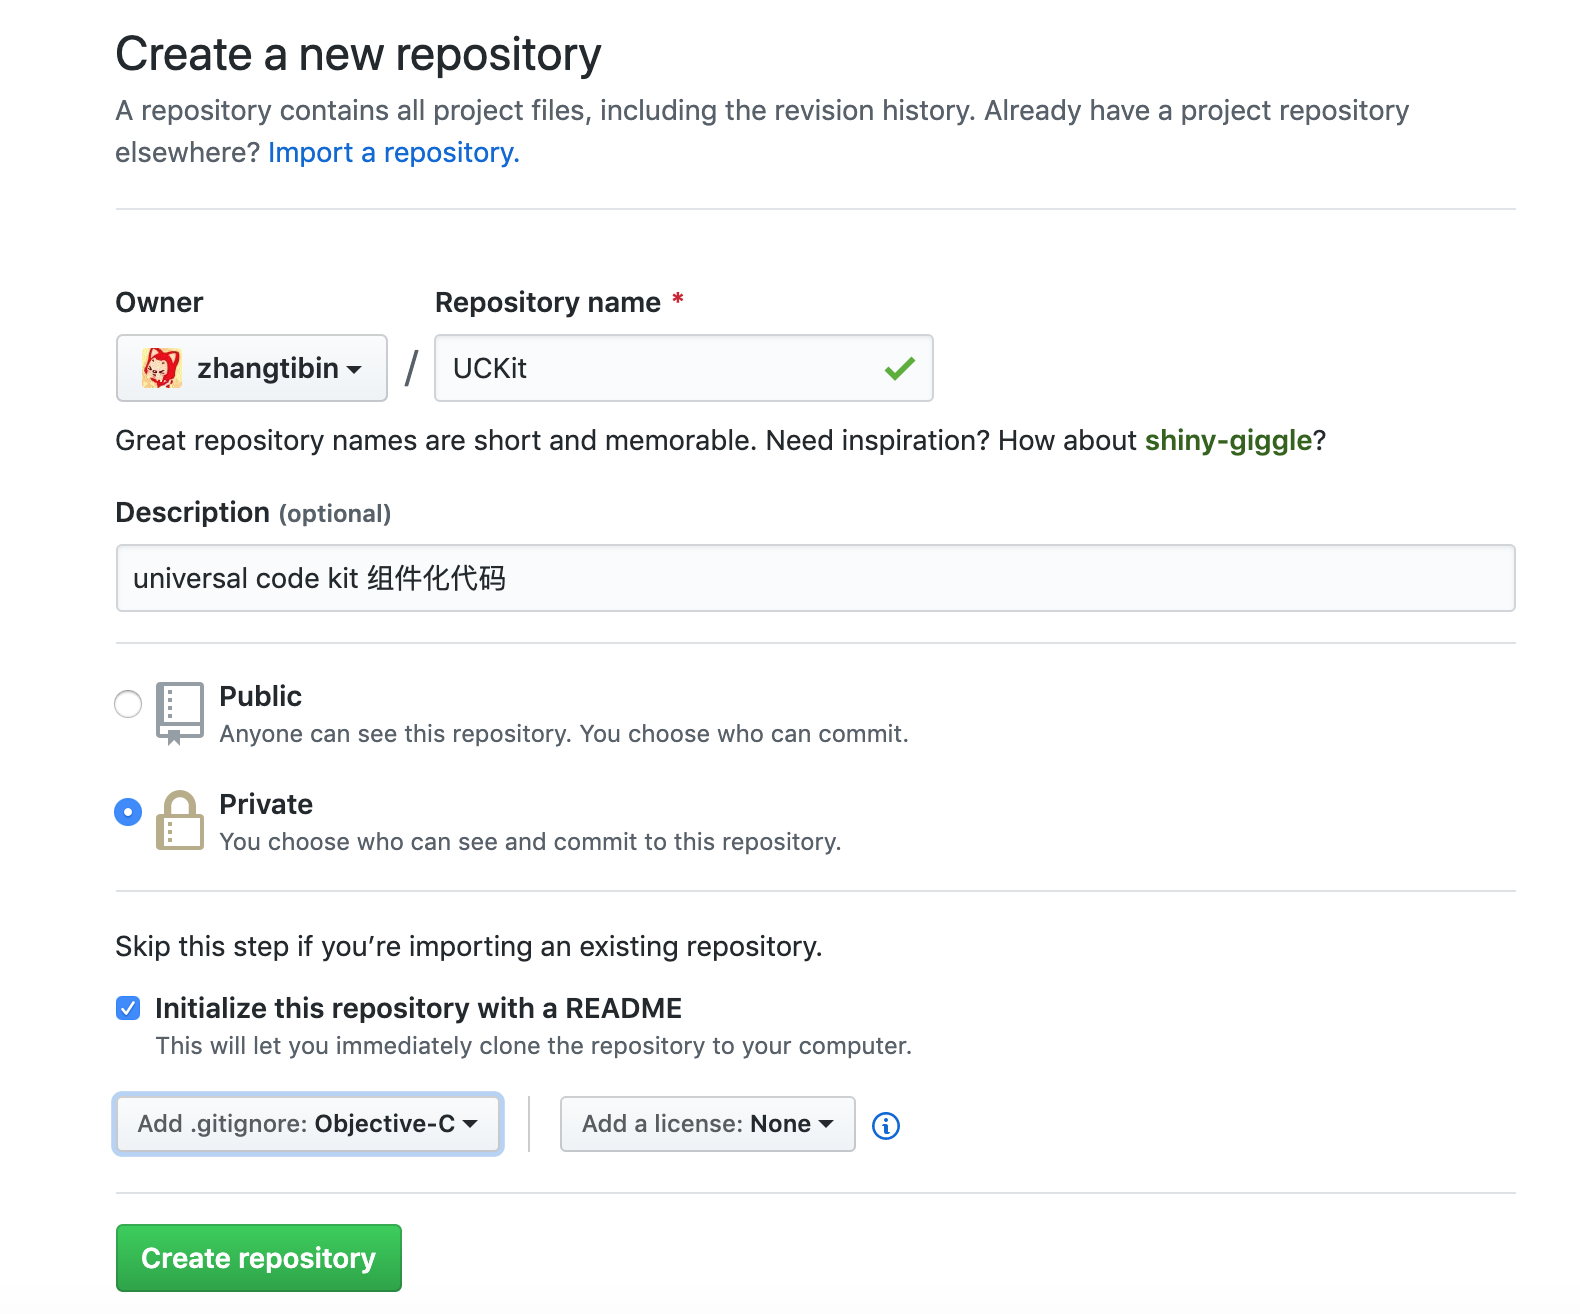
2、将创建的索引库添加到本地 Cocoapods 仓库中:
pod repo add UCKit https://github.com/zhangtibin/UCKit.git

路径是:~/.cocoapods/repos
3、创建模板:
pod lib create UCKit
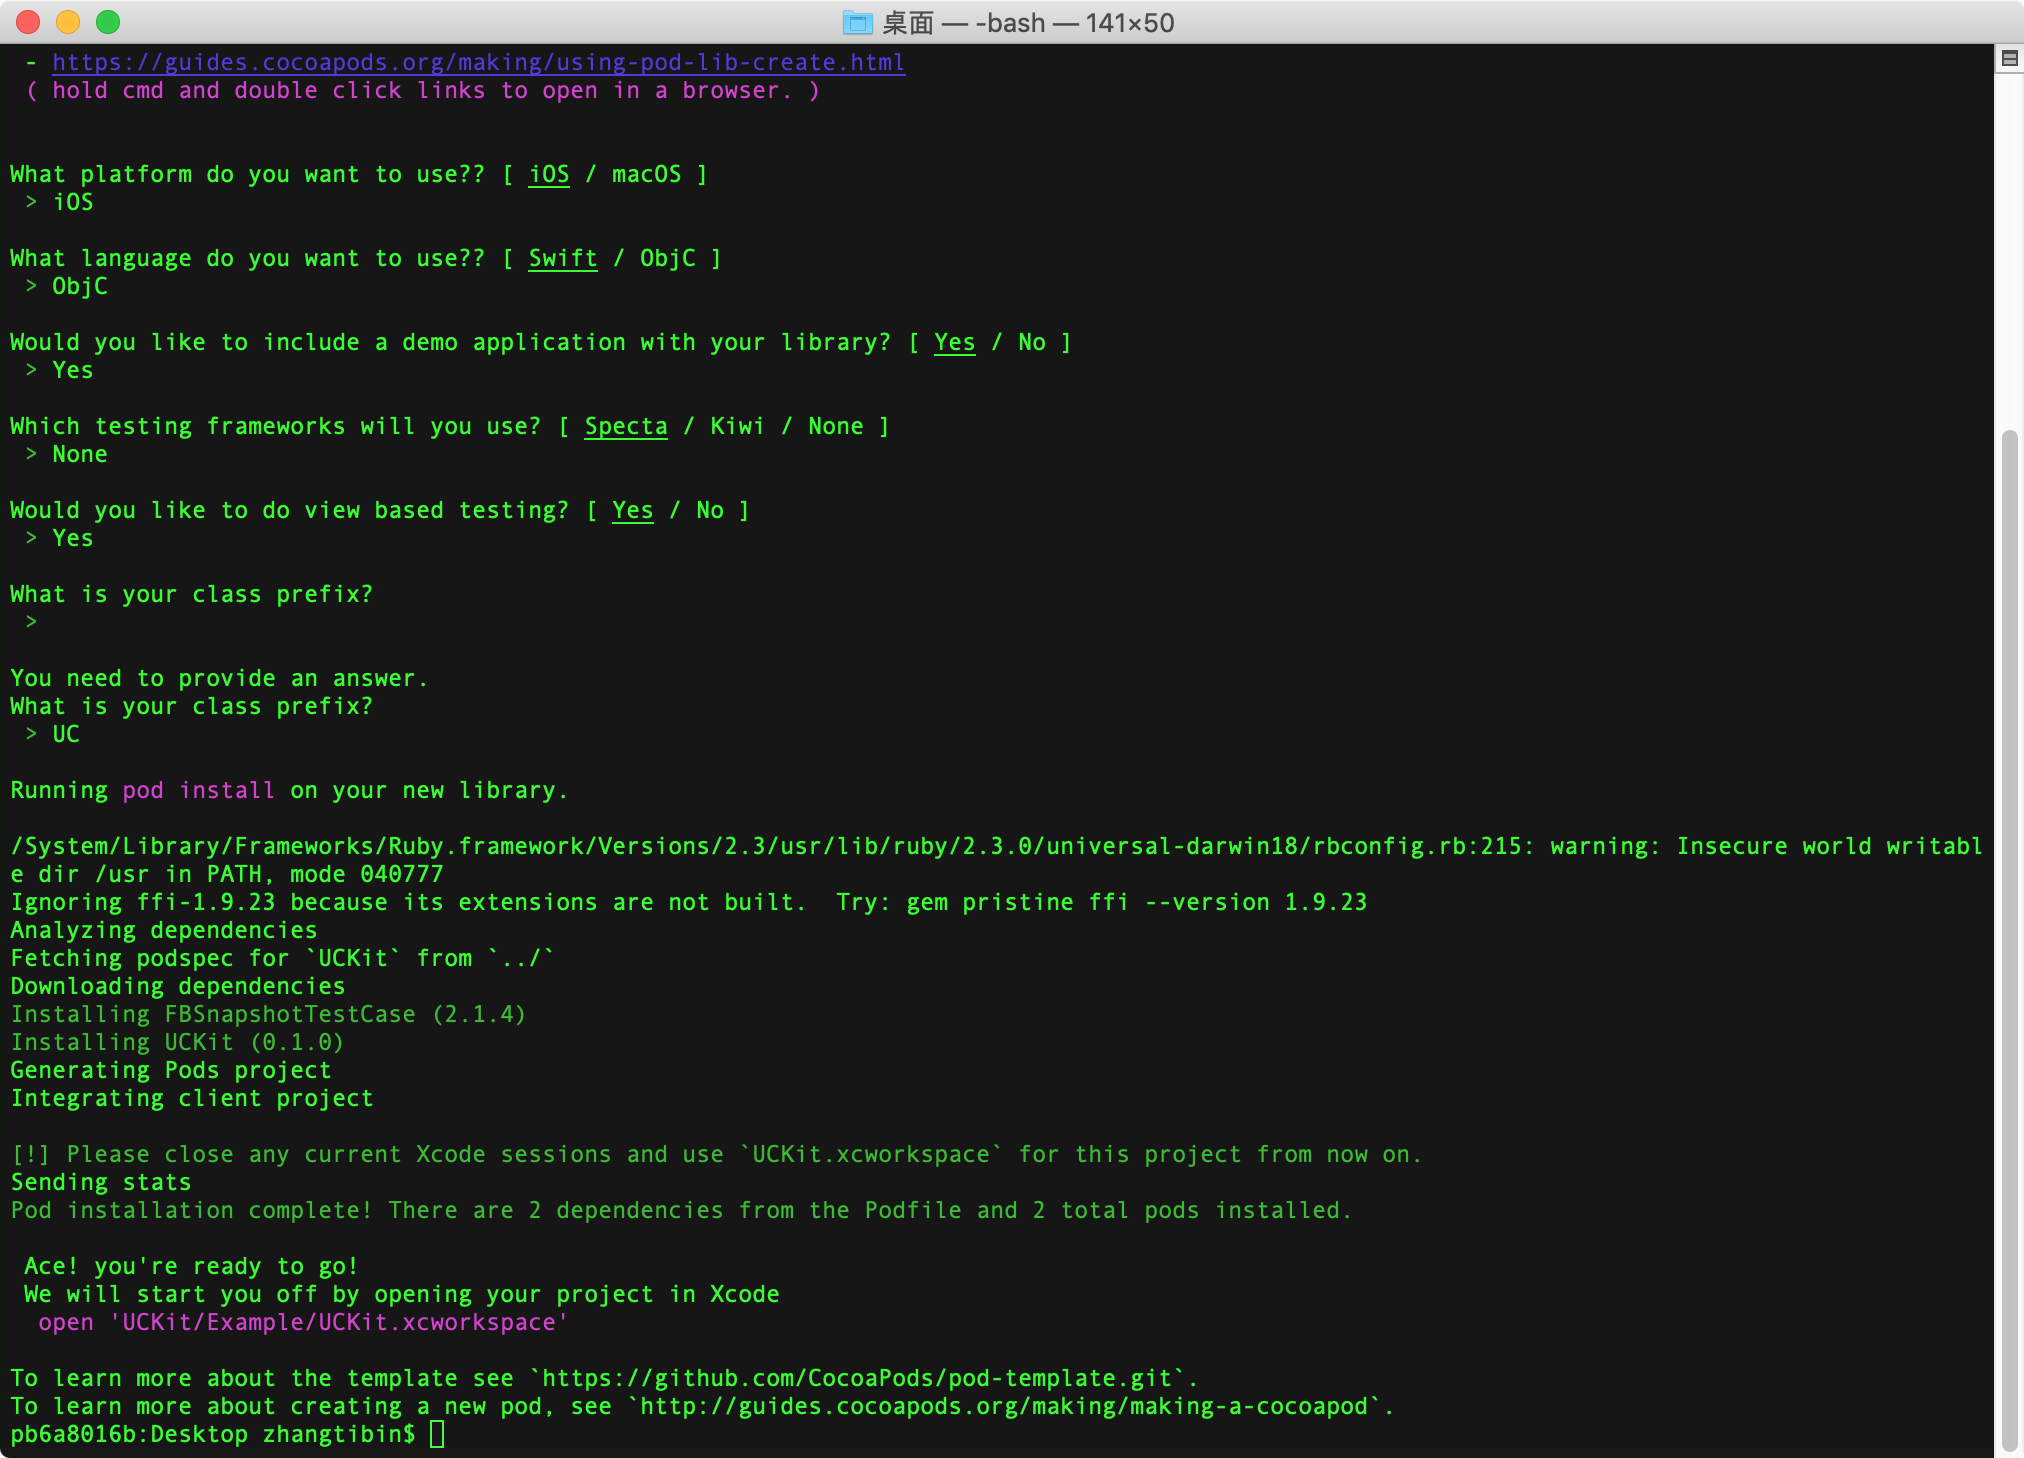
按提示输入选择后,创建完成,会自动打开 Xcode 工程:
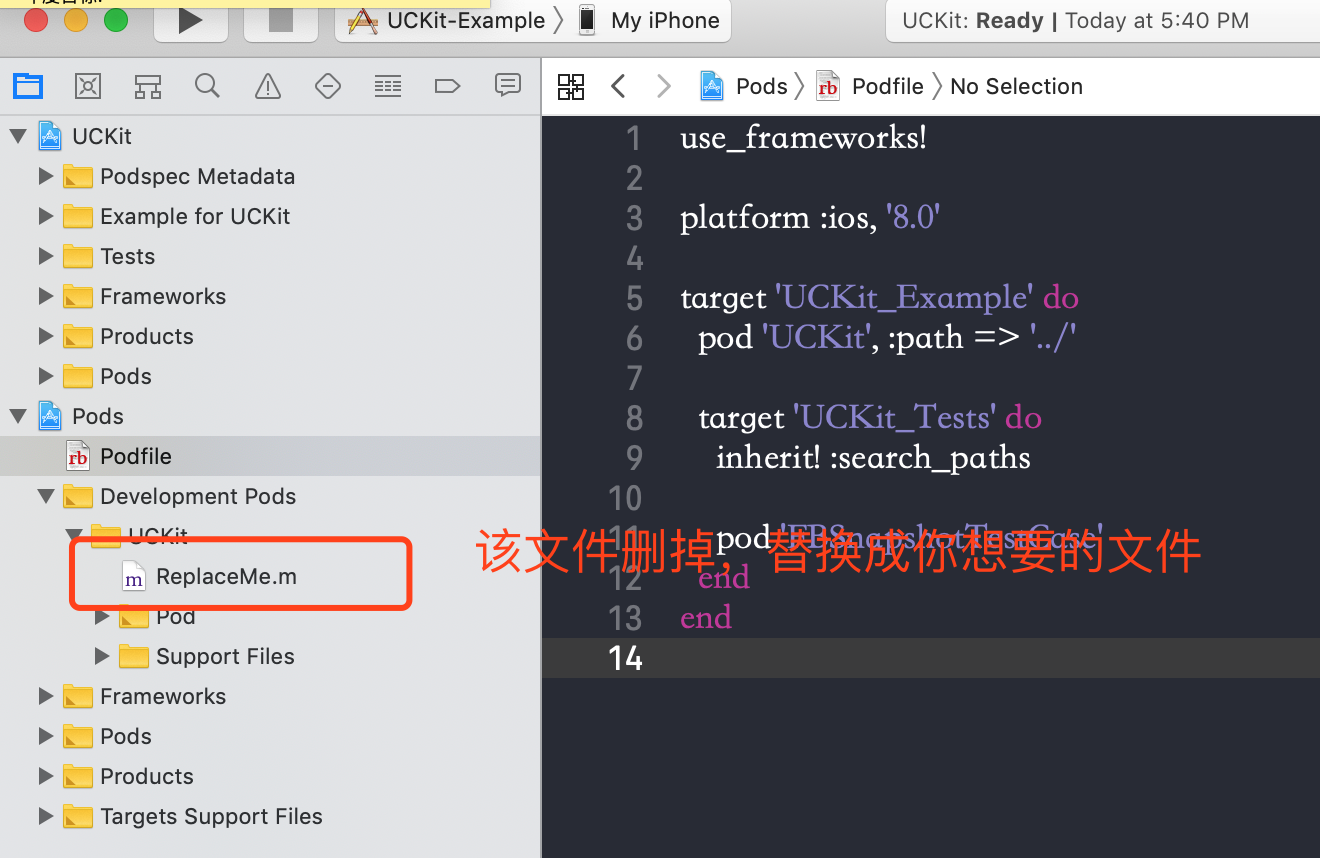
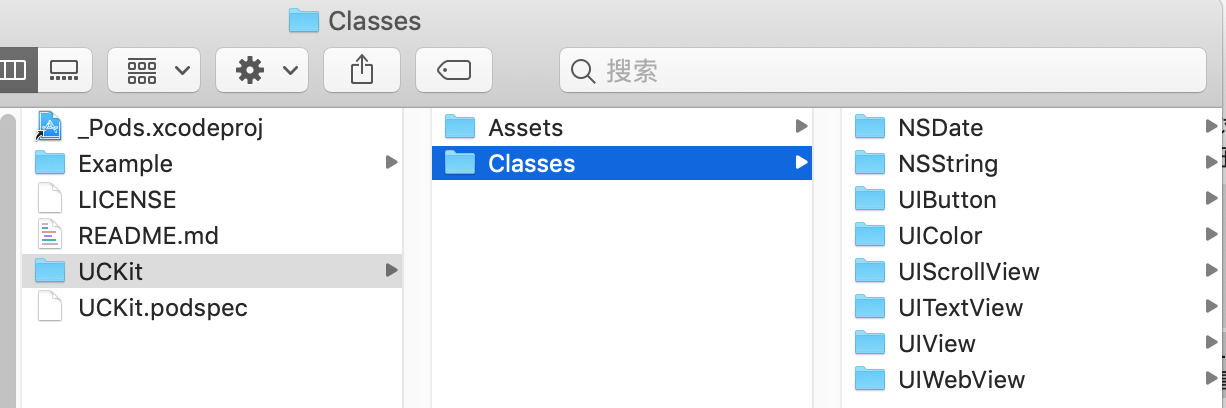
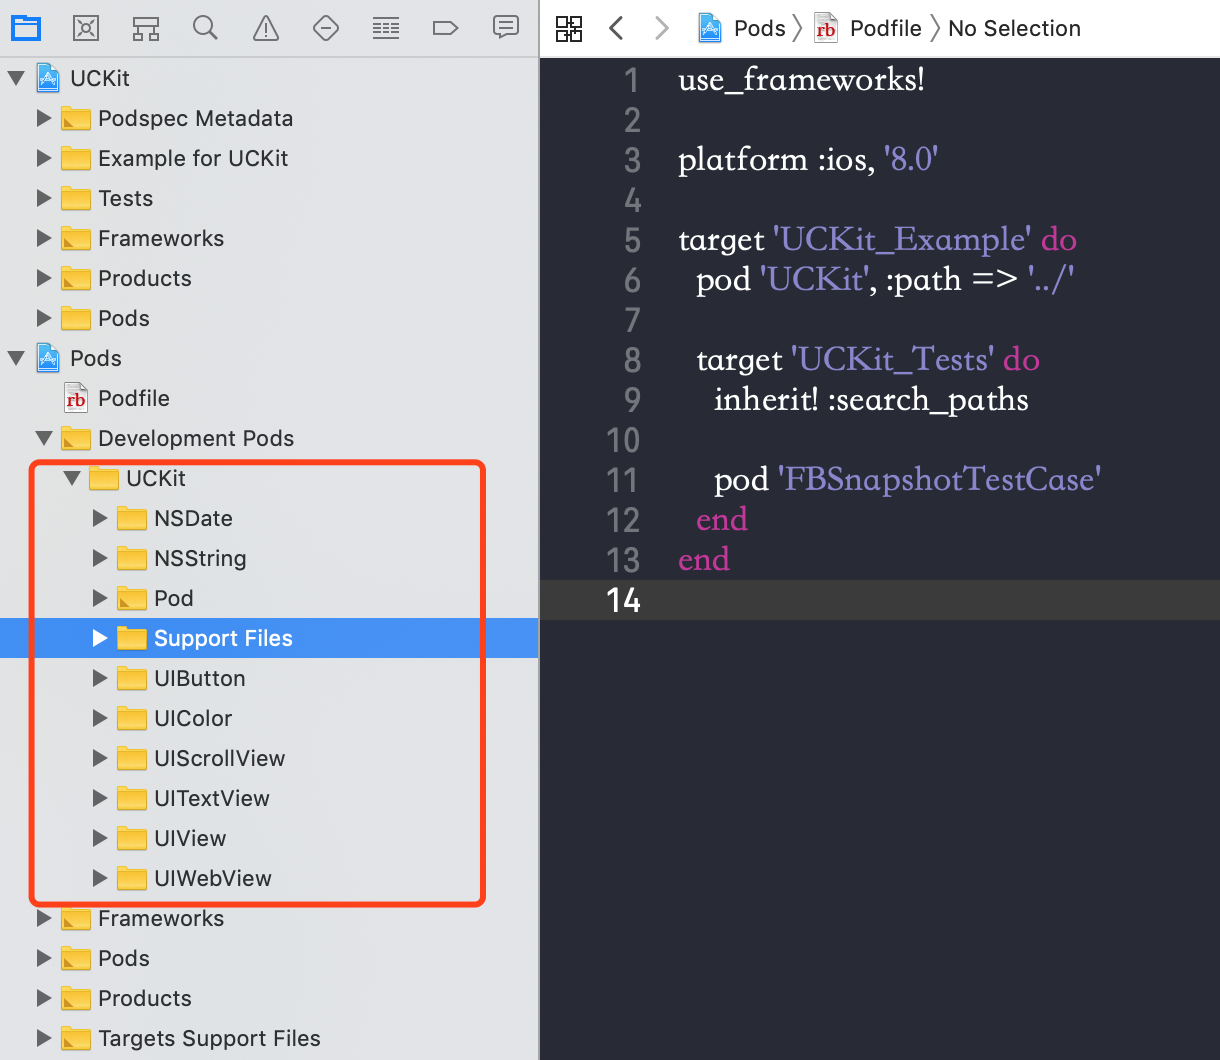
在 Classes 目录下,放入需要添加组件的文件:
进入 Example 目录下,执行:pod install。
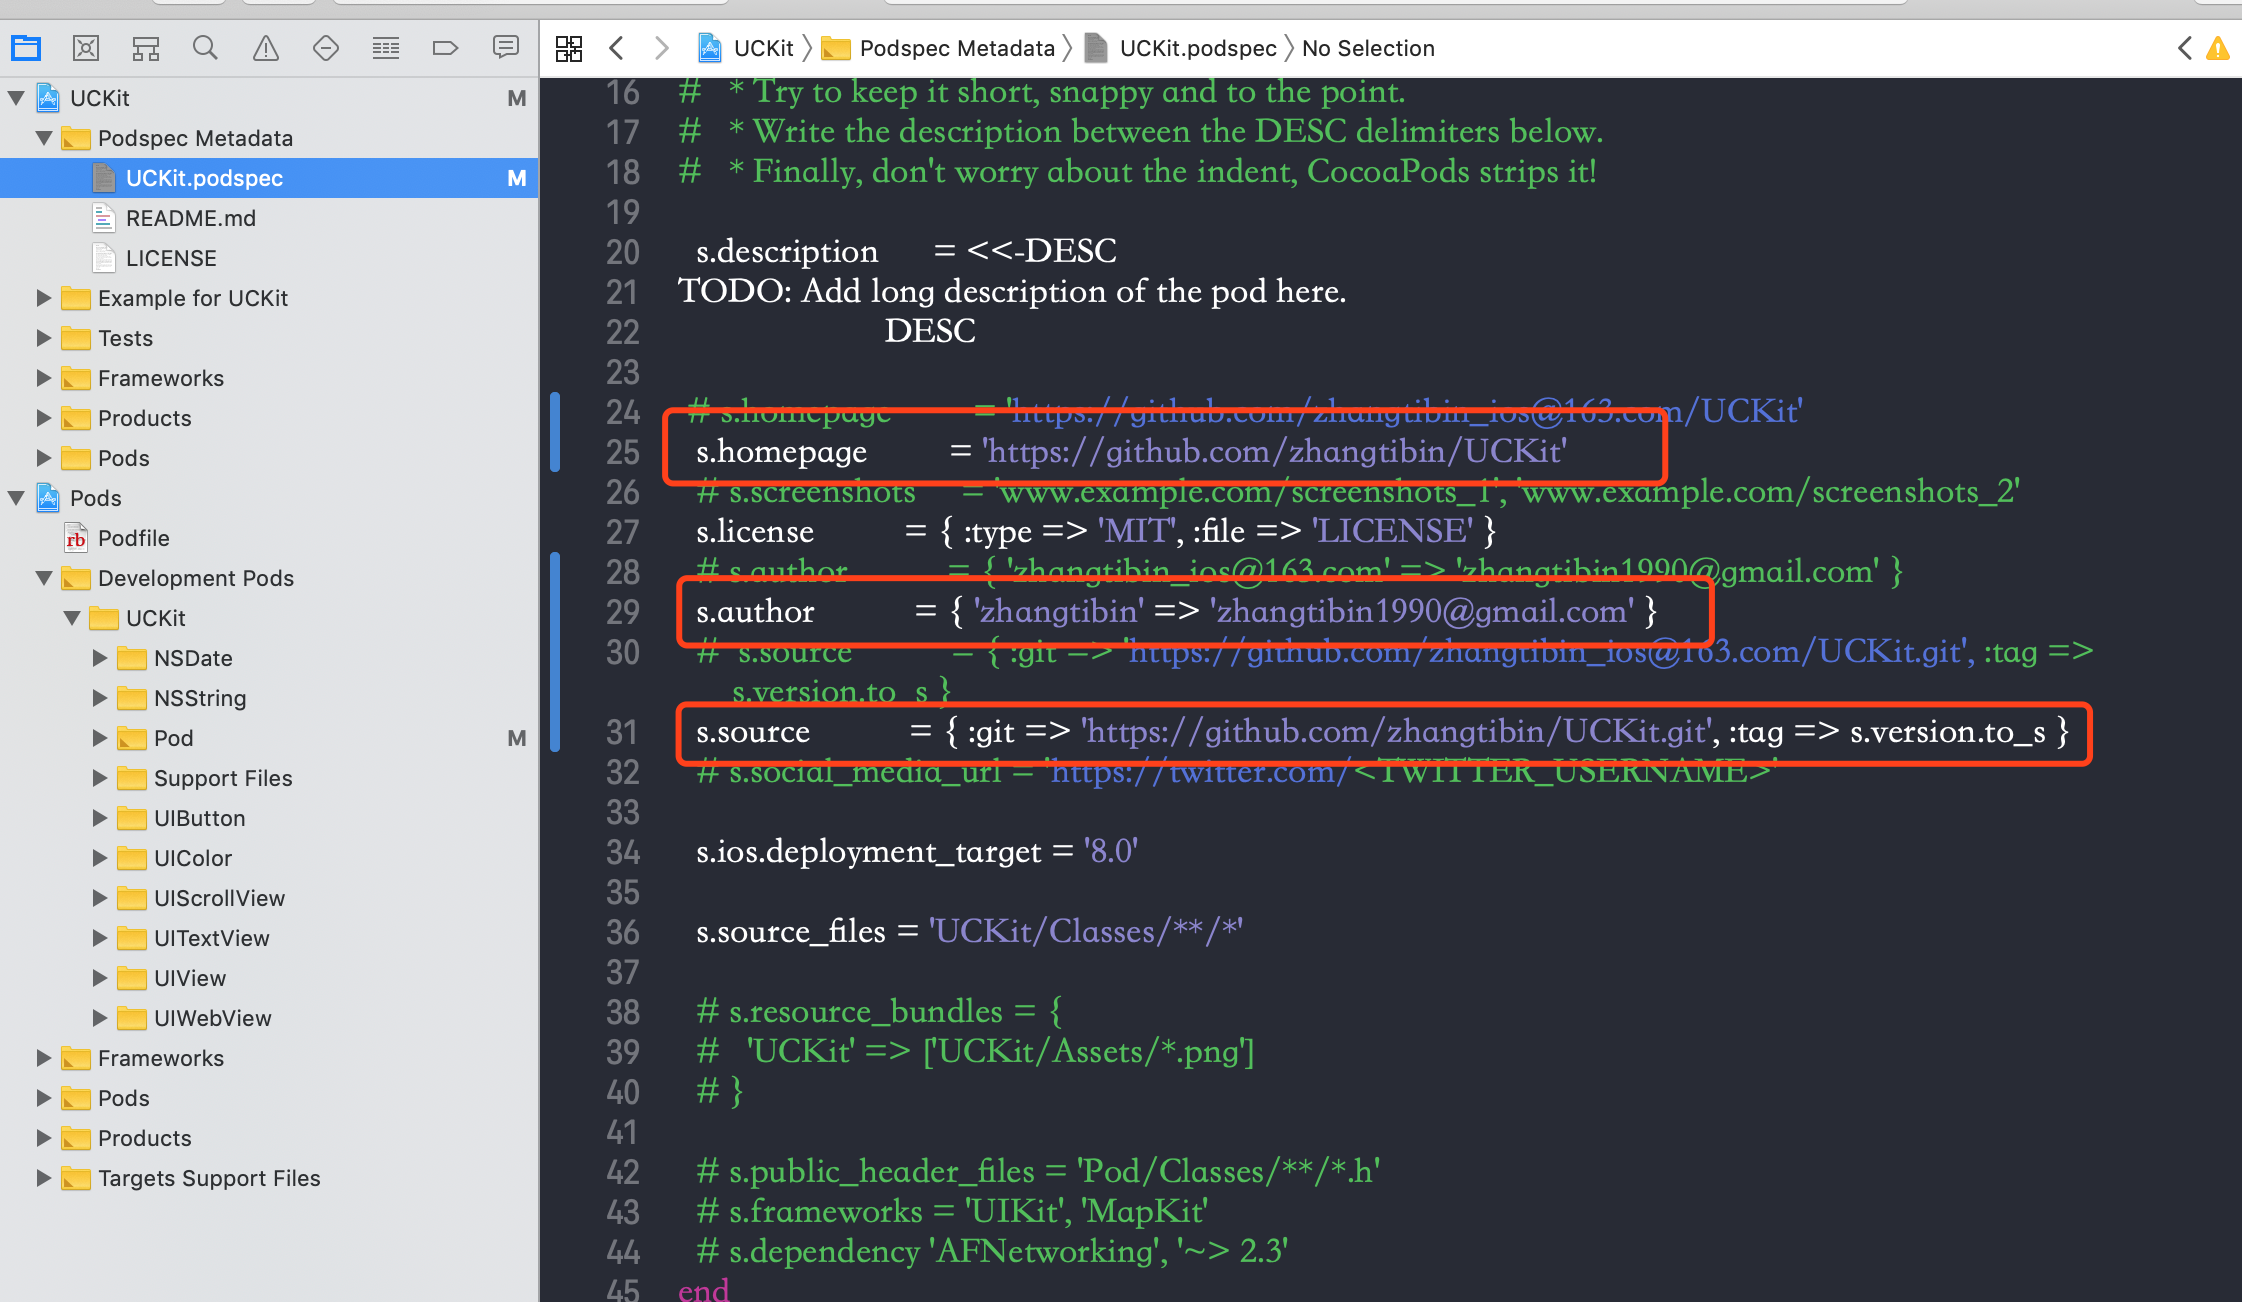
4、**.podspec 文件中更改模板文件相关信息:
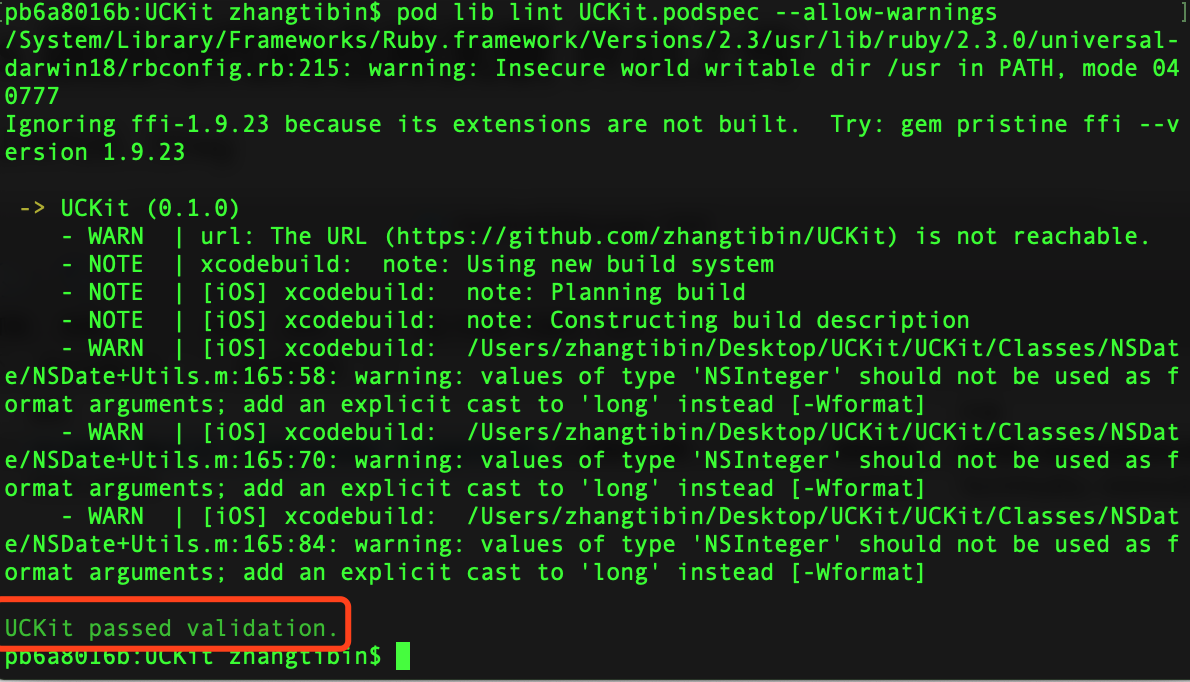
5、验证 .podspec 文件:
pod lib lint UCKit.podspec --allow-warning
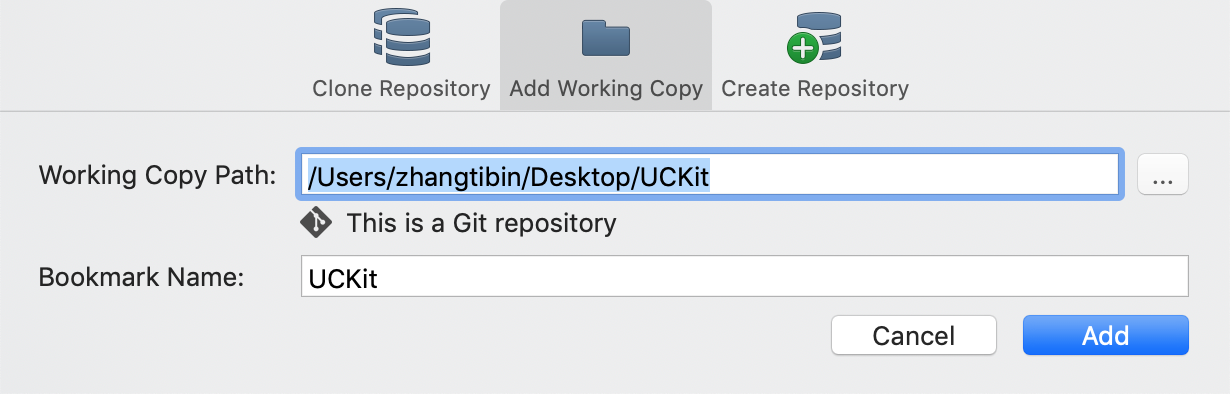
6、将制作好的组件上传至 GitHub
git remote add origin https://github.com/zhangtibin/UCKit.git
git push -u origin master
如果出现报错时,如下,可以采用修改冲突文件,并提交至 GitHub

提交完之后
7、使用:
pod 'UCKit' , :git =>'https://github.com/zhangtibin/UCKit.git'
在执行:pod lib lint UCKit.podspec --allow-warning
出现错误:- ERROR | [iOS] unknown: Encountered an unknown error (/usr/bin/xcrun simctl list -j devices

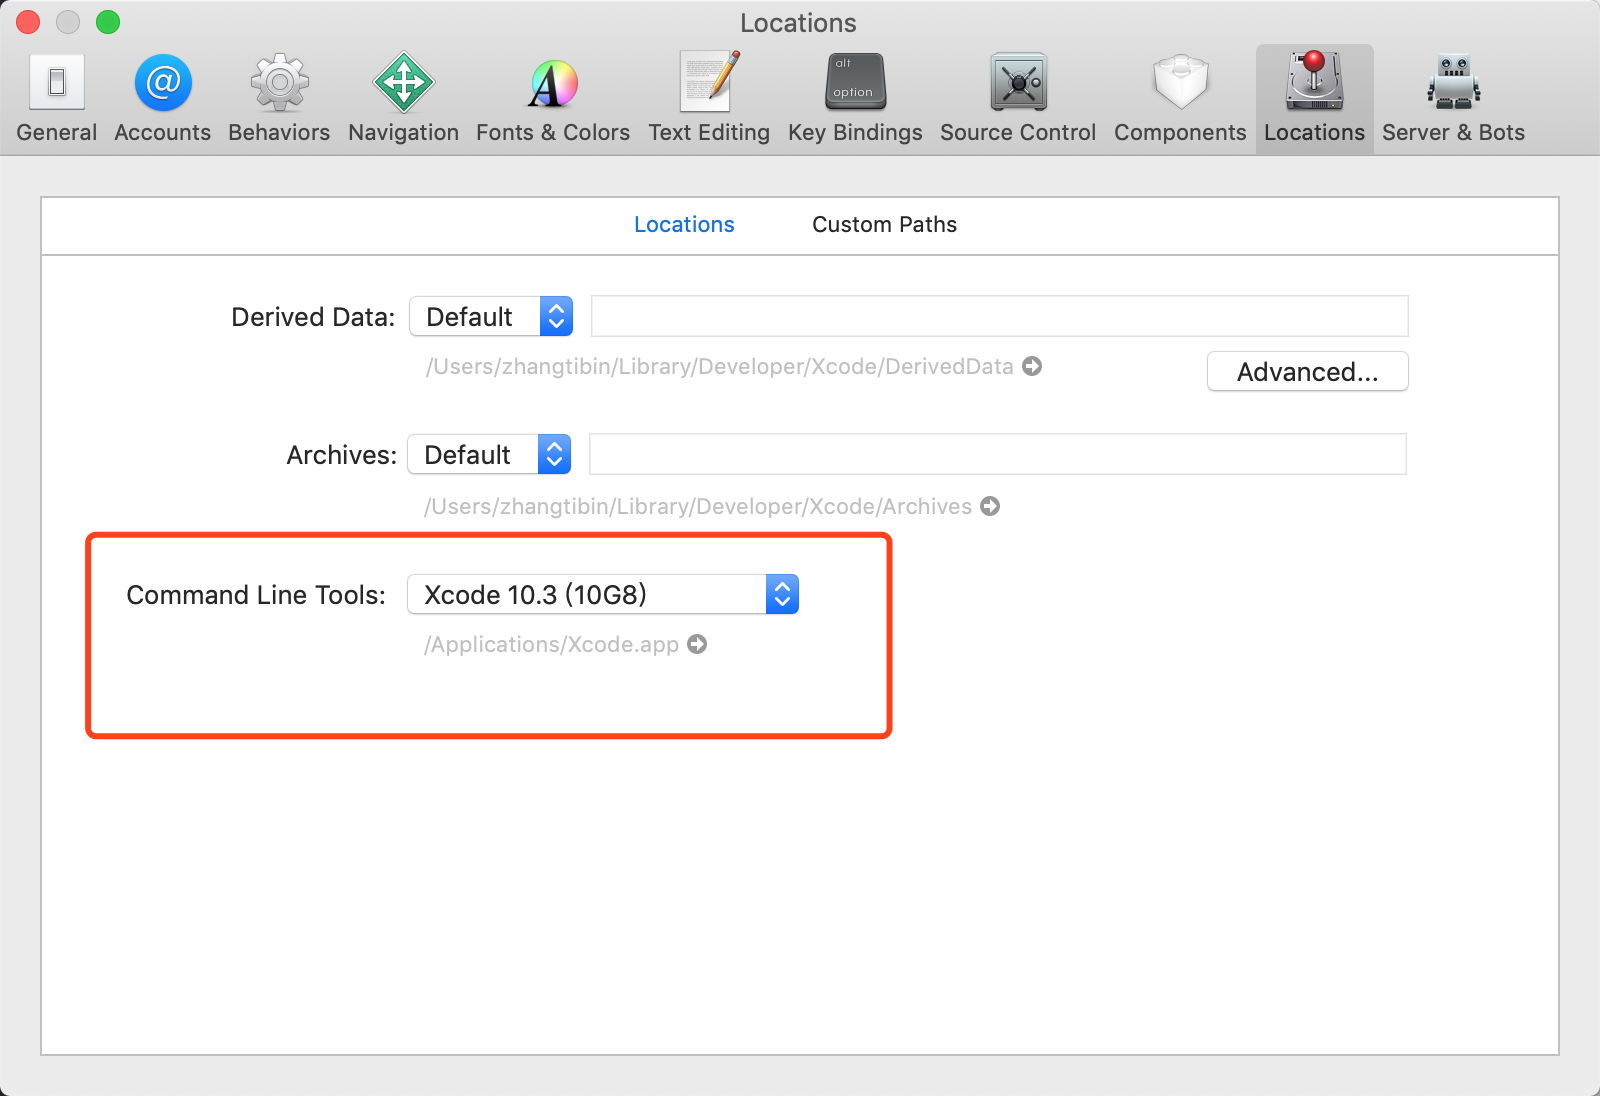
xcode设置里面,将Command line Tools设置一下,在Xcode>preferences>Locations里面,设置之后再运行终端即可。
解决后,当出现 ** passed validation表示验证成功:
执行:git push -u origin master
报错:
! [rejected]        master -> master (fetch first)
error: failed to push some refs to 'https://github.com/zhangtibin/UCKit.git'
hint: Updates were rejected because the remote contains work that you do
hint: not have locally. This is usually caused by another repository pushing
hint: to the same ref. You may want to first integrate the remote changes
hint: (e.g., 'git pull ...') before pushing again.
hint: See the 'Note about fast-forwards' in 'git push --help' for details.
原因:远程repository和我本地的repository冲突导致的,而我在创建版本库后,在github的版本库页面点击了创建README.md文件的按钮创建了说明文档,但是却没有pull到本地。这样就产生了版本冲突的问题。
解决方案:push前先将远程repository修改pull下来。
$ git pull origin master
$ git push -u origin master
推送之后,就会在 GitHub 上看到新提交的