下载influxdb
docker pull influxdb
启动Influxdb
docker run -d -p 8083:8083 -p 8086:8086 --name yw_influxdb influxdb
进入docker镜像:
docker exec -it yw_influxdb bash
进入/usr/bin目录,这里面有Influxdb的工具
root@3ae7203adc87:/usr/bin# find | grep influx
./influx
./influx_inspect
./influx_stress
./influx_tsm
./influxd
查看Influxdb版本
./influx -version
进入Influxdb客户端命令行
创建数据库

> create database my_test
> show databases
name: databases
name
----
_internal
my_test
删除数据库
drop database [db_name]
使用数据库
> use my_test
Using database my_test
现在写个定时程序,不断向数据库添加数据
建立一个SpringBoot工程
导入依赖
     <!--influxdb-->
        <dependency>
            <groupId>org.influxdb</groupId>
            <artifactId>influxdb-java</artifactId>
            <version>2.12</version>
        </dependency>
入口类
package com.yw.influxdb;

import org.springframework.boot.SpringApplication;
import org.springframework.boot.autoconfigure.SpringBootApplication;
import org.springframework.scheduling.annotation.EnableScheduling;
import org.springframework.scheduling.annotation.Scheduled;

import java.util.Random;

@SpringBootApplication
@EnableScheduling
public class InfluxdbApplication {

    public static void main(String[] args) {
        SpringApplication.run(InfluxdbApplication.class, args);
    }
    @Scheduled(fixedRate = 1000)
    public void doInsert(){
        Random random = new Random();
        TestInfluxdb.insert(random.nextInt(1000));
    }
}
Influxdb类
package com.yw.influxdb;

import org.influxdb.InfluxDB;
import org.influxdb.InfluxDBFactory;
import org.influxdb.dto.Point;

public class TestInfluxdb {
    public static void insert(int num){
        InfluxDB db = InfluxDBFactory.connect("http://ip:8086", "admin", "admin");
        db.setDatabase("my_test");  // 设置数据库
        Point.Builder builder = Point.measurement("test_demo");  // 创建Builder,设置表名
        builder.addField("count",num);  // 添加Field
        builder.tag("TAG_CODE","TAG_VALUE_" + num);    // 添加Tag
        Point point = builder.build();
        db.write(point);
    }
}
当你启动,每隔1秒自动向数据库添加
这个时候,显示表列表
> show measurements
name: measurements
name
----
test_demo
>
查看表
删除表
drop measurement 【measurement_name】
第二步、安装Grafana
docker pull grafana/grafana
运行
docker run -d -p 3000:3000 --name yw_grafana grafana/grafana
访问http://ip:3000
账号密码:admin/admin,进去之后让你修改密码
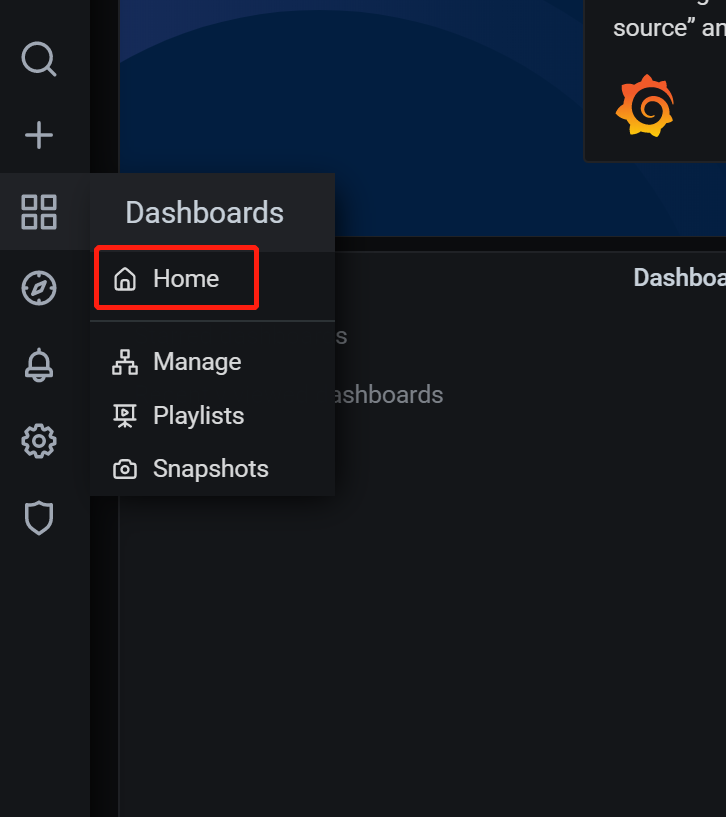
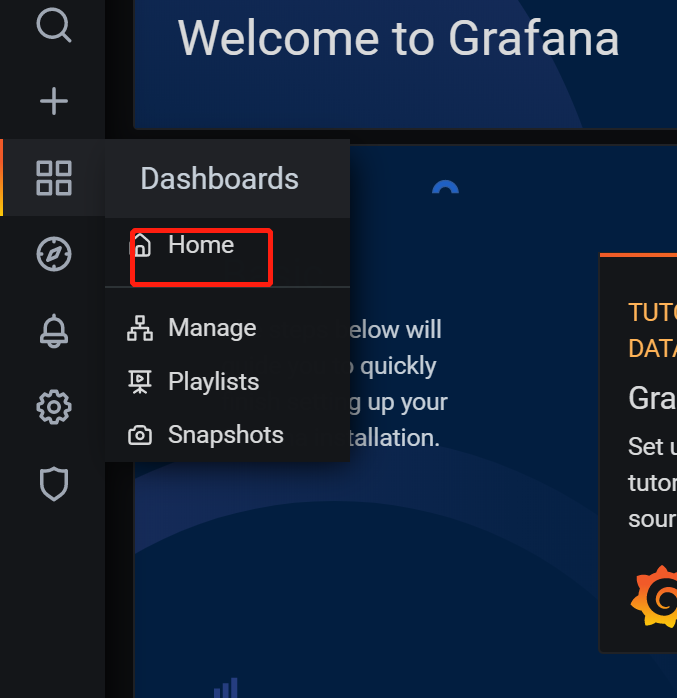
进入页面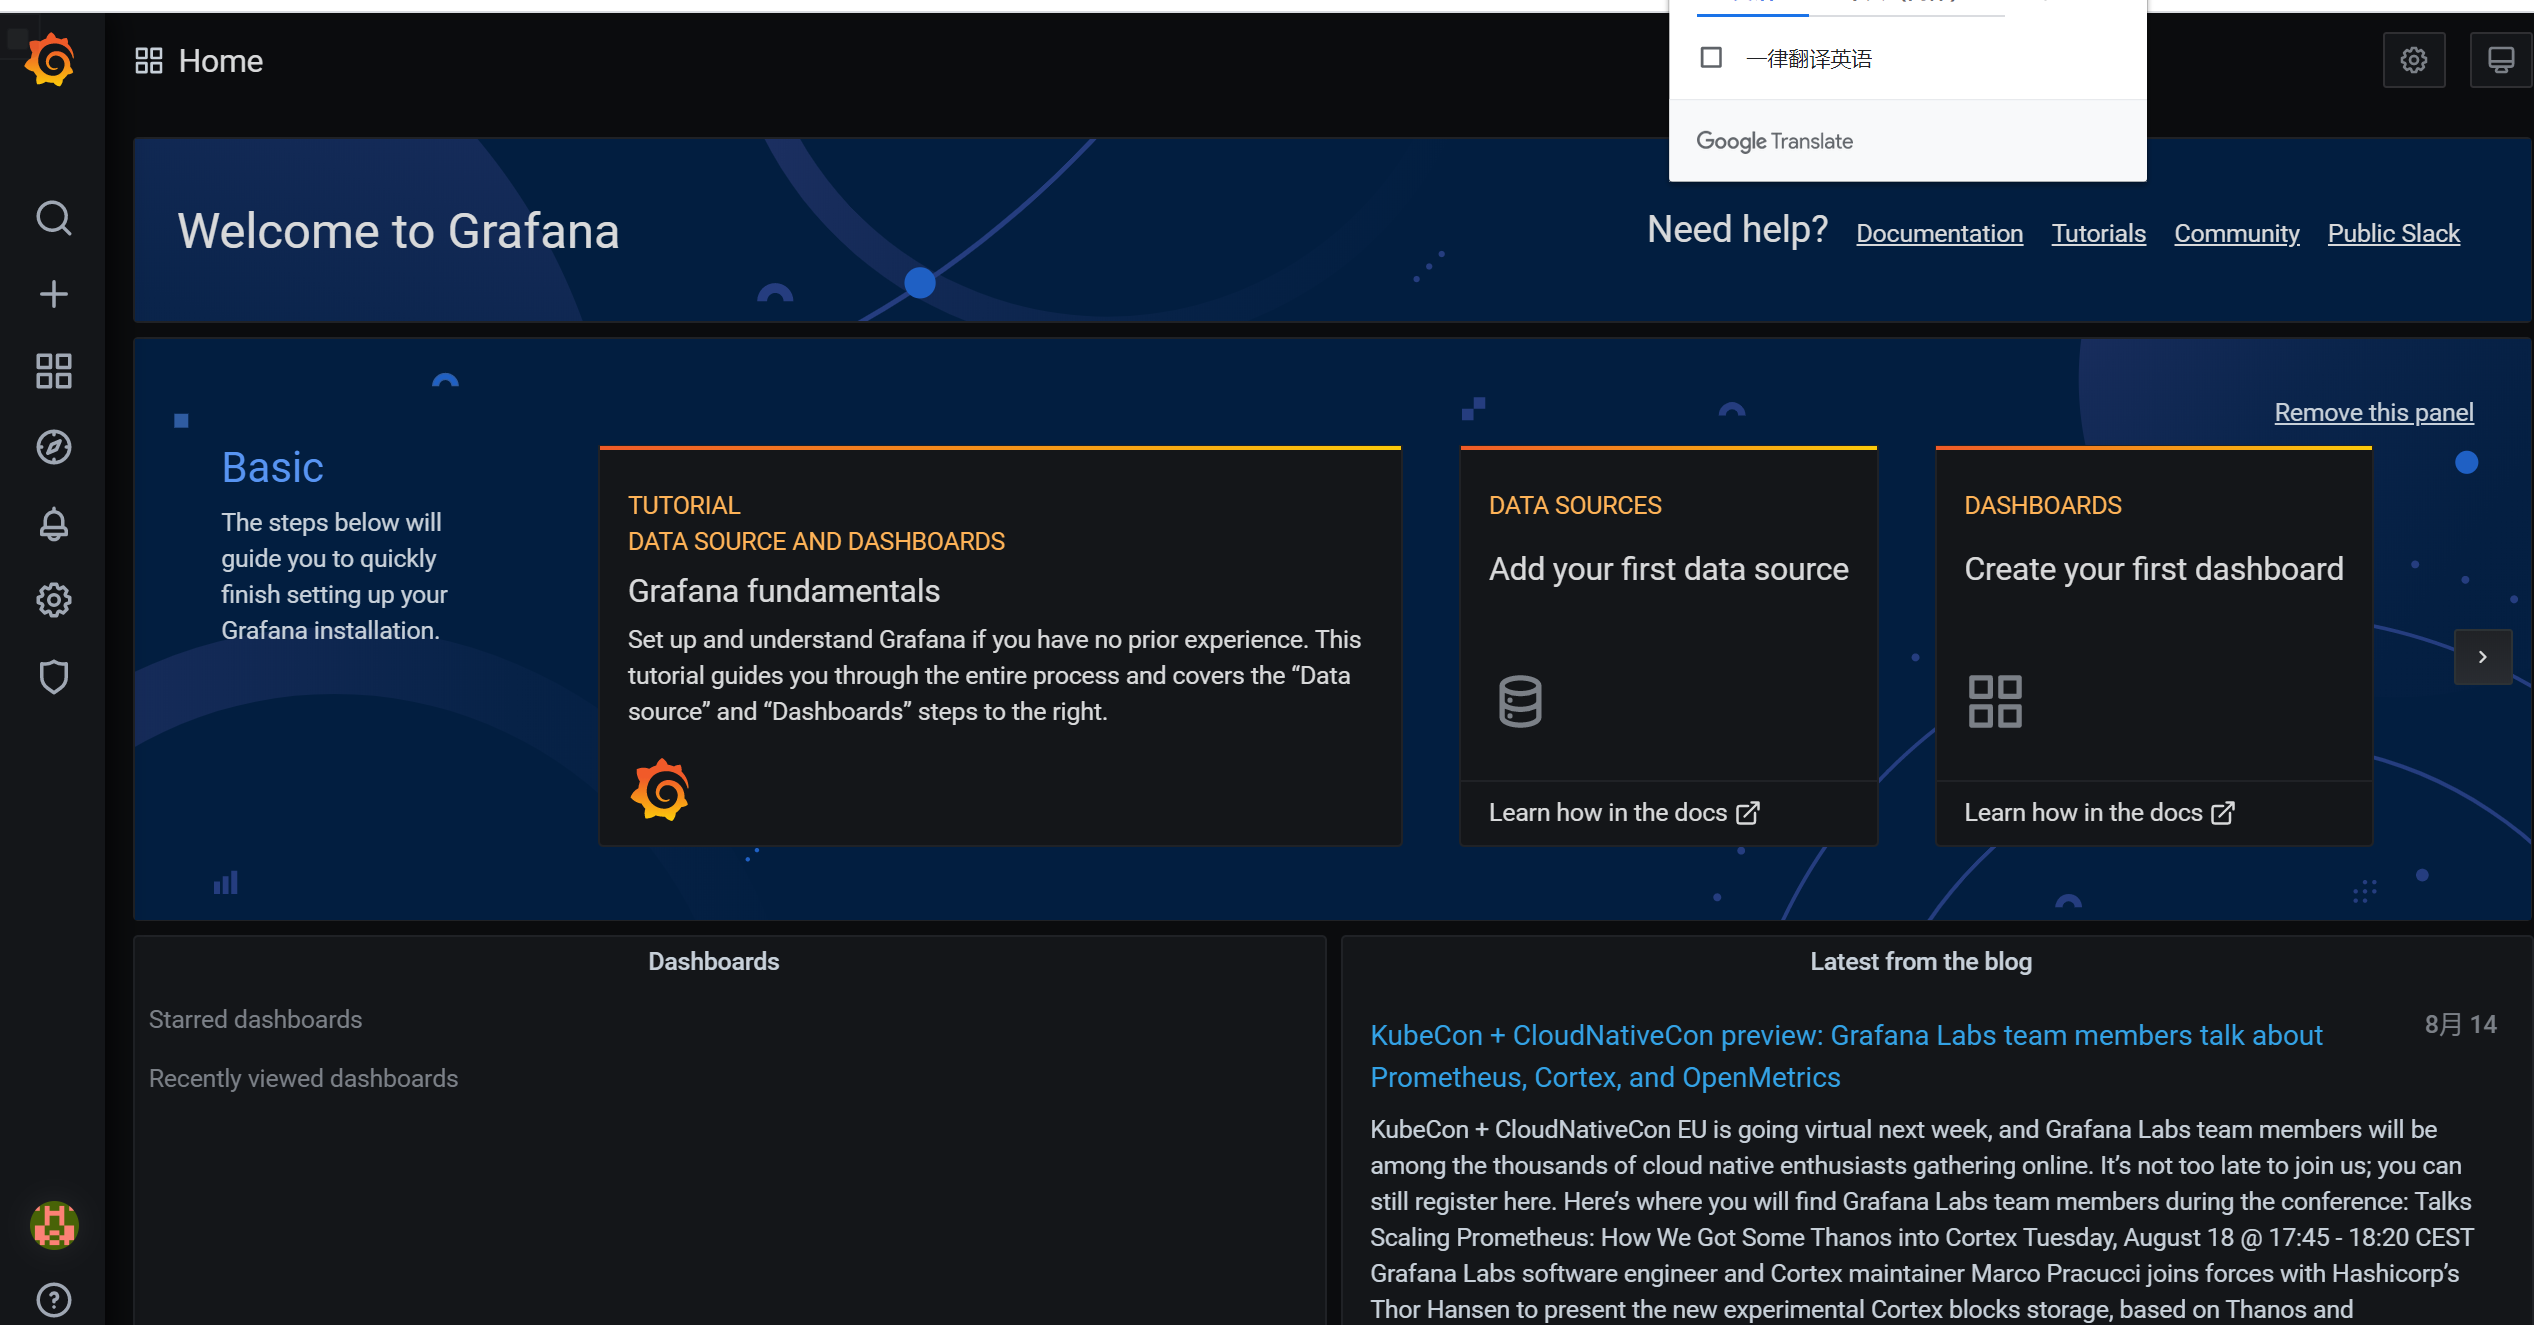
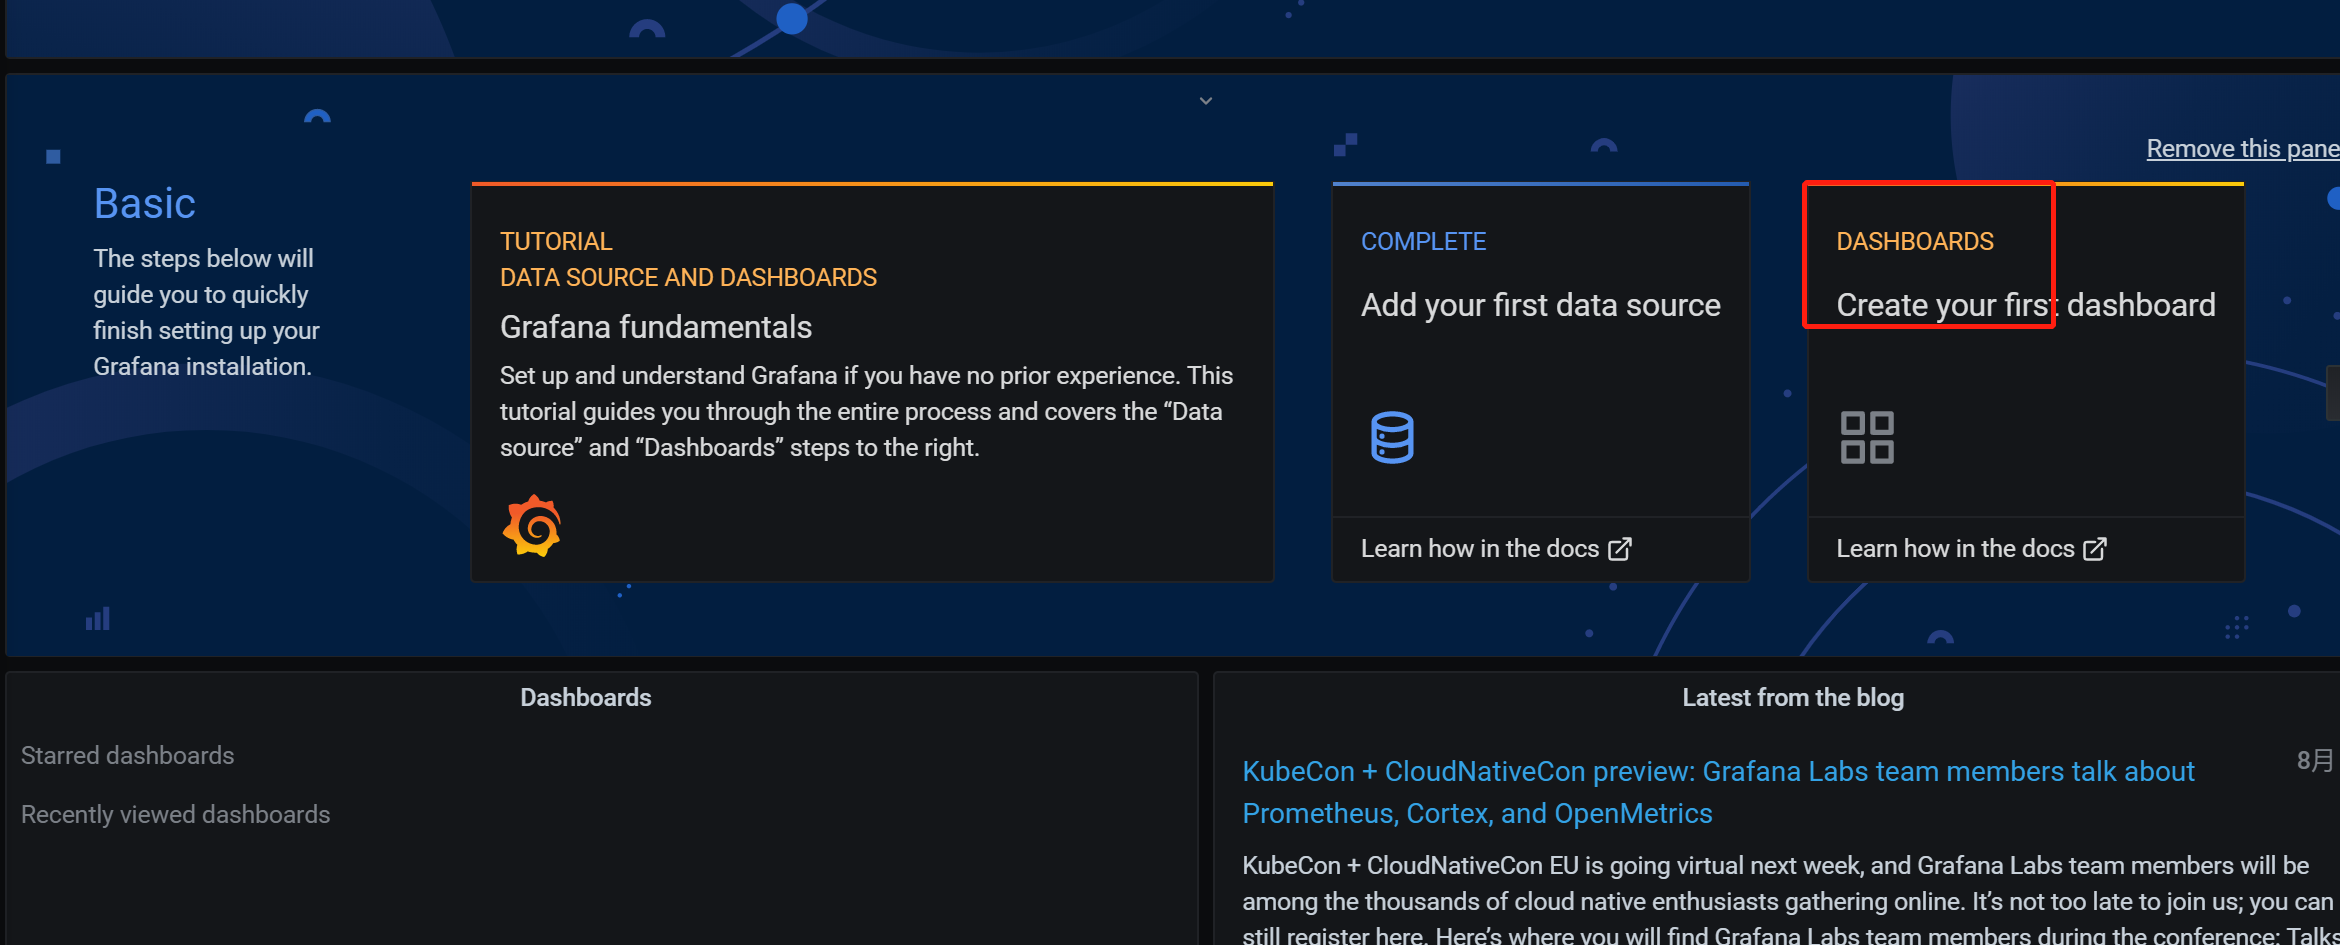
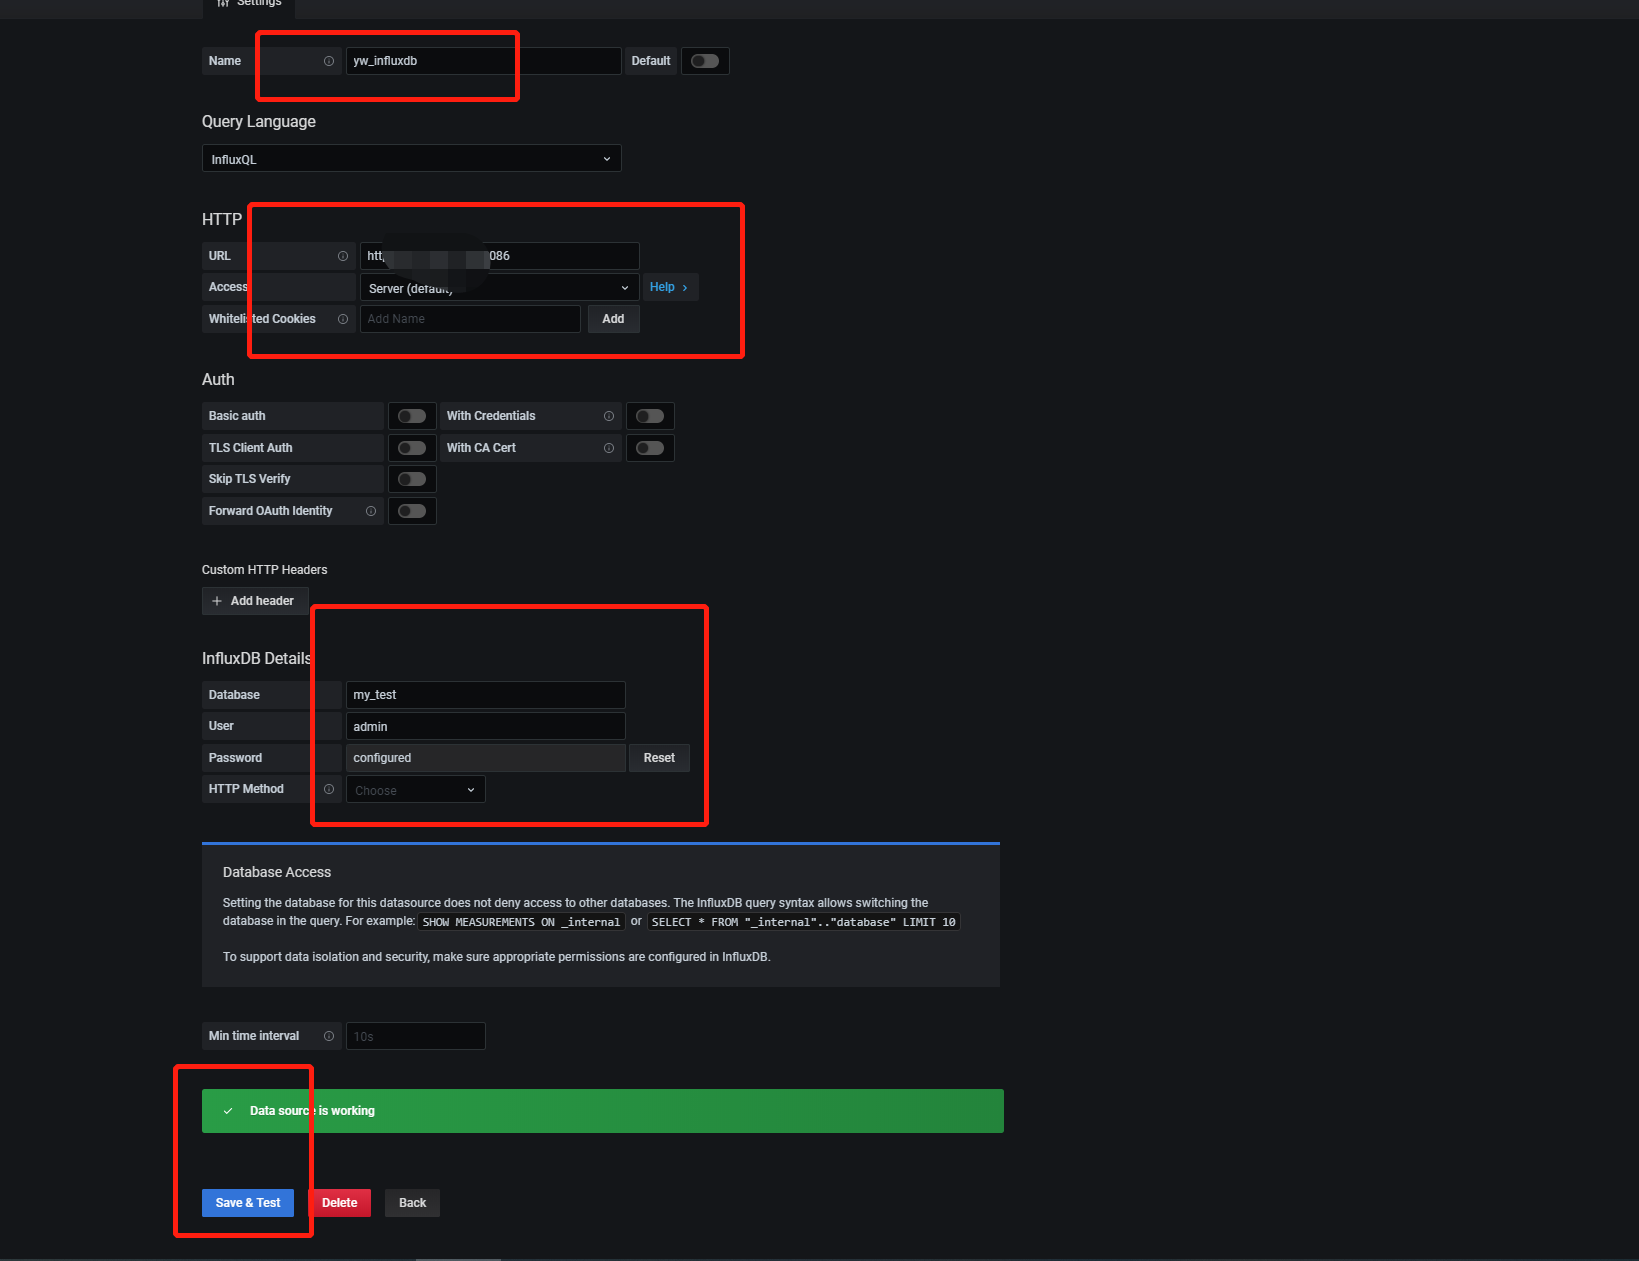
添加数据源
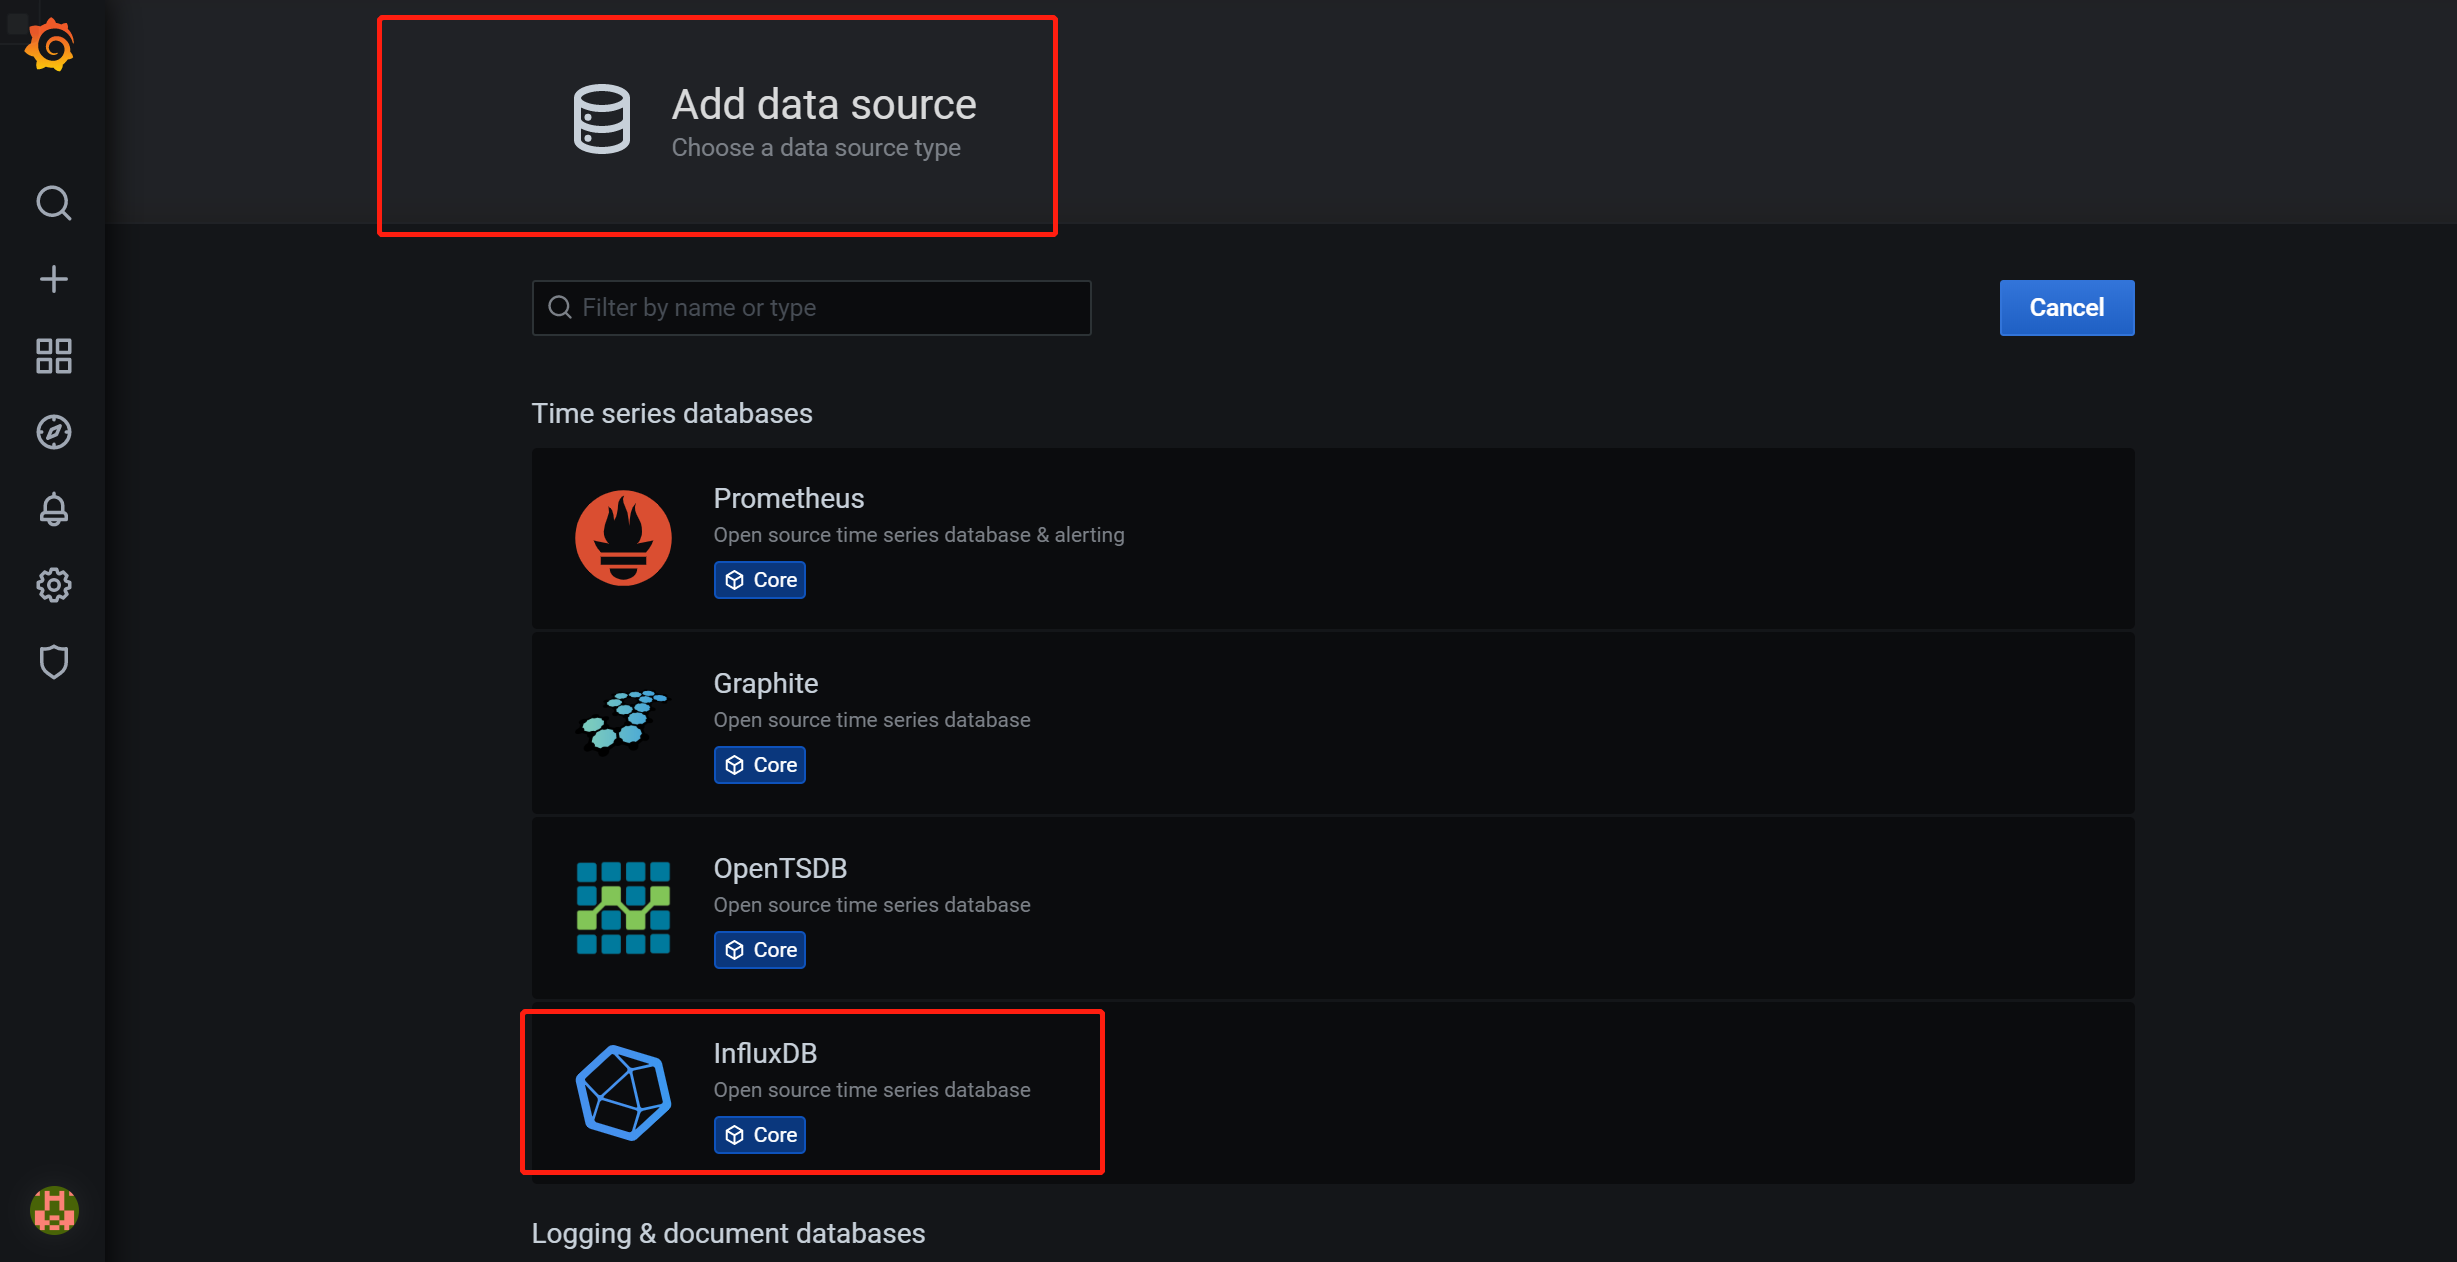
然后点击,选择Home