#!/usr/bin/env python
# -*- coding:utf-8 -*-
# author:love_cat
import cv2
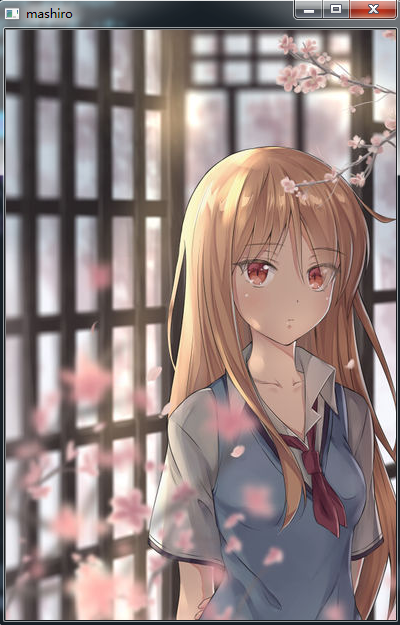
# 接收两个参数,一个是文件名,一个值,如果值为1,接收的是彩色图片,如果值为零,接受的是灰度图片。会有一个返回值,表示返回的图片内容
img = cv2.imread('mashiro.jpg',1)
# 接收两个参数,一个是窗体名称,另一个是要显示的内容
cv2.imshow('mashiro',img)
# 将程序暂停,只有这样,才能看到图片,否则图片会一闪而过因为程序结束了,如果time.sleep()的话,会卡住
cv2.waitKey(0)


2. 图片写入
#!/usr/bin/env python
# -*- coding:utf-8 -*-
# author:love_cat
import cv2
img = cv2.imread('mashiro.jpg',1)
cv2.imwrite('mashiro1.jpg',img)
3.不同图片质量保存
#!/usr/bin/env python
# -*- coding:utf-8 -*-
# author:love_cat
import cv2
img = cv2.imread('mashiro.jpg',1)
cv2.imwrite('mashiro1.jpg',img,[cv2.IMWRITE_JPEG_QUALITY,0])
cv2.imwrite('mashiro2.png',img,[cv2.IMWRITE_PNG_COMPRESSION,0])

# jpg属于有损压缩,是以图片的清晰度为代价的,数字越小,压缩比越高,图片质量损失越严重
# png属于无损压缩,数字0-9,数字越低,压缩比越低
4.像素操作基础
#!/usr/bin/env python
# -*- coding:utf-8 -*-
# author:love_cat
import cv2

img = cv2.imread('mashiro.jpg',1)
(a,b,c) = img[500,500]
print(a,b,c)

for i in range(1,100):
    img[i,i] = (255,0,0)

cv2.imshow('mashiro',img)
cv2.waitKey(0)

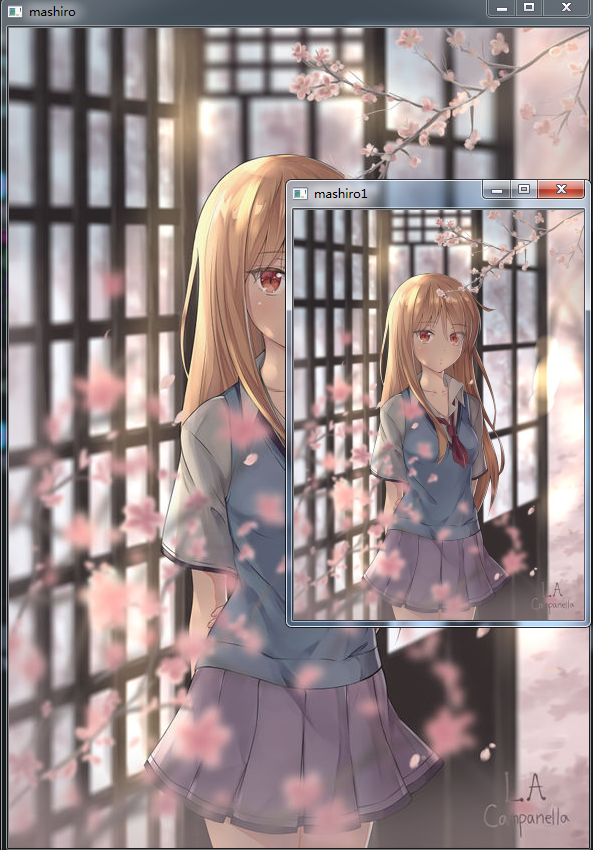
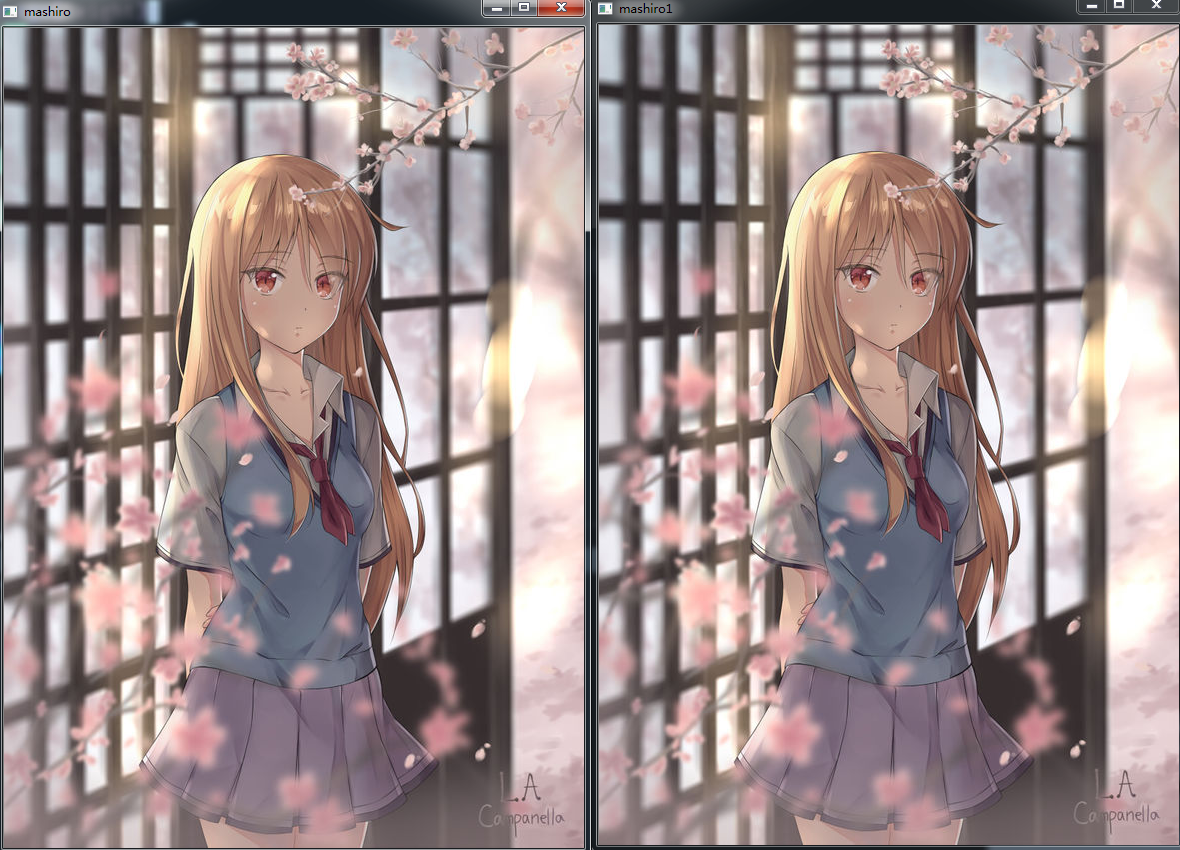
5.图片缩放
#!/usr/bin/env python
# -*- coding:utf-8 -*-
# author:love_cat
import cv2

img = cv2.imread('mashiro.jpg',1)
cv2.imshow('mashiro',img)
imginfo = img.shape
height = imginfo[0]
width = imginfo[1]
mode = imginfo[2]
print(imginfo)
dstHeight = int(height*0.5)
dstWidth = int(width*0.5)

dst = cv2.resize(img,(dstWidth,dstHeight))
cv2.imshow('mashiro1',dst)
cv2.waitKey(0)
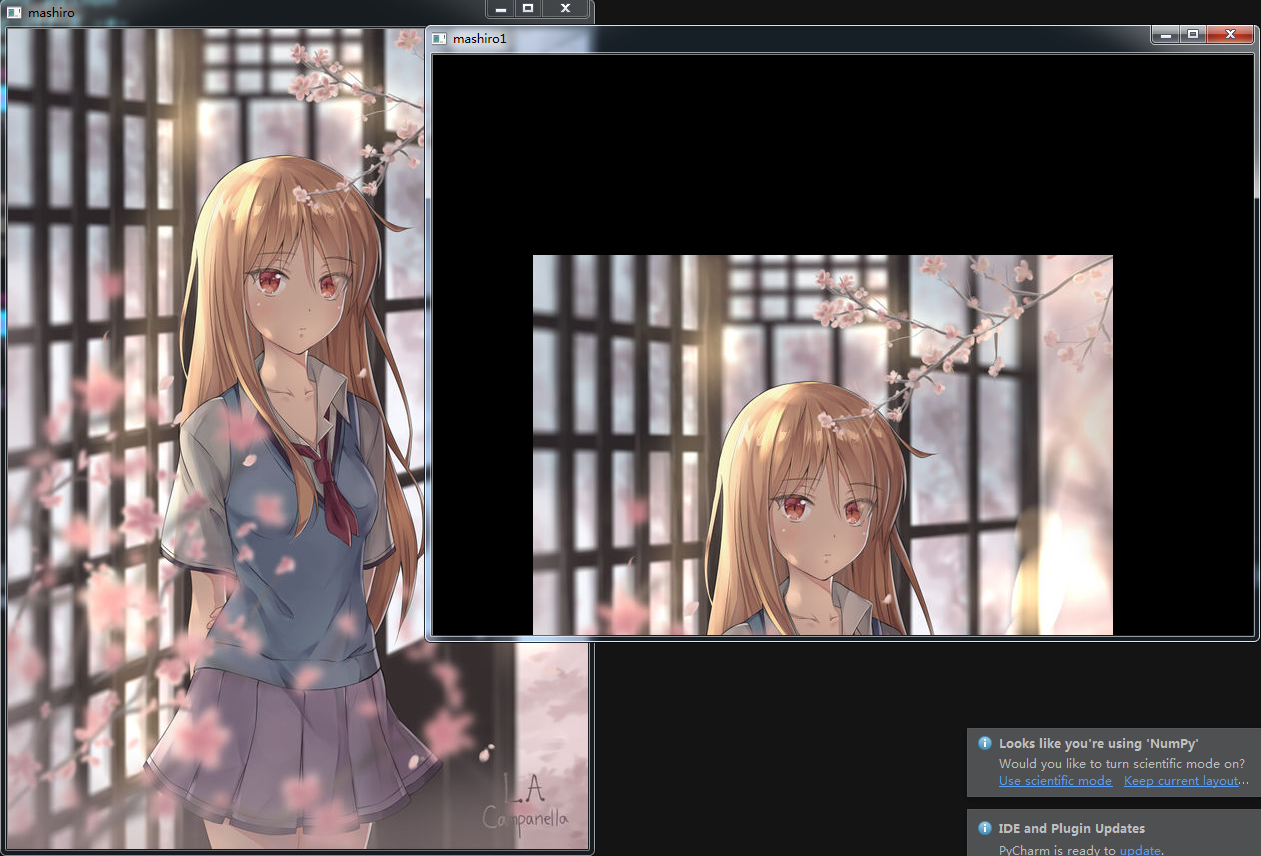
6.图片缩放(源码实现)
#!/usr/bin/env python
# -*- coding:utf-8 -*-
# author:love_cat
import cv2
import numpy as np

img = cv2.imread('mashiro.jpg',1)
imgInfo = img.shape

height = imgInfo[0]
width = imgInfo[1]

dstHeight = int(height/2)
dstWidth = int(width/2)

dstImage = np.zeros((dstHeight,dstWidth,3),np.uint8)


for i in range(0,dstHeight):
    for j in range(0,dstWidth):
        iNew = int(i*(height*1.0/dstHeight))
        jNew = int(j*(width*1.0/dstWidth))
        dstImage[i,j] = img[iNew,jNew]

cv2.imshow('mashiro',dstImage)
cv2.waitKey(0)
7.图片剪切
#!/usr/bin/env python
# -*- coding:utf-8 -*-
# author:love_cat
import cv2

img = cv2.imread('mashiro.jpg',1)
imgInfo = img.shape
dst = img[10:600,10:400]
cv2.imshow('mashiro',dst)
cv2.waitKey(0)
8.图片移位
#!/usr/bin/env python
# -*- coding:utf-8 -*-
# author:love_cat
import cv2,numpy as np
img = cv2.imread('mashiro.jpg',1)
cv2.imshow('mashiro',img)


imgInfo = img.shape
height = imgInfo[0]
width = imgInfo[1]

matshift = np.float32([[1,0,100],[0,1,200]])
dst = cv2.warpAffine(img,matshift,(height,width))
cv2.imshow('mashiro1',dst)

cv2.waitKey(0)
9.图片移位(源码实现)
#!/usr/bin/env python
# -*- coding:utf-8 -*-
# author:love_cat
import cv2
import numpy as np

img = cv2.imread('mashiro.jpg',1)
imgInfo = img.shape
cv2.imshow('mashiro',img)
dst = np.ones(imgInfo,np.uint8)

height = imgInfo[0]
width = imgInfo[1]

for i in range(0,height):
    for j in range(0,width-300):
        dst[i,j] = img[i,j]
cv2.imshow('mashiro1',dst)
cv2.waitKey(0)
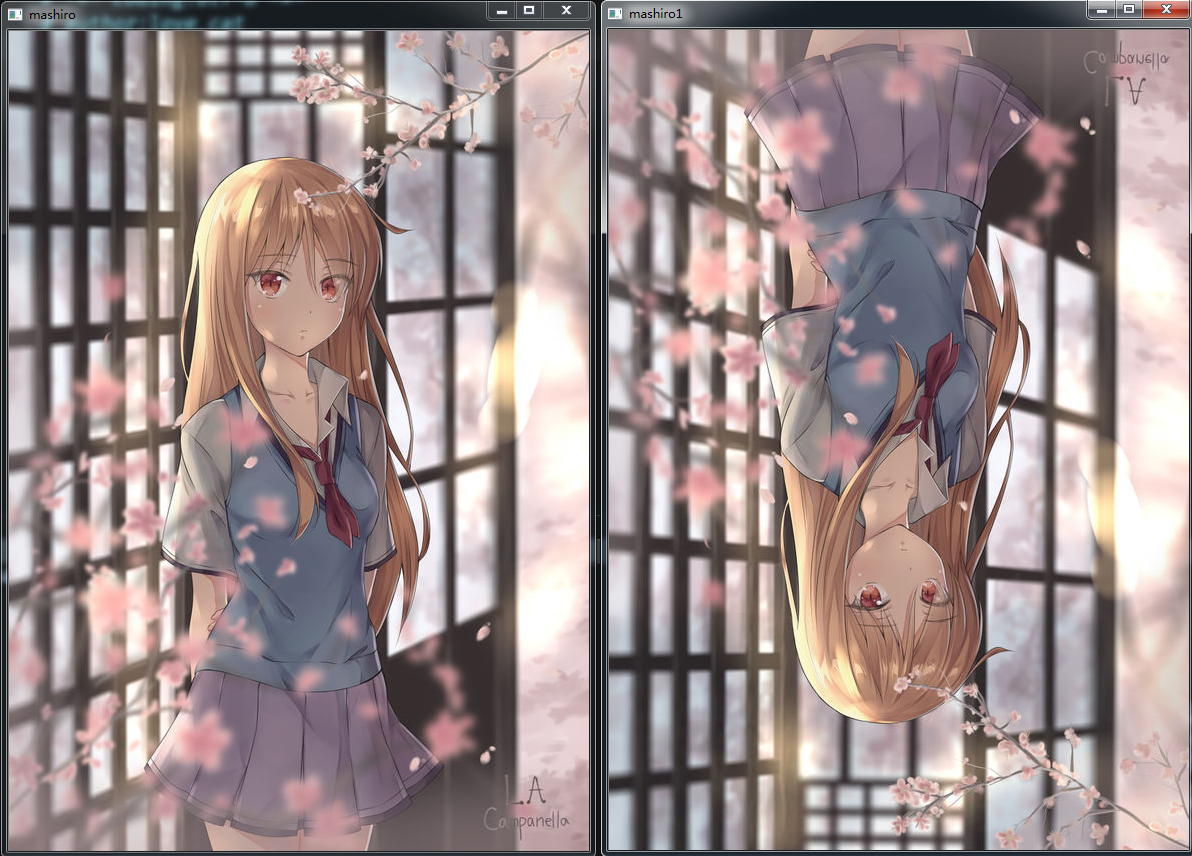
10.图片镜像
#!/usr/bin/env python
# -*- coding:utf-8 -*-
# author:love_cat
import cv2
import numpy as np

img = cv2.imread('mashiro.jpg',1)
imgInfo = img.shape
cv2.imshow('mashiro',img)
dst = np.ones(imgInfo,np.uint8)
height = imgInfo[0]
width = imgInfo[1]
for i in range(0,height):
    for j in range(0,width):
        dst[i,j] = img[height-1-i,j]

cv2.imshow('mashiro1',dst)
cv2.waitKey(0)
11.图片仿射变换
#!/usr/bin/env python
# -*- coding:utf-8 -*-
# author:love_cat
import cv2
import numpy as np

img = cv2.imread('mashiro.jpg',1)
cv2.imshow('mashiro',img)

imgInfo = img.shape
height = imgInfo[0]
width = imgInfo[1]
matSrc = np.float32([[0,0],[0,height-1],[width-1,0]])
matDst = np.float32([[50,50],[300,height-200],[width-300,100]])

matAffine = cv2.getAffineTransform(matSrc,matDst)
dst = cv2.warpAffine(img,matAffine,(width,height))
cv2.imshow('mashiro1',dst)
cv2.waitKey(0)

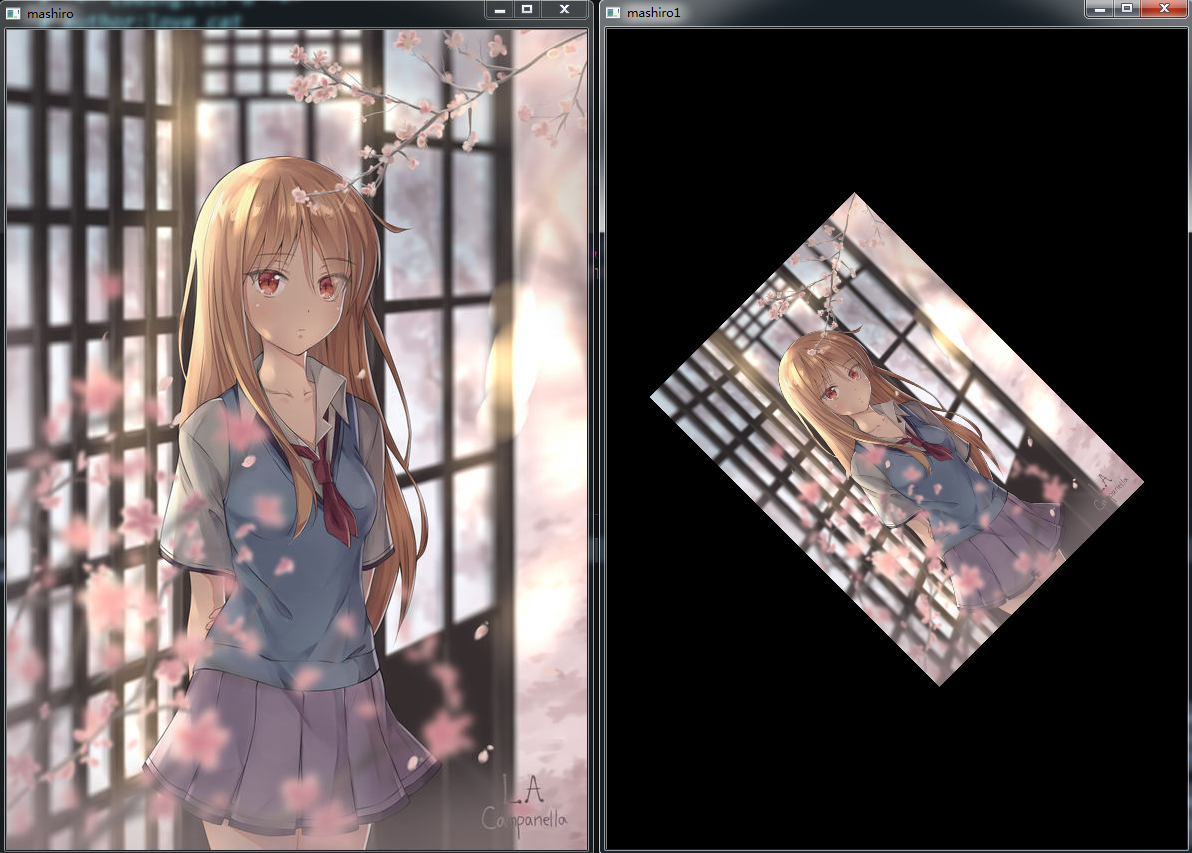
12.图片旋转
#!/usr/bin/env python
# -*- coding:utf-8 -*-
# author:love_cat
import cv2
import numpy as np

img = cv2.imread('mashiro.jpg',1)
imgInfo = img.shape
cv2.imshow('mashiro',img)
height = imgInfo[0]
width = imgInfo[1]

matRotate = cv2.getRotationMatrix2D((width*0.5,height*0.5),45,0.5)
dst = cv2.warpAffine(img,matRotate,(width,height))
cv2.imshow('mashiro1',dst)
cv2.waitKey(0)
13.闲的蛋疼(批量将图片进行上述操作)
#!/usr/bin/env python
# -*- coding:utf-8 -*-
# author:love_cat
import cv2
import glob
import numpy as np

all_jpg = glob.glob(r'C:UsersAdministratorDesktopsatori*.jpg')
for count,jpg in enumerate(all_jpg):
    img = cv2.imread(jpg,1)
    imgInfo = img.shape
    height = imgInfo[0]
    width = imgInfo[1]
    dst = cv2.resize(img,(int(width/2),int(height/2)))
    cv2.imwrite(rf'C:UsersAdministratorDesktopsatoriscale{count}.jpg',dst,[cv2.IMWRITE_JPEG_QUALITY,100])

cv2.waitKey(0)

#######################################

for count,jpg in enumerate(all_jpg):
    img = cv2.imread(jpg,1)
    imgInfo = img.shape
    height = imgInfo[0]
    width = imgInfo[1]
    matshift = np.float32([[1,0,100],[0,1,50]])
    dst = cv2.warpAffine(img,matshift,(width,height))
    cv2.imwrite(rf'C:UsersAdministratorDesktopsatori	ranslation{count}.jpg',dst)
cv2.waitKey(0)

############################
for count,jpg in enumerate(all_jpg):
    img = cv2.imread(jpg,1)
    imgInfo = img.shape
    height = imgInfo[0]
    width = imgInfo[1]
    dst = np.zeros(imgInfo,np.uint8)
    for i in range(0,height):
        for j in range(0,width):
            dst[i,j] = img[height-1-i,j]

    cv2.imwrite(rf'C:UsersAdministratorDesktopsatoriflip{count}.jpg',dst)

#######################
for count,jpg in enumerate(all_jpg):
    img = cv2.imread(jpg,1)
    imgInfo = img.shape
    height = imgInfo[0]
    width = imgInfo[1]
    matsrc = np.float32([[0,0],[0,height-1],[width-1,0]])
    matdst = np.float32([[50,50],[int(width/2),int(height/2)],[width-100,height-50]])
    matAffine = cv2.getAffineTransform(matsrc,matdst)
    dst = cv2.warpAffine(img,matAffine,(width,height))
    cv2.imwrite(rf'C:UsersAdministratorDesktopsatorishear{count}.jpg',dst)

########################
for count,jpg in enumerate(all_jpg):
    img = cv2.imread(jpg,1)
    imgInfo = img.shape
    height = imgInfo[0]
    width = imgInfo[1]
    matRotate = cv2.getRotationMatrix2D((width*0.5,height*0.5),60,0.5)
    dst = cv2.warpAffine(img,matRotate,(width,height))
    cv2.imwrite(rf'C:UsersAdministratorDesktopsatori
otation{count}.jpg',dst)
14.灰度处理
#!/usr/bin/env python
# -*- coding:utf-8 -*-
# author:love_cat
import cv2,numpy as np

img = cv2.imread('mashiro.jpg',0)
cv2.imshow('mashiro',img)


img = cv2.imread('b.png',1)
dst = cv2.cvtColor(img,cv2.COLOR_BGR2GRAY)
cv2.imshow('mmp',dst)
cv2.waitKey(0)

img  =cv2.imread('mashiro.jpg',1)
imgInfo = img.shape
height = imgInfo[0]
width = imgInfo[1]
dst = np.zeros((height,width,3),np.uint8)

for i in range(0,height):
    for j in range(0,width):
        b,g,r = img[i,j]
        gray = (int(b)+int(g)+int(r))/3
        dst[i,j] = [np.uint8(gray),np.uint8(gray),np.uint8(gray)]

cv2.imshow('mmp',dst)
cv2.waitKey(0)

img  =cv2.imread('mashiro.jpg',1)
imgInfo = img.shape
height = imgInfo[0]
width = imgInfo[1]
dst = np.zeros((height,width,3),np.uint8)

for i in range(0,height):
    for j in range(0,width):
        b,g,r = img[i,j]
        b = int(b)
        g = int(g)
        r = int(r)
        gray = r*0.9+b*0.87+r*0.4
        dst[i,j] = [np.uint8(gray),np.uint8(gray),np.uint8(gray)]

cv2.imshow('mashiro1',dst)
cv2.waitKey(0)
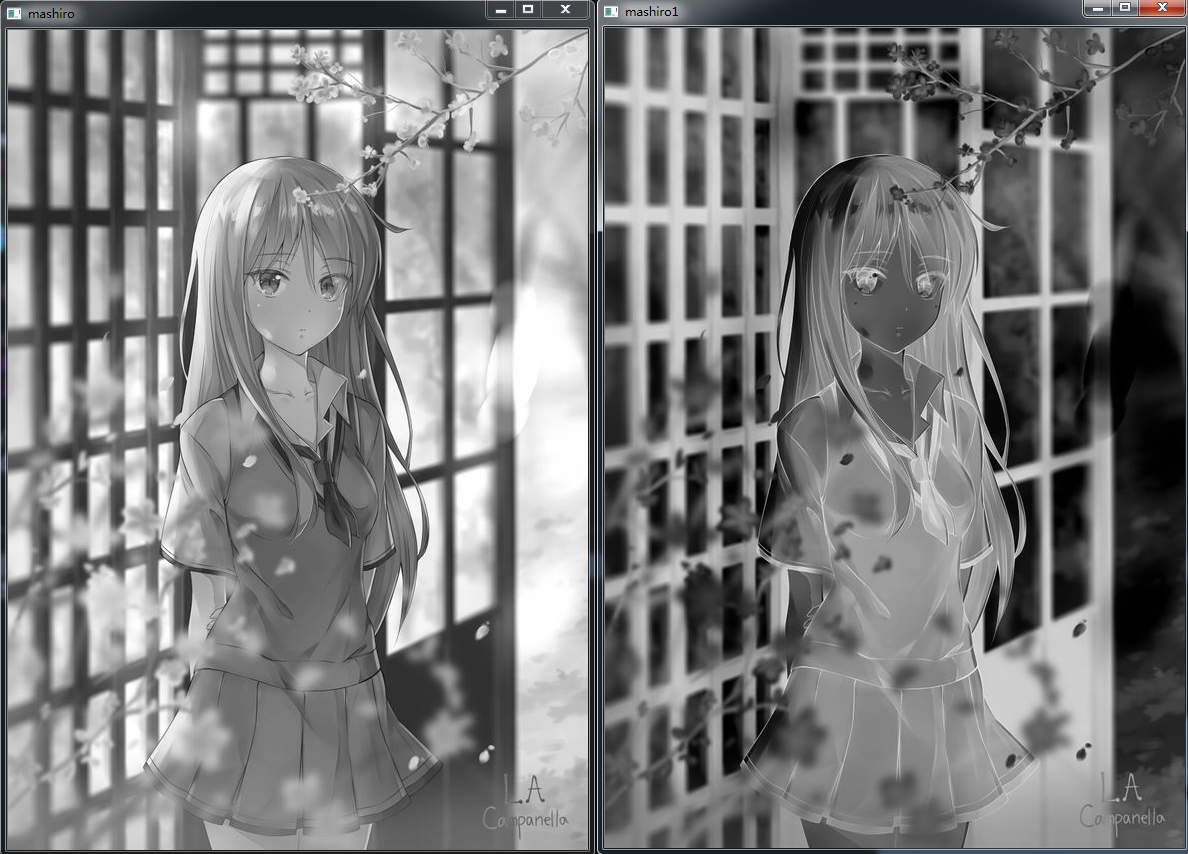
15.颜色反转
#!/usr/bin/env python
# -*- coding:utf-8 -*-
# author:love_cat
import numpy as np
import cv2

img = cv2.imread('mashiro.jpg',1)
imgInfo = img.shape
height = imgInfo[0]
width = imgInfo[1]
gray = cv2.cvtColor(img,cv2.COLOR_BGR2GRAY)

dst = np.zeros((height,width,1),np.uint8)

for i in range(0,height):
    for j in range(0,width):
        dst[i,j] = 255 - gray[i,j]

cv2.imshow('mashiro',gray)
cv2.imshow('mashiro1',dst)
cv2.waitKey(0)

# img = cv2.imread('mashiro.jpg',1)
# imgInfo = img.shape
# height = imgInfo[0]
# width = imgInfo[1]
# #gray = cv2.cvtColor(img,cv2.COLOR_BGR2GRAY)
#
# dst = np.zeros((height,width,3),np.uint8)
#
# for i in range(0,height):
#     for j in range(0,width):
#         b,g,r = img[i,j]
#         dst[i,j] = 255-b,255-g,255-r
#
# cv2.imshow('mashiro',img)
# cv2.imshow('mashiro1',dst)
# cv2.waitKey(0)

16.马赛克
#!/usr/bin/env python
# -*- coding:utf-8 -*-
# author:love_cat
import cv2
import numpy as np

img = cv2.imread('mashiro.jpg',1)
imgInfo = img.shape
height = imgInfo[0]
width = imgInfo[1]

for m in range(200,400):
    for n in range(100,200):
        if m%10==0 and n%10==0:
            for i in range(0,10):
                for j in range(0,10):
                    b,g,r = img[m,n]
                    img[i+m,j+n] = b,g,r

cv2.imshow('mashiro',img)
cv2.waitKey(0)

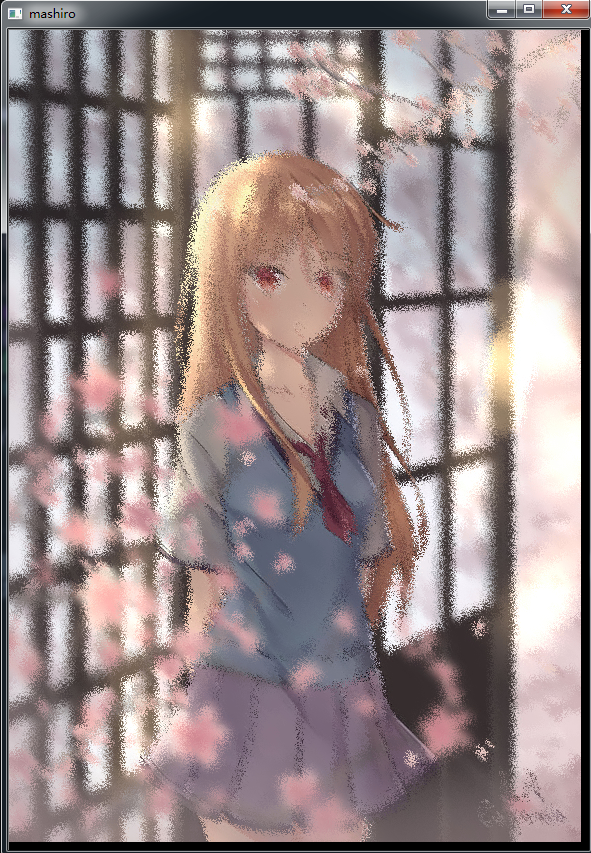
17.毛玻璃
#!/usr/bin/env python
# -*- coding:utf-8 -*-
# author:love_cat
import numpy as np
import cv2,random

img = cv2.imread('mashiro.jpg',1)
imgInfo = img.shape
height = imgInfo[0]
width = imgInfo[1]

dst = np.zeros((height,width,3),np.uint8)
mm = 8
for m in range(0,height-mm):
    for n in range(0,width-mm):
        index = int(random.random()*8)
        b,g,r = img[m+index,n+index]
        dst[m,n] = b,g,r

cv2.imshow('mashiro',dst)
cv2.waitKey(0)
18.真白18岁生日快乐
19.图片融合
import cv2
import numpy as np

img = cv2.imread('mashiro.jpg',1)
img1 = cv2.imread('mashiro.jpg',1)
imgInfo = img.shape
height = imgInfo[0]
width = imgInfo[1]
roiH = int(height/2)
roiW = int(width/2)
imgROI = img[0:roiH,0:roiW]
img1ROI = img[0:roiH,0:roiW]
dst = np.zeros((roiH,roiW,3),np.uint8)
dst = cv2.addWeighted(imgROI,0.5,img1ROI,0.5,0)
cv2.imshow('mashiro',dst)
cv2.waitKey(0)
#  貌似程序有问题
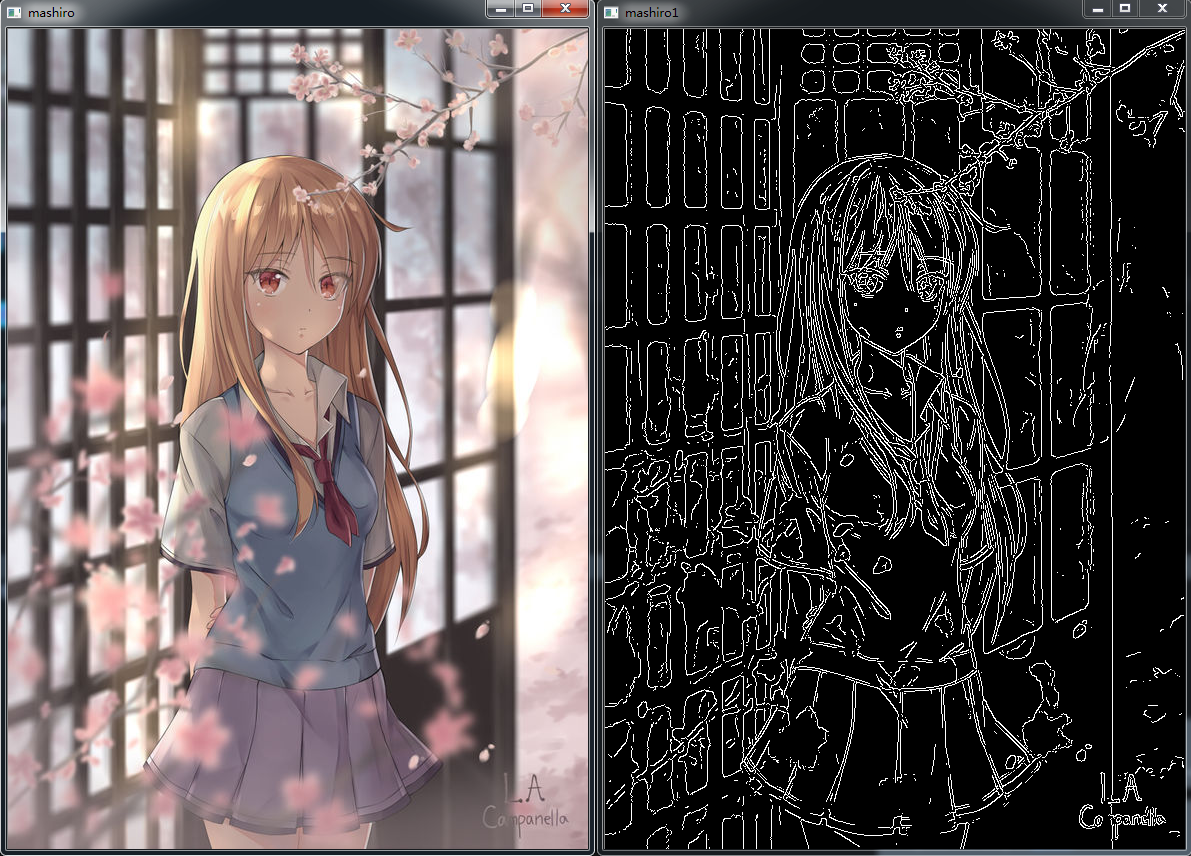
20.边缘检测
import cv2
import numpy as np
import random
# 所有边缘检测都是基于灰度处理的,因此先要转换成灰度图片
img = cv2.imread('mashiro.jpg',1)
imgInfo = img.shape
height = imgInfo[0]
width = imgInfo[1]
cv2.imshow('mashiro',img)
# 1 灰度
gray = cv2.cvtColor(img,cv2.COLOR_BGR2GRAY)

# 2 高斯滤波
imgG = cv2.GaussianBlur(gray,(3,3),0)

# 图片经过卷积
dst = cv2.Canny(imgG,50,50)
cv2.imshow('mashiro1',dst)
cv2.waitKey(0)
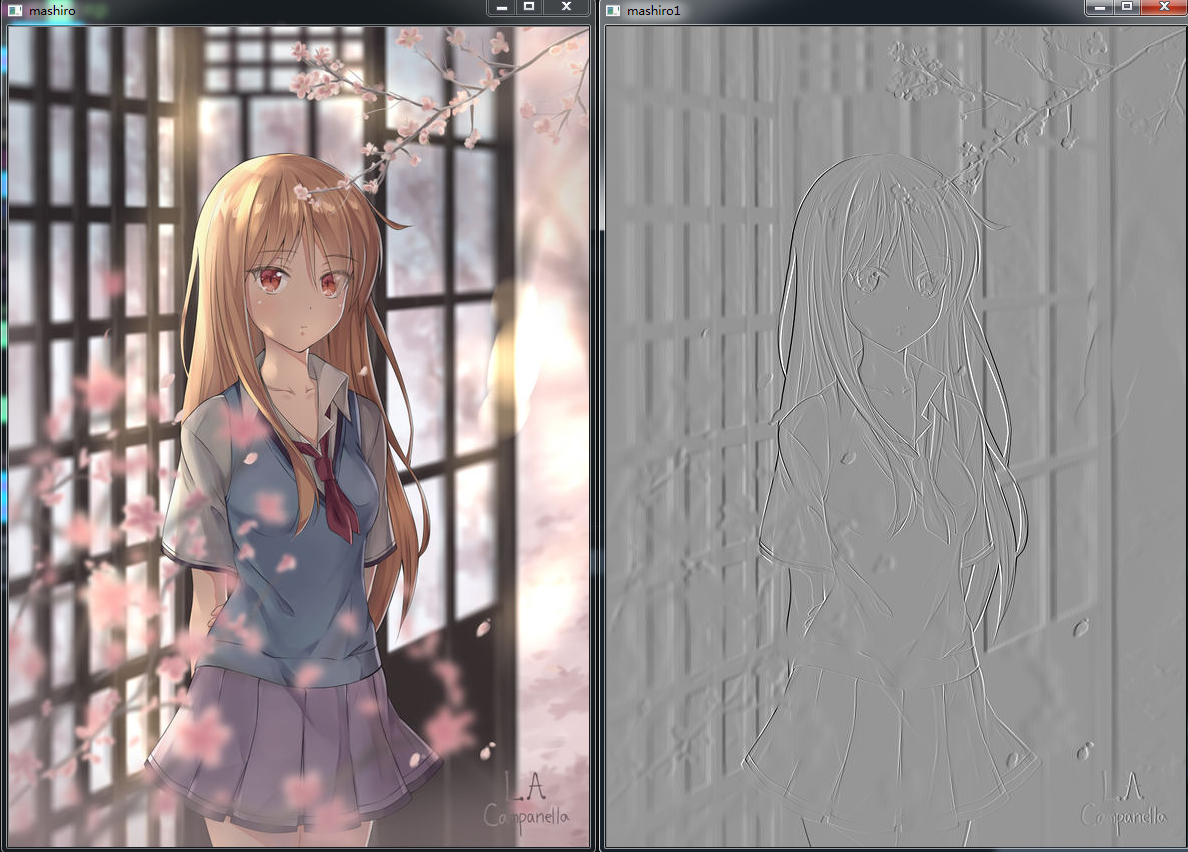
21.浮雕效果
import cv2
import numpy as np
img = cv2.imread('mashiro.jpg',1)
cv2.imshow('mashiro',img)
imgInfo = img.shape
height = imgInfo[0]
width = imgInfo[1]
gray = cv2.cvtColor(img,cv2.COLOR_BGR2GRAY)
dst = np.zeros((height,width,1),np.uint8)
for i in range(0,height):
    for j in range(0,width-1):
        grayP0 = int(gray[i,j])
        grayP1 = int(gray[i,j+1])
        newP = grayP0-grayP1+150
        if newP>255:
            newP=255

        elif newP<0:
            newP=0
        dst[i,j] = newP
cv2.imshow('mashiro1',dst)
cv2.waitKey(0)
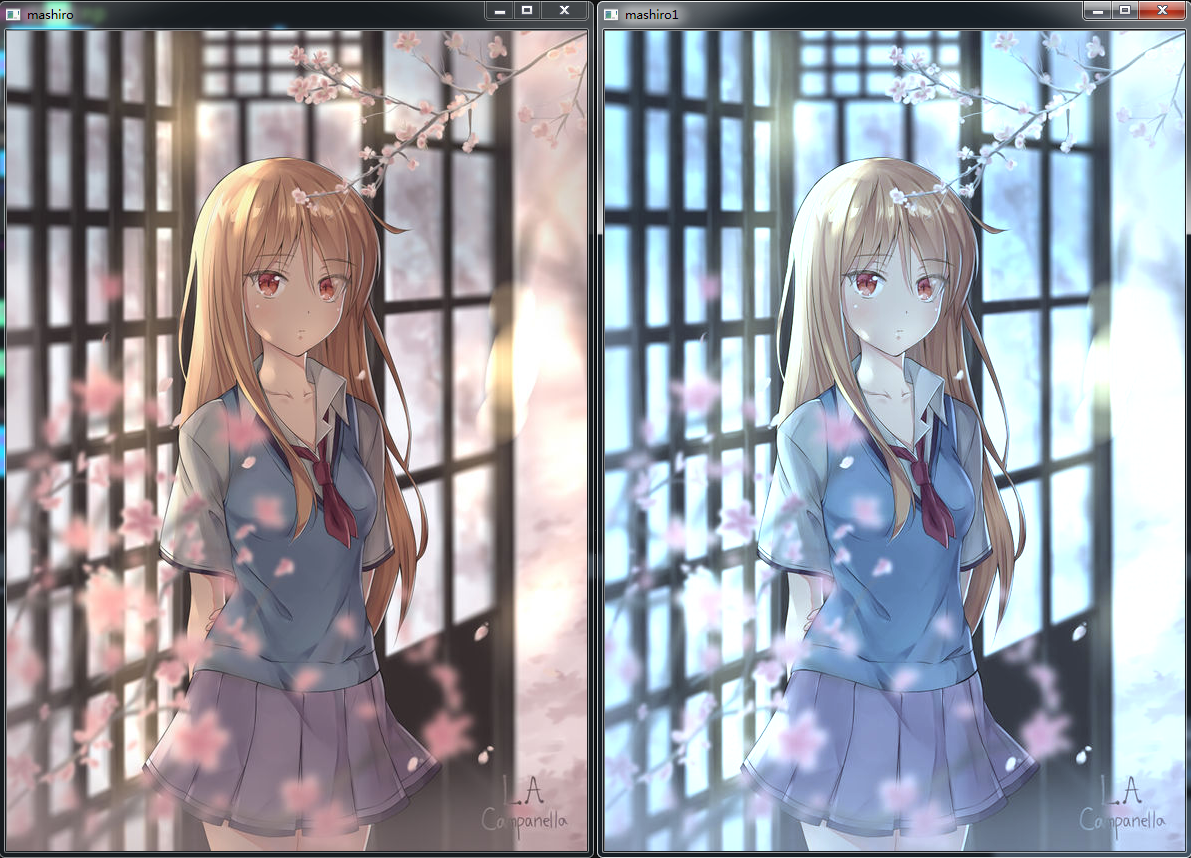
22.颜色映射
import cv2
import numpy as np
img = cv2.imread('mashiro.jpg',1)
cv2.imshow('mashiro',img)
imgInfo = img.shape
height = imgInfo[0]
width = imgInfo[1]
dst = np.zeros((height,width,3),np.uint8)
for m in range(height):
    for n in range(width):
        b,g,r = img[m,n]
        b = b*1.5
        g = g*1.3
        if b >255:
            b=255
        if g>255:
            g=255
        dst[m,n] = b,g,r
cv2.imshow('mashiro1',dst)
cv2.waitKey(0)
23.油画特效
import cv2
import numpy as np
img = cv2.imread('mashiro.jpg',1)
imgInfo = img.shape
height = imgInfo[0]
width = imgInfo[1]
gray = cv2.cvtColor(img,cv2.COLOR_BGR2GRAY)
dst = np.zeros((height,width,3),np.uint8)
for i in range(4,height-4):
    for j in range(4,width-4):
        array1 = np.zeros(8,np.uint8)
        for m in range(-4,4):
            for n in range(-4,4):
                p1=int(gray[i+m,j+n]/32)
                array1[p1]=array1[p1]+1
        currentMax = array1[0]
        for k in range(0,8):
            if currentMax<array1[k]:
                l=k
        for m in range(-4,4):
            for n in range(-4,4):
                if gray[i+m,j+n]>(l*32) and gray[i+m,j+n]<((l+1)*32):
                    b,g,r = img[m,n]
        dst[i,j] = b,g,r
cv2.imshow('mashiro',dst)
cv2.waitKey(0)
# 程序算的会很慢很慢

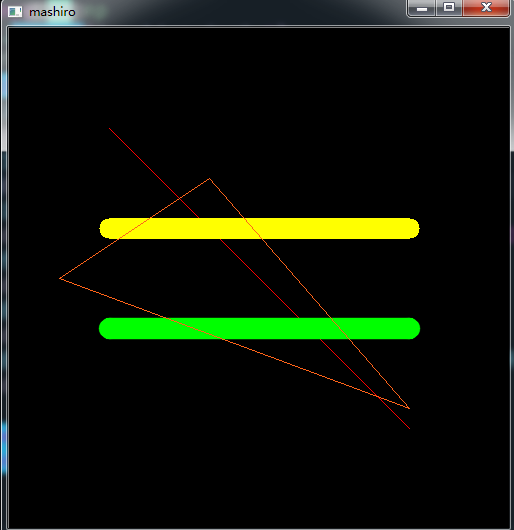
24.线段绘制
import cv2
import numpy as np
img = cv2.imread('mashiro.jpg',1)
newImagInfo = (500,500,3)
dst = np.zeros(newImagInfo,np.uint8)
# 1.图片信息 2.开始位置 3.结束位置 4.颜色
cv2.line(dst,(100,100),(400,400),(0,0,255))
# 5.线条的宽度
cv2.line(dst,(100,200),(400,200),(0,255,255),20)
# 6.线条类型
cv2.line(dst,(100,300),(400,300),(0,255,0),20,cv2.LINE_AA)
# 绘制三角形,说白了就是三条线段
cv2.line(dst,(200,150),(50,250),(25,100,255))
# 第二条线段的起始位置是第一条线段的终止位置
cv2.line(dst,(50,250),(400,380),(25,100,255))
# 第三条线段的起始位置是第一条线段的起始位置,终止位置是第二条线段的终止位置
cv2.line(dst,(200,150),(400,380),(25,100,255))

cv2.imshow('mashiro',dst)
cv2.waitKey(0)
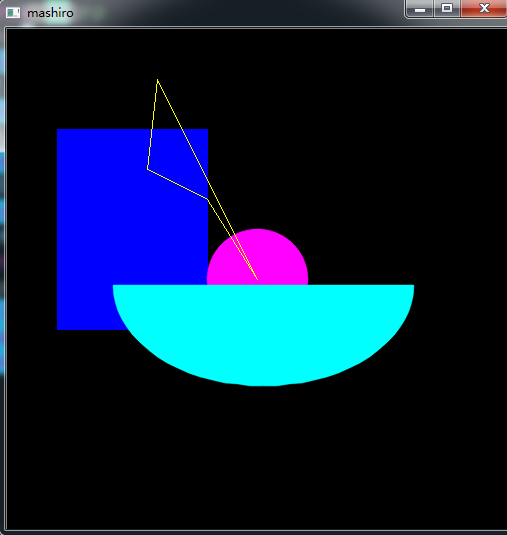
25.矩形圆形任意多边形绘制
import cv2
import numpy as np
newImgInfo = 500,500,3
dst = np.zeros(newImgInfo,np.uint8)
# 1.图片 2.左上角坐标 3.右下角坐标 4.颜色 5.是否填充(大于零:线条宽度,小于零:是否填充)
cv2.rectangle(dst,(50,100),(200,300),(255,0,0),-1)
# 1.图片 2.圆心 3.半径 4.颜色
cv2.circle(dst,(250,250),(50),(255,0,255),-1,cv2.LINE_AA)
# 椭圆 1.图片 2.椭圆圆心 3.长轴和短轴的长度 4.偏转角度 5.圆弧起始角度 6.圆弧终止角度 7.颜色 8.是否填充
cv2.ellipse(dst,(256,256),(150,100),0,0,180,(255,255,0),-1,cv2.LINE_AA)
# 定义任意角度
points = np.array([[150,50],[140,140],[200,170],[250,250],[150,50]],np.int32)  # (5,2)
points = points.reshape((-1,1,2))  # (5,1,2)
cv2.polylines(dst,[points],True,(0,255,255))
cv2.imshow('mashiro',dst)
cv2.waitKey(0)
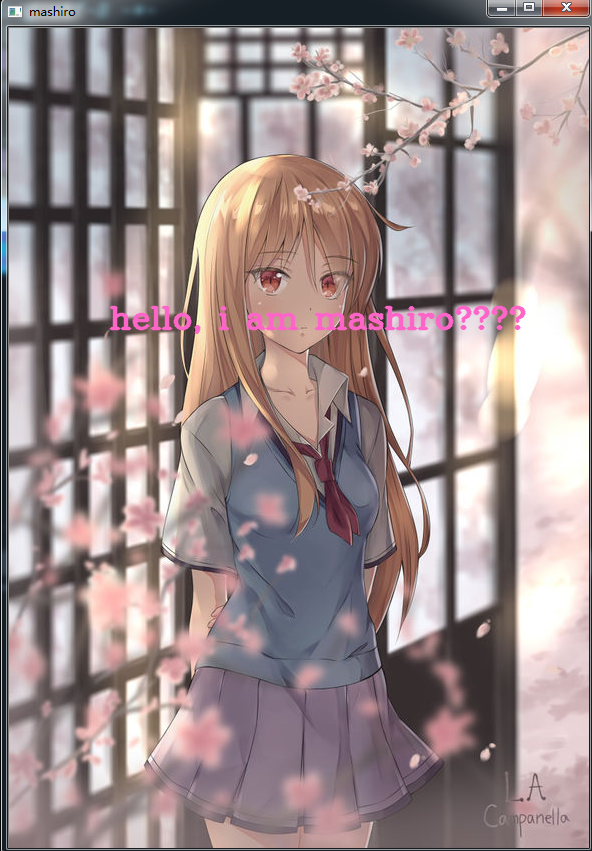
26.文字绘制
#!/usr/bin/env python
# -*- coding:utf-8 -*-
# author:love_cat
import cv2
import numpy as np

img = cv2.imread('mashiro.jpg',1)
font = cv2.FONT_HERSHEY_COMPLEX
# 1.图片 2.文字的内容 3.写入的坐标 4.字体 5.字体大小 6.颜色 7,字体的粗细 8.线条类型
cv2.putText(img,'hello, i am mashiro····',(100,300),font,1,(200,100,255),2,cv2.LINE_AA)
cv2.imshow('mashiro',img)
cv2.waitKey(0)
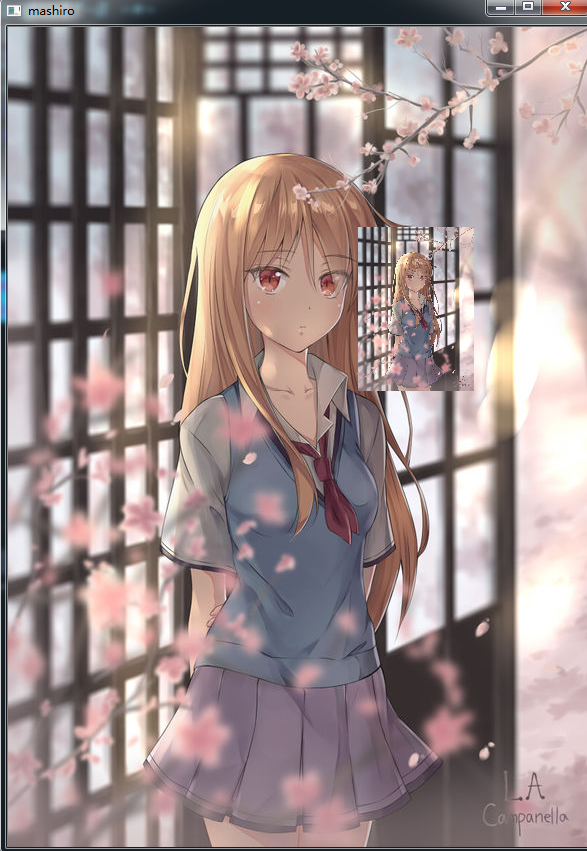
27.图片绘制
#!/usr/bin/env python
# -*- coding:utf-8 -*-
# author:love_cat
import cv2
img = cv2.imread('mashiro.jpg',1)
height = int(img.shape[0]*0.2)
width = int(img.shape[1]*0.2)
imgResize = cv2.resize(img,(width,height))
for i in range(height):
    for j in range(width):
        img[i+200,j+350] = imgResize[i,j]

cv2.imshow('mashiro',img)
cv2.waitKey(0)
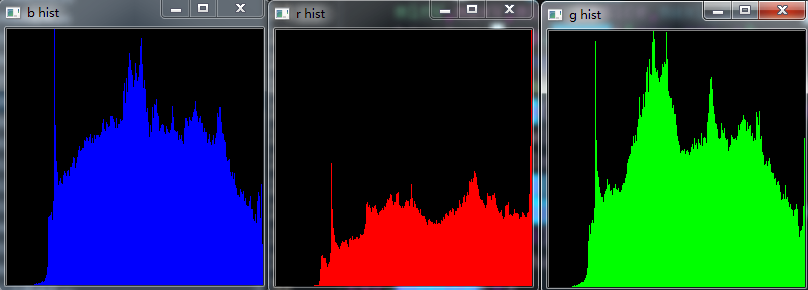
28.彩色图片直方图
#!/usr/bin/env python
# -*- coding:utf-8 -*-
# author:love_cat
import cv2
import numpy as np

def ImageHist(img,e_type):
    color = (255,255,255)
    windowName = 'gray'
    if e_type == 31:
        color = (255,0,0)
        windowName = 'b hist'
    elif e_type == 32:
        color = (0,255,0)
        windowName = 'g hist'
    elif e_type == 33:
        color = (0,0,255)
        windowName = 'r hist'
    # 一定要用列表的形式  1.图片 2.计算直方图的通道 3.蒙版mask 4.直方图的size,多少种 5直方图中各个像素的值
    hist = cv2.calcHist([img],[0],None,[256],[0.0,255.0])
    minV,maxV,minV_indice,maxL_indice = cv2.minMaxLoc(hist)
    histImg = np.zeros([256,256,3],np.uint8)
    for h in range(256):
        interNomal = int(hist[h]*256/maxV)
        cv2.line(histImg,(h,256),(h,256-interNomal),color)
    cv2.imshow(windowName,histImg)
    return histImg
img = cv2.imread('mashiro.jpg',3)
channels = cv2.split(img)  # RGB ---->R G B
for i in range(3):
    ImageHist(channels[i],31+i)
cv2.waitKey(0)
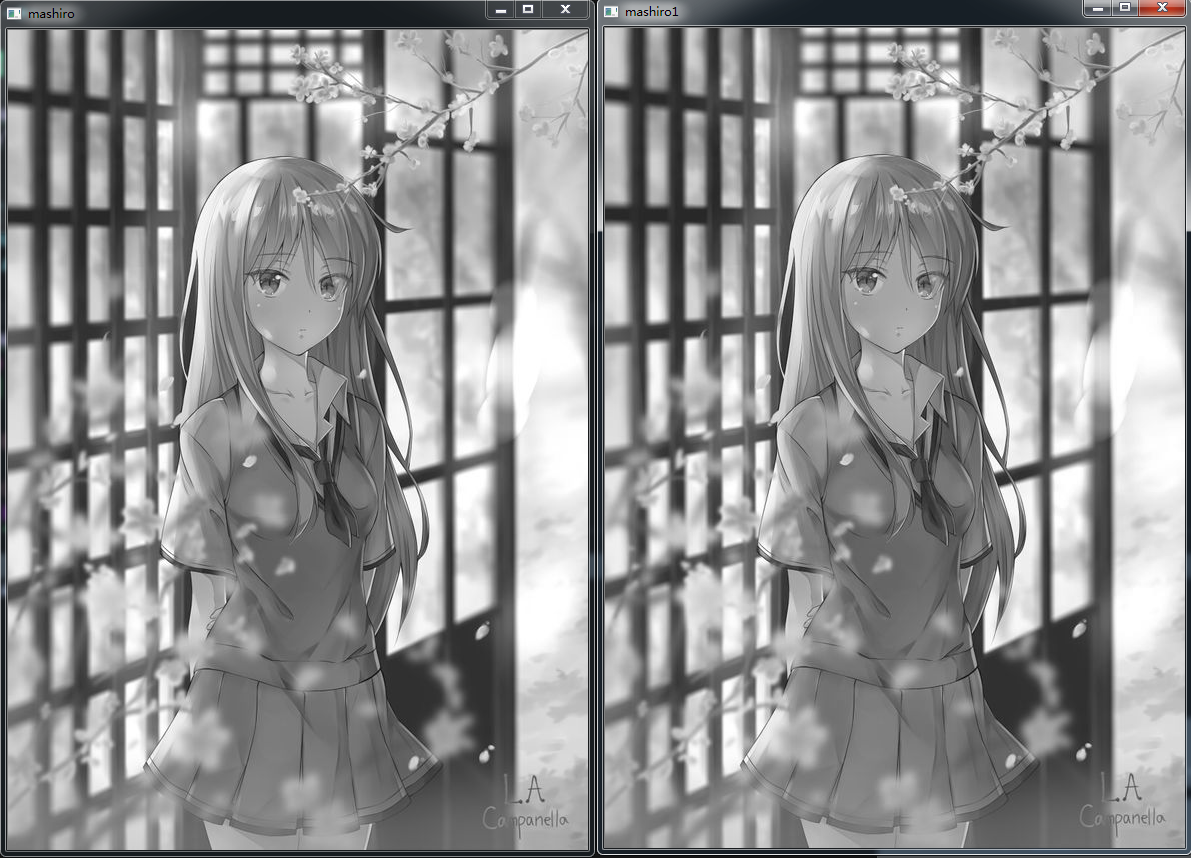
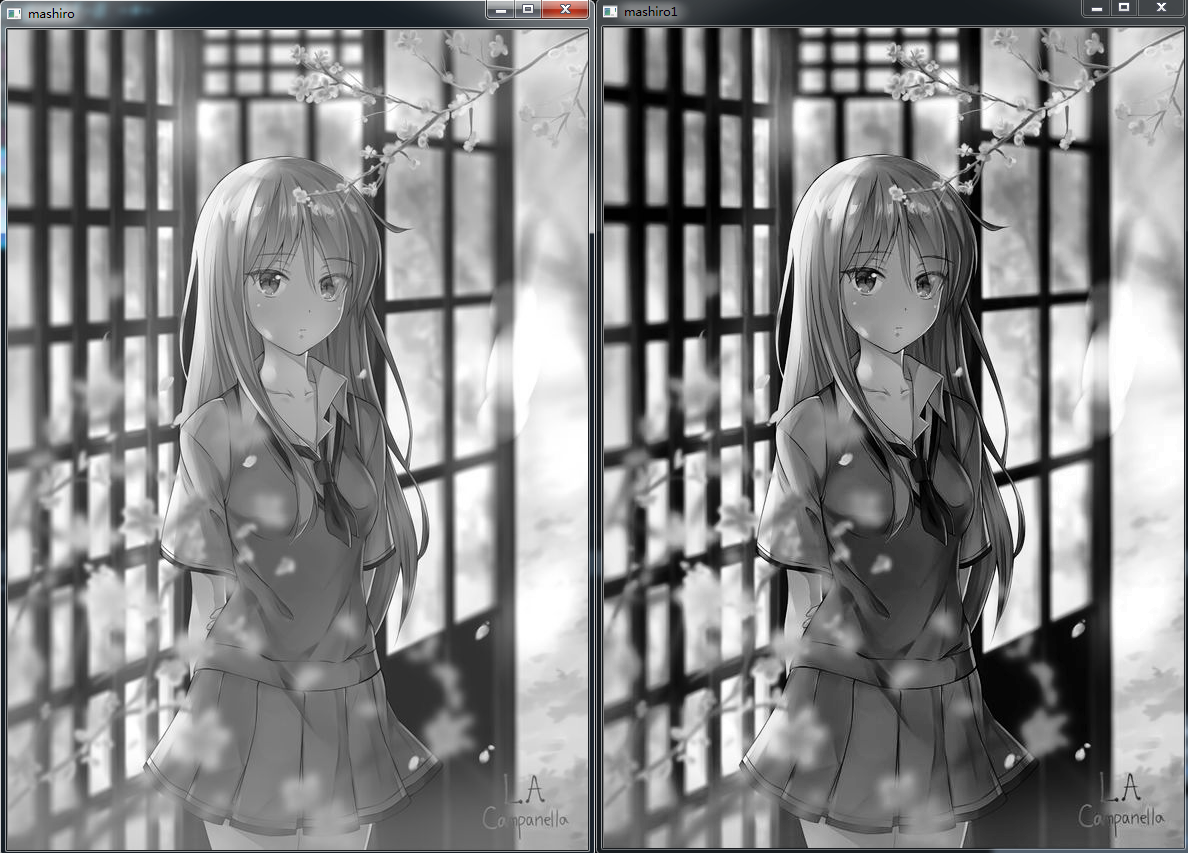
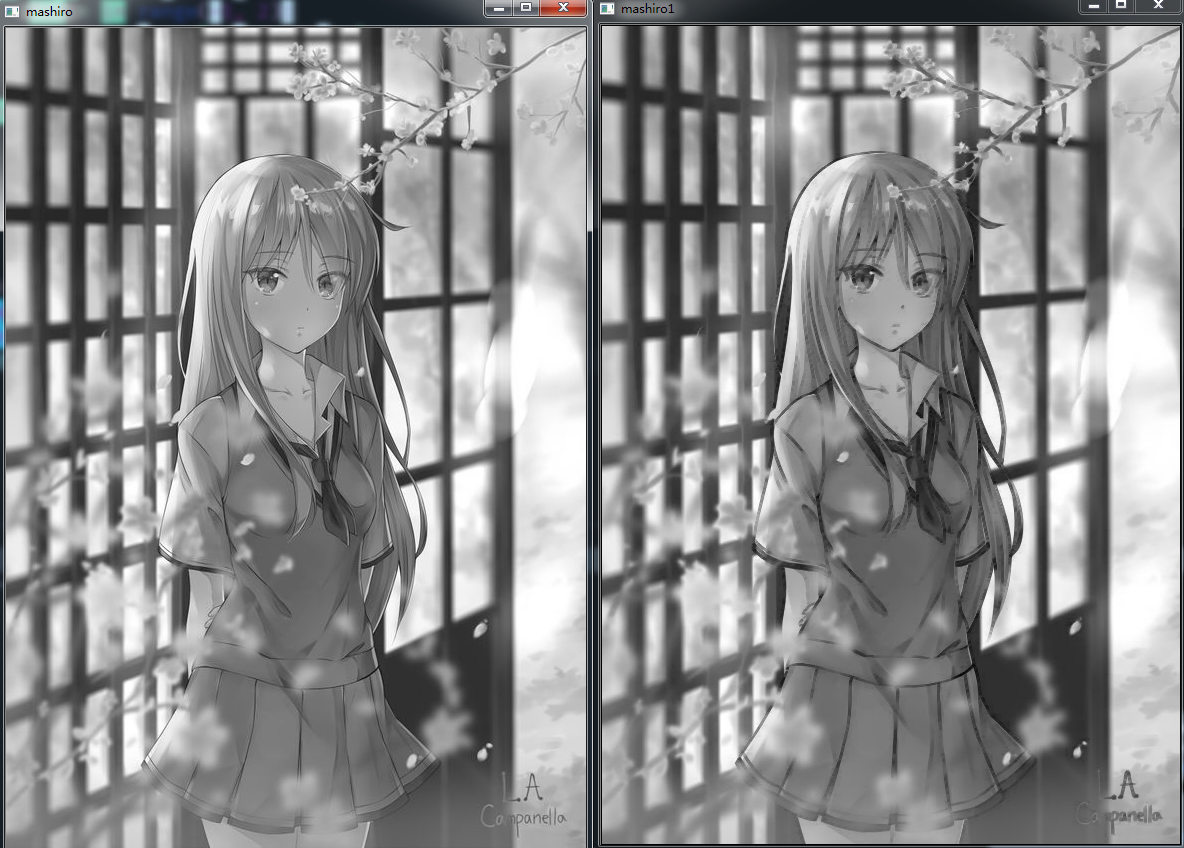
29.灰度直方图均衡化
#!/usr/bin/env python
# -*- coding:utf-8 -*-
# author:love_cat
import cv2
import numpy as np
img = cv2.imread('mashiro.jpg',1)
gray = cv2.cvtColor(img,cv2.COLOR_BGR2GRAY)
cv2.imshow('mashiro',gray)
dst = cv2.equalizeHist(gray)
cv2.imshow('mashiro1',dst)
cv2.waitKey(0)
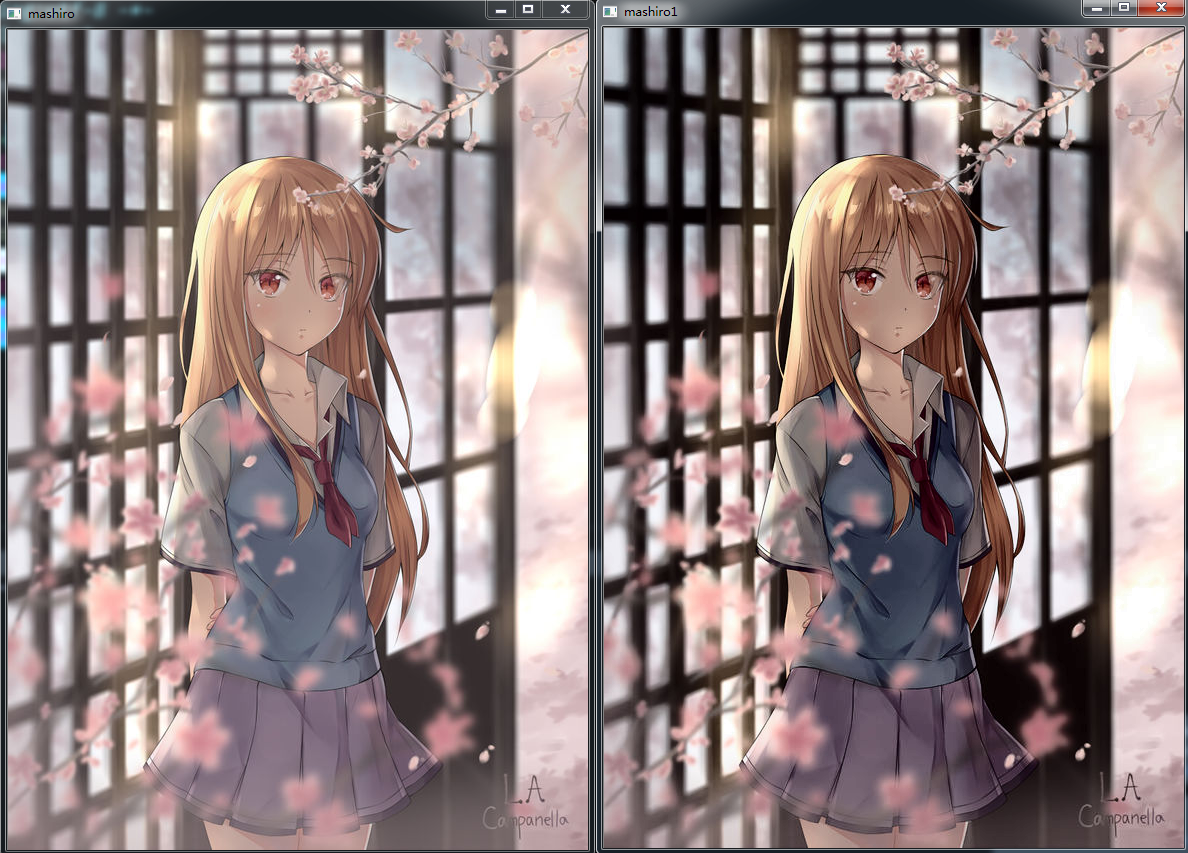
30.彩色直方图均衡化
#!/usr/bin/env python
# -*- coding:utf-8 -*-
# author:love_cat
import cv2
import numpy as np
img = cv2.imread('mashiro.jpg',3)
cv2.imshow('mashiro',img)
b,g,r = cv2.split(img)  # split之后 得到三个通道的数据
bH = cv2.equalizeHist(b)
gH = cv2.equalizeHist(g)
rH = cv2.equalizeHist(r)
result = cv2.merge((bH,gH,rH))  # 将三个通道合成在一起
cv2.imshow('mashiro1',result)
cv2.waitKey(0)

31.YUV直方图均衡化
#!/usr/bin/env python
# -*- coding:utf-8 -*-
# author:love_cat
import cv2
import numpy as np

img = cv2.imread('mashiro.jpg',1)
imgYUV = cv2.cvtColor(img,cv2.COLOR_BGR2YCrCb)
cv2.imshow('mashiro',img)
channelYUV = cv2.split(imgYUV)
channelYUV[0] = cv2.equalizeHist(channelYUV[0])
channels = cv2.merge(channelYUV)
result = cv2.cvtColor(channels,cv2.COLOR_YCrCb2BGR)
cv2.imshow('mashiro1',result)
cv2.waitKey(0)
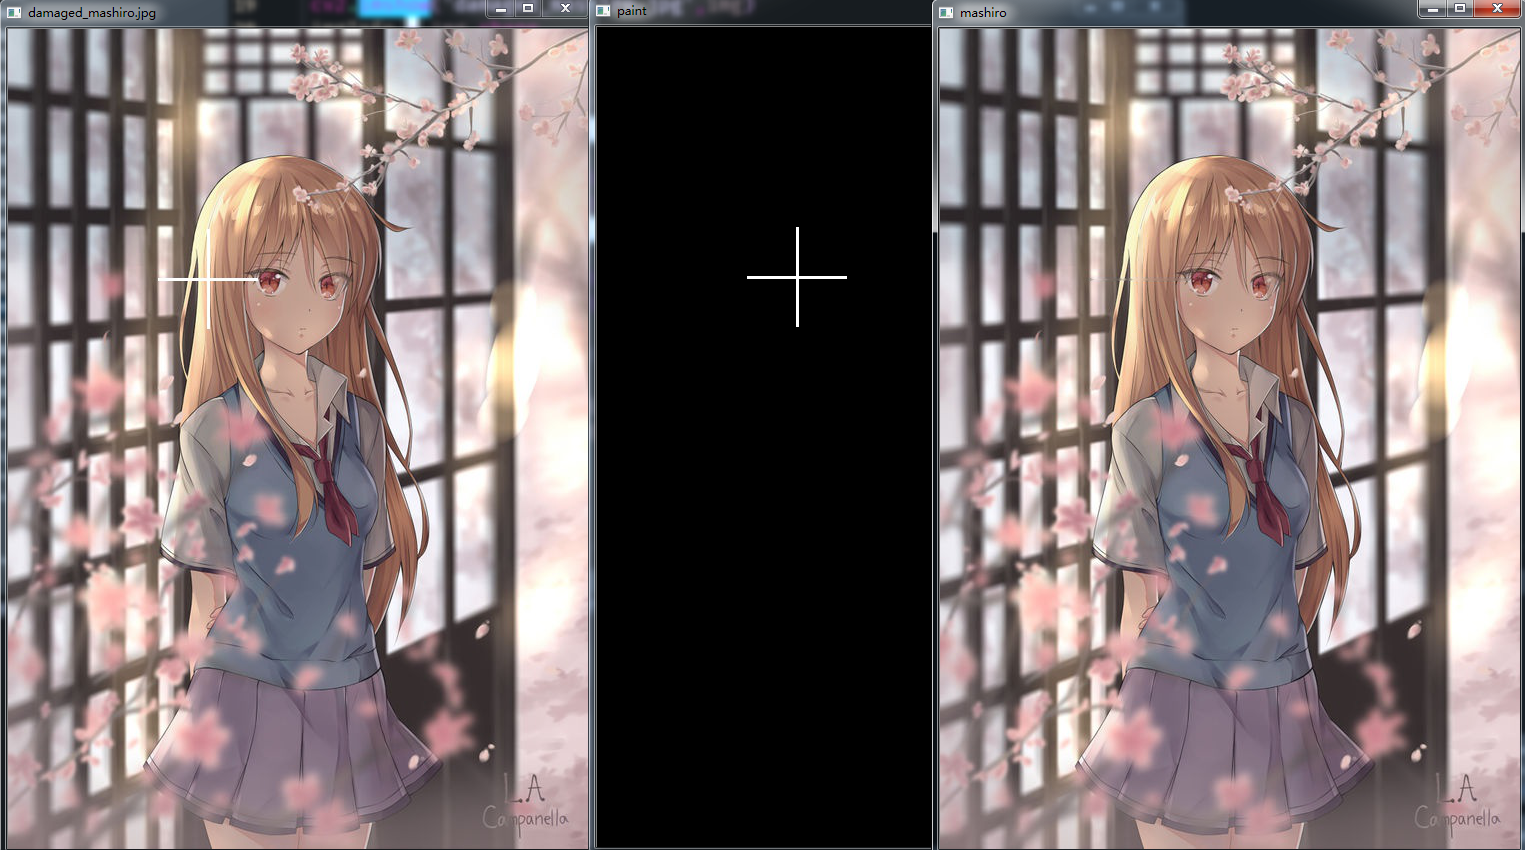
32.图片修补
#!/usr/bin/env python
# -*- coding:utf-8 -*-
# author:love_cat
import cv2
import numpy as np
img = cv2.imread('mashiro.jpg',1)
for i in range(200,300):
    img[i,200] = (255,255,255)
    img[i,200+1] = (255,255,255)
    img[i,200-1] = (255,255,255)
for i in range(150,250):
    img[250,i] = (255,255,255)
    img[250+1,i] = (255,255,255)
    img[250-1,i] = (255,255,255)
cv2.imwrite('damaged_mashiro.jpg',img)


img = cv2.imread('damaged_mashiro.jpg',3)
cv2.imshow('damaged_mashiro.jpg',img)
imgInfo = img.shape
height = imgInfo[0]
width = imgInfo[1]
paint = np.zeros((height,width,1),np.uint8)
for i in range(200,300):
    paint[i,200] = 255
    paint[i,200+1] = 255
    paint[i,200-1] = 255
for i in range(150,250):
    paint[250,i] = 255,
    paint[250+1,i] = 255
    paint[250-1,i] = 255

cv2.imshow('paint',paint)

imgDst = cv2.inpaint(img,paint,3,cv2.INPAINT_TELEA)
cv2.imshow('mashiro',imgDst)
cv2.waitKey(0)
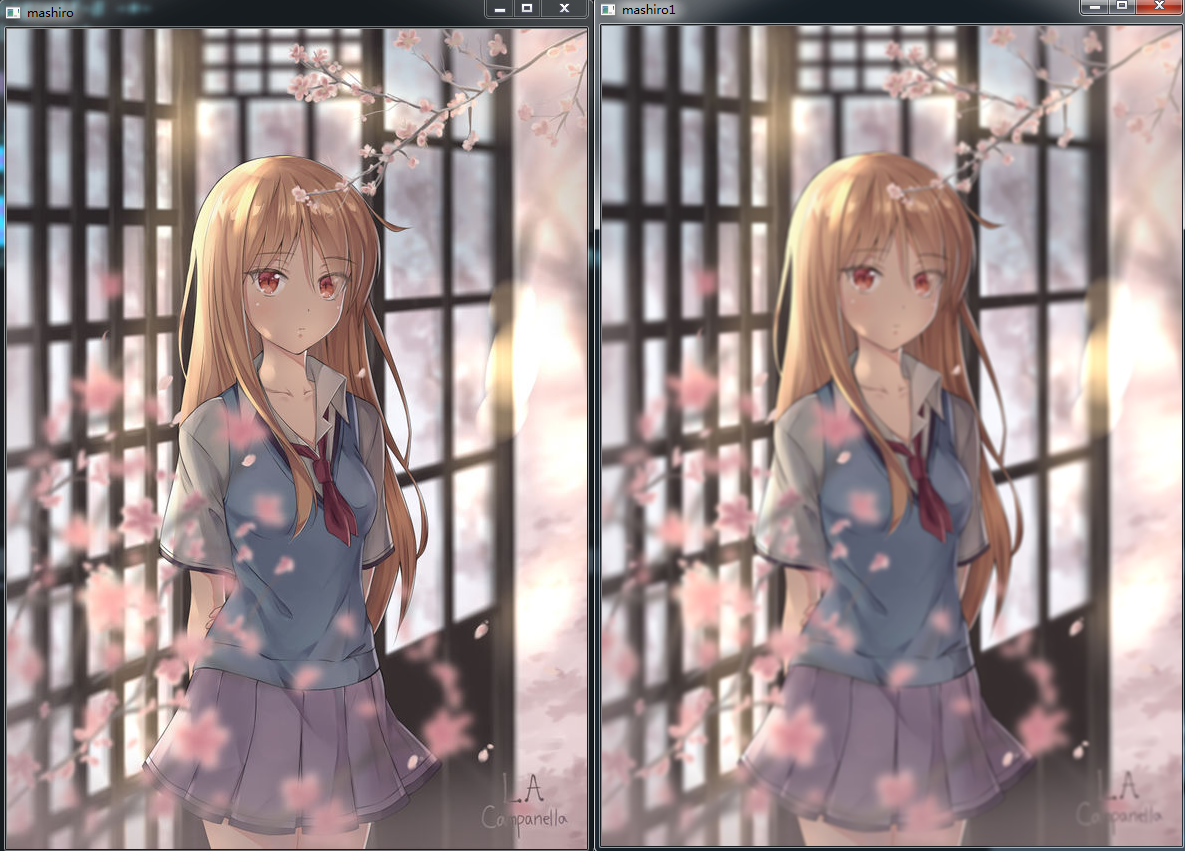
33.亮度增强
#!/usr/bin/env python
# -*- coding:utf-8 -*-
# author:love_cat
import cv2
import numpy as np
img = cv2.imread('mashiro.jpg',1)
imgInfo = img.shape
height = imgInfo[0]
width = imgInfo[1]
dst = np.zeros((height,width,3),np.uint8)
# 新图片像素的亮度等于原图片像素的亮度加上一个固定值
cv2.imshow('mashiro',img)
for i in range(height):
    for j in range(width):
        (b,g,r) = img[i,j]
        bb = int(b)+120  # 自由变换
        gg = int(g)+120
        rr = int(r)+120
        if bb > 255:
            bb = 255
        if gg > 255:
            gg = 255
        if rr > 255:
            rr = 255
        dst[i,j] = img[i,j]
cv2.imshow('mashiro1',dst)
cv2.waitKey(0)
34.磨皮美白
#!/usr/bin/env python
# -*- coding:utf-8 -*-
# author:love_cat

# 原理:双边滤波
import cv2
img = cv2.imread('mashiro.jpg',1)
cv2.imshow('mashiro',img)
dst = cv2.bilateralFilter(img,15,35,35)
cv2.imshow('mashiro1',dst)
cv2.waitKey(0)
# 由于是动漫图片,然鹅并看不出什么效果

35.高斯滤波
#!/usr/bin/env python
# -*- coding:utf-8 -*-
# author:love_cat

import cv2

img = cv2.imread('mashiro.jpg',1)
cv2.imshow('mashiro',img)
dst = cv2.GaussianBlur(img,(5,5),1.5)
cv2.imshow('mashiro1',dst)
cv2.waitKey(0)
# 如果原图上有许多的小点点,那么高斯滤波可以过滤掉,同时图片也会变得模糊
36.均值滤波
#!/usr/bin/env python
# -*- coding:utf-8 -*-
# author:love_cat
import cv2
import numpy as np

img = cv2.imread('mashiro.jpg',1)
cv2.imshow('mashiro',img)
imgInfo = img.shape
height = imgInfo[0]
width = imgInfo[1]
dst = np.zeros((height,width,3),np.uint8)
for i in range(3,height-3):
    for j in range(3,width-3):
        sum_b = int(0)
        sum_g = int(0)
        sum_r = int(0)
        for m in range(-3,3):
            for n in range(-3,3):
                b,g,r = img[i+m,j+n]
                sum_b = sum_b + int(b)
                sum_g = sum_g + int(g)
                sum_r = sum_r + int(r)
        b = np.uint8(sum_b/36)
        g = np.uint8(sum_g/36)
        r = np.uint8(sum_r/36)
        dst[i,j] = b,g,r

cv2.imshow('mashiro1',dst)
cv2.waitKey(0)
# 然而并无卵用,程序还很慢

37.中值滤波
#!/usr/bin/env python
# -*- coding:utf-8 -*-
# author:love_cat
import cv2
import numpy as np

img = cv2.imread('mashiro.jpg', 1)
imgInfo = img.shape
height = imgInfo[0]
width = imgInfo[1]
img = cv2.cvtColor(img, cv2.COLOR_BGR2GRAY)
cv2.imshow('mashiro', img)
dst = np.zeros((height, width, 3), np.uint8)
collect = np.zeros(9, np.uint8)
for i in range(1, height-1):
    for j in range(1, width-1):
        k = 0
        for m in range(-1, 2):
            for n in range(-1, 2):
                gray = img[i + m, j + n]
                collect[k] = gray
                k = k + 1
        for k in range(0, 9):
            p1 = collect[k]
            for t in range(k + 1, 9):
                if p1 < collect[t]:
                    mid = collect[t]
                    collect[t] = p1
                    p1 = mid
        dst[i, j] = collect[4]
cv2.imshow('mashiro1',dst)
cv2.waitKey(0)
# 效果并不理想,程序也很慢
38.视频分解成图片
# 视频分解图片
# 1 load 2 info 3 parse 4 imshow imwrite
import cv2
# 打开一个视频获取,一个句柄
cap = cv2.VideoCapture(r"01.mp4")
# 判断是否打开
isOpened = cap.isOpened
print(isOpened)
# 获取视频的帧率
fps = cap.get(cv2.CAP_PROP_FPS)
# 获取图片的宽度和高度
width = int(cap.get(cv2.CAP_PROP_FRAME_WIDTH))
height = int(cap.get(cv2.CAP_PROP_FRAME_HEIGHT))

print("帧率=%s,宽度=%s,高度=%s" % (fps, width, height))

i = 0
while isOpened:
    if i == 100:
        break  # 我们只获取100张图片
    else:
        i += 1
    # 读取每一张flag,frame
    # flag表示是否读取成功
    # frame表示图片的内容
    (flag, frame) = cap.read()
    fileName = "image"+str(i)+".jpg"
    print(fileName)
    if flag:
        cv2.imwrite(fileName, frame, [cv2.IMWRITE_JPEG_QUALITY, 100])  # 表示精度最高
print("end!!!")

# 程序运行结果
'''
<built-in method isOpened of cv2.VideoCapture object at 0x04F90630>
帧率=15.0,宽度=1280,高度=720
image1.jpg
image2.jpg
image3.jpg
image4.jpg
image5.jpg
image6.jpg
image7.jpg
image8.jpg
image9.jpg
image10.jpg
image11.jpg
image12.jpg
image13.jpg
image14.jpg
image15.jpg
image16.jpg
image17.jpg
image18.jpg
image19.jpg
image20.jpg
image21.jpg
image22.jpg
image23.jpg
image24.jpg
image25.jpg
image26.jpg
image27.jpg
image28.jpg
image29.jpg
image30.jpg
image31.jpg
image32.jpg
image33.jpg
image34.jpg
image35.jpg
image36.jpg
image37.jpg
image38.jpg
image39.jpg
image40.jpg
image41.jpg
image42.jpg
image43.jpg
image44.jpg
image45.jpg
image46.jpg
image47.jpg
image48.jpg
image49.jpg
image50.jpg
image51.jpg
image52.jpg
image53.jpg
image54.jpg
image55.jpg
image56.jpg
image57.jpg
image58.jpg
image59.jpg
image60.jpg
image61.jpg
image62.jpg
image63.jpg
image64.jpg
image65.jpg
image66.jpg
image67.jpg
image68.jpg
image69.jpg
image70.jpg
image71.jpg
image72.jpg
image73.jpg
image74.jpg
image75.jpg
image76.jpg
image77.jpg
image78.jpg
image79.jpg
image80.jpg
image81.jpg
image82.jpg
image83.jpg
image84.jpg
image85.jpg
image86.jpg
image87.jpg
image88.jpg
image89.jpg
image90.jpg
image91.jpg
image92.jpg
image93.jpg
image94.jpg
image95.jpg
image96.jpg
image97.jpg
image98.jpg
image99.jpg
image100.jpg
end!!!
'''
转自:https://www.cnblogs.com/traditional/p/9043931.html