参考文档来源:https://www.yuque.com/atguigu/springboot/lcfeme
1、系统要求:
- Java 8 & 兼容java14 .
- Maven 3.3+
- idea 2019.1.2
2、Maven安装目录中找到conf文件夹的settings.xml文件,配置以下内容
<mirrors>
      <mirror>
        <id>nexus-aliyun</id>
        <mirrorOf>central</mirrorOf>
        <name>Nexus aliyun</name>
        <url>http://maven.aliyun.com/nexus/content/groups/public</url>
      </mirror>
  </mirrors>

  <profiles>
         <profile>
              <id>jdk-1.8</id>
              <activation>
                <activeByDefault>true</activeByDefault>
                <jdk>1.8</jdk>
              </activation>
              <properties>
                <maven.compiler.source>1.8</maven.compiler.source>
                <maven.compiler.target>1.8</maven.compiler.target>
                <maven.compiler.compilerVersion>1.8</maven.compiler.compilerVersion>
              </properties>
         </profile>
  </profiles>
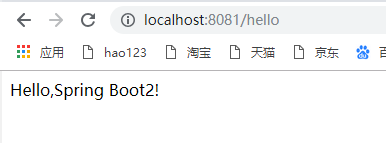
3、参考SpringBoot2官方文档,实现需求:浏览发送/hello请求,响应 Hello,Spring Boot 2
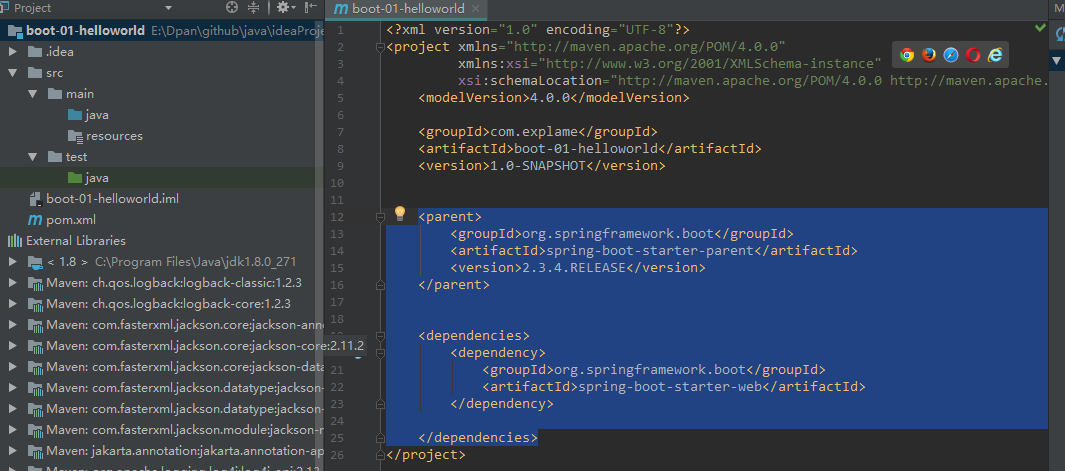
3.1新建一个Maven项目,在pom.xml中配置:
<parent>
        <groupId>org.springframework.boot</groupId>
        <artifactId>spring-boot-starter-parent</artifactId>
        <version>2.3.4.RELEASE</version>
    </parent>


    <dependencies>
        <dependency>
            <groupId>org.springframework.boot</groupId>
            <artifactId>spring-boot-starter-web</artifactId>
        </dependency>

    </dependencies>
如下图:
3.2 右侧使用Maven下载依赖资源

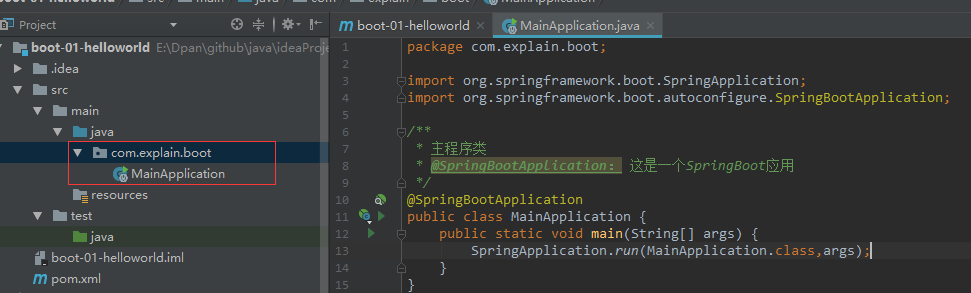
3.3创建一个主程序类,项目入口
3.4 接下来可以写MVC业务逻辑了,首先创建控制类,使用@RestController注解来说明,类中返回的数据是写向浏览器的(该注解包含了@controller和@ResponseBody)

3.5 启动SpringBoot:运行主程序代码
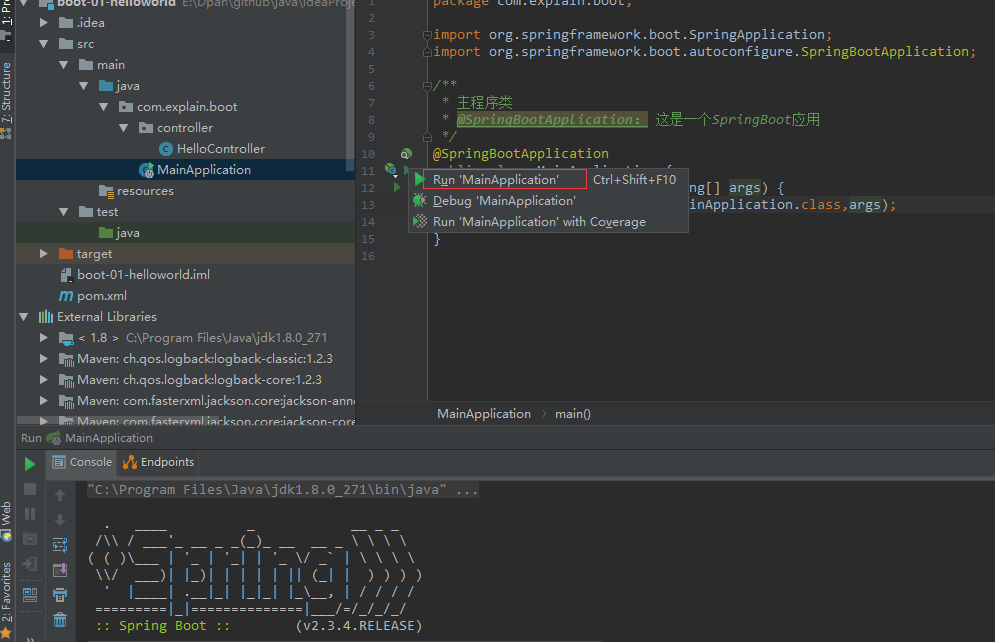
如果启动发现控制台报错:端口陪占用,则重新配置端口:
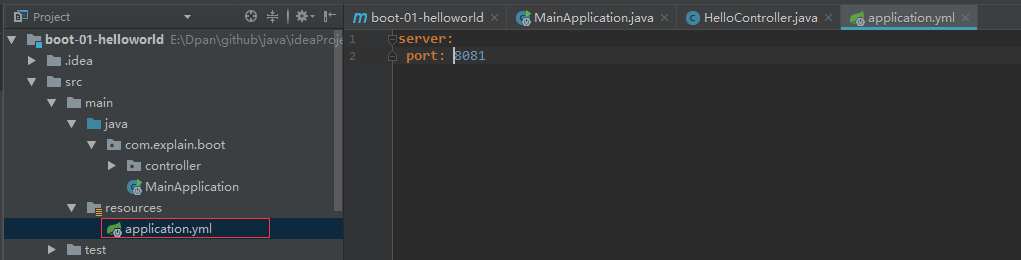
URL访问: