一、springmvc注解方式
注解方式使用的更多,更加灵活。在上一篇的博客的基础上修改springmvc-servlet.xml配置文件。
<?xml version="1.0" encoding="UTF-8"?>
<beans   xmlns="http://www.springframework.org/schema/beans"
    xmlns:xsi="http://www.w3.org/2001/XMLSchema-instance"
    xmlns:tx="http://www.springframework.org/schema/tx"
    xmlns:context="http://www.springframework.org/schema/context"
    xmlns:mvc="http://www.springframework.org/schema/mvc"
    xsi:schemaLocation="http://www.springframework.org/schema/beans
    http://www.springframework.org/schema/beans/spring-beans-3.2.xsd
    http://www.springframework.org/schema/tx
    http://www.springframework.org/schema/tx/spring-tx-3.2.xsd
    http://www.springframework.org/schema/context
    http://www.springframework.org/schema/context/spring-context-3.2.xsd
    http://www.springframework.org/schema/mvc
    http://www.springframework.org/schema/mvc/spring-mvc-3.2.xsd">
	<!-- <bean name="/hello" class="springmvc.HelloController"></bean> -->
	<!-- 要使注解生效,需要配置这几个属性,它会扫描controller中的注解 -->
    <context:component-scan base-package="Controller" />
    <mvc:default-servlet-handler />
    <mvc:annotation-driven />
	<bean class="org.springframework.web.servlet.view.InternalResourceViewResolver">
	 <property name="prefix" value="/WEB-INF/JSP/"/>
        <property name="suffix" value=".jsp"/>
        </bean>
</beans>
二、在controller下新建一个类
package Controller;

import org.springframework.stereotype.Controller;
import org.springframework.web.bind.annotation.RequestMapping;
import org.springframework.web.servlet.ModelAndView;

@Controller
public class UserController {

	@RequestMapping(value="/index")
	public ModelAndView index()
	{
		System.out.println("index");
		ModelAndView mv=new ModelAndView();
		mv.setViewName("hello");
		return mv;

	}
}
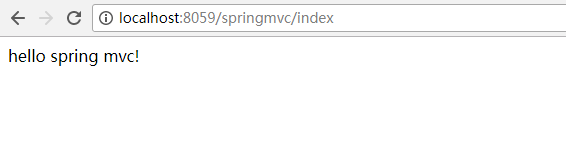
三、访问/index即可