CentOS6.5下安装ElasticSearch6.2.4
(1)配置JDK环境
配置环境变量
export JAVA_HOME="/opt/jdk1.8.0_144"
export PATH="$JAVA_HOME/bin:$PATH"
export CLASSPATH=".:$JAVA_HOME/lib"
(2)安装ElasticSearch6.2.4
下载地址:https://www.elastic.co/cn/downloads/past-releases/elasticsearch-6-2-4
启动报错: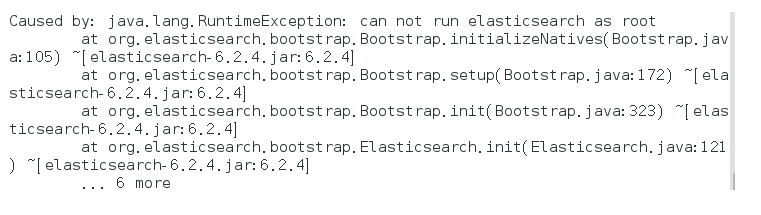
解决方式:
bin/elasticsearch -Des.insecure.allow.root=true
或者修改bin/elasticsearch,加上ES_JAVA_OPTS属性:
ES_JAVA_OPTS="-Des.insecure.allow.root=true"
再次启动: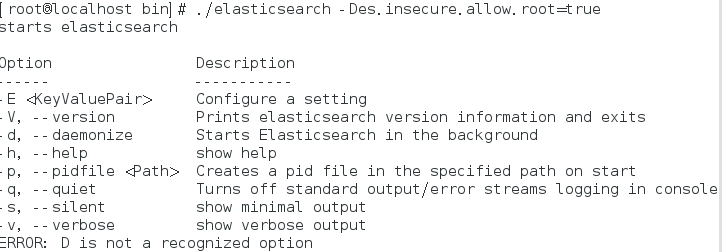
这是出于系统安全考虑设置的条件。由于ElasticSearch可以接收用户输入的脚本并且执行,为了系统安全考 虑,建议创建一个单独的用户用来运行ElasticSearch。
如果没有普通用户就要创建一个普通用户组和普通用户,下面介绍一下怎么创建用户组和普通用户
创建用户组和用户:
groupadd esgroup
useradd esuser -g esgroup -p espassword
更改elasticsearch文件夹及内部文件的所属用户及组:
cd /opt
chown -R esuser:esgroup elasticsearch-6.2.4
切换用户并运行:
su esuser
./bin/elasticsearch
再次启动显示已杀死: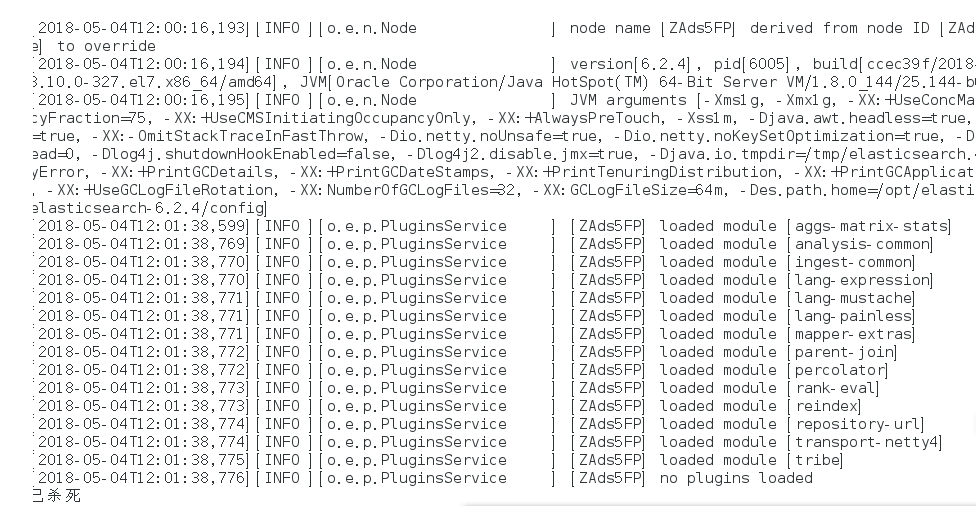
需要调整JVM的内存大小:
vi bin/elasticsearch
ES_JAVA_OPTS="-Xms512m -Xmx512m"
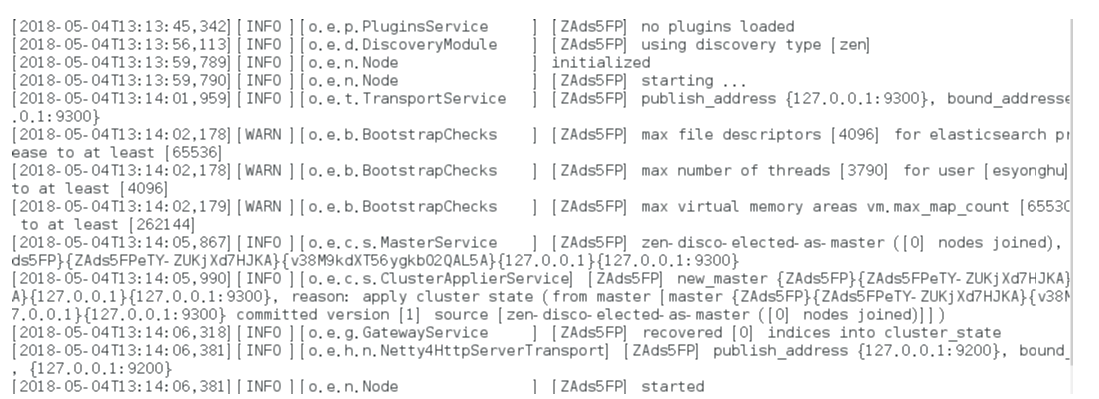
再次启动:启动成功
如果显示如下类似信息:
[INFO ][o.e.c.r.a.DiskThresholdMonitor] [ZAds5FP] low disk watermark [85%] exceeded on [ZAds5FPeTY-ZUKjXd7HJKA][ZAds5FP][/opt/elasticsearch-6.2.4/data/nodes/0] free: 1.2gb[14.2%], replicas will not be assigned to this node
需要清理磁盘空间。
后台运行:./bin/elasticsearch -d
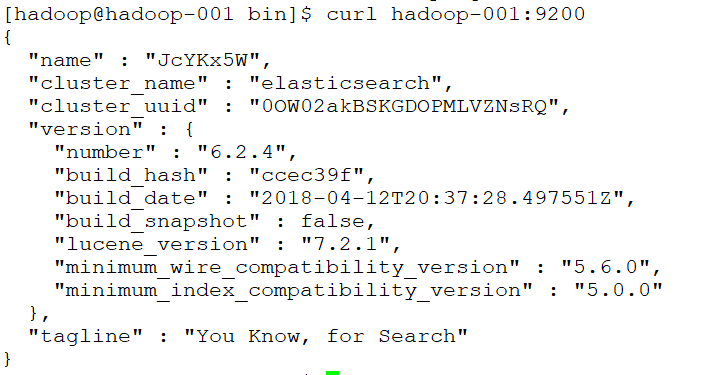
测试连接:curl 127.0.0.1:9200
会看到一下JSON数据:
[root@localhost ~]# curl 127.0.0.1:9200
{
"name" : "rBrMTNx",
"cluster_name" : "elasticsearch",
"cluster_uuid" : "-noR5DxFRsyvAFvAzxl07g",
"version" : {
"number" : "5.1.1",
"build_hash" : "5395e21",
"build_date" : "2016-12-06T12:36:15.409Z",
"build_snapshot" : false,
"lucene_version" : "6.3.0"
},
"tagline" : "You Know, for Search"
}
实现远程访问:
需要对config/elasticsearch.yml进行 配置:
network.host: hadoop-001
再次启动报错:Failed to load settings from [elasticsearch.yml]
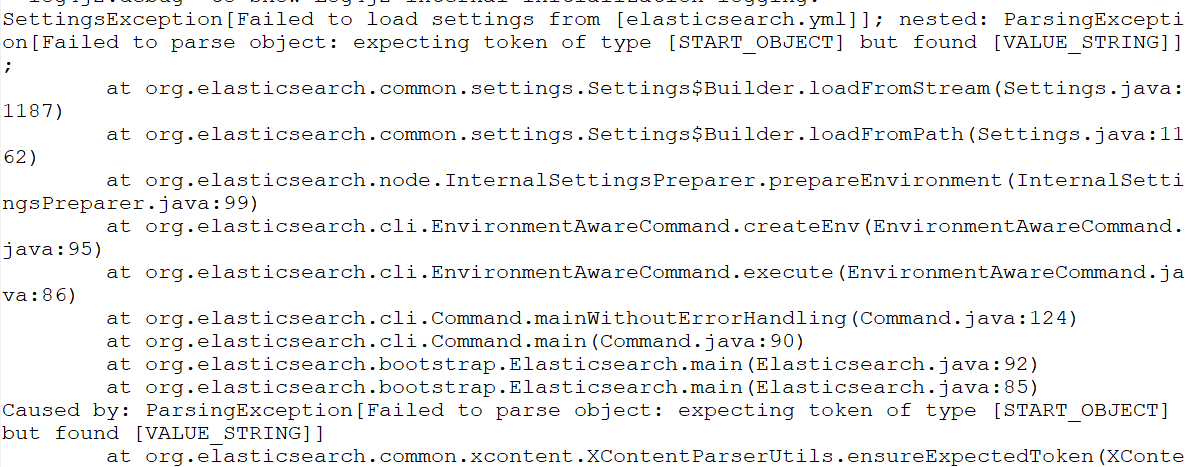
这个错就是参数的冒号前后没有加空格,加了之后就好,我找了好久这个问题;
后来在一个外国网站找到了这句话.
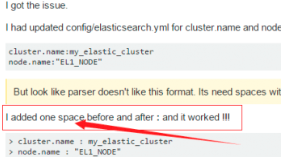
Exception in thread "main" SettingsException[Failed to load settings from [elasticsearch.yml]]; nested: ElasticsearchParseException[malformed, expected end of settings but encountered additional content starting at line number: [3], column number: [1]]; nested: ParserException[expected '<document start>', but found BlockMappingStart
in 'reader', line 3, column 1:
node.rack : r1
^
];
Likely root cause: expected '<document start>', but found BlockMappingStart
in 'reader', line 3, column 1:
node.rack : r1
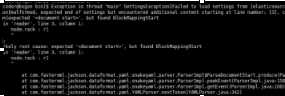
这个是行的开头没有加空格,fuck!
Exception in thread "main" SettingsException[Failed to load settings from [elasticsearch.yml]]; nested: ScannerException[while scanning a simple key
in 'reader', line 11, column 2:
discovery.zen.ping.unicast.hosts ...
^

参数冒号后加空格,或者是数组中间加空格
例如:
# discovery.zen.minimum_master_nodes: 3
再次启动
还是报错
max file descriptors [4096] for elasticsearch process is too low
处理第一个错误:
vim /etc/security/limits.conf //文件最后加入
esuser soft nofile 65536
esuser hard nofile 65536
esuser soft nproc 4096
esuser hard nproc 4096
处理第二个错误:
进入limits.d目录下修改配置文件。
vim /etc/security/limits.d/20-nproc.conf
修改为 esuser soft nproc 4096
注意重新登录生效!!!!!!!!
处理第三个错误:
vim /etc/sysctl.conf
vm.max_map_count=655360
执行以下命令生效:
sysctl -p
关闭防火墙:systemctl stop firewalld.service
启动又又又报错
system call filters failed to install; check the logs and fix your configuration or disable sys

直接在
config/elasticsearch.yml 末尾加上一句
bootstrap.system_call_filter: false再次启动成功!
安装Head插件
Head是elasticsearch的集群管理工具,可以用于数据的浏览和查询
(1)elasticsearch-head是一款开源软件,被托管在github上面,所以如果我们要使用它,必须先安装git,通过git获取elasticsearch-head
(2)运行elasticsearch-head会用到grunt,而grunt需要npm包管理器,所以nodejs是必须要安装的
http://blog.java1234.com/blog/articles/354.html
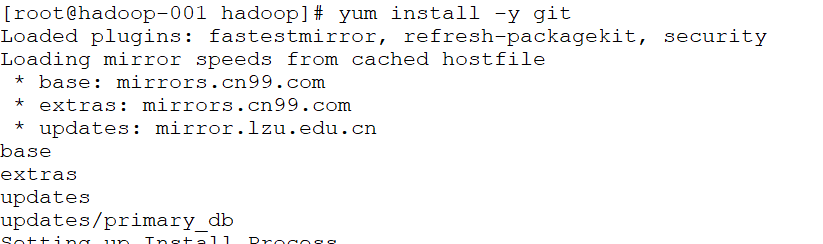
git安装
yum install -y git

(3)elasticsearch5.0之后,elasticsearch-head不做为插件放在其plugins目录下了。
使用git拷贝elasticsearch-head到本地
cd ~
git clone git://github.com/mobz/elasticsearch-head.git
(4)安装elasticsearch-head依赖包
[root@localhost local]# npm install -g grunt-cli
[root@localhost _site]# cd /usr/local/elasticsearch-head/
[root@localhost elasticsearch-head]# cnpm install
(5)修改Gruntfile.js
[root@localhost _site]# cd /usr/local/elasticsearch-head/
[root@localhost elasticsearch-head]# vi Gruntfile.js
在connect-->server-->options下面添加:hostname:’*’,允许所有IP可以访问
(6)修改elasticsearch-head默认连接地址
[root@localhost elasticsearch-head]# cd /usr/local/elasticsearch-head/_site/
[root@localhost _site]# vi app.js
将this.base_uri = this.config.base_uri || this.prefs.get("app-base_uri") || "http://localhost:9200";中的localhost修改成你es的服务器地址
(7)配置elasticsearch允许跨域访问
打开elasticsearch的配置文件elasticsearch.yml,在文件末尾追加下面两行代码即可:
http.cors.enabled: true
http.cors.allow-origin: "*"
(8)打开9100端口
[root@localhost elasticsearch-head]# firewall-cmd --zone=public --add-port=9100/tcp --permanent
重启防火墙
[root@localhost elasticsearch-head]# firewall-cmd --reload
(9)启动elasticsearch
(10)启动elasticsearch-head
[root@localhost _site]# cd ~/elasticsearch-head/
[root@localhost elasticsearch-head]# node_modules/grunt/bin/grunt server 或者 npm run start
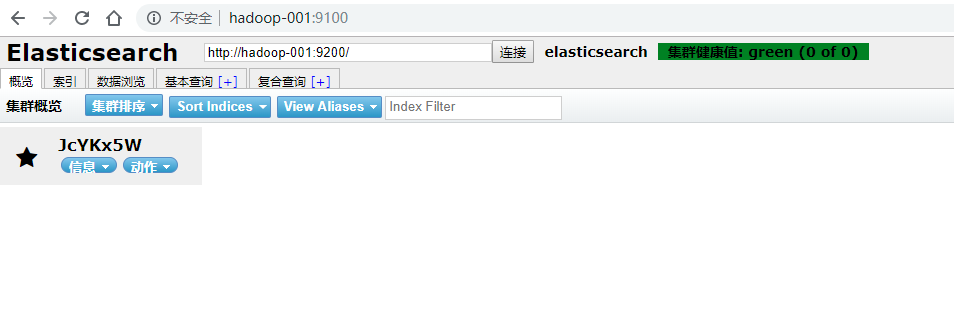
(11)访问elasticsearch-head
关闭防火墙:systemctl stop firewalld.service
浏览器输入网址:hadoop-001:9100/
安装Kibana
Kibana是一个针对Elasticsearch的开源分析及可视化平台,使用Kibana可以查询、查看并与存储在ES索引的数据进行交互操作,使用Kibana能执行高级的数据分析,并能以图表、表格和地图的形式查看数据
(1)下载Kibana
https://www.elastic.co/downloads/kibana
(2)把下载好的压缩包拷贝到/soft目录下
(3)解压缩,并把解压后的目录移动到/user/local/kibana
(4)编辑kibana配置文件
[root@localhost /]# vi /usr/local/kibana/config/kibana.yml
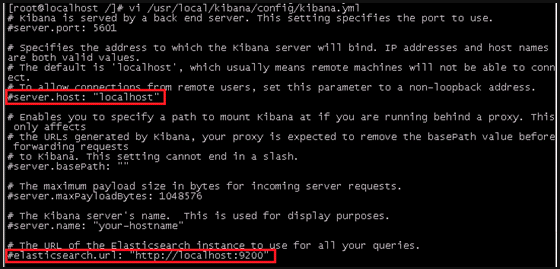
将server.host,elasticsearch.url修改成所在服务器的ip地址
server.port: 5601 //监听端口
server.host: "hadoo-001" //监听IP地址,建议内网ip
elasticsearch.url: "http:/hadoo-001" //elasticsearch连接kibana的URL,也可以填写192.168.137.188,因为它们是一个集群
(5)开启5601端口
Kibana的默认端口是5601
开启防火墙:systemctl start firewalld.service
开启5601端口:firewall-cmd --permanent --zone=public --add-port=5601/tcp
重启防火墙:firewall-cmd –reload
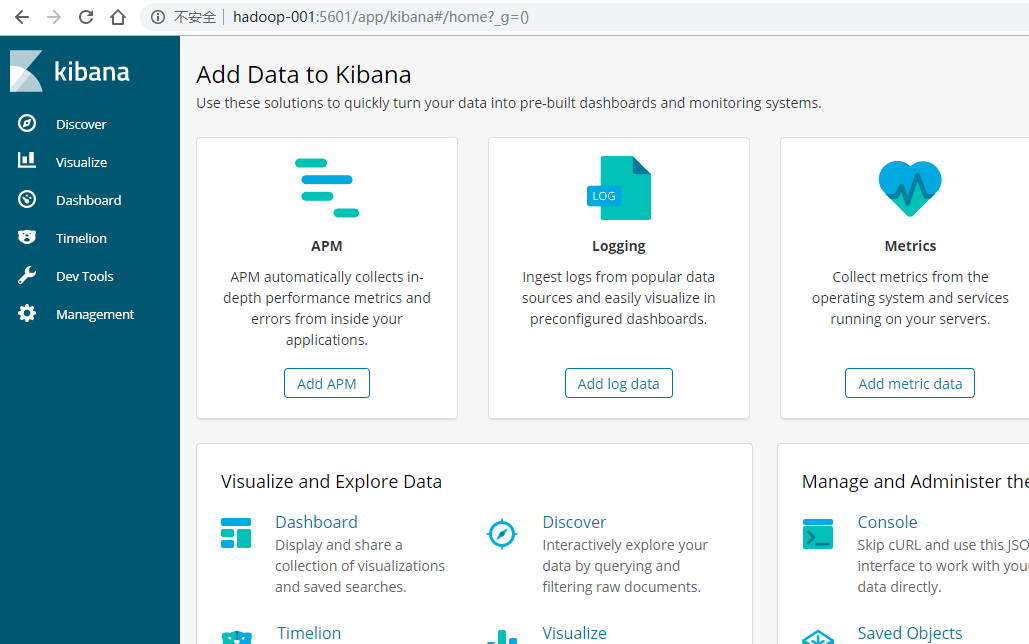
(6)启动Kibana
[root@localhost /]# /usr/local/kibana/bin/kibana
浏览器访问:http://192.168.137.188:5601
安装中文分词器
一.离线安装
(1)下载中文分词器
https://github.com/medcl/elasticsearch-analysis-ik
下载elasticsearch-analysis-ik-master.zip
(2)解压elasticsearch-analysis-ik-master.zip
unzip elasticsearch-analysis-ik-master.zip
(3)进入elasticsearch-analysis-ik-master,编译源码
mvn clean install -Dmaven.test.skip=true
(4)在es的plugins文件夹下创建目录ik
(5)将编译后生成的elasticsearch-analysis-ik-版本.zip移动到ik下,并解压
(6)解压后的内容移动到ik目录下
二.在线安装
./elasticsearch-plugin install https://github.com/medcl/elasticsearch-analysis-ik/releases/download/v6.2.4/elasticsearch-analysis-ik-6.2.4.zip