Harbor 是什么?
harbor VMware 开发的一个容器镜像仓库,harbor的功能提供用户权限管理、镜像复制等功能,提高使用的registry的效率。
安装最新版的docker可以参考docker的官网
https://docs.docker.com/install/linux/docker-ce/centos/
一、安装docker
环境:centos7.5 2c2g
安装依赖
sudo yum install -y yum-utils
  device-mapper-persistent-data
  lvm2

安装源(使用阿里云源)
 sudo yum-config-manager --add-repo http://mirrors.aliyun.com/docker-ce/linux/centos/docker-ce.repo

查看docker版本

yum list docker-ce --showduplicates | sort -r

docker-ce.x86_64            3:18.09.3-3.el7                    docker-ce-stable
docker-ce.x86_64            3:18.09.2-3.el7                    docker-ce-stable
docker-ce.x86_64            3:18.09.1-3.el7                    docker-ce-stable
docker-ce.x86_64            3:18.09.0-3.el7                    docker-ce-stable
docker-ce.x86_64            18.06.3.ce-3.el7                   docker-ce-stable
docker-ce.x86_64            18.06.2.ce-3.el7                   docker-ce-stable
docker-ce.x86_64            18.06.1.ce-3.el7                   docker-ce-stable
docker-ce.x86_64            18.06.0.ce-3.el7                   docker-ce-stable
docker-ce.x86_64            18.03.1.ce-1.el7.centos            docker-ce-stable
docker-ce.x86_64            18.03.0.ce-1.el7.centos            docker-ce-stable

安装docker
sudo yum install docker-ce-18.06.3.ce-3.el7
二、配置docker 加速
安装好docker之后配置国内镜像拉取,配置的文件是 /etc/docker/daemon.json
这个文件刚开始的时候是没有的。需要手动创建。或者使用daocloud 上面配置
访问:https://www.daocloud.io/mirror 拉倒最下面
查看Docker加速器
Linux :curl -sSL https://get.daocloud.io/daotools/set_mirror.sh | sh -s http://f1361db2.m.daocloud.io
配置好了后重启docker

systemctl  daemon-reload
systemctl  restart docker
三、配置harbor 镜像仓库
使用harbor镜像仓库的好处,图形化界面,方便管理。
安装harbor 我们需要 安装Docker Compose。
安装docker compose 我们还是参考docker官方文档 :https://docs.docker.com/compose/install/
sudo curl -L "https://github.com/docker/compose/releases/download/1.23.2/docker-compose-$(uname -s)-$(uname -m)" -o /usr/local/bin/docker-compose

chmod +x /usr/local/bin/docker-compose
下载harbor 安装包
访问:https://github.com/goharbor/harbor/releases
我们可以看到harbor的包有两种,一种是offline(离线安装),一种是online(在线安装)。我们选择离线安装。

wget https://storage.googleapis.com/harbor-releases/release-1.7.0/harbor-offline-installer-v1.7.4.tgz

解压
tar -zxf harbor-offline-installer-v1.7.4.tgz
解压完成后 进入harbor目录,我们只需要修改harbor.cfg文件中hostname,将reg.mydomain.com 换成你宿主机的IP地址
 sed -i s'/reg.mydomain.com/192.168.1.200/' harbor.cfg

执行
./prepare
执行成功后
./install.sh
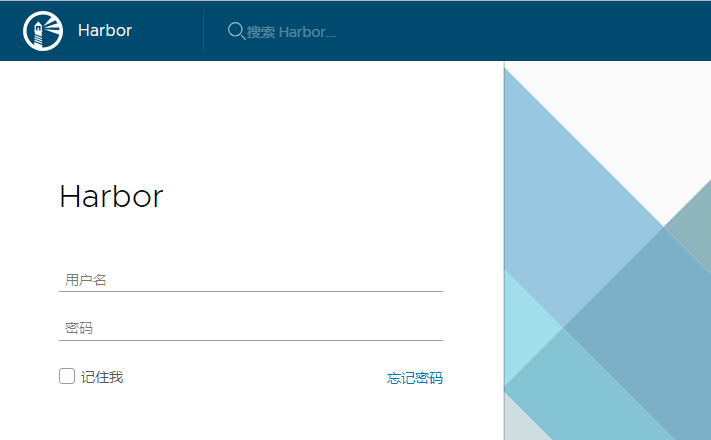
安装完成后访问宿主机IP地址。
默认用户名密码是:admin Harbor12345
配置docker镜像仓库
vim /etc/docker/daemon.json
{
 "registry-mirrors": ["http://f1361db2.m.daocloud.io"], #镜像加速地址
 "insecure-registries": ["192.168.1.200"], #docker镜像仓库地址
}

重启docker
systemctl daemon-reload
systemctl  restart docker
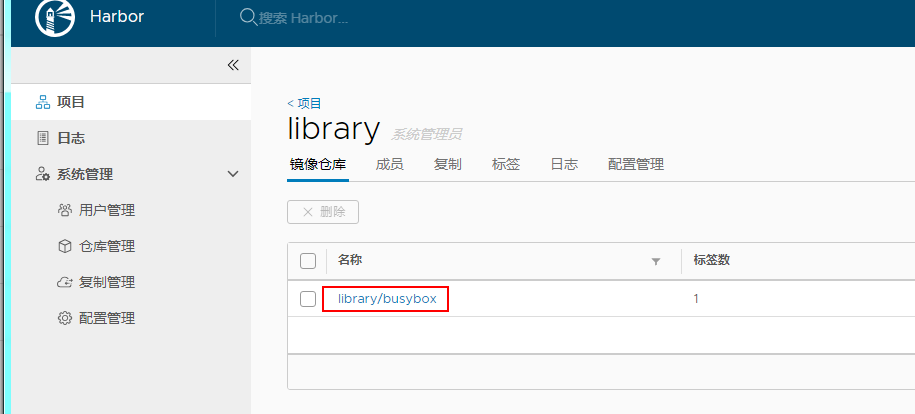
测试
docker pull busybox

docker tag busybox:latest 192.168.1.200:80/library/busybox:v1

docker login 192.168.1.200:80  #登录Harbor镜像仓库

docker push 192.168.1.200:80/library/busybox:v1 #推送镜像到仓库
四、镜像安全
harbor 如果放在公网上,一般都不要暴露使用默认端口,防止攻击。
1、修改docker-compose.yml文件映射为1180端口:
  proxy:
    image: goharbor/nginx-photon:v1.7.4
    container_name: nginx
    restart: always
    cap_drop:
      - ALL
    cap_add:
      - CHOWN
      - SETGID
      - SETUID
      - NET_BIND_SERVICE
    volumes:
      - ./common/config/nginx:/etc/nginx:z
    networks:
      - harbor
    dns_search: .
    ports:
      - 1180:80
      - 443:443
      - 4443:4443
    depends_on:
      - postgresql
      - registry
      - core
      - portal
      - log
只修改 docker-compose.yml文件 web页面访问正常,但docker login时,会出现问题
[root@server ~]# docker login 192.168.1.200:1180
Username: admin
Password:
Error response from daemon: Get http://192.168.1。200:1180/v2/: unable to decode token response: invalid character 'A' looking for beginning of value
2、修改common/templates/registry/config.yml 这个文件,将1180端口加入里面
vim common/templates/registry/config.yml

auth:
  token:
    issuer: harbor-token-issuer
    realm: $public_url:1180/service/token
    rootcertbundle: /etc/registry/root.crt
    service: harbor-registry
3、重启harbor
docker-compose stop
 ./install.sh
4、修改/etc/docker/daemon.json
{
  "registry-mirrors": ["http://f1361db2.m.daocloud.io"],
  "insecure-registries": ["192.168.1.200:1180"]
}
5、重启docker
systemctl daemon-reload
systemctl  restart docker
6、重新打tag,推送harbor
docker tag busybox:latest 192.168.1.200:1180/library/busybox:v1
docker login 192.168.1.200:1180
docker push 192.168.1.200:1180/library/busybox:v1

查看web界面是否有此镜像