其实就是别人提供了一个类,读取指定目录下的文件,通过反射方式创建对象。
为什么来说spi?因为spring boot就是通过spi来创建对象的。
首先写一个接口:
public interface TestInterface {
    void test();
}
写几个实现类:
public class TestClass1 implements TestInterface {

    @Override
    public void test() {
        System.out.println("TestClass1");
    }
    public TestClass1(){
        System.out.println("构造器:TestClass1");
    }
}
public class TestClass2 implements TestInterface {

    @Override
    public void test() {
        System.out.println("TestClass2");
    }
    public TestClass2(){
        System.out.println("构造器:TestClass2");
    }
}
public class TestClass3 implements TestInterface {

    @Override
    public void test() {
        System.out.println("TestClass3");
    }
    public TestClass3(){
        System.out.println("构造器:TestClass3");
    }
}
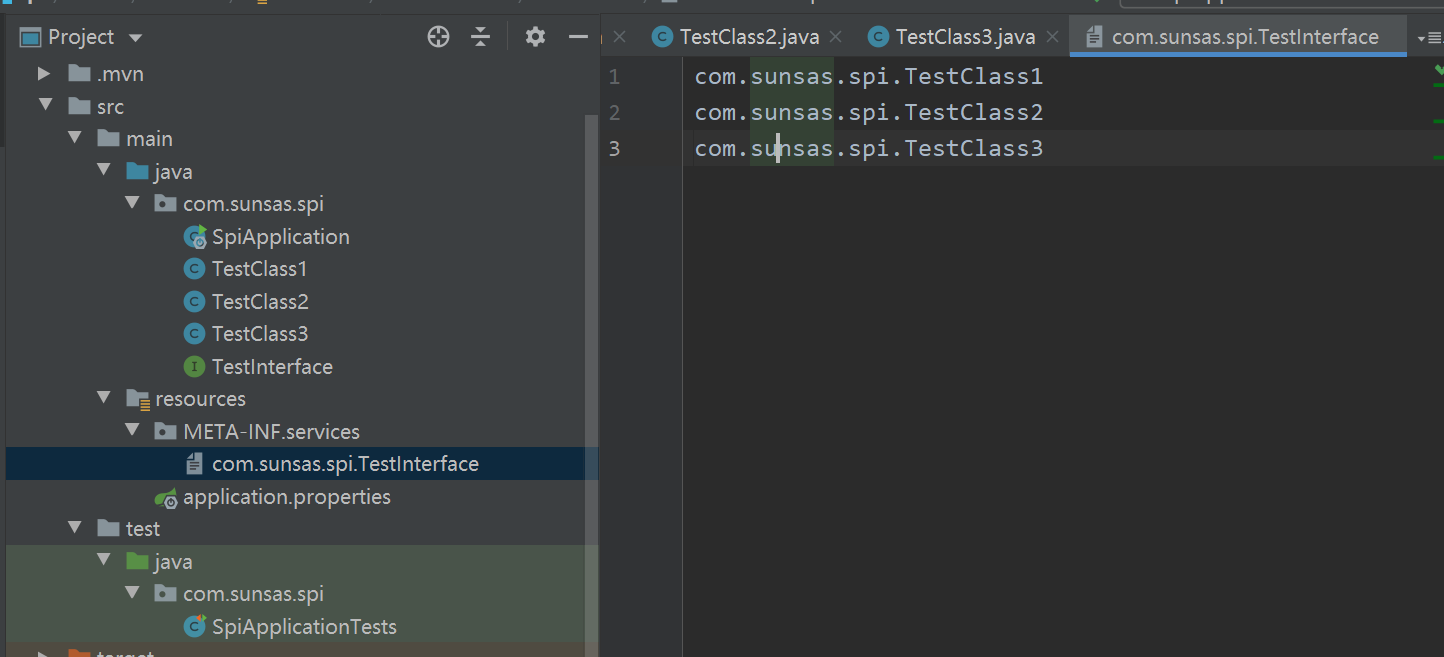
要使用spi,必须遵守其规范,要求在根目录下新建META-INF/services,
新建文件,文件名与接口全类名一致,这里为com.sunsas.spi.TestInterface
内容为其实现类全类名:
com.sunsas.spi.TestClass1
com.sunsas.spi.TestClass2
com.sunsas.spi.TestClass3
编写测试类:
import org.junit.jupiter.api.Test;
import org.springframework.boot.test.context.SpringBootTest;
import sun.misc.Service;

import java.util.Iterator;
import java.util.ServiceLoader;

@SpringBootTest
class SpiApplicationTests {

    @Test
    void test() {
        ServiceLoader<TestInterface> load = ServiceLoader.load(TestInterface.class);
        Iterator<TestInterface> iterator = load.iterator();
        while(iterator.hasNext()){
            TestInterface next = iterator.next();
            next.test();
        }
        System.out.println("----------------------------------");
        // 下面这种方式也可以
        Iterator<TestInterface> providers = Service.providers(TestInterface.class);
        while(providers.hasNext()){
            TestInterface next = providers.next();
            next.test();
        }
    }
}
两者输出结果一致:
构造器:TestClass1
TestClass1
构造器:TestClass2
TestClass2
构造器:TestClass3
TestClass3