Ansible
简介
Ansible 是一款为类 Unix 系统开发的自由开源的配置和自动化工具。它用 Python 写成,类似于saltstack 和 Puppet,但是有一个不同和优点是我们不需要在节点中安装任何客户端。它使用 SSH 来和节点进行通信。 Ansible 基于 Python paramiko 开发,分布式,无需客户端,轻量级,配置语法使用 YMAL 及 Jinja2 模板语言,更强的远程命令执行操作
特点
- 其只需要在主控端配置 无需再被控端配置 被控端同步主控端
- 使用SSH远程连接 无需客户端
- 支持API自定义模块 可以通过Python进行扩展
- 对大数据 云计算有良好的支持
- 通过 Playbooks 来定制强大的配置、状态管理
工作流程
Ansible 在管理节点将 Ansible 模块通过 SSH 协议推送到被管理端执行,执行完之后自动删除,可以使用 SVN 等来管理自定义模块及编排。
| Ansible | Ansible核心 |
|---|---|
| Modules | Ansible自带的功能模块以及自定义模块 |
| Plugins | Ansible完成模块功能的补充插件 例如:连接插件 邮件插件 |
| Playbooks | 定义Ansible多任务配置文件 由Ansible自动执行 |
| Inventory | 定义管理主机的清单 |

Ansible基础用法
实验环境
ansible 服务端 server 10.1.1.1

ansible 节点 1:client 10.1.1.1

ansible 节点 2:client 10.1.1.2
安装Ansible
# Ansible 仓库默认不在 yum 仓库中,因此我们需要使用下面的命令启用 epel 仓库。
[root@server ~]# yum install epel-release -y

# 使用 yum 安装 Ansible
[root@server ~]# yum install ansible -y

# 安装完成后,检查 ansible 版本:
[root@server ~]# ansible --version
参数讲解
# Ansible 语法格式
ansible [-i 主机文件] [-f 批次] [组名] [-m 模块名称] [-a 模块参数]
| 参数 | 功能 |
|---|---|
| -v | 命令执行成功 输出详细结果 |
| -i | 指定hosts文件路径 |
| -f | 指定开启同步进程的个数 |
| -m | 指定modul模块的名称 默认使用command模块 |
| -a | 指定 module 模块的参数 |
| -k | 提示输入 ssh 的密码,而不是使用基于 ssh 的密钥认证 |
| -sudo | 指定使用 sudo 获得 root 权限 |
| -K | 提示输入 sudo 密码,与 -sudo 一起使用 |
| -u | 指定移动端的执行用户 |
| -C | 测试此命令执行会改变什么内容,不会真正的去执行 |
| ansible-doc -l | 列出所有的模块列表 |
| nsible-doc -s + 模块名称 | 查看指定模块的参数 |
Ansible实验演示
定义主机清单
# 基于端口,用户,密码定义主机清单
# ansible 基于 ssh 连接-i ( inventory)参数后指定的远程主机时,也可以写端口,用户,密码。

[root@server ~]# vim /etc/ansible/hosts
	[test-ansible]		# 主机组名称
	10.1.1.2 ansible_ssh_port=22 ansible_ssh_user=root ansible_ssh_pass=root123		# 主机成员

[root@server ~]# ssh root@10.1.1.2	# 远程连接一下客户端	因为其不能交互信息 因此没办法确认账号密码是否正确 需要使用账号密码验证身份

[root@server ~]# ansible -i /etc/ansible/hosts test-ansible -m ping		# -i 指定主机组名称 -m 使用模块名称

SSH秘钥访问主机清单
# 上述完全暴露了用户名以及密码显然是不安全的
[root@server ~]# ssh-keygen # 生成秘钥 一直回车向下即可
[root@server ~]# ssh-copy-id root@10.1.1.2 # 复制秘钥给节点
[root@server ~]# ssh-copy-id root@10.1.1.1
[root@server ~]# ssh 10.1.1.2 # 查看能否免密登录
[root@server ~]# vim /etc/ansible/hosts
# 此时只需要写主机IP即可
[test-ansible]
10.1.1.1
10.1.1.2
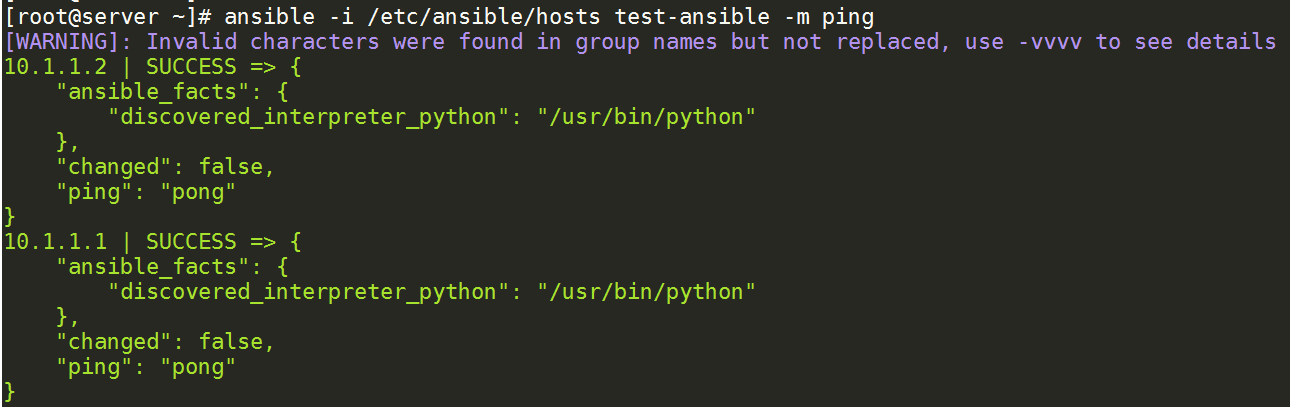
[root@server ~]# ansible -i /etc/ansible/hosts test-ansible -m ping
command
command 模块执行 shell 命令, command:作为 ansible 的默认模块,可以运行远程权限范围内的所有 shell 命令
uptime
检测Ansible节点运行时间
[root@server ~]# ansible -i /etc/ansible/hosts test-ansible -m command -a 'uptime'

uname
查看节点内核版本
[root@server ~]# ansible -i /etc/ansible/hosts test-ansible -m command -a 'uname -r'

useradd
给节点增加用户
[root@server ~]# ansible -i /etc/ansible/hosts test-ansible -m command -a 'useradd TestUser'

[root@server ~]# cat /etc/passwd | tail -1

Ansible进阶用法
shell
使用 shell 模块,在远程命令通过/bin/sh 来执行 所以我们在终端输入的各种命令方式,都可以使用。
[root@server ~]# ansible -i /etc/ansible/hosts test-ansible -m command -a 'df -h > test.txt'

[root@server ~]# ansible -i /etc/ansible/hosts test-ansible -m shell -a 'cat /etc/passwd | grep TestUser'

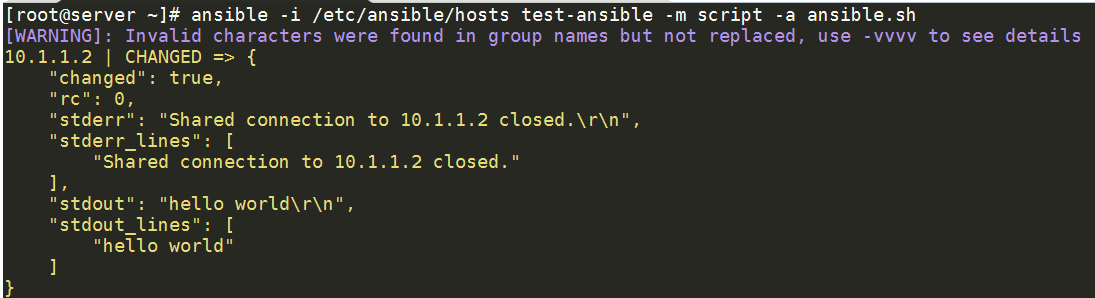
scripts
使用scripts可以执行自定义的shell脚本
[root@client ~]# vim ansible.sh
	#!/bin/bash
	echo "hello world"

[root@server ~]# ansible -i /etc/ansible/hosts test-ansible -m script -a ansible.sh
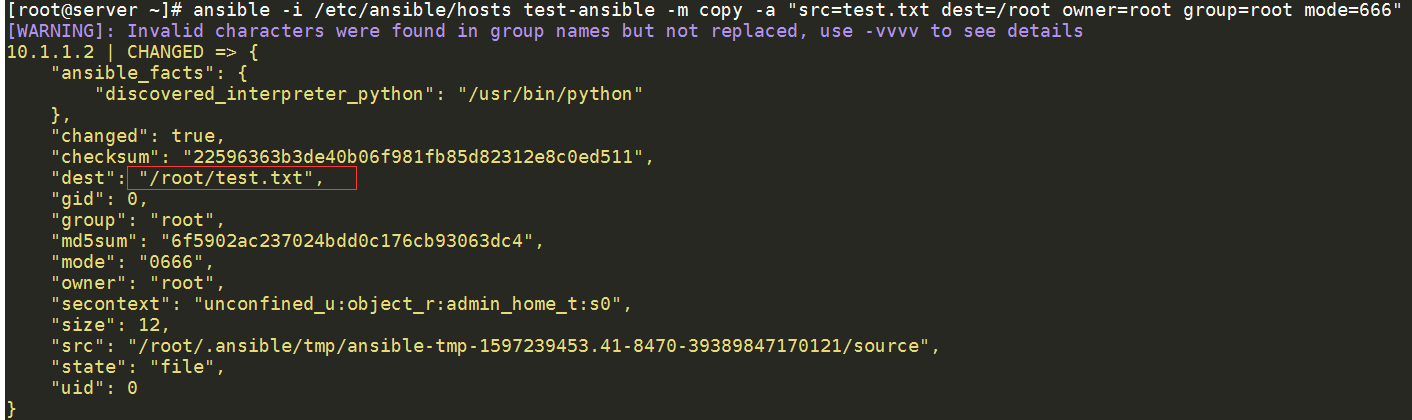
copy
实现主控制端向被控制端复制文件
# 复制test.txt文件到被控制端/root目录下 属主与属组均为root 权限为666
[root@server ~]# ansible -i /etc/ansible/hosts test-ansible -m copy -a "src=test.txt dest=/root owner=root group=root mode=666"

[root@client ~]# ll test.txt
-rw-rw-rw-. 1 root root 12 8月  12 21:37 test.txt
file
设置文件属性
# 此时控制端以及被控制端的需要修改文件一定要存在
[root@server ~]# ansible -i /etc/ansible/hosts test-ansible -m file -a "path=test.txt mode=0777"

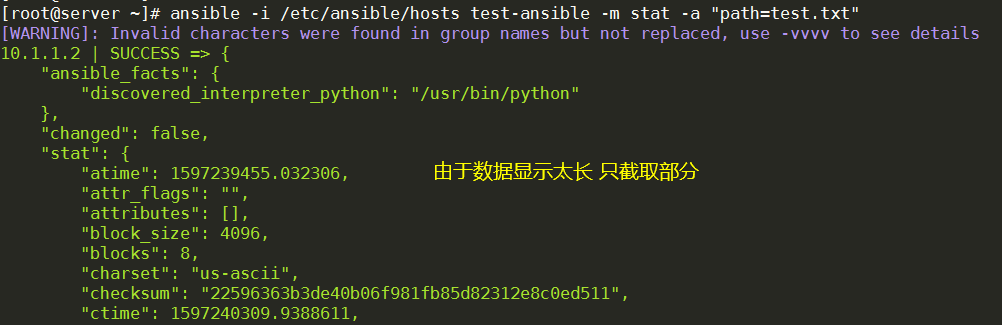
stat
获取远程节点文件信息
[root@server ~]# ansible -i /etc/ansible/hosts test-ansible -m stat -a "path=test.txt"
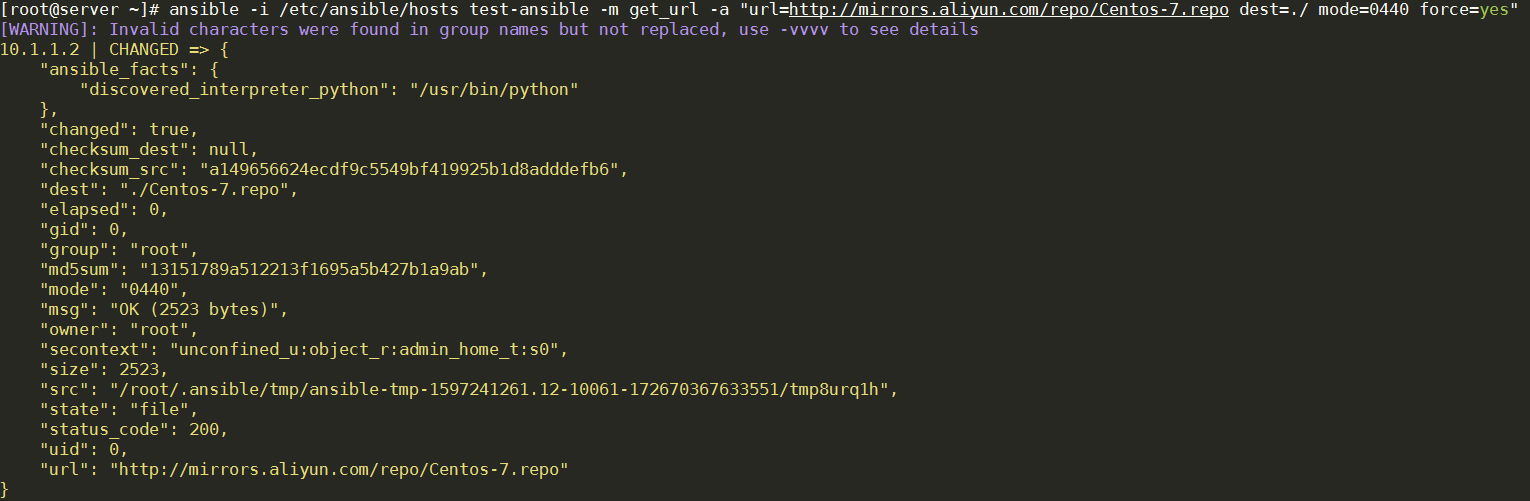
get_url
实现远程主机下载指定 url 到本地,支持 sha256sum 文件校验
# url=https://xxx #等号=前后不能有空格
[root@server ~]# ansible -i /etc/ansible/hosts test-ansible -m get_url -a "url=http://mirrors.aliyun.com/repo/Centos-7.repo dest=/root mode=0440 force=yes"
force
当本地存在目标文件且文件内容与下载文件内容相同的时候即不会再下载该文件
[root@client ~]# echo hello world > Centos-6.repo	# 被控制端改变文件内容

[root@server ~]# ansible -i /etc/ansible/hosts test-ansible -m get_url -a "url=http://mirrors.aliyun.com/repo/Centos-7.repo dest=/root mode=0440 force=yes"

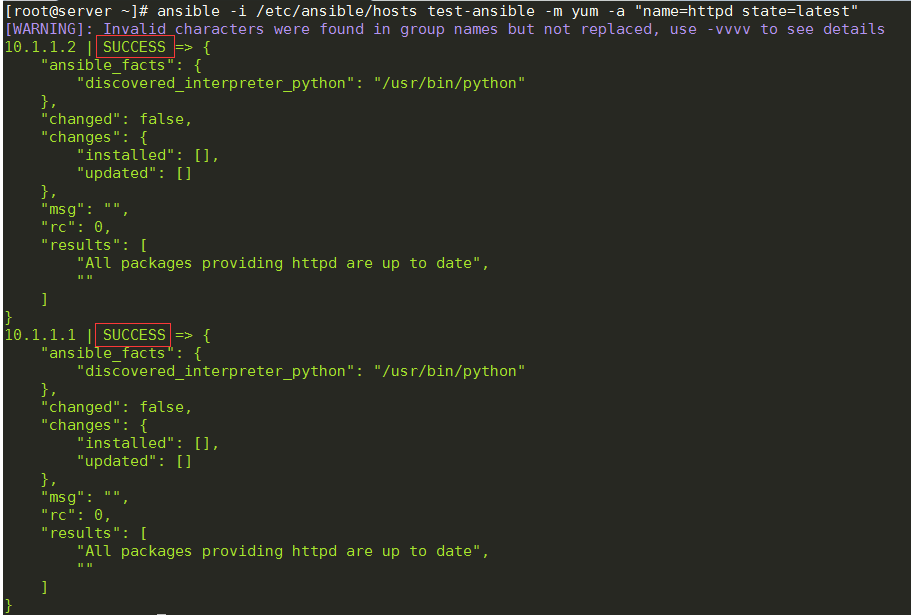
yum
进行网络安装模块
- 安装模块: latest present installed
- 卸载模块: removed, absent
# 安装HTTP服务
[root@server ~]# ansible -i /etc/ansible/hosts test-ansible -m yum -a "name=httpd state=latest"
serviece
管理服务的状态 想使用 service 模块启动服务,被启动的服务,必须可以使用 service 命令启动或关闭
- name:需要操作服务名称 例如:HTTP
- state:指定服务状态 例如:started stoped restarted
- enable:是否设置开机启动
[root@server ~]# ansible -i /etc/ansible/hosts test-ansible -m service -a "name=httpd state=started"

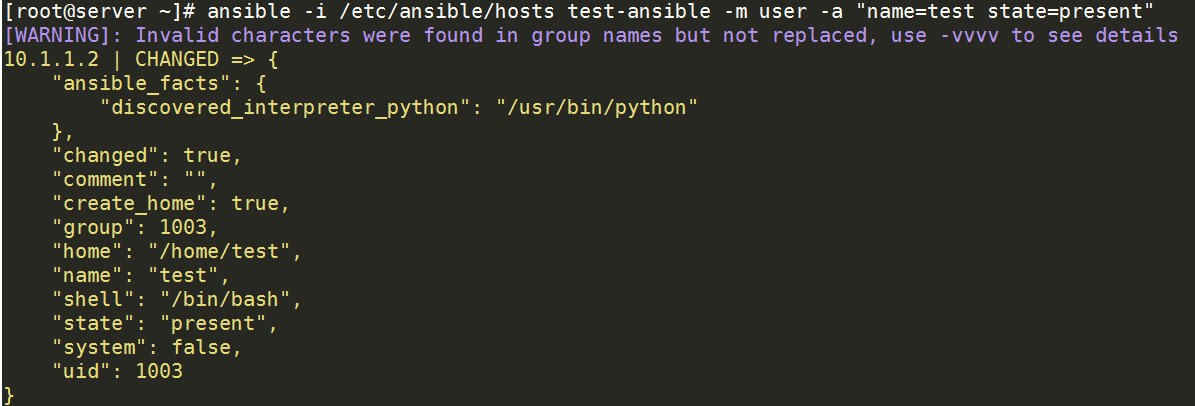
user
远程主机用户管理
[root@server ~]# ansible -i /etc/ansible/hosts test-ansible -m user -a "name=test state=present"

[root@client ~]# id test
uid=1003(test) gid=1003(test) 组=1003(test)
Playbooks
- playbook 是一个不同于使用 ansible 命令行执行方式的模式
- 其通过定义功能更强大更灵活。
任务定义
- name:任务描述信息
- module_name:需要使用的模块名字:模块参数
使用Playbooks搭建LAMP环境
文件作用讲解
| files | 用于存放异地服务器源码文件及配置文件 |
|---|---|
| handlers | 需要进行的操作 例如:start |
| meta | 角色定义, 可留空 |
| tasks | 需要执行的任务 |
| templates | 配置模板 一般为脚本 |
| vars | 定义变量 |
安装LAMP依赖包
[root@server ~]# yum -y install php php-mysql mariadb-server mariadb httpd
配置mysql
[root@server ~]# mkdir -p /mydata/data #创建目录作为数据存放的位置
[root@server ~]# chown -R mysql:mysql /mydata/
[root@server ~]# vim /etc/my.cnf #改变数据存放目录
改: 2 datadir=/var/lib/mysql
为: 2 datadir=/mydata/data
[root@server ~]# systemctl start mariadb #启动 MariaDB
提供PHP测试页
[root@server ~]# vim /var/www/html/index.php
	<?php
		phpinfo();
	?>
[root@server ~]# systemctl restart httpd

创建相关文件夹
[root@server ~]# mkdir -pv etc/ansible/lamp/roles/{prepare,httpd,mysql,php}/{tasks,files,templates,vars,meta,default,handlers}

# 将http与mysql配置文件导入到相应的文件夹中
[root@server ~]# cd /etc/ansible/
[root@server ~]# cp /etc/httpd/conf/httpd.conf lamp/roles/httpd/files/
[root@server ~]# cp /etc/my.cnf lamp/roles/mysql/files/
前期准备(prepare)Playbooks
[root@server ~]# cd /etc/ansible/
[root@server ansible]# vim lamp/roles/prepare/tasks/main.yml #复制以下内容到文件中,配置好 yum 源

- name: delete yum config
 shell: rm -rf /etc/yum.repos.d/* #删除原有的 yum 配置文件
- name: provide yumrepo file
 shell: wget -O /etc/yum.repos.d/CentOS-Base.repo http://mirrors.aliyun.com/repo/Centos-7.repo #下载新的 yum 配置文件
- name: clean the yum repo
 shell: yum clean all #清除原有的 yum 缓存信息
- name: clean the iptables
 shell: iptables -F #清除原有防火墙规则,不然后可能上不了网
搭建HTTP任务
[root@server ansible]# cd /etc/ansible/lamp/roles
[root@server roles]# mv /var/www/html/index.php httpd/files/
[root@server roles]# vim httpd/tasks/main.yml #将以下内容复制到文件中

- name: web server install
 yum: name=httpd state=present #安装 httpd 服务
- name: provide test page
 copy: src=index.php dest=/var/www/html #提供测试页
- name: delete apache config
 shell: rm -rf /etc/httpd/conf/httpd.conf	# 删除原有的配置文件 因为如果不删除新下载的与原有的相同 则复制命令不会进行
- name: provide configuration file
 copy: src=httpd.conf dest=/etc/httpd/conf/httpd.conf #提供 httpd 的配置文件
 notify: restart httpd #当前面的 copy 复制成功后,通过 notify 通知名字为 restart httpd的 handlers 运行。
搭建HTTP的handlers
[root@server roles]# vim httpd/handlers/main.yml
- name: restart httpd
 service: name=httpd enabled=yes state=restarted
搭建数据库
# 创建 MySQL 服务的任务,需要安装 MySQL 服务,改变属主信息,启动 MySQL
[root@server roles]# cd /etc/ansible/lamp/roles
[root@server roles]# vim mysql/tasks/main.yml
- name: install the mysql
yum: name=mariadb-server state=present #安装 mysql 服务
- name: mkdir date directory
shell: mkdir -p /mydata/data #创建挂载点目录
- name: provide configration file
copy: src=my.cnf dest=/etc/my.cnf #提供 mysql 的配置文件
- name: chage the owner
shell: chown -R mysql:mysql /mydata/* #更改属主和属组
- name: start mariadb
service: name=mariadb enabled=yes state=started #启动 mysql 服务
搭建PHP任务
[root@server roles]# vim php/tasks/main.yml
- name: install php
 yum: name=php state=present #安装 php
- name: install php-mysql
 yum: name=php-mysql state=present #安装 php 与 mysql 交互的插件
定义整个执行任务
[root@server roles]# cd /etc/ansible/lamp/roles
[root@server roles]# vim site.yml #写入以下内容
- name: LAMP build
 remote_user: root
 hosts: test-ansible
 roles:
  - prepare
  - mysql
  - php
  - httpd
PS:空格一定要注意

[root@server roles]# ansible-playbook -i /etc/ansible/hosts /etc/ansible/lamp/roles/site.yml	# 执行任务
