1.javabean是一种规范
2.在servlet中我们都会接触数据库,需要将连接数据库的那段代码复制粘贴修改,放入我们写的servlet程序中。如果我们有100个servlet,需要复制粘贴修改100次,那样就显得没有意义了,所以这时候的javabean的含义是一个数据库连接类,让我们调用。
3.如未有javabean的代码
 1 import java.sql.Connection;
 2 import java.sql.DriverManager;
 3 import java.sql.SQLException;
 4 import java.util.Properties;
 5 import javax.servlet.http.HttpServlet;
 6 import javax.servlet.http.HttpServlet;import java.io.IOException;
 7 import java.io.*;
 8 import javax.servlet.http.HttpServletRequest;
 9 import javax.servlet.http.HttpServletResponse;
10 public class ServletMysql extends HttpServlet {
11
12  protected void doGet(HttpServletRequest req, HttpServletResponse resp) throws IOException{
13
14     try {
15             // The newInstance() call is a work around for some
16             // broken Java implementations
17
18             Class.forName("com.mysql.jdbc.Driver").newInstance();
19              System.out.println("heo");
20             Connection conn =
21        DriverManager.getConnection("jdbc:mysql://localhost/test?" +
22                                    "user=root&password=root");
23
24
25
26
27
28
29      System.out.println(conn);
30       PrintWriter out =resp.getWriter();
31       out.println("<html><head><head/><body><h1>hello<h1><body/><html/>");
32       out.flush();
33       out.close();
34
35         } catch (Exception ex) {
36             // handle the error
37         }
38
39
40
41
42
43
44
45 }
4.将连接数据库的代码和相关引入的包抽取出来新建立一个类
 1 import java.sql.Connection;
 2 import java.sql.DriverManager;
 3 import java.sql.SQLException;
 4 import java.util.Properties;
 5
 6 public class JavaBean {
 7     public static Connection getcon() {
 8         Connection conn =null;
 9
10         try {
11
12
13             Class.forName("com.mysql.jdbc.Driver").newInstance();
14              System.out.println("heo");
15              conn =
16        DriverManager.getConnection("jdbc:mysql://localhost/test?" +
17                                    "user=root&password=root");
18
19
20
21
22
23         } catch (Exception ex) {
24           ex.printStackTrace();
25
26
27
28         }
29
30           return conn;
31 }
32 }
5.将servlet中的代码用到该类
 1 import javax.servlet.http.HttpServlet;
 2 import javax.servlet.http.HttpServlet;
 3 import java.io.IOException;
 4 import java.io.*;
 5 import javax.servlet.http.HttpServletRequest;
 6 import javax.servlet.http.HttpServletResponse;
 7
 8
 9 import java.sql.Connection;
10 import java.sql.DriverManager;
11 import java.sql.SQLException;
12 import java.util.Properties;
13 class httpservlet extends HttpServlet {
14
15  protected void doGet(HttpServletRequest req, HttpServletResponse resp) throws IOException{
16
17
18     Connection conn = JavaBean.getcon();
19     System.out.println(conn);
20
21
22
23     PrintWriter out =resp.getWriter();
24     out.println("<html><head><head/><body><h1>hello<h1><body/><html/>");
25     out.flush();
26     out.close();
27 }
28
29
30
31
32
33
34 }
6.将编译好的两个class部署到tomcat项目中去,然后在浏览器端输入资源访问网址
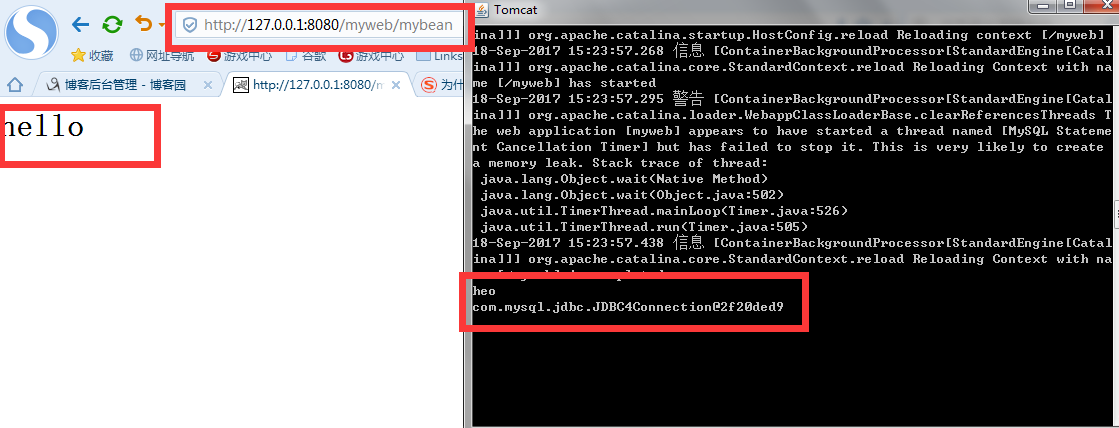
7.可以看到效果,跟未用javabean的结果一样,但是代码量多的话,就不用复制那么多代码了。