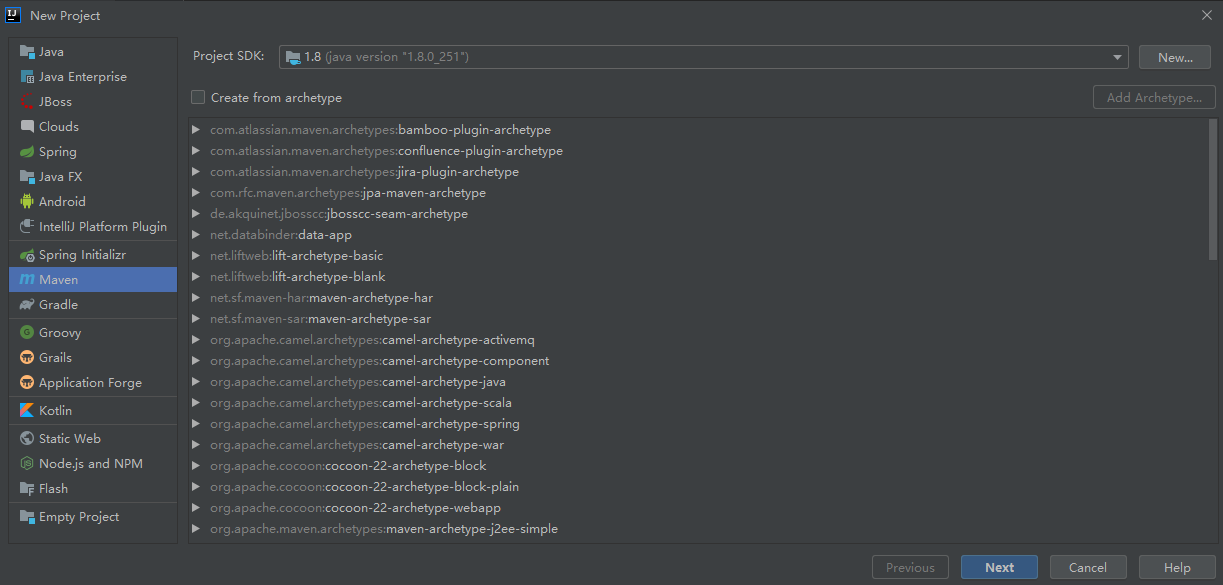
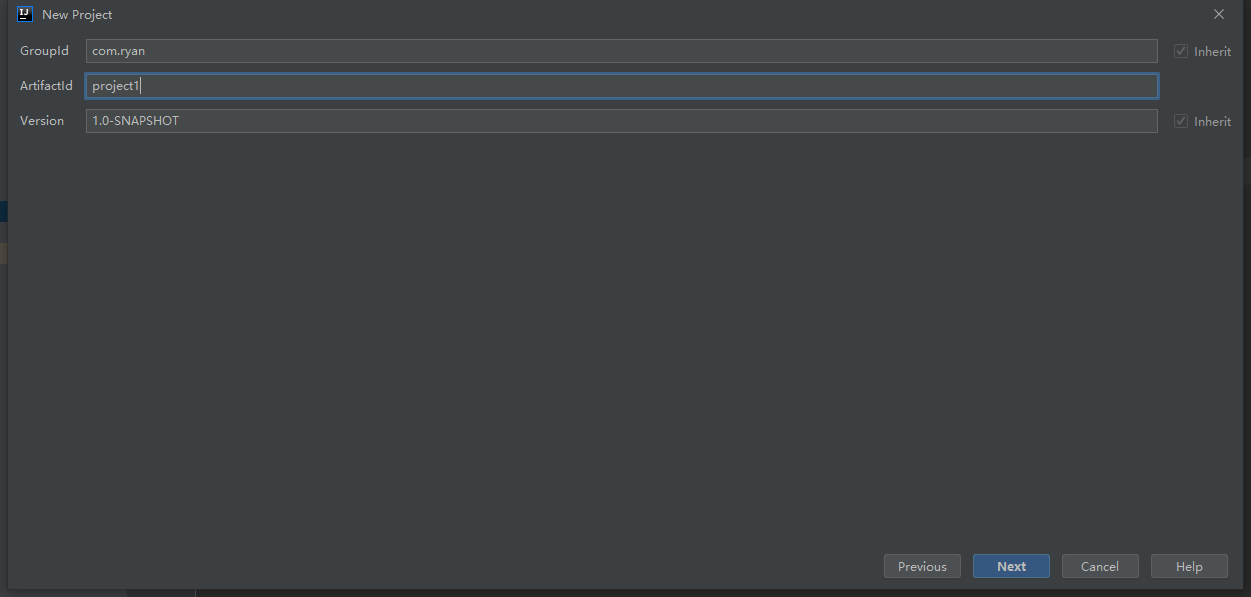
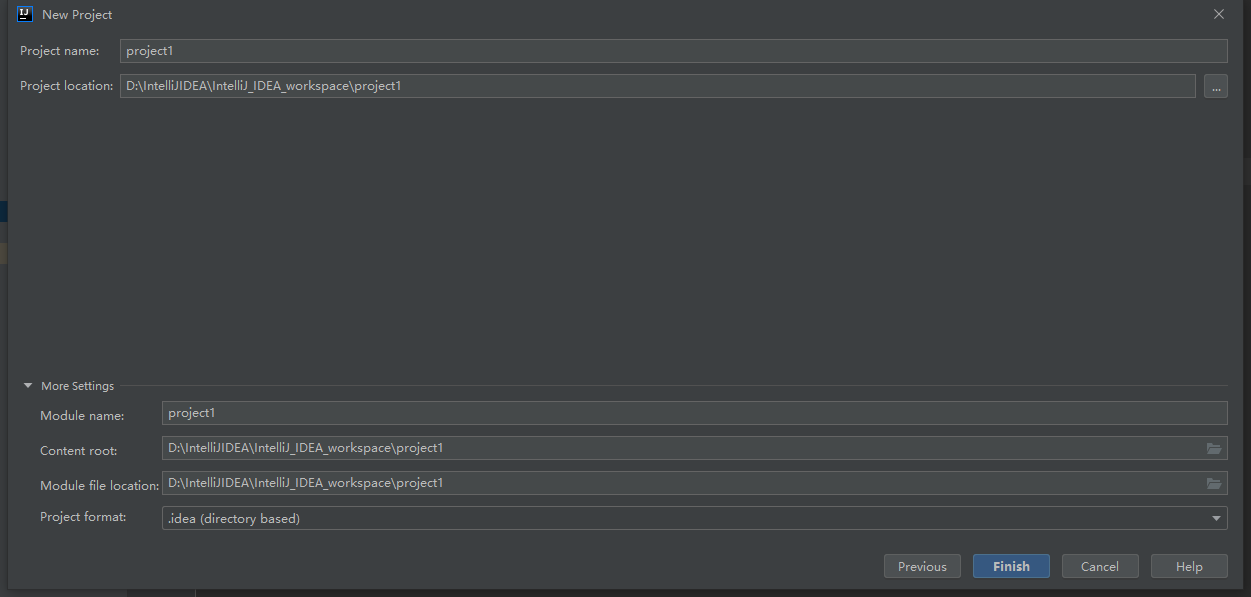
一. 创建一个Maven项目
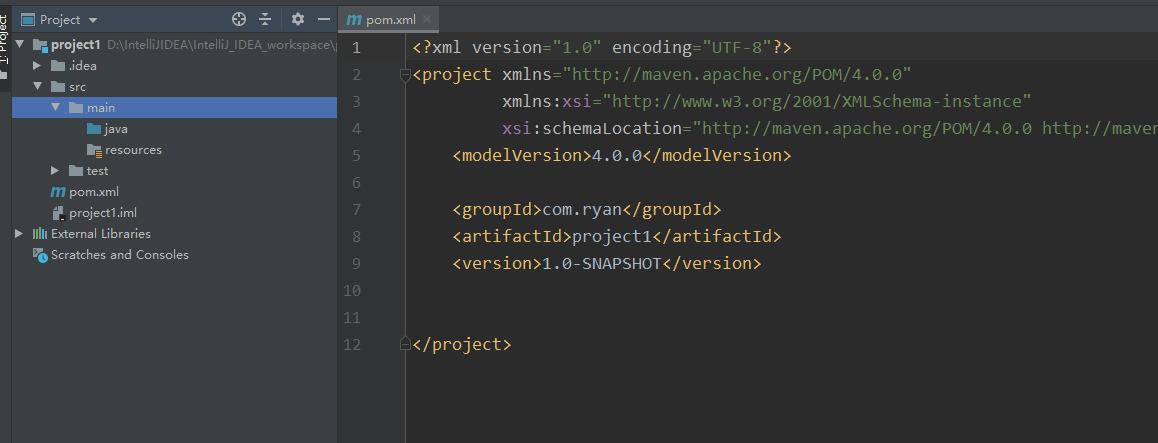
二. 建立目录结构
新建项目的目录结构如下:
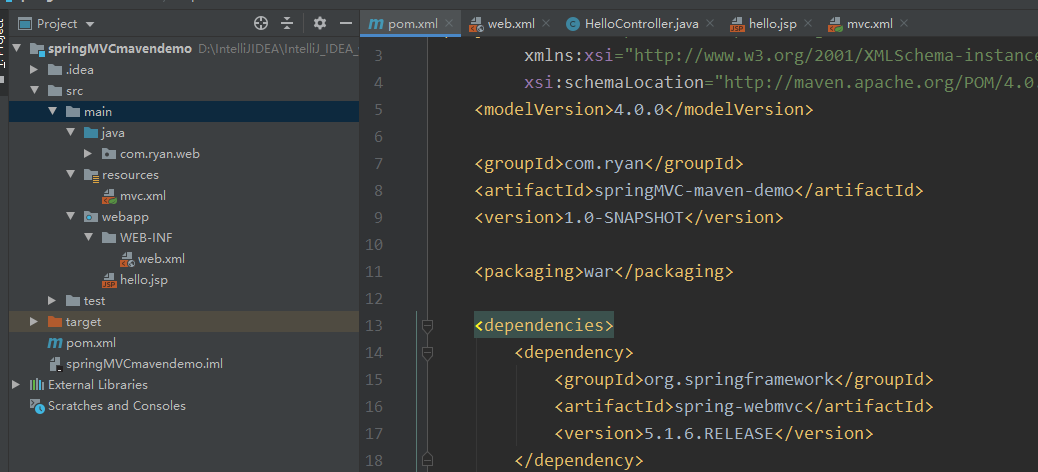
修改后的目录结构如下(先不用设置成一样, 按后面步骤操作即可):
具体步骤如下:
1. 在src/main目录下新建webapp目录, 其下再新建WEB-INF目录
2. 在pom.xml文件中配置
    <packaging>war</packaging>

    <dependencies>
        <dependency>
            <groupId>org.springframework</groupId>
            <artifactId>spring-webmvc</artifactId>
            <version>5.1.6.RELEASE</version>
        </dependency>
    </dependencies>
3. 在WEB-INF目录下自动生成web.xml文件, 方法如下:

把路径改成自己的:
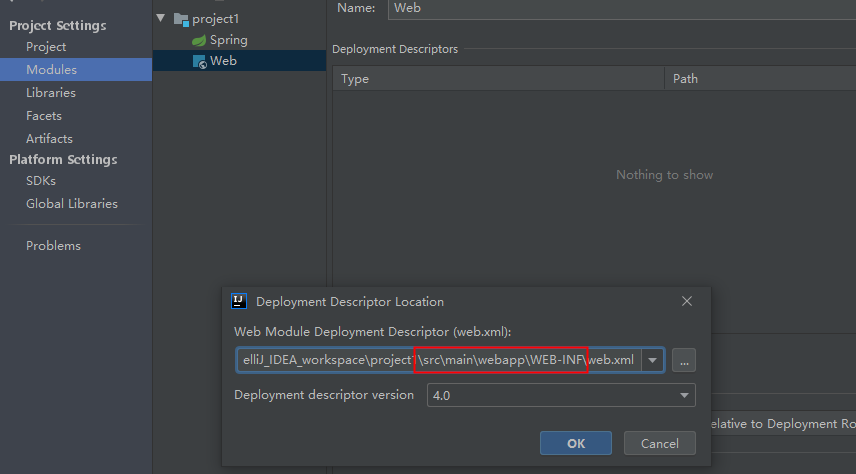
确认, WEB-INF下就生成了web.xml文件:
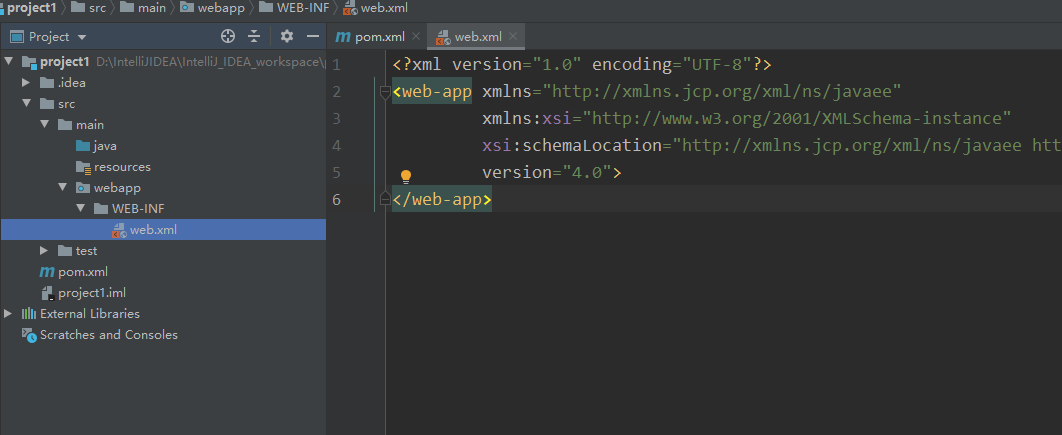
三. 配置web.xml (mvc.xml后面配)
<?xml version="1.0" encoding="UTF-8"?>
<web-app xmlns="http://xmlns.jcp.org/xml/ns/javaee"
         xmlns:xsi="http://www.w3.org/2001/XMLSchema-instance"
         xsi:schemaLocation="http://xmlns.jcp.org/xml/ns/javaee http://xmlns.jcp.org/xml/ns/javaee/web-app_4_0.xsd"
         version="4.0">

    <!--springMVC前端控制器-->
    <servlet>
        <servlet-name>mvc_shine</servlet-name>
        <servlet-class>org.springframework.web.servlet.DispatcherServlet</servlet-class>
        <!--配置mvc.xml配置文件-->
        <init-param>
            <param-name>contextConfigLocation</param-name>
            <param-value>classpath:mvc.xml</param-value>
        </init-param>

        <!--设置为饿汉式加载(原来为懒汉加载)-->
        <load-on-startup>1</load-on-startup>
    </servlet>
    <servlet-mapping>
        <servlet-name>mvc_shine</servlet-name>
        <url-pattern>/</url-pattern>
    </servlet-mapping>
</web-app>
四. 在main/java目录下新建后端控制器, 即一个普通Java类:
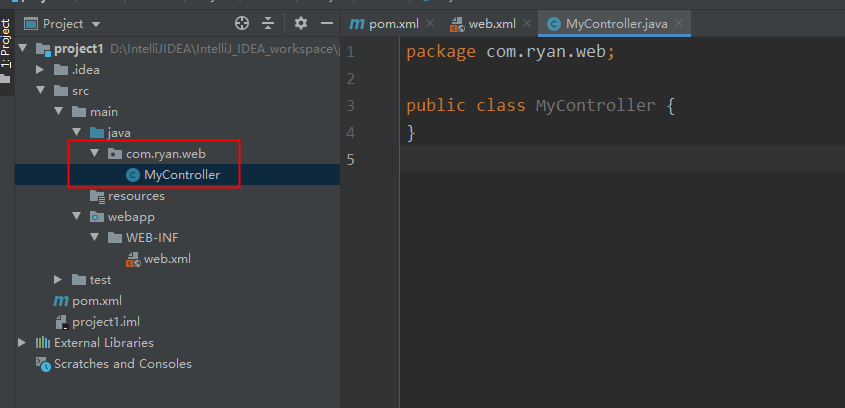
内容如下:
package com.ryan.web;

import org.springframework.stereotype.Controller;
import org.springframework.web.bind.annotation.RequestMapping;

@Controller
@RequestMapping("/hello")
public class MyController {

    @RequestMapping("/test1")
    public String hello1(){
        System.out.println("hello1");
        return "hello";
    }

    @RequestMapping("/test2")
    public String hello2(){
        System.out.println("hello2");
        return null;
    }
}
五. 在main/resources目录下新建File: mvc.xml
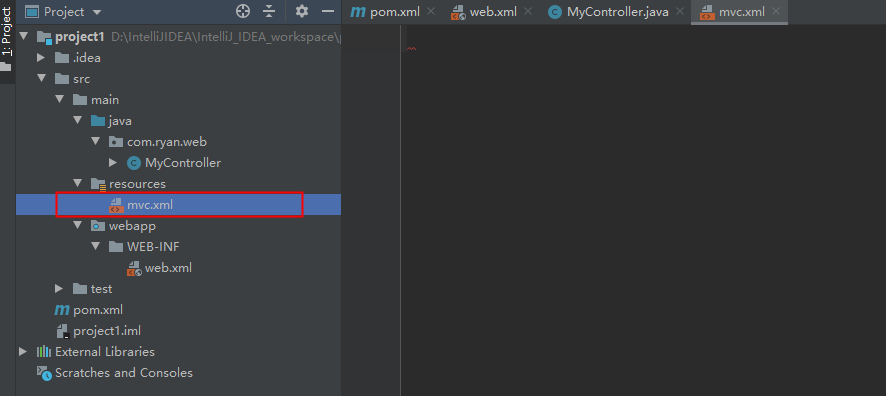
内容如下:
<beans xmlns="http://www.springframework.org/schema/beans"
       xmlns:context="http://www.springframework.org/schema/context"
       xmlns:mvc="http://www.springframework.org/schema/mvc"
       xmlns:xsi="http://www.w3.org/2001/XMLSchema-instance"
       xsi:schemaLocation="http://www.springframework.org/schema/beans
                           http://www.springframework.org/schema/beans/spring-beans.xsd
                           http://www.springframework.org/schema/context
                           http://www.springframework.org/schema/context/spring-context.xsd
                           http://www.springframework.org/schema/mvc
                           http://www.springframework.org/schema/mvc/spring-mvc.xsd">

    <!--注解扫描-->
    <context:component-scan base-package="com.ryan.web"></context:component-scan>

    <!--注解驱动-->
    <mvc:annotation-driven></mvc:annotation-driven>

    <!--视图解析器-->
    <bean class="org.springframework.web.servlet.view.InternalResourceViewResolver">
        <property name="prefix" value="/"></property>
        <property name="suffix" value=".jsp"></property>
    </bean>
</beans>
六. 创建jsp文件: 在webapp目录下新建hello.jsp, 内容如下:

七. 配置Tomcat:
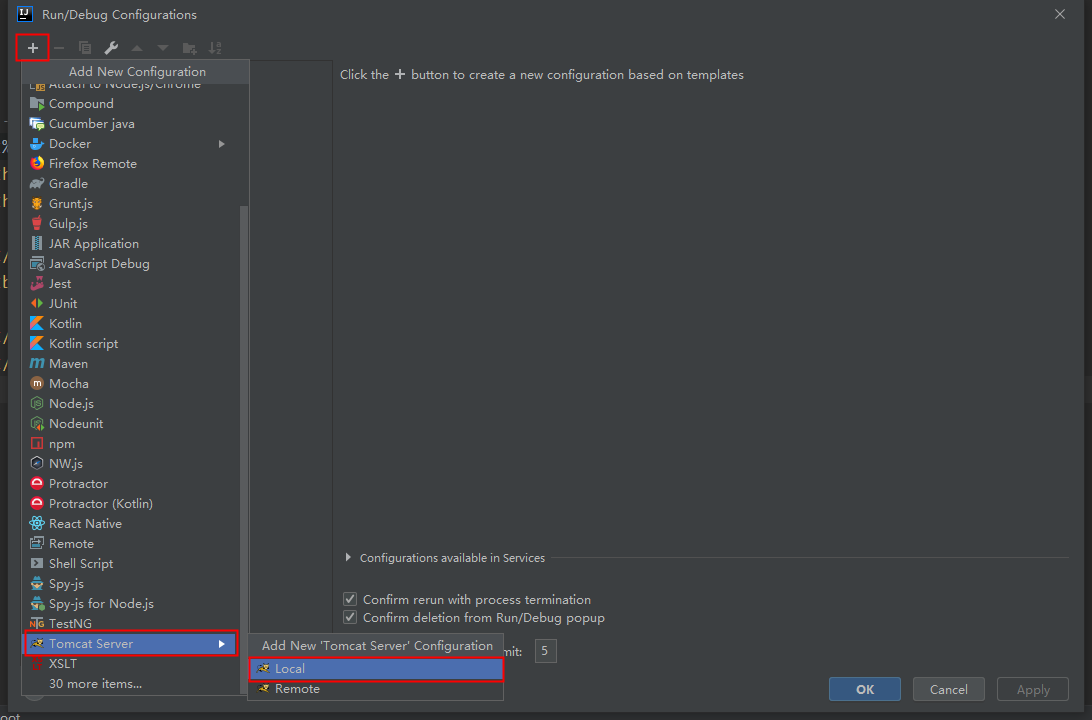
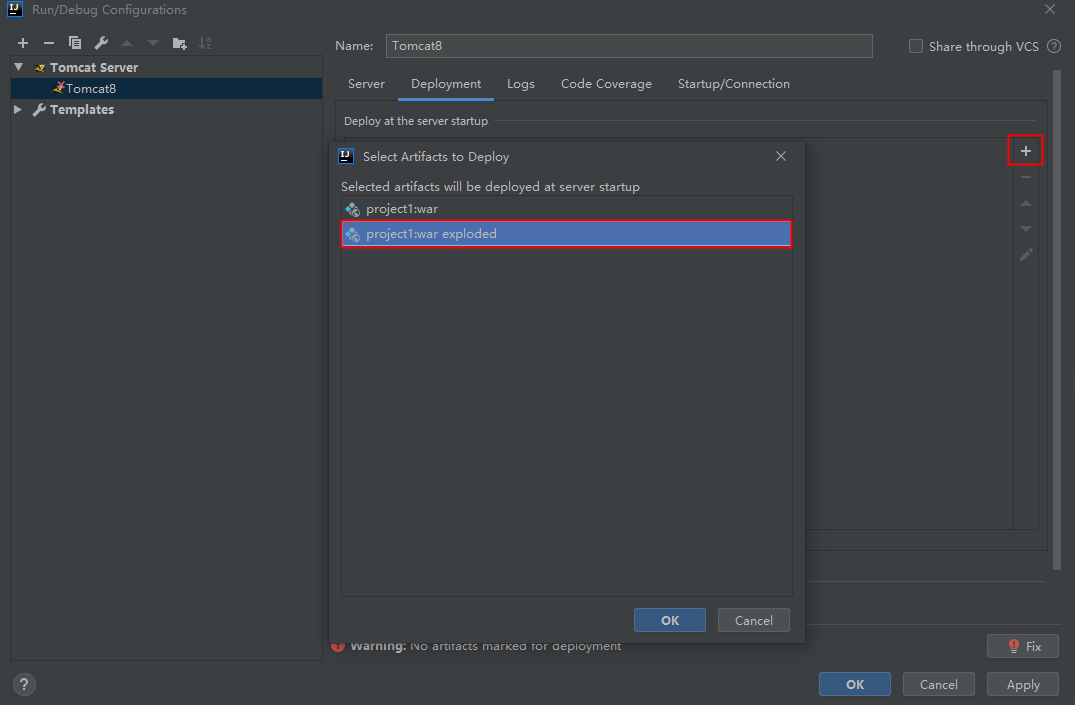

确认.
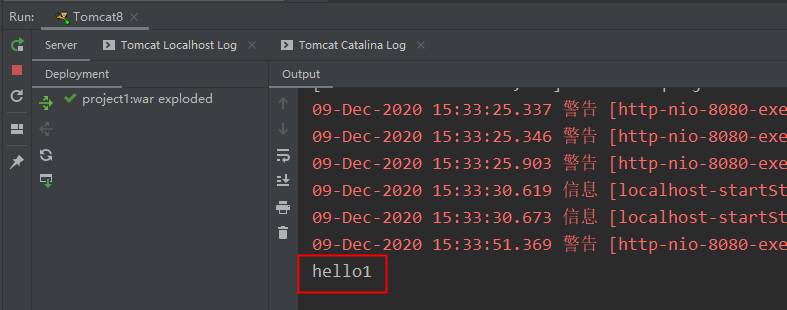
八. 启动Tomcat, 在浏览器访问: http://localhost:8080/hello/test1, 可看到页面展示了hello.jsp的内容
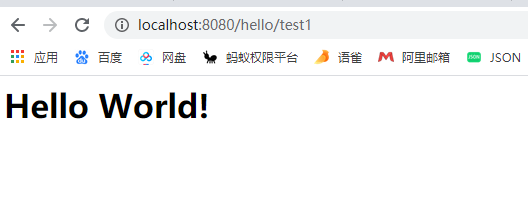
且在控制台输出了: Hello1
至此, 一个简易的springMVC的流程就走完了.