openssl和环境安装配置
安装openssl
首先查看是否已经安装openssl
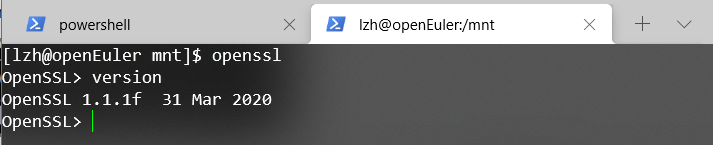
已经安装了ssl,但还是自己重新安装编译最新版吧。
编译安装
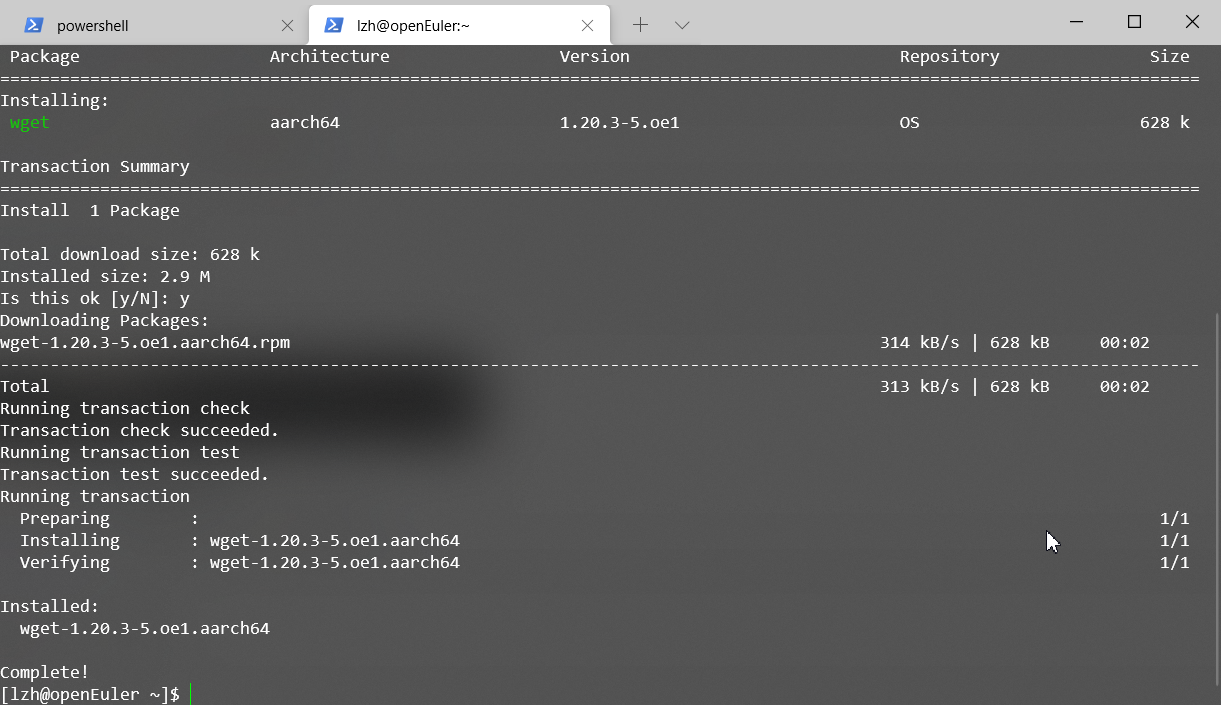
要下载网上资源使用wget,先进行安装。
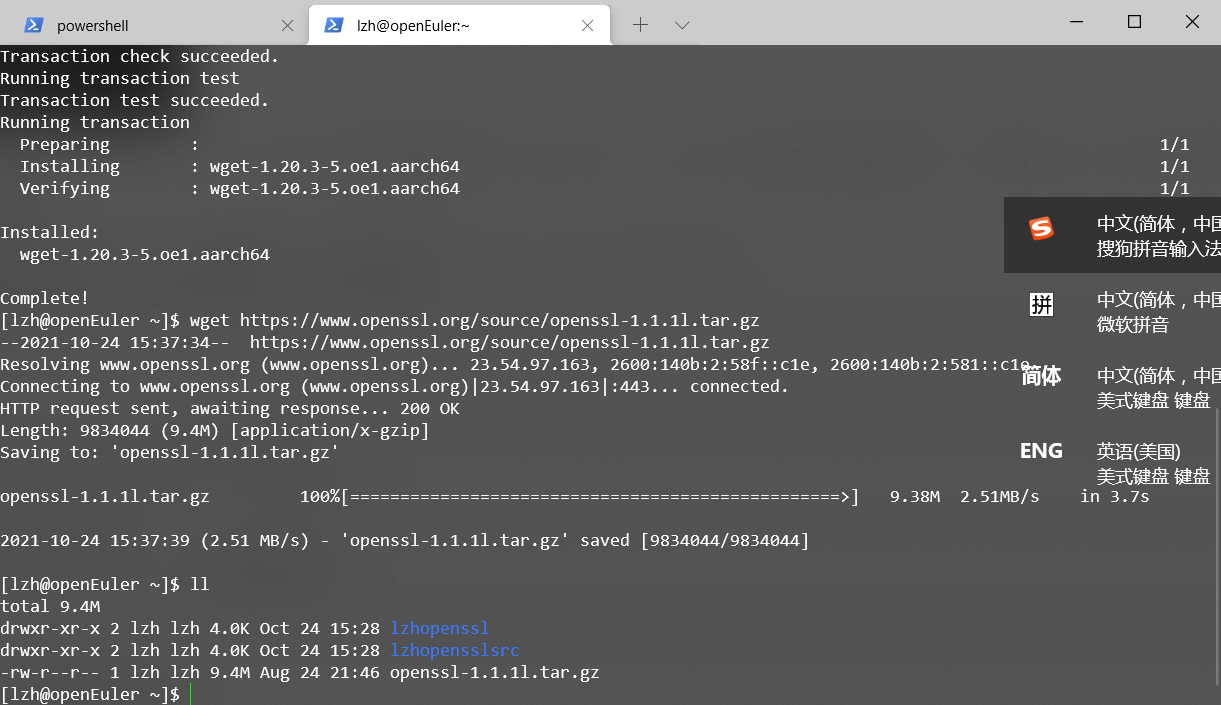
在openssl官网上看到最新版本openssl已经是1.1.1l,进行下载和安装。
解压包用tar -zxvf openssl-1.1.1k.tar.gz -C rocopensslsrc
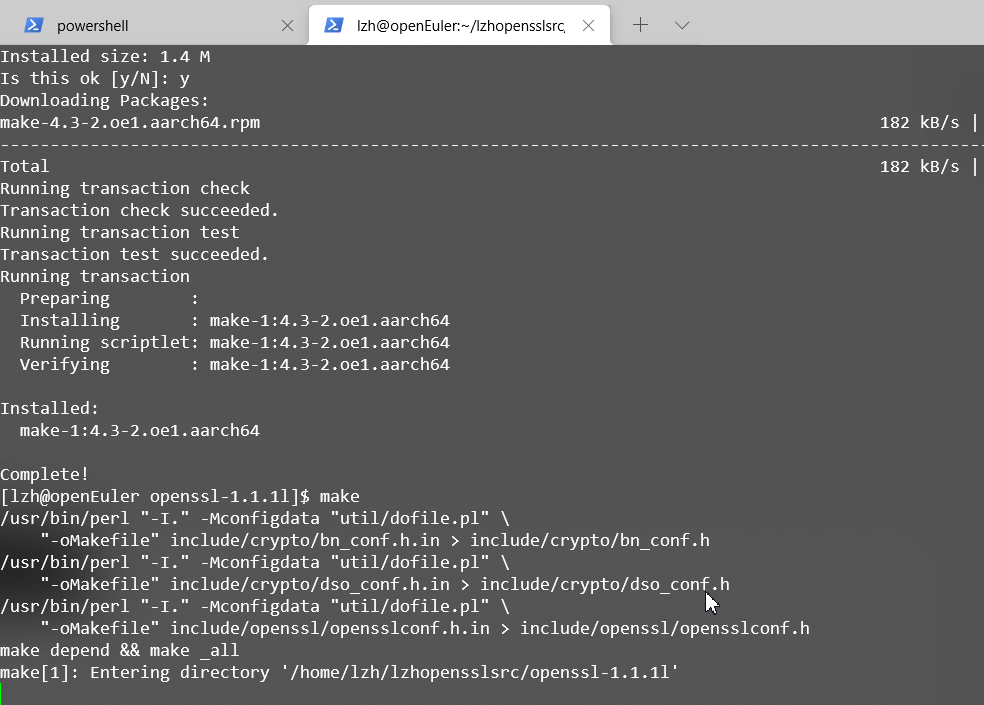
开始make
随后make test和make install。完成后,整个源码就编译完成了。
对config、make、make test、make install的理解:
对于网上开源项目,我们可以自己编译下载好的源码。
config就是对于现在本机的系统进行判断,设置安装路径等安装参数,同时检查编译环境是否齐全。最后生成makefile文件来进行后续编译过程。
make就是进行编译构建的操作,将源码编译成为可执行文件。
make test就是测试上一步make构建的可执行文件和功能是否有问题。
make install则是将编译好的文件进行本地化的安装。
编译安装完成后查看版本

出现问题:库的版本还是旧版。
我猜测出现问题的原因是设置好的默认库的路径应该是linux默认的库的路径,而openEuler默认安装的openssl的版本就是旧版的,所以库也就是旧版的,应该要修改安装好的新openssl的库路径。
修改库路径
尝试使用环境变量的方法进行设置。
使用以前学习到的动态库的知识,使用export LD_LIBRARY_PATH=LD_LIBRARY_PATH:/home/lzh/lzhopenssl/lib添加一条快捷的变量,设置为默认的库。
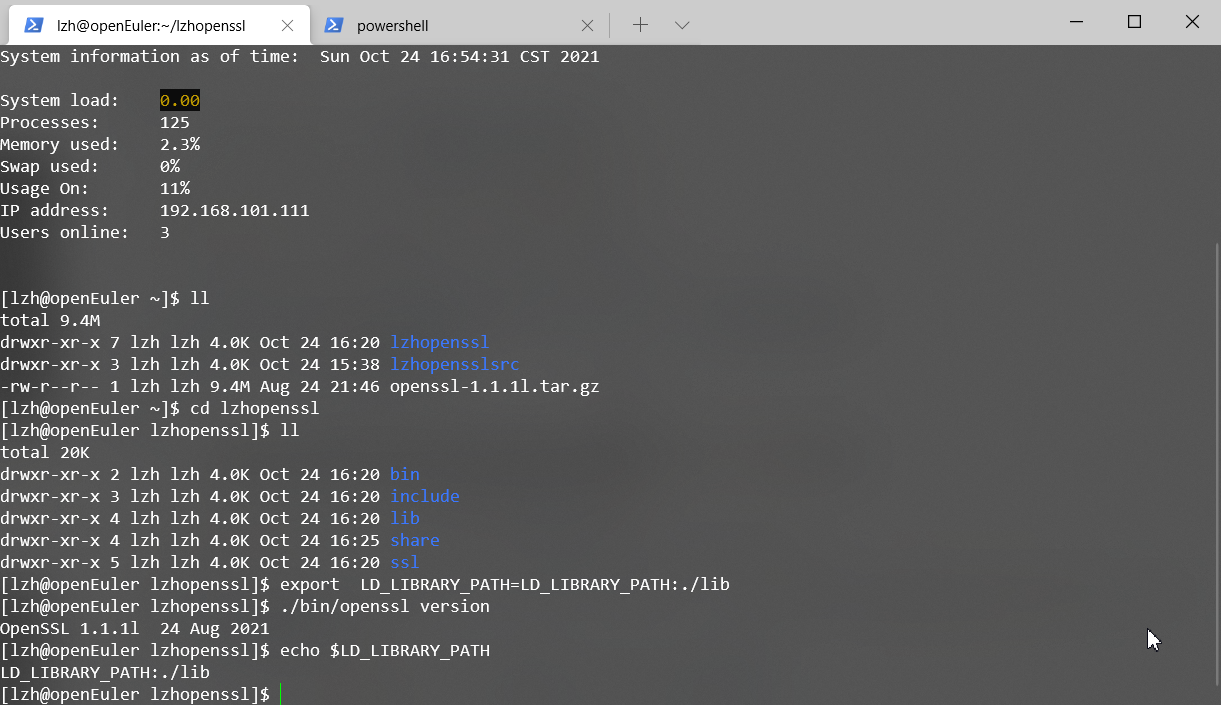
成功更改了库,现在openssl本身和库都是新的了。
但这样存在重启后失效的问题,我参考了这篇博客:
https://blog.csdn.net/qq_19004627/article/details/79090052
添加到.bashrc文件中,实现启动时自动设置,就完成了。从此lzhopenssl中的ssl就使用的都是新的库了。
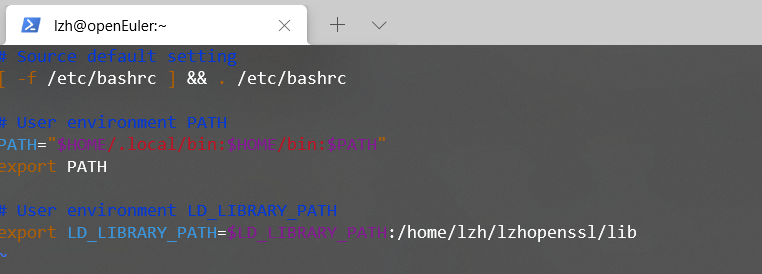
同时,将PATH变量也修改一下,将自己安装的openssl的bin路径加在前面,自动运行的openssl的版本就是新版本了,这样如果要使用系统自带旧版本的话,删除这两个变量就可以。
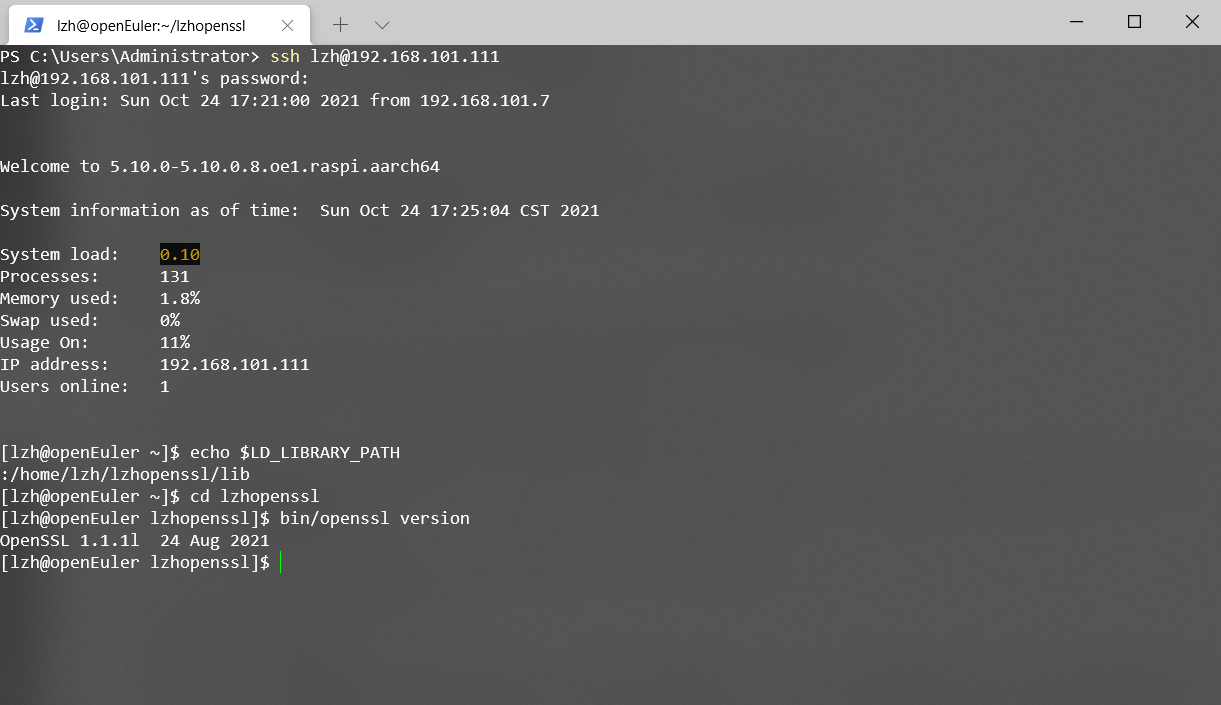
重启后:
openssl测试与使用
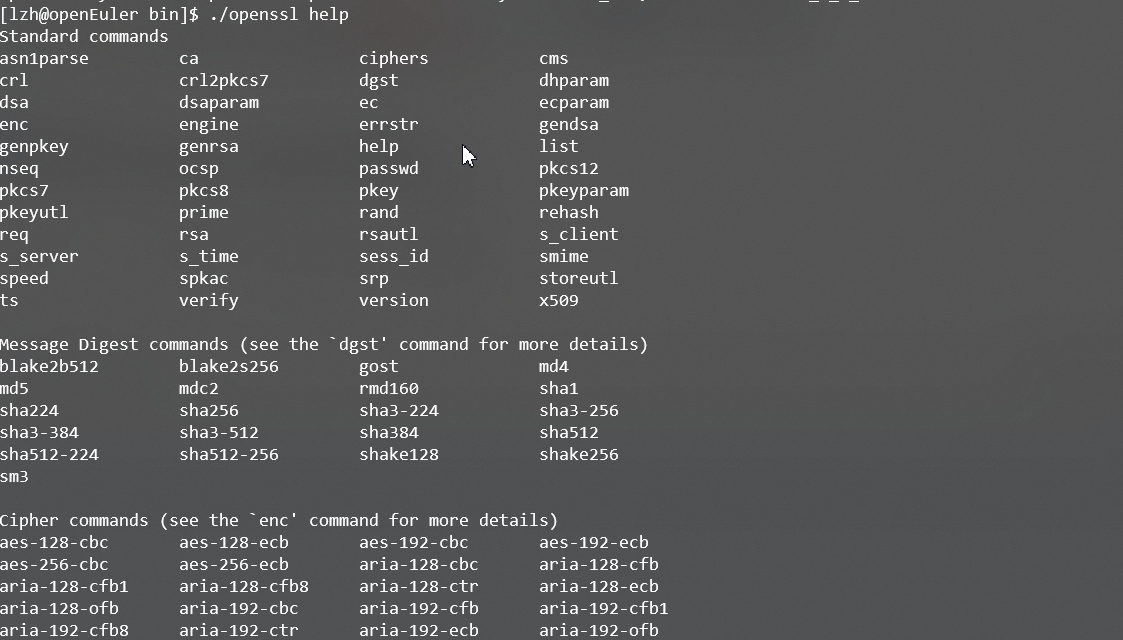
测试openssl
使用openssl help查看帮助
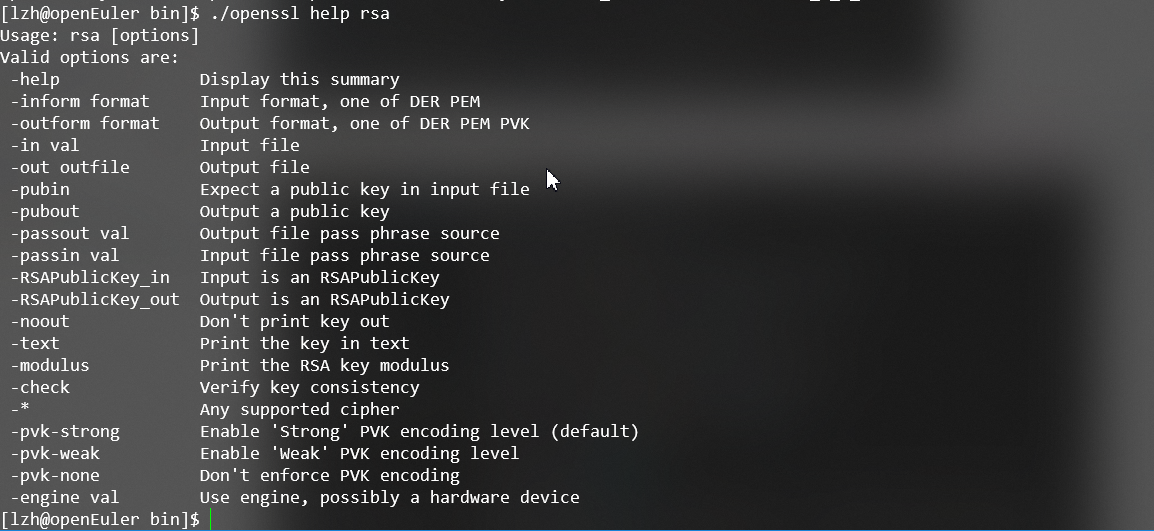
使用openssl help xxsubcmd或openssl xxsubcmd --help查看子命令的帮助
下图为查看rsa的帮助
使用管道计算摘要:如计算besti20191320的sm3摘要就可以使用命令echo "besti20191320" | openssl sm3来完成。
效果如图:

计算某文件的摘要:使用openssl sm3 filename完成。

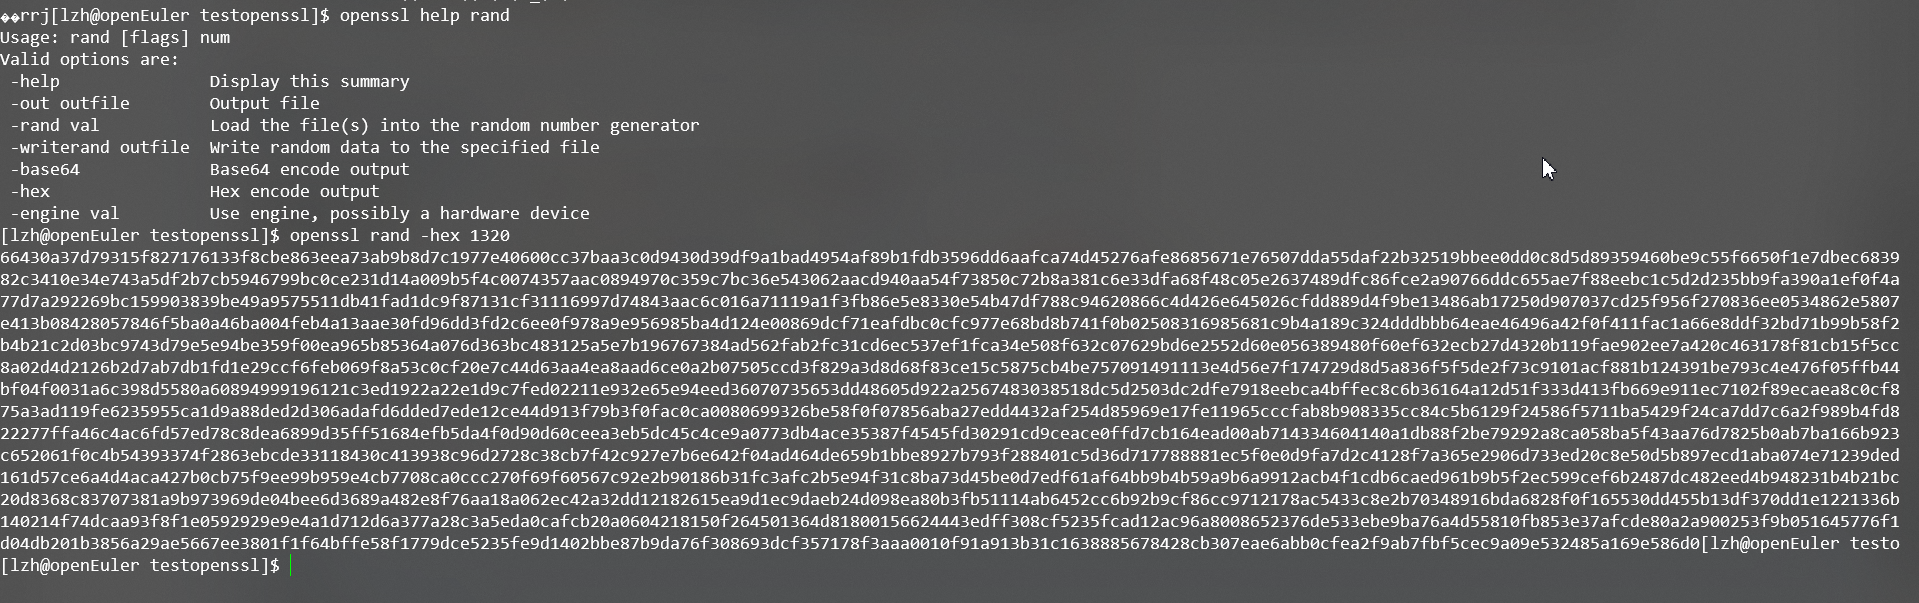
通过使用help的方法,可以学习和实现很多功能,如
生成随机数作为密钥:
sm4使用方法:

编程测试openssl
使用代码进行测试
#include <stdio.h>
#include <openssl/evp.h>

int main(){

    OpenSSL_add_all_algorithms();

    return 0;
}

函数OpenSSL_add_all_algorithms()的作用是将所有算法载入。使用./to;echo $?则是打印出主函数的返回值。
使用老师给出的base64代码进行编译,测试。
点击查看代码
#include <stdio.h>
#include <string.h>
#include <openssl/evp.h>
#include <openssl/x509.h>

//Base64编码
void tEVP_Encode()
{
	EVP_ENCODE_CTX *ctx;
        ctx = EVP_ENCODE_CTX_new();	//EVP编码结构体
	unsigned char in[1024];			//输入数据缓冲区
	int inl;						//输入数据长度
	char out[2048]={0};				//输出数据缓冲区
	int outl;						//输出数据长度
	FILE *infp;						//输入文件句柄
	FILE *outfp;					//输出文件句柄

	infp = fopen("test.dat","rb");//打开待编码的文件
	if(infp == NULL)
	{
		printf("Open File "Test.dat"  for Read Err.
");
		return;
	}

	outfp = fopen("test.txt","w");//打开编码后保存的文件
	if(outfp == NULL)
	{
		printf("Open File "test.txt" For Write Err.
");
		return;
	}
	EVP_EncodeInit(ctx);//Base64编码初始化
	printf("文件"Test.dat" Base64编码后为:
");
	//循环读取原文,并调用EVP_EncodeUpdate计算Base64编码
	while(1)
	{
		inl = fread(in,1,1024,infp);
		if(inl <= 0)
			break;
		EVP_EncodeUpdate(ctx,out,&outl,in,inl);//编码
		fwrite(out,1,outl,outfp);//输出编码结果到文件
		printf("%s",out);
	}
	EVP_EncodeFinal(ctx,out,&outl);//完成编码,输出最后的数据。
	fwrite(out,1,outl,outfp);
	printf("%s",out);
	fclose(infp);
	fclose(outfp);
	printf("对文件"Test.dat" Base64编码完成,保存到"test.txt"文件.


");
}

//Base64解码
void tEVP_Decode()
{
	EVP_ENCODE_CTX *ctx;
        ctx = EVP_ENCODE_CTX_new();			//EVP编码结构体
	char in[1024];					//输入数据缓冲区
	int inl;						//输入数据长度
	unsigned char out[1024];		//输出数据缓冲区
	int outl;						//输出数据长度
	FILE *infp;						//输入文件句柄
	FILE *outfp;					//输出文件句柄

	infp = fopen("test.txt","r");//打开待解码的文件
	if(infp == NULL)
	{
		printf("Open File "Test.txt"  for Read Err.
");
		return;
	}
	outfp = fopen("test-1.dat","wb");//打开解码后保存的文件
	if(outfp == NULL)
	{
		printf("Open File "test-1.txt" For Write Err.
");
		return;
	}
	EVP_DecodeInit(ctx);//Base64解码初始化
	printf("开始对文件"Test.txt" Base64解码...

");
	//循环读取原文,并调用EVP_DecodeUpdate进行Base64解码
	while(1)
	{
		inl = fread(in,1,1024,infp);
		if(inl <= 0)
			break;
		EVP_DecodeUpdate(ctx,out,&outl,in,inl);//Base64解码
		fwrite(out,1,outl,outfp);//输出到文件
	}
	EVP_DecodeFinal(ctx,out,&outl);//完成解码,输出最后的数据。
	fwrite(out,1,outl,outfp);
	fclose(infp);
	fclose(outfp);
	printf("对文件"Test.txt" Base64解码完成,保存为"test-1.dat"


");

}

int main()
{

	tEVP_Encode();
	tEVP_Decode();

	return 0;
}
