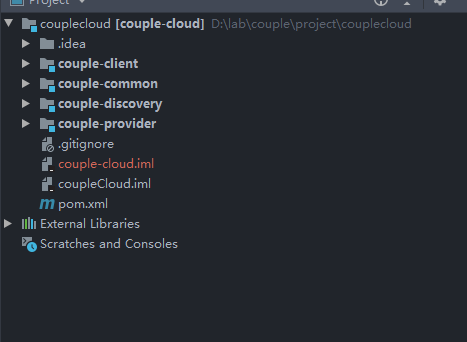
项目初步总体结构如下:
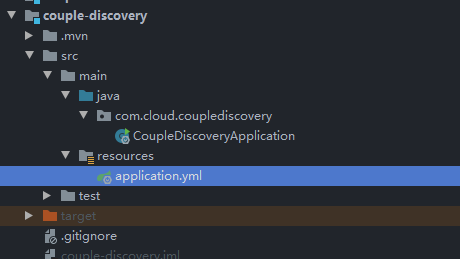
- couple-disvovery 作为服务注册中心,该模块的结构如下:
application.yml配置如下:
spring:
  application:
    name: eureka-server     #服务名称,自定义
  security:
    user:
      name: user            #配置BASIC认证登录的账号
      password: 123456      #配置BASIC认证登录的密码
server:
  port: 8080                #指定该Eureka实例的端口
eureka:
  client:
    registerWithEureka: false     #禁止注册自身
    fetchRegistry: false          #因为该服务没有注册到其他注册中心,所以关闭从注册中心拉取服务列表。
    #如果是服务注册中心集群,需要开启,开启就是去掉该配置,采用默认配置即可
    serviceUrl:
      defaultZone: http://user:123456@localhost:8080/eureka/  #服务注册中心地址,http://账号:密码@主机名称:端口/Eureka/
  server:
    renewalPercentThreshold: 0.49    #设置心跳正常的阀值,默认为1,测试时可以调低
入口程序代码如下:
package com.cloud.couplediscovery;

import org.springframework.boot.SpringApplication;
import org.springframework.boot.autoconfigure.SpringBootApplication;
import org.springframework.cloud.netflix.eureka.server.EnableEurekaServer;
import org.springframework.security.config.annotation.web.builders.HttpSecurity;
import org.springframework.security.config.annotation.web.configuration.EnableWebSecurity;
import org.springframework.security.config.annotation.web.configuration.WebSecurityConfigurerAdapter;

@EnableEurekaServer
@SpringBootApplication
public class CoupleDiscoveryApplication {

    public static void main(String[] args) {
        SpringApplication.run(CoupleDiscoveryApplication.class, args);
    }

    //启动类中加入WebSecurityConfigure方法,忽略csrf验证  。
    @EnableWebSecurity
    static class WebSecurityConfigure extends WebSecurityConfigurerAdapter {
        @Override
        protected void configure(HttpSecurity http) throws Exception {
            // 在/eureka/**端点忽略csrf验证
            http.csrf().ignoringAntMatchers("/eureka/**");
            // 配置使请求需要通过httpBasic或form验证
            http.authorizeRequests().anyRequest()
                    .authenticated()
                    .and()
                    .formLogin()
                    .and()
                    .httpBasic();
            super.configure(http);
        }
    }

}
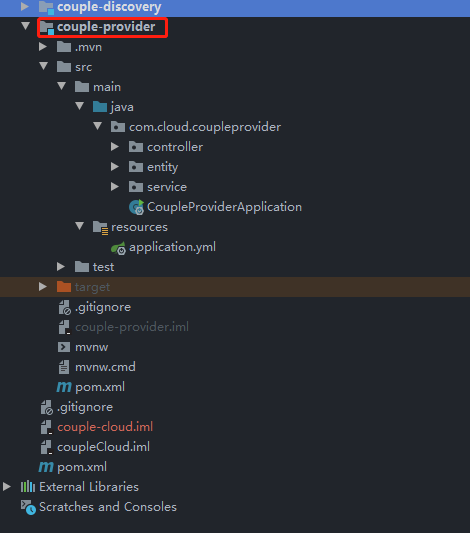
- couple-provider模块总体结构如下:
该模块注册到服务注册中心,然后给服务消费者提供接口,application.yml配置如下:
server:
  port: 8081
spring:
  application:
    name: couple-provider
eureka:
  client:
    serviceUrl:
      defaultZone: http://user:123456@localhost:8080/eureka/      #服务注册中信地址,含有BASIC认证的用户名和密码
  instance:
    prefer-ip-address: true         #将IP注册到服务注册中心

#放开所有节点
management:
  endpoints:
    web:
      exposure:
        include: '*'
入口程序:
package com.cloud.coupleprovider;

import org.springframework.boot.SpringApplication;
import org.springframework.boot.autoconfigure.SpringBootApplication;
import org.springframework.cloud.client.discovery.EnableDiscoveryClient;

@EnableDiscoveryClient
@SpringBootApplication
public class CoupleProviderApplication {

    public static void main(String[] args) {
        SpringApplication.run(CoupleProviderApplication.class, args);
    }

}
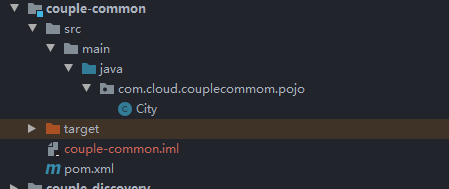
- couple-common模块主要为其他模块提供实体类等,大致结构如下:
其他模块通过在pom.xml中引入该模块的依赖即可使用它的实体类等工具类
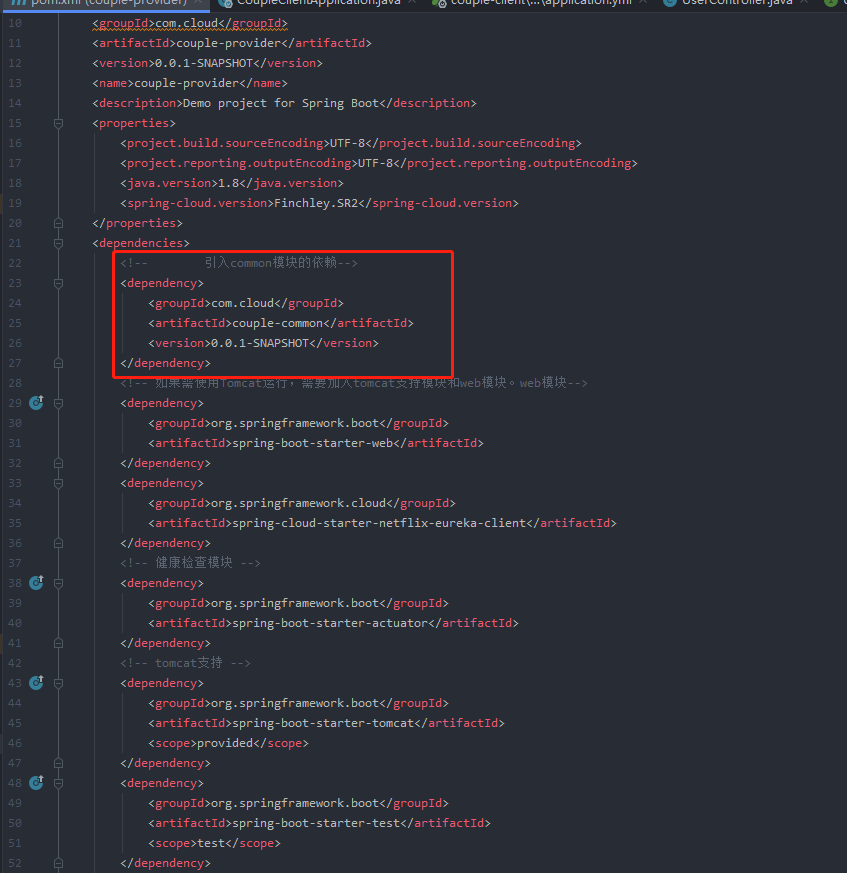
本模块的pom.xml中:
在couple-provider模块中的pom.xml引用该依赖:
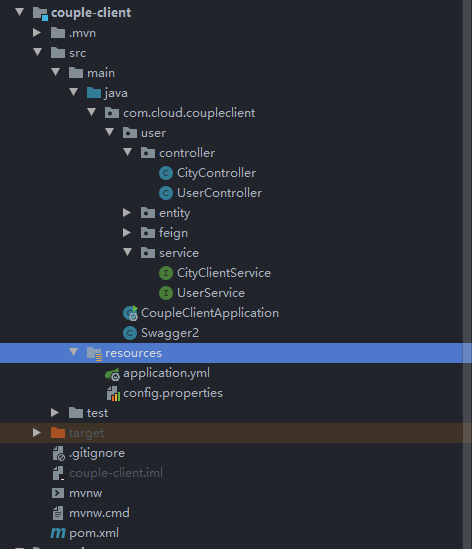
- couple-client模块的结构如下:
application.yml配置如下:

```yml
server:
  port: 8082
spring:
  application:
    name: couple-client
#  main:
#    allow-bean-definition-overriding: true
#  cloud:
#    inetutils:
#      timeout-seconds: 10
eureka:
  client:
    serviceUrl:
      defaultZone: http://user:123456@localhost:8080/eureka/      #服务注册中信地址,含有BASIC认证的用户名和密码
  instance:
    prefer-ip-address: true         #将IP注册到服务注册中心

#放开所有节点
management:
  endpoints:
    web:
      exposure:
        include: '*'
```

入口程序如下:

```java
package com.cloud.coupleclient;

import org.springframework.boot.SpringApplication;
import org.springframework.boot.autoconfigure.SpringBootApplication;
import org.springframework.cloud.client.discovery.EnableDiscoveryClient;
import org.springframework.cloud.openfeign.EnableFeignClients;

@EnableFeignClients
@EnableDiscoveryClient
@SpringBootApplication
public class CoupleClientApplication {

    public static void main(String[] args) {
        SpringApplication.run(CoupleClientApplication.class, args);
    }

}
```

总体的调用服务的过程如下:
前端发起请求调用couple-client的cityController:
请求:/consumer/city/queryCityById/1 调用CityController中的queryCityById方法:
@RestController
public class CityController {

    @Autowired CityClientService cityClientService;

    @ApiOperation(value = "城市信息" , notes = "城市信息notes")
    @RequestMapping(value = "/consumer/city/queryCityById/{id}",method = RequestMethod.GET)
    public City queryCityById(@PathVariable("id") Long id) {
        return cityClientService.queryCityById(id);
    }

}
该方法调用
cityClientService中的queryCityById方法 在
cityClientService中的代码如下:@Service @FeignClient(value = "couple-provider") public interface CityClientService { @GetMapping("/city/queryCityById/{id}") City queryCityById(@PathVariable("id") Long id); } 通过
@FeignClient(value = "couple-provider")指定服务提供者为 couple-provider ,然后去调用该服务的对应的和queryCityById方法对应的GetMapping中的URL一样的方法
在couple-provider模块中的CityController中,代码如下:
@RestController //提供restful服务
public class CityController {

    @Autowired
    CityService cityService;

    @GetMapping("/city/queryCityById/{id}")
    public City queryById(@PathVariable("id") Long id) {
        return cityService.queryById(id);
    }
}
上述的client的queryCityById调用的就是这个controller里的queryById方法,然后该方法调用该模块中的对应service的方法,后边的调用就和springboot一样了
在服务提供者中添加熔断器:
在couple-provider中引入依赖:
<!--Hystrix依赖-->
<dependency>
    <groupId>org.springframework.cloud</groupId>
    <artifactId>spring-cloud-starter-hystrix</artifactId>
    <!--可见ribbon、Feign、Hystrix的依赖套路就是只修改最后的后缀即可-->
    <version>1.4.7.RELEASE</version>
</dependency>
在入口程序中添加注解:
@EnableCircuitBreaker//开启熔断器,即添加对熔断的支持在controller需要熔断的方法上方添加注解:
@HystrixCommand(fallbackMethod = "hystrixQueryCityById")这里指定了如果方法里获取失败要调用的方法为:hystrixQueryCityById,然后在controller里定义该方法:public City hystrixQueryCityById(@PathVariable("id") Long id) { //这个方法就是hystrix用于在上面提供的按照id查询城市信息的方法崩溃/报错的时候替换它继续提供服务的方法 City city =new City(); city.setAge(20); city.setArea("1000"); city.setCityName("抱歉,未查询到您指定的id对应的城市信息"); city.setId(id); return city; }
总体代码如下:
@HystrixCommand(fallbackMethod = "hystrixQueryCityById")
@GetMapping("/city/queryCityById/{id}")
public City queryById(@PathVariable("id") Long id) {
    //原来服务者提供的按照id查询城市信息的方法,不做任何修改,只是加上注解@HystrixCommand
    //和一个判断获取到的City对象是否为null,如果为null直接手动抛出异常
    City city = cityService.queryById(id);
    if(city == null) {
        //注意:这个异常抛出必须有,否则hystrix不能发现这个方法执行的时候出现了异常
        throw new RuntimeException("这个id====>"+id+"对应的城市不存在,或信息无法找到~");
    }
    return city;
}

public City hystrixQueryCityById(@PathVariable("id") Long id) {
    //这个方法就是hystrix用于在上面提供的按照id查询城市信息的方法崩溃/报错的时候替换它继续提供服务的方法
    City city =new City();
    city.setAge(20);
    city.setArea("1000");
    city.setCityName("抱歉,未查询到您指定的id对应的城市信息");
    city.setId(id);
    return city;
}
- 注意:异常抛出必须有,否则hystrix不能发现这个方法执行的时候出现了异常
zuul网关配置
主程序入口:
@SpringBootApplication
@EnableZuulProxy    //开启zuul服务代理,这个注解的作用和普通注册到eureka注册中心服务需要写的注解@EnableEurekaClient的作用类似
//可以开启eureka服务注册发现,否则这个model提供的服务不能被eureka注册中心扫描到
public class CoupleZuulApplication {

    public static void main(String[] args) {
        SpringApplication.run(CoupleZuulApplication.class, args);
    }

}
application.yml
server:
  port: 8083
spring:
  application:
    name: couple-zuul-getway
eureka:
  client:
    serviceUrl:
      defaultZone: http://user:123456@localhost:8080/eureka/      #服务注册中心地址,含有BASIC认证的用户名和密码
  #设置这个注册到注册中心去的服务的描述信息显示的数据
  instance:
    prefer-ip-address: true         #将IP注册到服务注册中心

#完善监控信息展示
#info:
#  app.name: zuul-getway路由网关 #服务的名称
#放开所有节点
management:
  endpoints:
    web:
      exposure:
        include: '*'

zuul:
  routes:
    couple-client: /mycouple/**  #key:value的形式    key是微服务名称  value代替这个微服务名称的path变量,即只要是"主机名称:端口号/mycouple/"下面的所有请求,都去注册中心的服务couple-client中处理
    couple-provider: /myprovider/**
  ignored-services: couple-client,couple-provider #设置不能再在zuul中使用这个微服务在注册中心中注册的服务名称对这个微服务进行消费
这样配置之后,要访问couple_client的URL可以这样访问:
http://localhost:8083/mycouple/consumer/city/queryCityById/2
(原来的访问URL是:http://localhost:8082/consumer/city/queryCityById/2)