0、写在最前面:
开始了新的征程,Spring Boot作为下一代的t开发框架,日渐流行。它作为spring mvc 的继承者,虽然二者之间没有多大联系,但是Spring Boot
的出现,大大简化了开发中的各种配置,功能相比Spring MVC,更加的0配置,代码更佳简洁,所有需要的插件都可以类似于模块化的在pom.xml中直接引入。
开发工具:
IDE:IntelliJ IDEA 2017.1
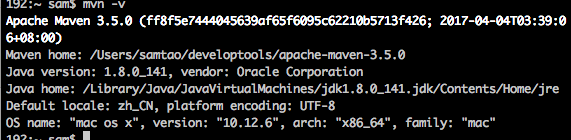
开发环境:
1 、入门Demo
idea 的入门demo,手写一个Controller。
 1 package com.samuel.girl;
 2
 3
 4 import org.springframework.web.bind.annotation.RequestMapping;
 5 import org.springframework.web.bind.annotation.RequestMethod;
 6 import org.springframework.web.bind.annotation.RestController;
 7
 8 @RestController
 9 public class HelloController {
10
11
12     @RequestMapping(value = "/hello",method = RequestMethod.GET)
13     public String sayHello(){
14
15         return "Hello,Spring Boot!";
16     }
17 }
启动项目,在浏览器中输入:http://localhost:8080/hello,
就可以打印出:Hello,Spring Boot!
2、Spring Boot的项目启动方式:
2.1、启动方式1:
IntelliJ IDEA的自带启动方式,在
@SpringBootApplication
public class GirlApplication {

	public static void main(String[] args) {
		SpringApplication.run(GirlApplication.class, args);
	}
}
右键运行即可,

2.2、启动方式2
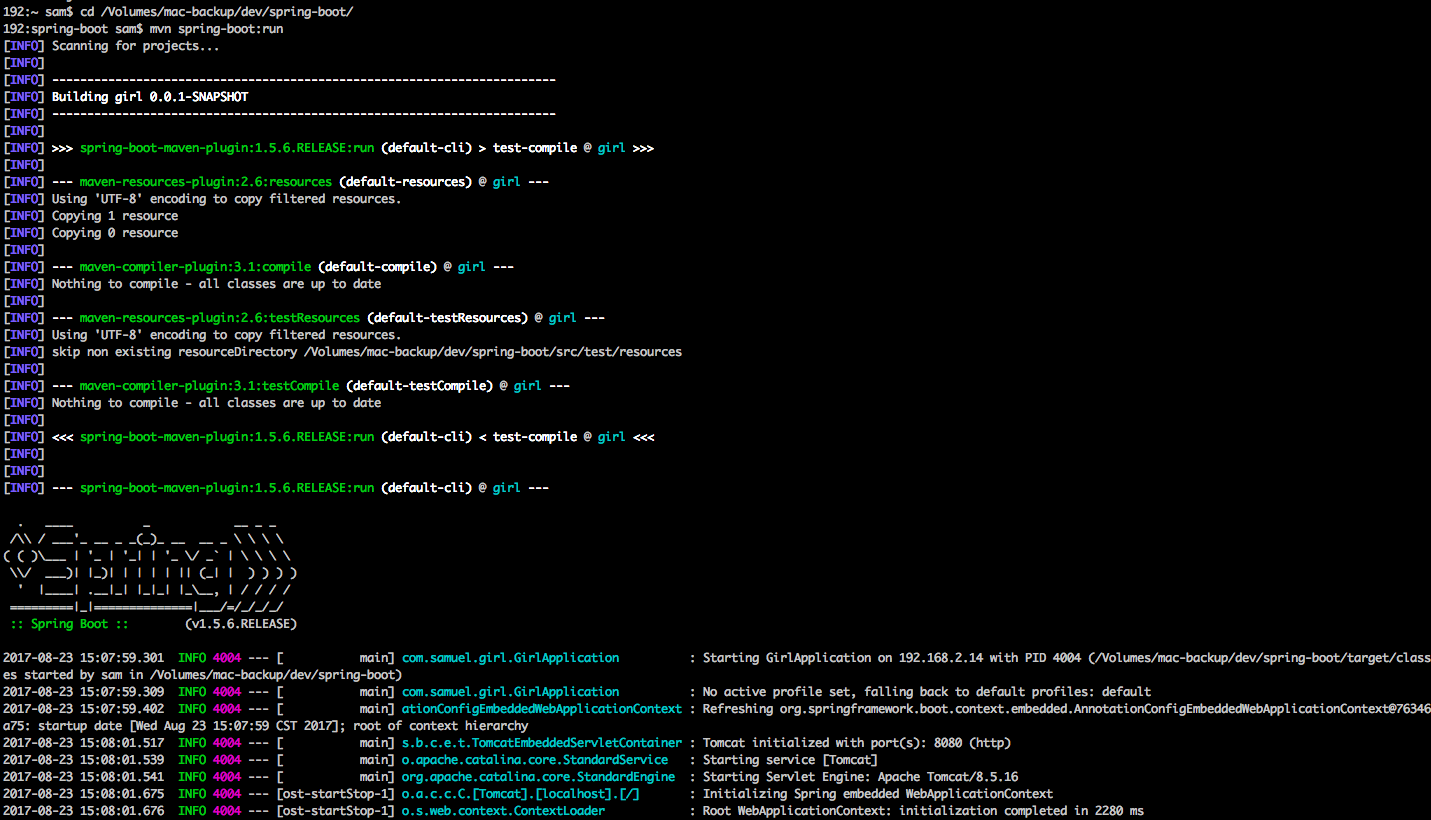
用命令行启动 ,
命令切到项目所在的目录,比如我的
192:~ sam$ cd /Volumes/mac-backup/dev/spring-boot/
运行命令:
192:spring-boot sam$ mvn spring-boot:run
就已经启动了:
2.3、启动方式3
##先编译下
 mvn install
这个时候会在target目录下生成一个jar文件:girl-0.0.1-SNAPSHOT.jar,用java启动这个文件,即可运行
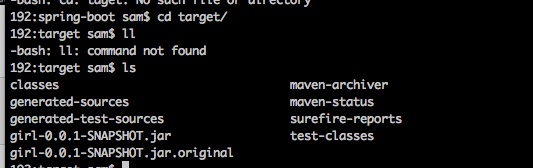
运行命令:
192:target sam$ java -jar girl-0.0.1-SNAPSHOT.jar
结尾
这个就是spring boot的第一个随笔了,后面会吧spring boot 的配置,注释分开写一写,
代码丢在码云上面: