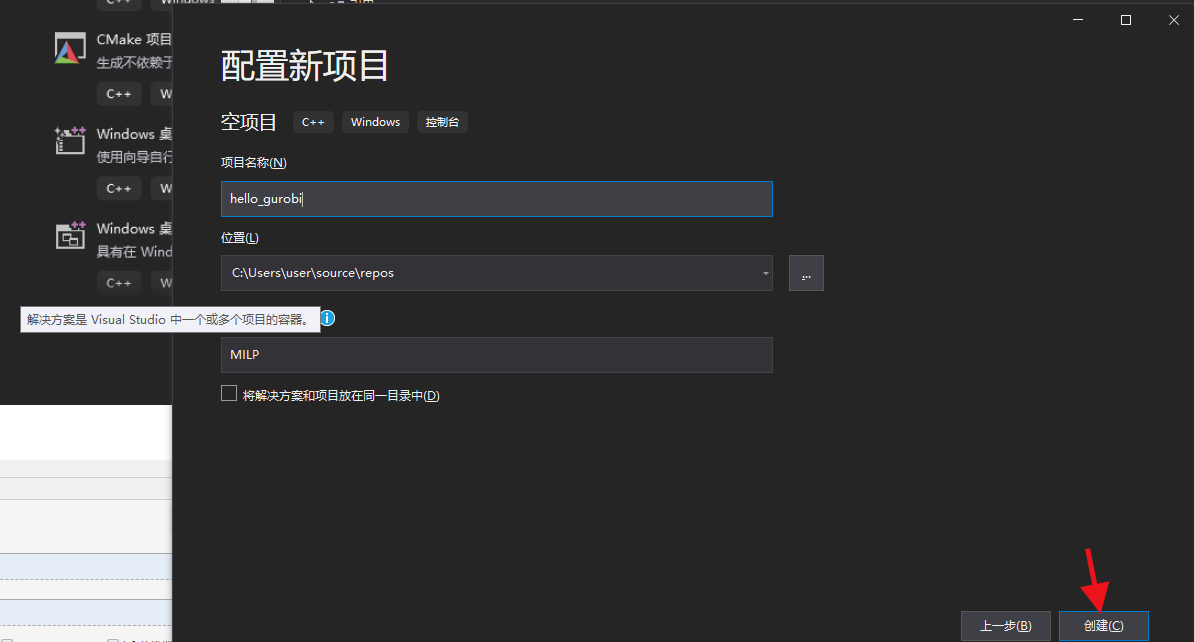
第一步,VS创建新的解决方案和空项目
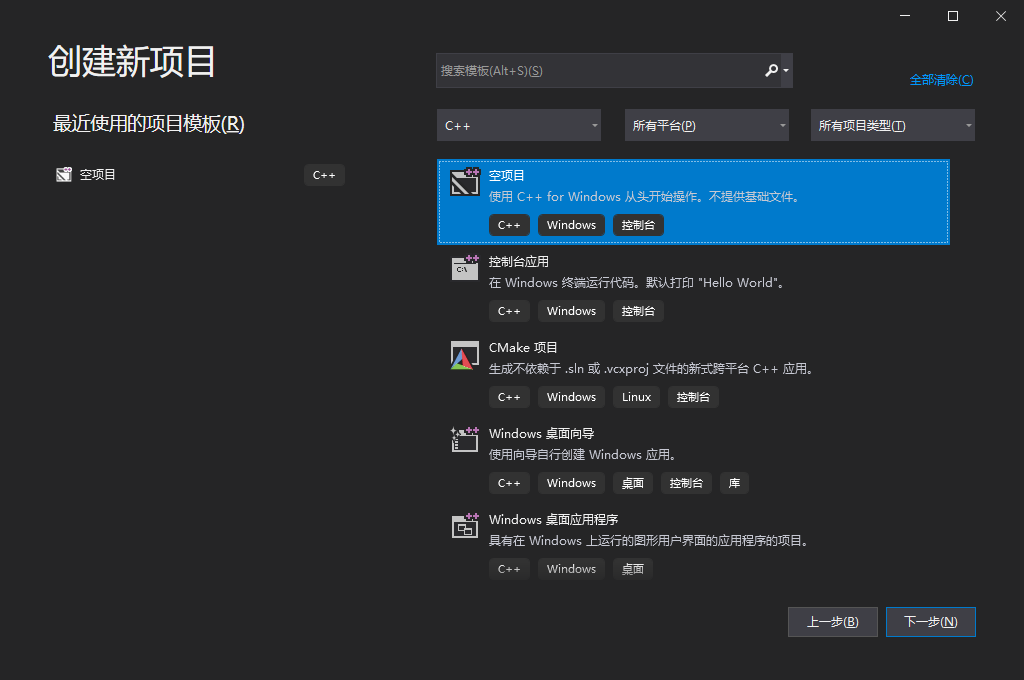
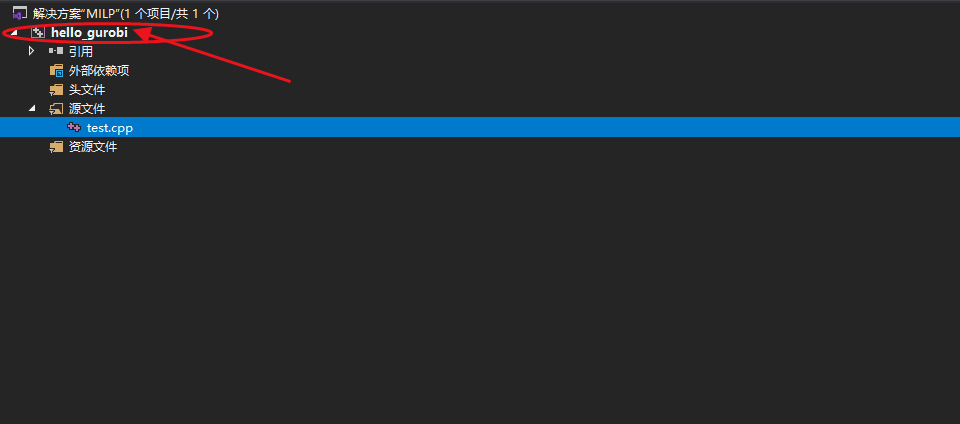
一个解决方案下面可以包含多个项目。
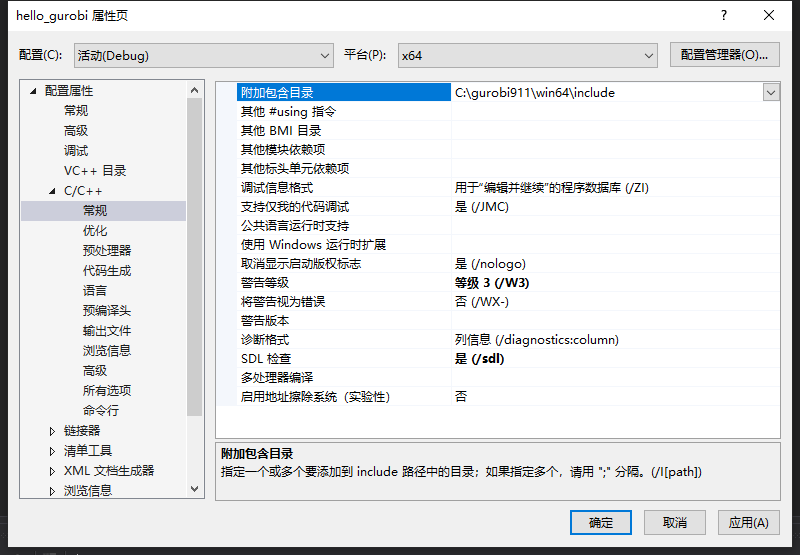
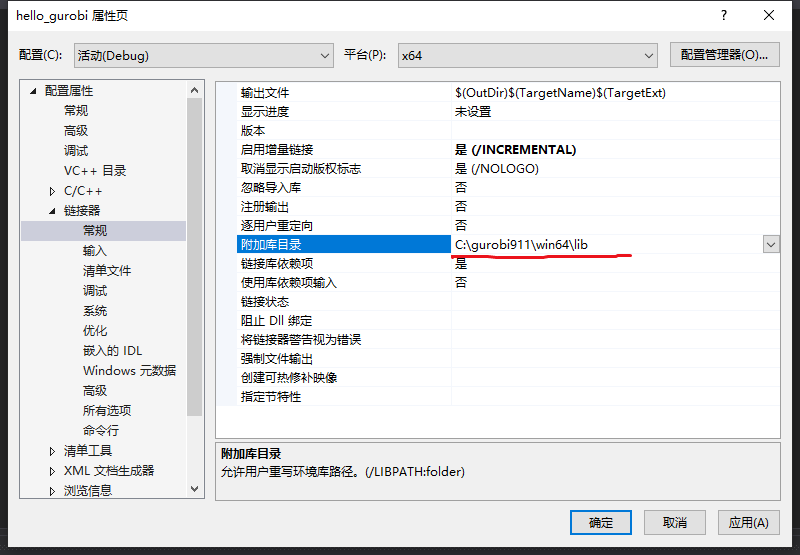
右键点击项目名,选择属性,进行配置
- 添加附加包含目录
C:gurobi911win64include
- 添加附加库目录
C:gurobi911win64lib
- 添加附加依赖项

gurobi91.lib;gurobi_c++mdd2019.lib;

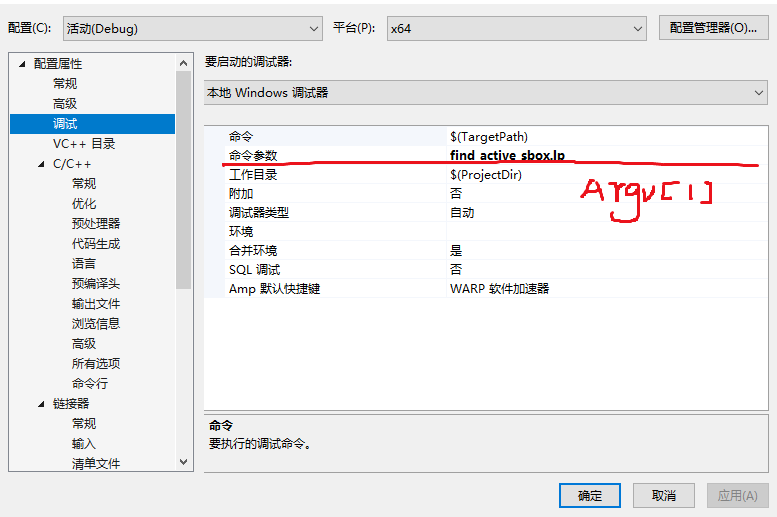
- 如果有需要别的文件,如依靠外部lp文件,添加命令参数
- 还有一点基本的,把平台Debug设置为x64

OK,现在就可以测试一下了


/* Copyright 2020, Gurobi Optimization, LLC */

/* This example creates a very simple Special Ordered Set (SOS) model.
   The model consists of 3 continuous variables, no linear constraints,
   and a pair of SOS constraints of type 1. */

#include "gurobi_c++.h"
using namespace std;

int
main(int   argc,
    char* argv[])
{
    GRBEnv* env = 0;
    GRBVar* x = 0;
    try {
        env = new GRBEnv();

        GRBModel model = GRBModel(*env);

        // Create variables

        double ub[] = { 1, 1, 2 };
        double obj[] = { -2, -1, -1 };
        string names[] = { "x0", "x1", "x2" };

        x = model.addVars(NULL, ub, obj, NULL, names, 3);

        // Add first SOS1: x0=0 or x1=0

        GRBVar sosv1[] = { x[0], x[1] };
        double soswt1[] = { 1, 2 };

        model.addSOS(sosv1, soswt1, 2, GRB_SOS_TYPE1);

        // Add second SOS1: x0=0 or x2=0 */

        GRBVar sosv2[] = { x[0], x[2] };
        double soswt2[] = { 1, 2 };

        model.addSOS(sosv2, soswt2, 2, GRB_SOS_TYPE1);

        // Optimize model

        model.optimize();

        for (int i = 0; i < 3; i++)
            cout << x[i].get(GRB_StringAttr_VarName) << " "
            << x[i].get(GRB_DoubleAttr_X) << endl;

        cout << "Obj: " << model.get(GRB_DoubleAttr_ObjVal) << endl;

    }
    catch (GRBException e) {
        cout << "Error code = " << e.getErrorCode() << endl;
        cout << e.getMessage() << endl;
    }
    catch (...) {
        cout << "Exception during optimization" << endl;
    }

    delete[] x;
    delete env;
    return 0;
}
输出为:
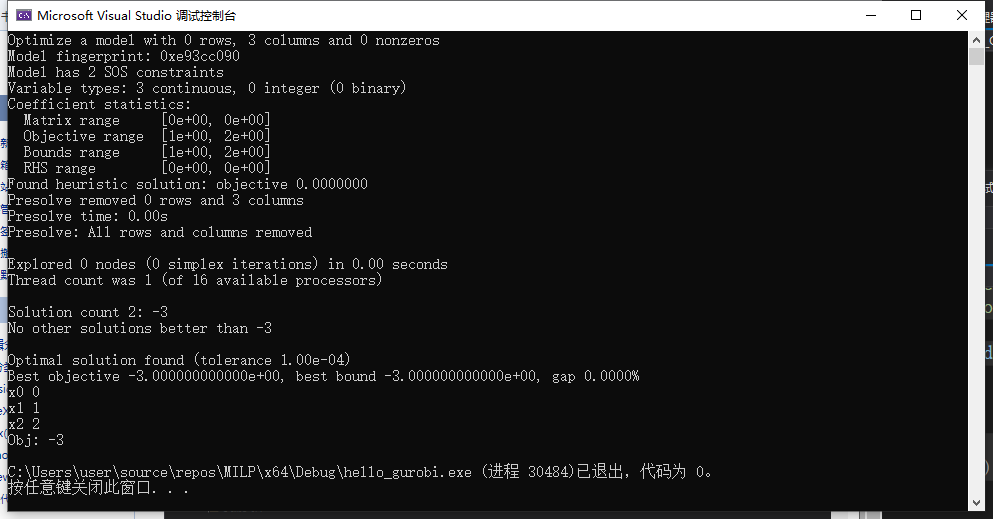
完成!
grb过期解决方法
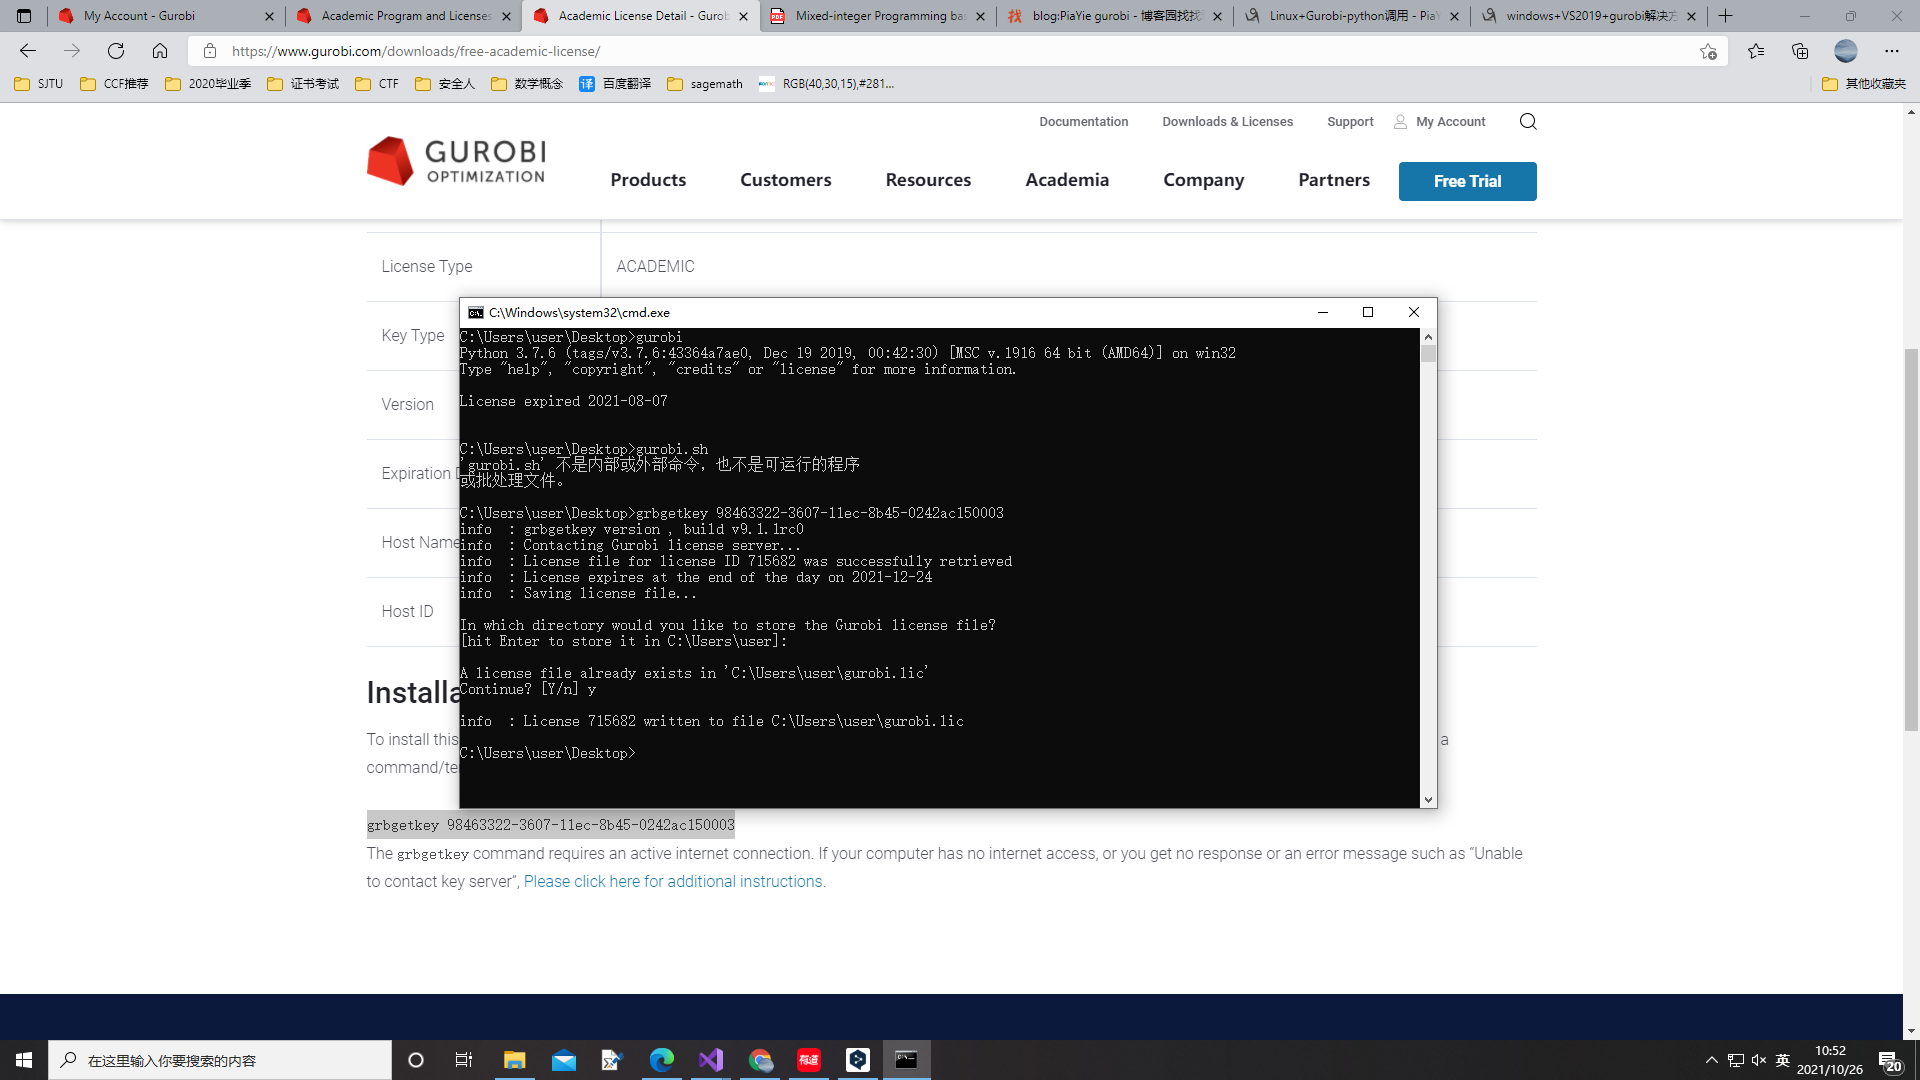
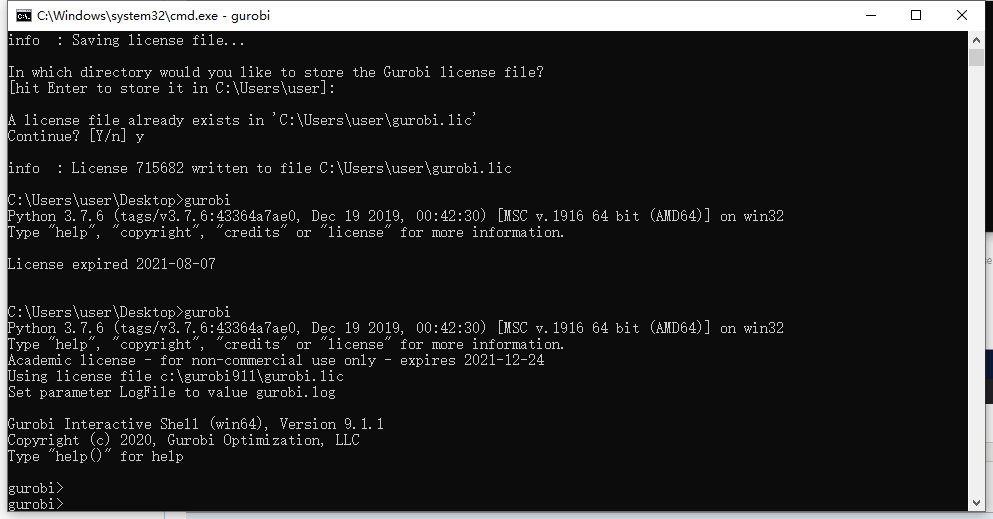
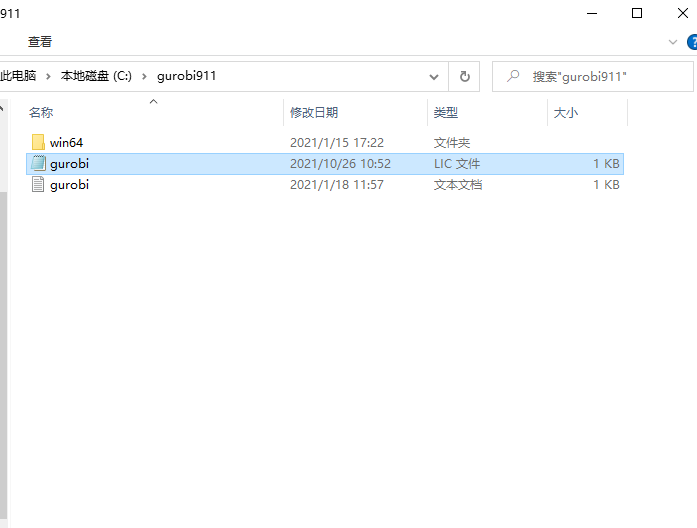
需要把gurobi.lic文件从默认的位置拷贝到girobi的安装目录下面
windows+gurobipy+vscode配置方法
1.查看系统中python的安装路径

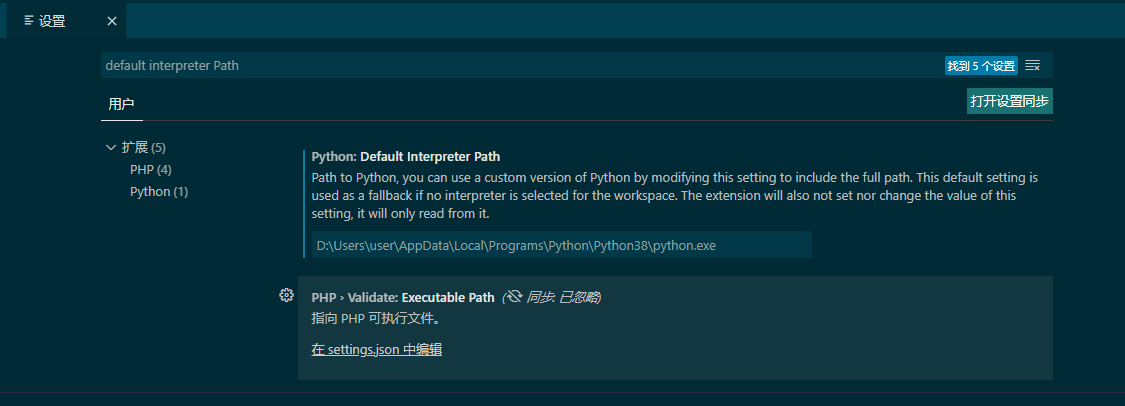
2.为vscode选择一个路径作为调试用的解释器
设置里面搜索:default interpreter Path ,并赋值为 D:UsersuserAppDataLocalProgramsPythonPython38python.exe
3.添加gurobipy拓展包
从gurobi安装目录中找到:
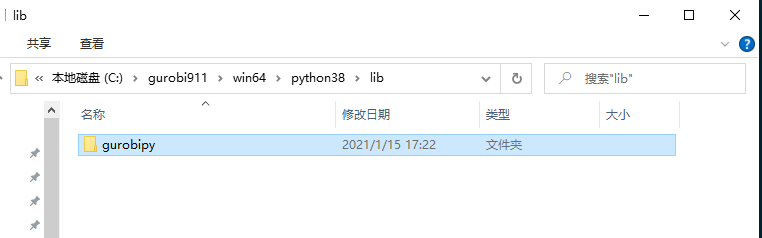
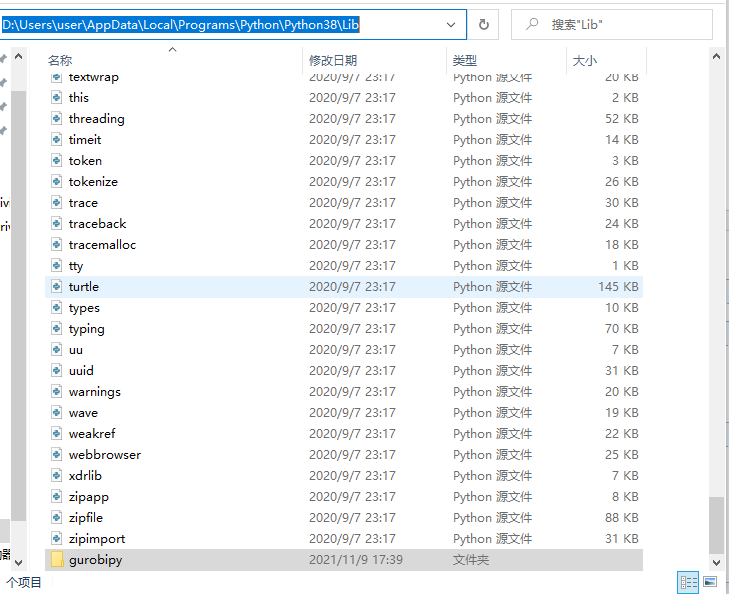
将此文件拷贝到python解释器对应的...Lib目录下:
D:UsersuserAppDataLocalProgramsPythonPython38Lib
4.配置完成