一、父项目创建
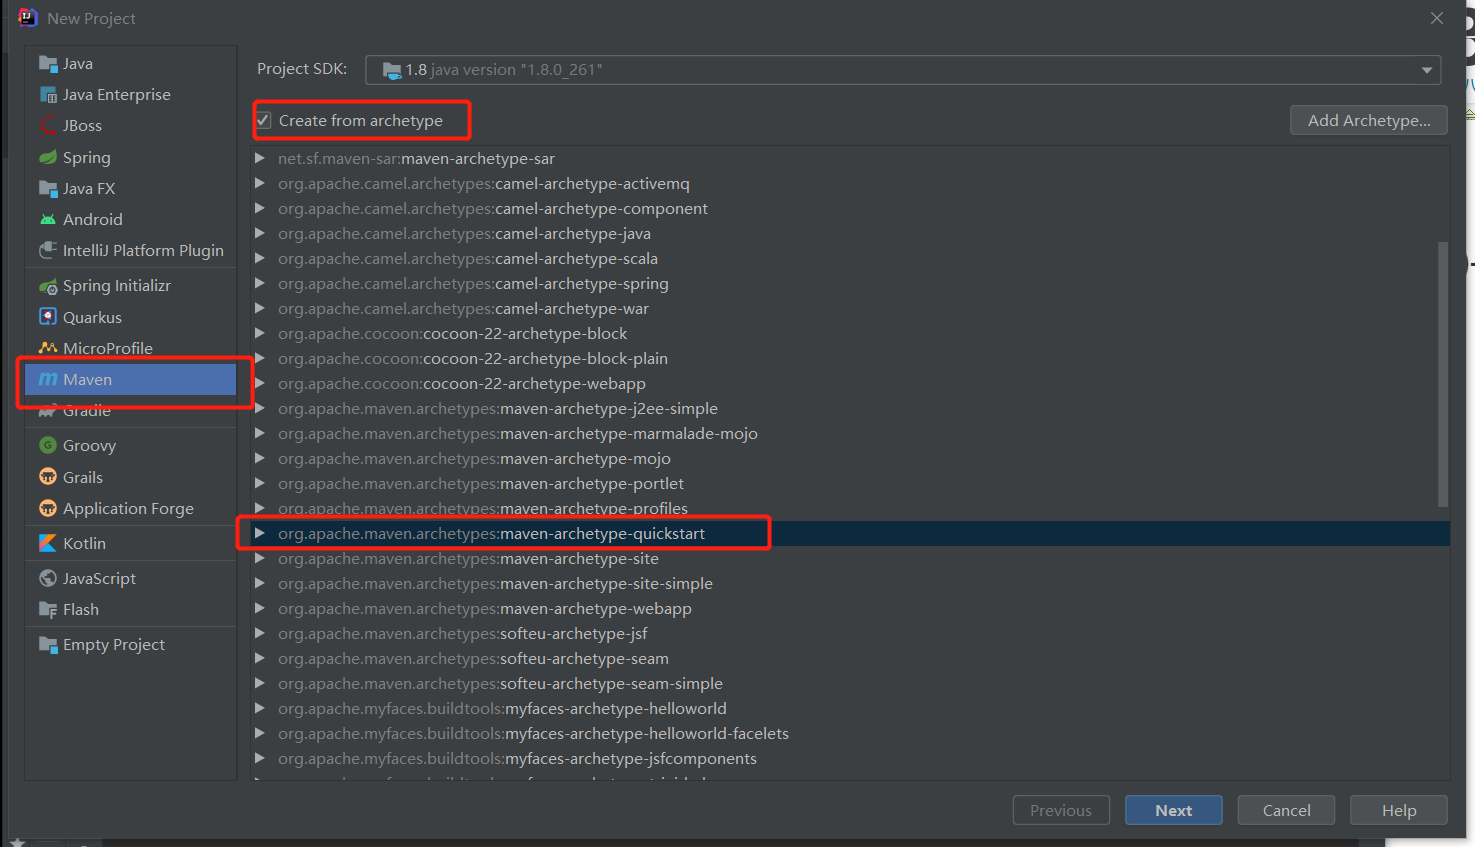
1.选择简单项目
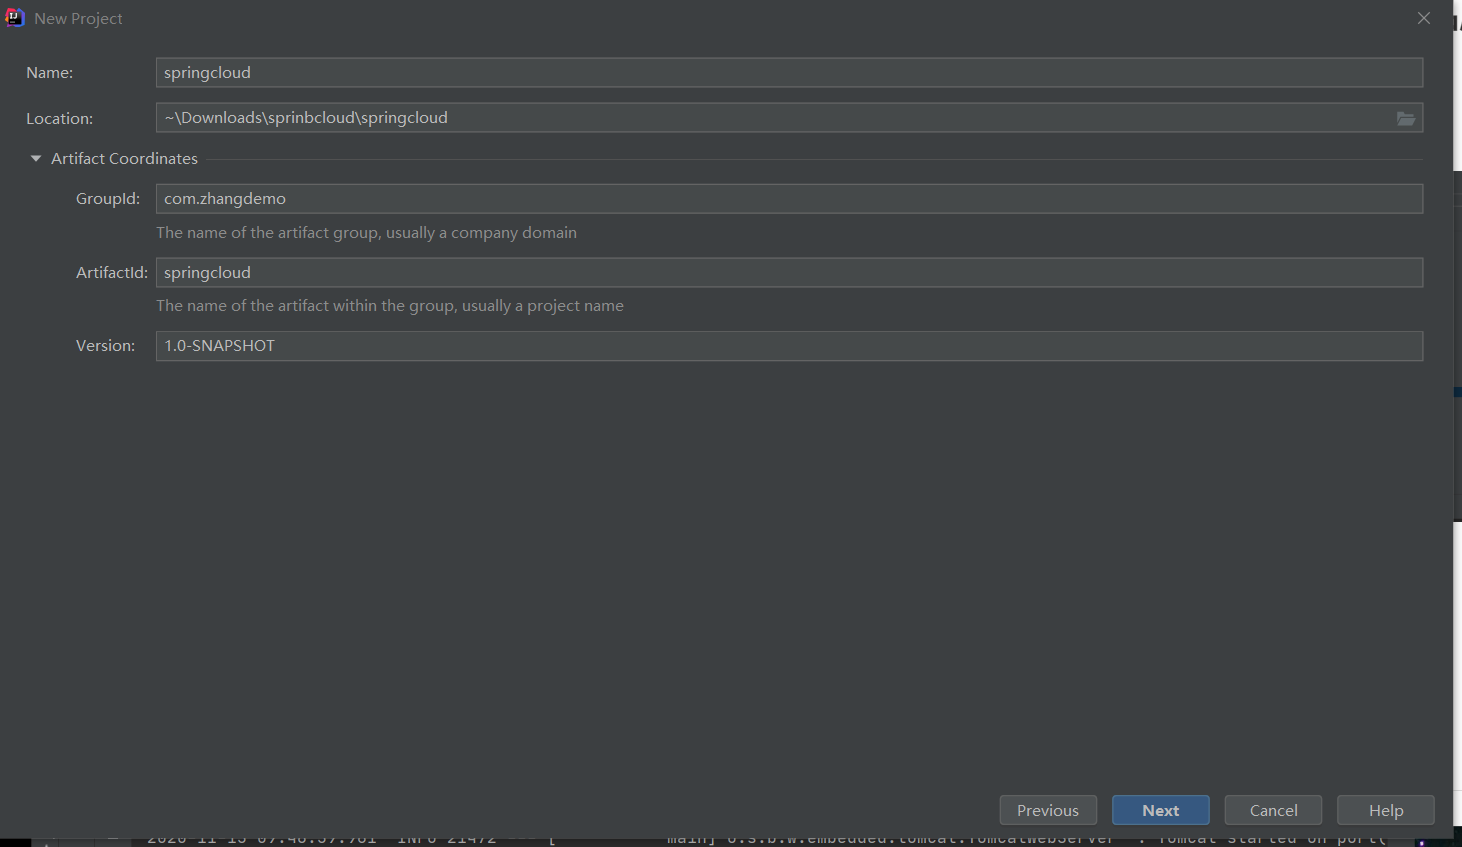
2.填写GroupId和Name
3.修改pom.xml
<project xmlns="http://maven.apache.org/POM/4.0.0" xmlns:xsi="http://www.w3.org/2001/XMLSchema-instance" xsi:schemaLocation="http://maven.apache.org/POM/4.0.0 http://maven.apache.org/xsd/maven-4.0.0.xsd">
  <modelVersion>4.0.0</modelVersion>
  <groupId>com.zhangdemo</groupId>
  <artifactId>springcloud</artifactId>
  <version>0.0.1-SNAPSHOT</version>
  <modules>
    <module>eureka-server</module>
  </modules>
  <name>springcloud</name>
  <description>springcloud</description>
  <packaging>pom</packaging>

  <parent>
    <groupId>org.springframework.boot</groupId>
    <artifactId>spring-boot-starter-parent</artifactId>
    <version>2.0.3.RELEASE</version>
    <relativePath/>
  </parent>

  <properties>
    <project.build.sourceEncoding>UTF-8</project.build.sourceEncoding>
    <project.reporting.outputEncoding>UTF-8</project.reporting.outputEncoding>
    <java.version>1.8</java.version>
    <spring-cloud.version>Finchley.RELEASE</spring-cloud.version>
  </properties>

  <dependencies>
    <dependency>
      <groupId>org.springframework.boot</groupId>
      <artifactId>spring-boot-starter-test</artifactId>
      <scope>test</scope>
    </dependency>
    <dependency>
      <groupId>cn.hutool</groupId>
      <artifactId>hutool-all</artifactId>
      <version>4.3.1</version>
    </dependency>

  </dependencies>

  <dependencyManagement>
    <dependencies>
      <dependency>
        <groupId>org.springframework.cloud</groupId>
        <artifactId>spring-cloud-dependencies</artifactId>
        <version>${spring-cloud.version}</version>
        <type>pom</type>
        <scope>import</scope>
      </dependency>
    </dependencies>
  </dependencyManagement>

</project>
二、子项目创建
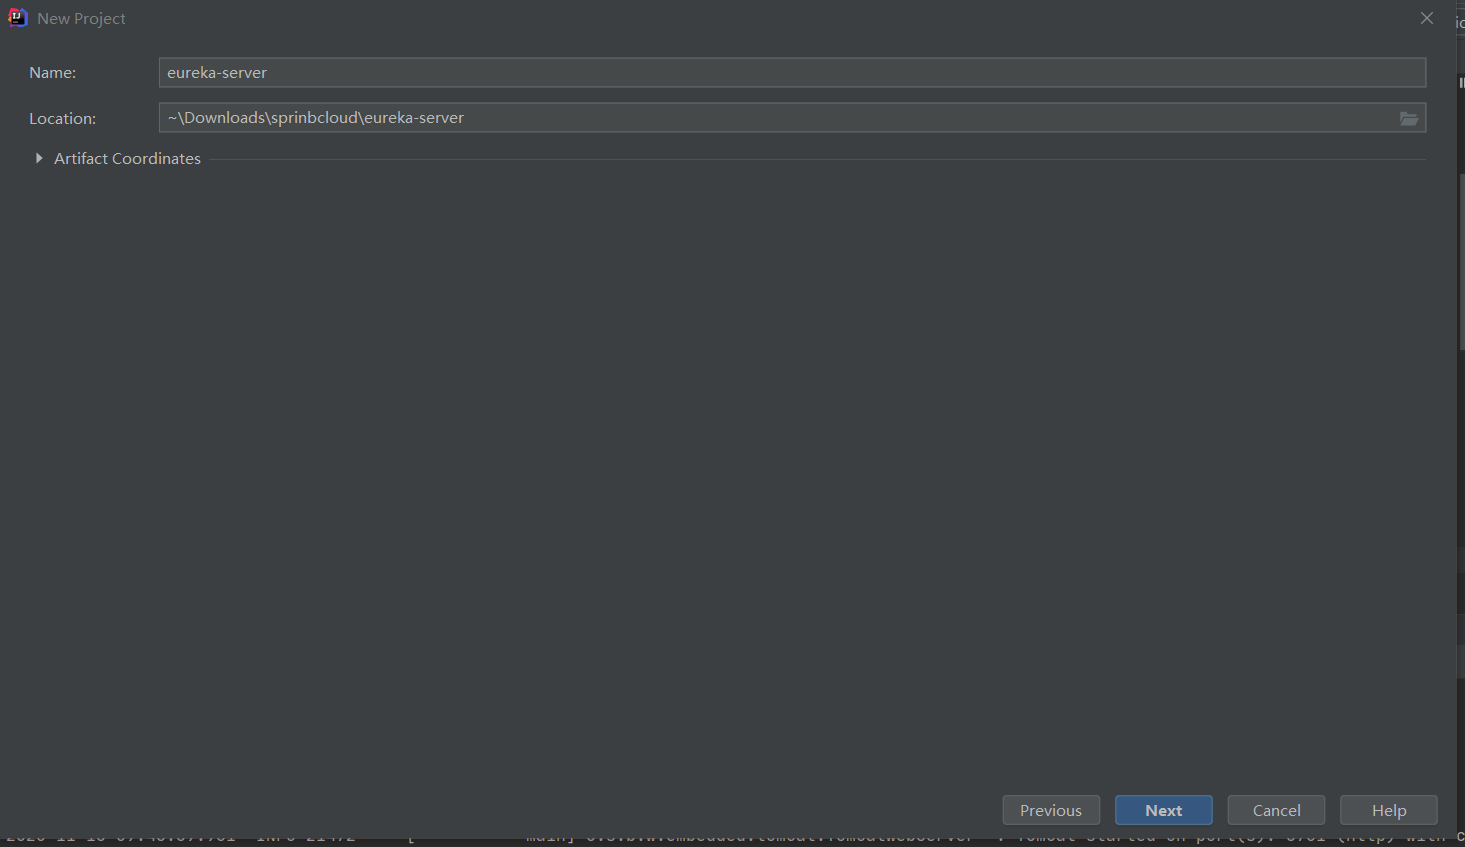
1.填写name
2.修改pom.xml
<project xmlns="http://maven.apache.org/POM/4.0.0" xmlns:xsi="http://www.w3.org/2001/XMLSchema-instance" xsi:schemaLocation="http://maven.apache.org/POM/4.0.0 http://maven.apache.org/xsd/maven-4.0.0.xsd">
    <modelVersion>4.0.0</modelVersion>
    <parent>
        <groupId>com.zhangdemo</groupId>
        <artifactId>springcloud</artifactId>
        <version>0.0.1-SNAPSHOT</version>
    </parent>
    <artifactId>eurekaServer</artifactId>

    <dependencies>
        <dependency>
            <groupId>org.springframework.cloud</groupId>
            <artifactId>spring-cloud-starter-netflix-eureka-server</artifactId>
        </dependency>
    </dependencies>

</project>
3.在main目录下创建resources文件夹,并在resources文件夹下创建application.yml且写入如下内容
eureka:
  instance:
    hostname: localhost       #主机地址
  client:
    registerWithEureka: false #是否注册到服务器
    fetchRegistry: false      #是否获取服务器的注册信息
    serviceUrl:
      defaultZone: http://${eureka.instance.hostname}:${server.port}/eureka/ #自己作为服务器,公布出来的地址

#微服务本身名称
spring:
  application:
    name: eureka-server
@SpringBootApplication
@EnableEurekaServer
public class EurekaServerApplication
{
    public static void main( String[] args )
    {
        //8761 这个端口是默认的,就不要修改了,后面的子项目,都会访问这个端口。
        int port = 8761;
        if(!NetUtil.isUsableLocalPort(port)) {
            System.err.printf("端口%d被占用了,无法启动%n", port );
            System.exit(1);
        }
        new SpringApplicationBuilder(EurekaServerApplication.class).properties("server.port=" + port).run(args);
    }

}
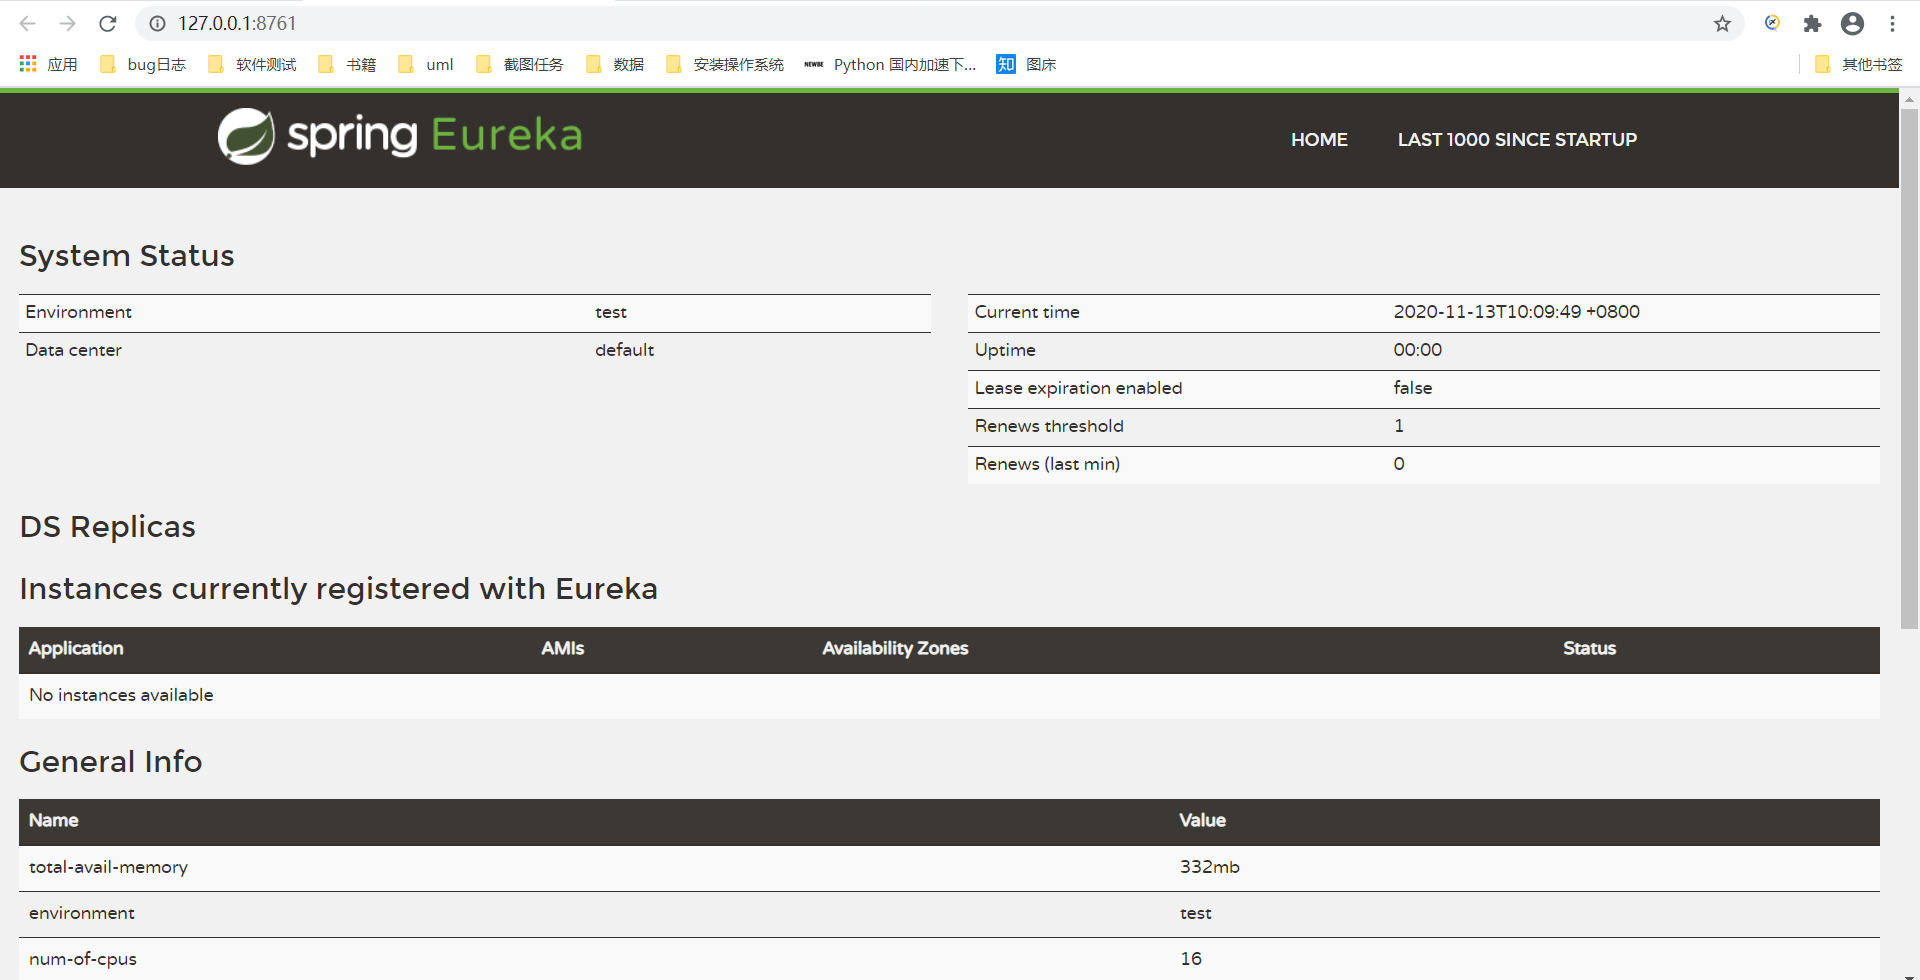
5.运行EurekaServerApplication,并访问注册中心管理界面http://127.0.0.1:8761/