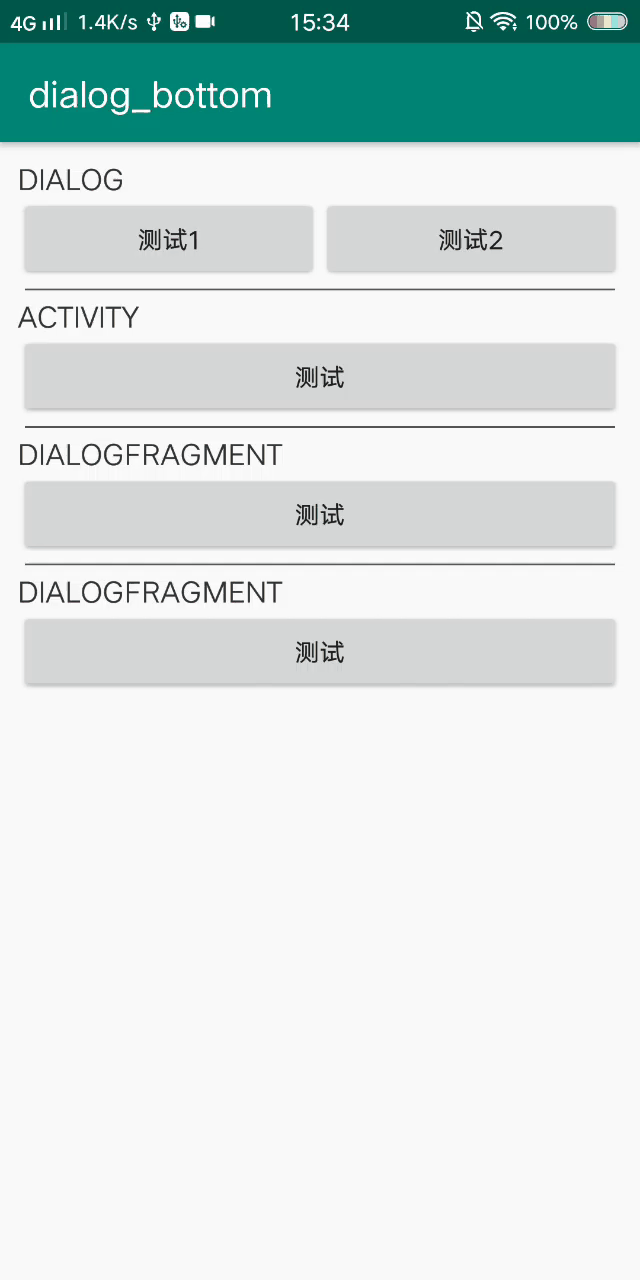
先看下效果图,用了4种不同的方法实现底部弹窗:
1、dialog
2、activity
3、fragment
dialog(这里我用了一个类封装了dialog,调用时需要传3个参数,第二个是关联的布局文件,第三个是布局id):
package com.example.dialog_bottom;

import android.app.Dialog;
import android.content.Context;
import android.view.Gravity;
import android.view.View;
import android.view.WindowManager;
import android.view.animation.Animation;
import android.view.animation.TranslateAnimation;

public class DialogTest {
    public static void onDialog(Context context,int layout,int id){
        Dialog dialog = new Dialog(context);
        dialog.setContentView(layout);
        WindowManager.LayoutParams layoutParams = dialog.getWindow().getAttributes();
        layoutParams.gravity = Gravity.BOTTOM;
        layoutParams.height = WindowManager.LayoutParams.WRAP_CONTENT;
        layoutParams.width = WindowManager.LayoutParams.MATCH_PARENT;
        dialog.getWindow().setAttributes(layoutParams);
        dialog.getWindow().setBackgroundDrawable(null);
        dialog.show();
        popUp(dialog.getWindow().findViewById(id));
    }

    public static void popUp(View view){
        Animation animation = new TranslateAnimation(Animation.RELATIVE_TO_SELF,0.0f,
                Animation.RELATIVE_TO_SELF,0.0f,Animation.RELATIVE_TO_SELF,
                1.0f,Animation.RELATIVE_TO_SELF,0.0f);

        animation.setDuration(1000);
        animation.setFillAfter(true);
        animation.setFillEnabled(true);
        view.startAnimation(animation);
        animation.setAnimationListener(new Animation.AnimationListener() {
            @Override
            public void onAnimationStart(Animation animation) {

            }

            @Override
            public void onAnimationEnd(Animation animation) {

            }

            @Override
            public void onAnimationRepeat(Animation animation) {

            }
        });
    }
}
dialog的布局文件代码(后面除了贴出MAinActivity的布局文件,其他的布局文件就不贴出来了,只是背景颜色不一样):
<?xml version="1.0" encoding="utf-8"?>
<LinearLayout xmlns:android="http://schemas.android.com/apk/res/android"
    android:id="@+id/liner_test1"
    android:orientation="vertical"
    android:layout_width="match_parent"
    android:layout_height="match_parent">
    <TextView
        android:gravity="center"
        android:layout_width="match_parent"
        android:layout_height="500dp"
        android:background="#999"
        android:textSize="25sp"
        android:textColor="#FFF"
        android:text="底部弹窗"/>
</LinearLayout>
第二个方法是直接用Activity做的弹窗(布局文件可直接用之前的):
package com.example.dialog_bottom;

import androidx.appcompat.app.AppCompatActivity;

import android.app.Activity;
import android.os.Bundle;
import android.view.Gravity;
import android.view.ViewGroup;
import android.view.WindowManager;

public class DialogActivity extends Activity {

    @Override
    protected void onCreate(Bundle savedInstanceState) {
        super.onCreate(savedInstanceState);
        setContentView(R.layout.activity_dialog);
        getWindow().setLayout(WindowManager.LayoutParams.MATCH_PARENT, ViewGroup.LayoutParams.WRAP_CONTENT);
        getWindow().getAttributes().gravity = Gravity.BOTTOM;
    }
}
这里需要在 styles.xml文件中加入:
<style name="dialog_style" parent="android:Theme.Dialog">
        <item name="android:windowFrame">@null</item>
        <item name="android:windowNoTitle">true</item>
        <item name="android:windowBackground">#0000</item>
    </style>
然后在AndroidManifest.xml文件中加入,同时调用styles.xml:
<activity android:name=".DialogActivity" android:theme="@style/dialog_style"></activity>
package com.example.dialog_bottom;

import android.app.Dialog;
import android.graphics.Color;
import android.graphics.drawable.ColorDrawable;
import android.os.Bundle;
import android.view.Gravity;
import android.view.LayoutInflater;
import android.view.View;
import android.view.ViewGroup;
import android.view.Window;
import android.view.WindowManager;

import androidx.annotation.NonNull;
import androidx.annotation.Nullable;

public class DialogFragment extends androidx.fragment.app.DialogFragment {
    private View view;

    @Nullable
    @Override
    public View onCreateView(@NonNull LayoutInflater inflater, @Nullable ViewGroup container, @Nullable Bundle savedInstanceState) {
        view = inflater.inflate(R.layout.dialog_fragment,container,false);
        return view;
    }

    @Override
    public void onStart() {
        super.onStart();
        Window window = getDialog().getWindow();
        WindowManager.LayoutParams params = window.getAttributes();
        params.gravity = Gravity.BOTTOM;
        params.width = WindowManager.LayoutParams.MATCH_PARENT;
        window.setAttributes(params);
        //必须设定的属性,否则无法使dialog铺满屏幕,设置其他颜色会出现黑边
        window.setBackgroundDrawable(new ColorDrawable(Color.TRANSPARENT));
        DialogTest.popUp(view);
    }
}
使用该弹窗:
new DialogFragment().show(getSupportFragmentManager(),"dialog");
第四种方法使用buttonSheetDialog ,需要在build.gradle中加入以下依赖:
implementation 'com.android.support:design:23.2.0'
buttonSheetDialog 的代码(直接使用):
private void btnSheep(){
        BottomSheetDialog dialog = new BottomSheetDialog(this);
        dialog.setContentView(R.layout.dialog_fragment);
        dialog.show();
    }