4.5 TestNG 集成 HttpClient
首先将 TestNG 和 HttpClient 进行集成,然后进行 HTTP 接口自动化测试。
在 pom.xml 文件的 <dependencies> 标签中输入以下粗体部分内容:
<?xml version="1.0" encoding="UTF-8"?>
<project xmlns="http://maven.apache.org/POM/4.0.0"
         xmlns:xsi="http://www.w3.org/2001/XMLSchema-instance"
         xsi:schemaLocation="http://maven.apache.org/POM/4.0.0 http://maven.apache.org/xsd/maven-4.0.0.xsd">
<modelVersion>4.0.0</modelVersion>

<groupId>cn.edu.bjut</groupId>
<artifactId>httpinterfacetest</artifactId>
<version>1.0-SNAPSHOT</version>

<dependencies>
    <dependency>
        <groupId>org.apache.httpcomponents</groupId>
        <artifactId>httpclient</artifactId>
        <version>4.5.9</version>
    </dependency>
    <dependency>
        <groupId>org.testng</groupId>
        <artifactId>testng</artifactId>
        <version>6.14.3</version>
        <scope>test</scope>
    </dependency>

    <dependency>
        <groupId>org.json</groupId>
        <artifactId>json</artifactId>
        <version>20180813</version>
    </dependency>
    <dependency>
        <groupId>org.dom4j</groupId>
        <artifactId>dom4j</artifactId>
        <version>2.1.1</version>
    </dependency>
    <dependency>
        <groupId>jaxen</groupId>
        <artifactId>jaxen</artifactId>
        <version>1.2.0</version>
    </dependency>
</dependencies>

</project>
保存 pom.xml 文件,这时 Maven 会自动下载依赖的 jar 包。这里添加了 4 个依赖。
①TestNG:自动化测试框架 TestNG 的依赖。
②JSON:用于处理 JSON 数据,在 RESTful POST 请求的请求体及响应体中均可使用。
③DOM4J:用于处理 XML 数据,在 SOAP 请求的请求体及响应体中均可使用。
④JAXEN:当 DOM4J 用 XPath 方式获取节点时需要依赖该 jar 包。
依赖 jar 包下载完成后,在工程(httpinterfacetest)上用鼠标右击,从弹出的快捷菜单中选择「TestNG → Convert to TestNG」选项,在工程中生成 testng.xml 文件。
4.5.1 RESTful 接口自动化测试
1.编写 GET 接口自动化测试用例
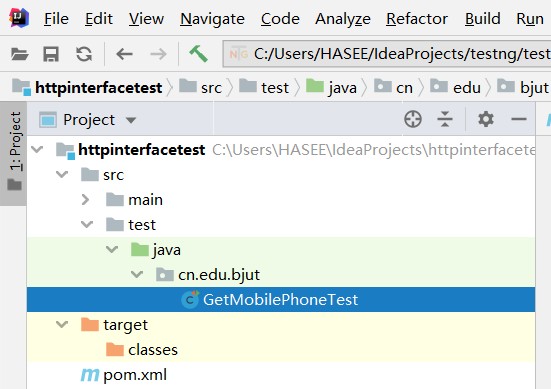
把 Test Class 重命名为 GetMobilePhoneTest,删除 GetMobilePhoneTest 中的内容,输入以下代码:
package cn.edu.bjut;

import org.apache.http.client.methods.CloseableHttpResponse;
import org.apache.http.client.methods.HttpGet;
import org.apache.http.client.utils.URIBuilder;
import org.apache.http.impl.client.CloseableHttpClient;
import org.apache.http.impl.client.HttpClients;
import org.apache.http.util.EntityUtils;
import org.testng.Assert;
import org.testng.annotations.AfterClass;
import org.testng.annotations.BeforeClass;
import org.testng.annotations.Test;

import java.net.URI;

public class GetMobilePhoneTest {
    private CloseableHttpClient client;
    private CloseableHttpResponse response;

    @BeforeClass
    public void init() {
        client = HttpClients.createDefault();
    }

    @Test
    public void testCase1() {
        Assert.assertEquals("{"brand":"Apple","model":"iPhone 6S","os":"IOS"}",
                sendHttpGetRequest(client, "iPhone 6S"));
    }

    @Test
    public void testCase2() {
        Assert.assertEquals("", sendHttpGetRequest(client, ""));
    }

    @Test
    public void testCase3() {
        Assert.assertEquals("", sendHttpGetRequest(client, null));
    }

    @Test
    public void testCase4() {
        Assert.assertEquals("", sendHttpGetRequest(client, "01234567890123456789012345678901234567890123456789"));
    }

    @AfterClass
    public void clear() {
        try {
            response.close();
            client.close();
        } catch (Exception e) {
            e.printStackTrace();
        }
    }

    //定义一个私有的方法,用来发送Get请求
    private String sendHttpGetRequest(CloseableHttpClient client, String model) {
        String result = null;
        try {
            URI uri = new URIBuilder().setScheme("http").setHost("localhost").setPort(8080).setPath("/mobilePhone")
                    .setParameter("model", model).build();
            response = client.execute(new HttpGet(uri));
            result = EntityUtils.toString(response.getEntity());
        } catch (Exception e) {
            e.printStackTrace();
        }
        return result;
    }

}
修改 testng.xml 文件,在<;test>;标签中新增以下粗体部分内容:

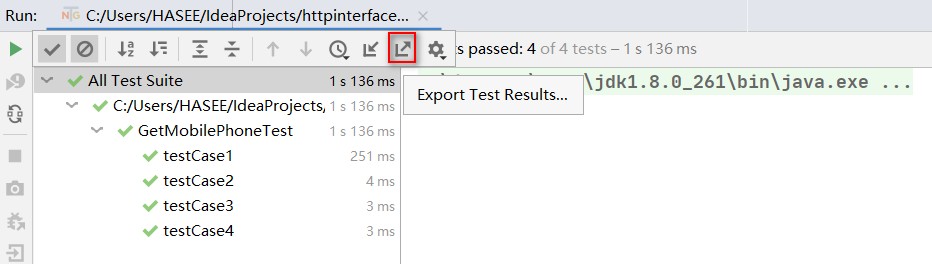
保存所做的修改,在 testng.xml 上用鼠标右击,从弹出的快捷菜单中选择「Run As → TestNG Suite」选项,可以看到如图 4-2 所示的测试报告。
下面对运行结果进行说明。
①init()方法初始化了一个 HTTP 客户端,并在 sendHttpGetRequest()方法中使用,最后在 clear()方法中关闭。
② 将构造 URI、发送 GET 请求和转换服务器响应等过程封装在 sendHttpGetRequest()方法中,通过传递 HTTP 客户端和参数来使用该方法。
③ 在 clear()方法中对 HTTP 客户端和服务器响应进行关闭操作,在操作过程中可能出现异常,所以需要对异常进行捕获和处理。
2.POST 接口自动化测试用例编写
在 cn.edu.bjut.httpinterfacetest Package 中创建名为 SaveMobilePhoneTest 的 Class,在 SaveMobilePhoneTest 中输入以下内容:


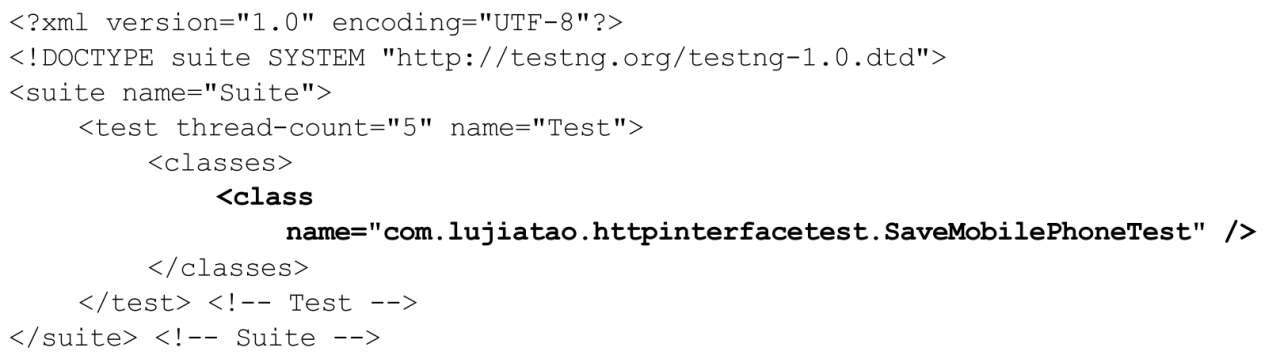
修改 testng.xml 文件,修改<;class>;标签中的 name 属性值,见以下粗体部分内容:
保存所做的修改,在 testng.xml 上用鼠标右击,从弹出的快捷菜单中选择「Run As → TestNG Suite」选项,然后查看测试报告,如图 4-3 所示。

图 4-3
下面对运行结果进行说明。
① 整体思路和上一个示例一致,只是将 sendHttpGetRequest()方法改成了 sendHttpPostRequest()方法,具体的实现都封装到了 sendHttpPostRequest()方法中。
② 从测试报告可以看出,有 7 个测试用例执行失败了,这时我们可以查看失败原因,以 testCase11 为例,单击「testCase11」,如图 4-4 所示。
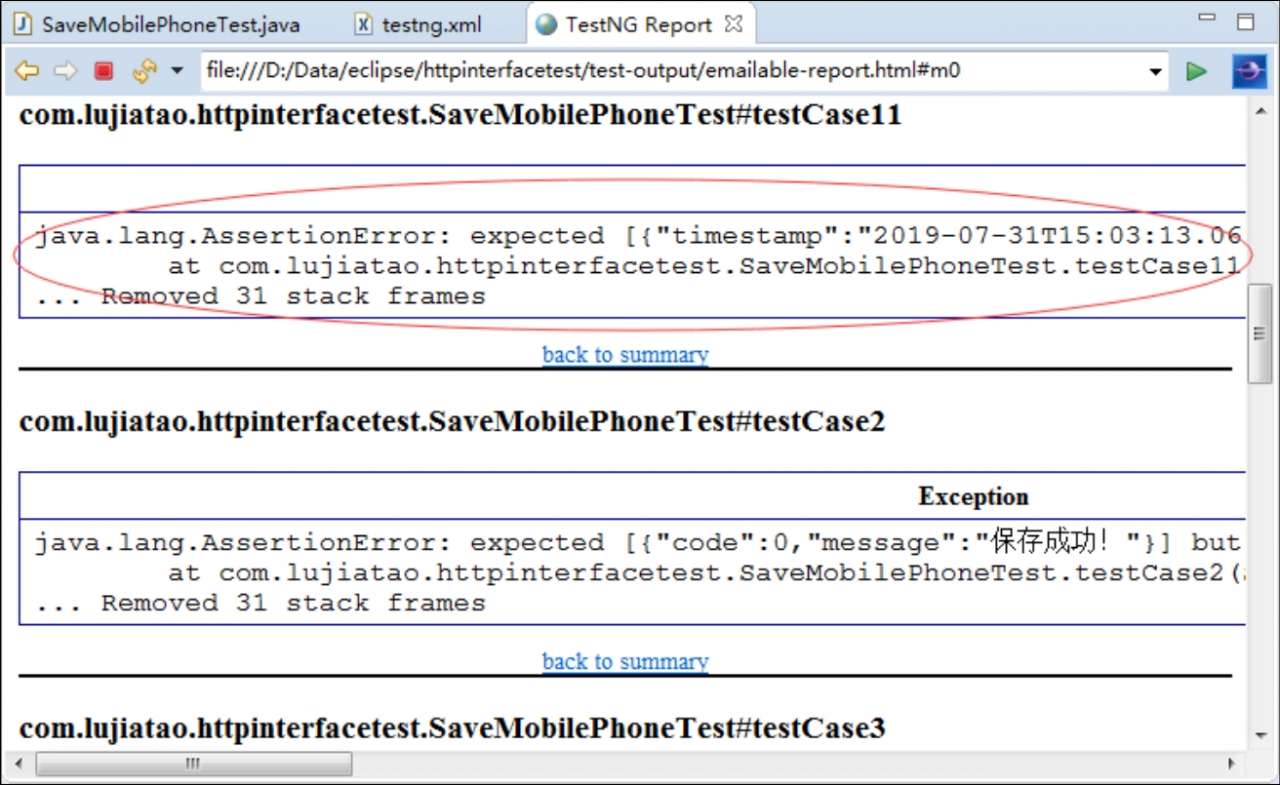
图 4-4
复制 expected 后的方括号中的内容:

可以看到服务器返回了 500 错误,提示没有「SYMBIAN」这个枚举,这里表明了待测程序设计不够严谨。待测程序没有对入参进行校验,导致不能返回友好的提示,而是直接返回了服务器 500 错误。
实际项目中,自动化测试用例执行失败后,通过对结果进行分析,在确认失败原因为待测程序的缺陷时,就应该将缺陷提交给开发人员。
3.简化自动化测试用例
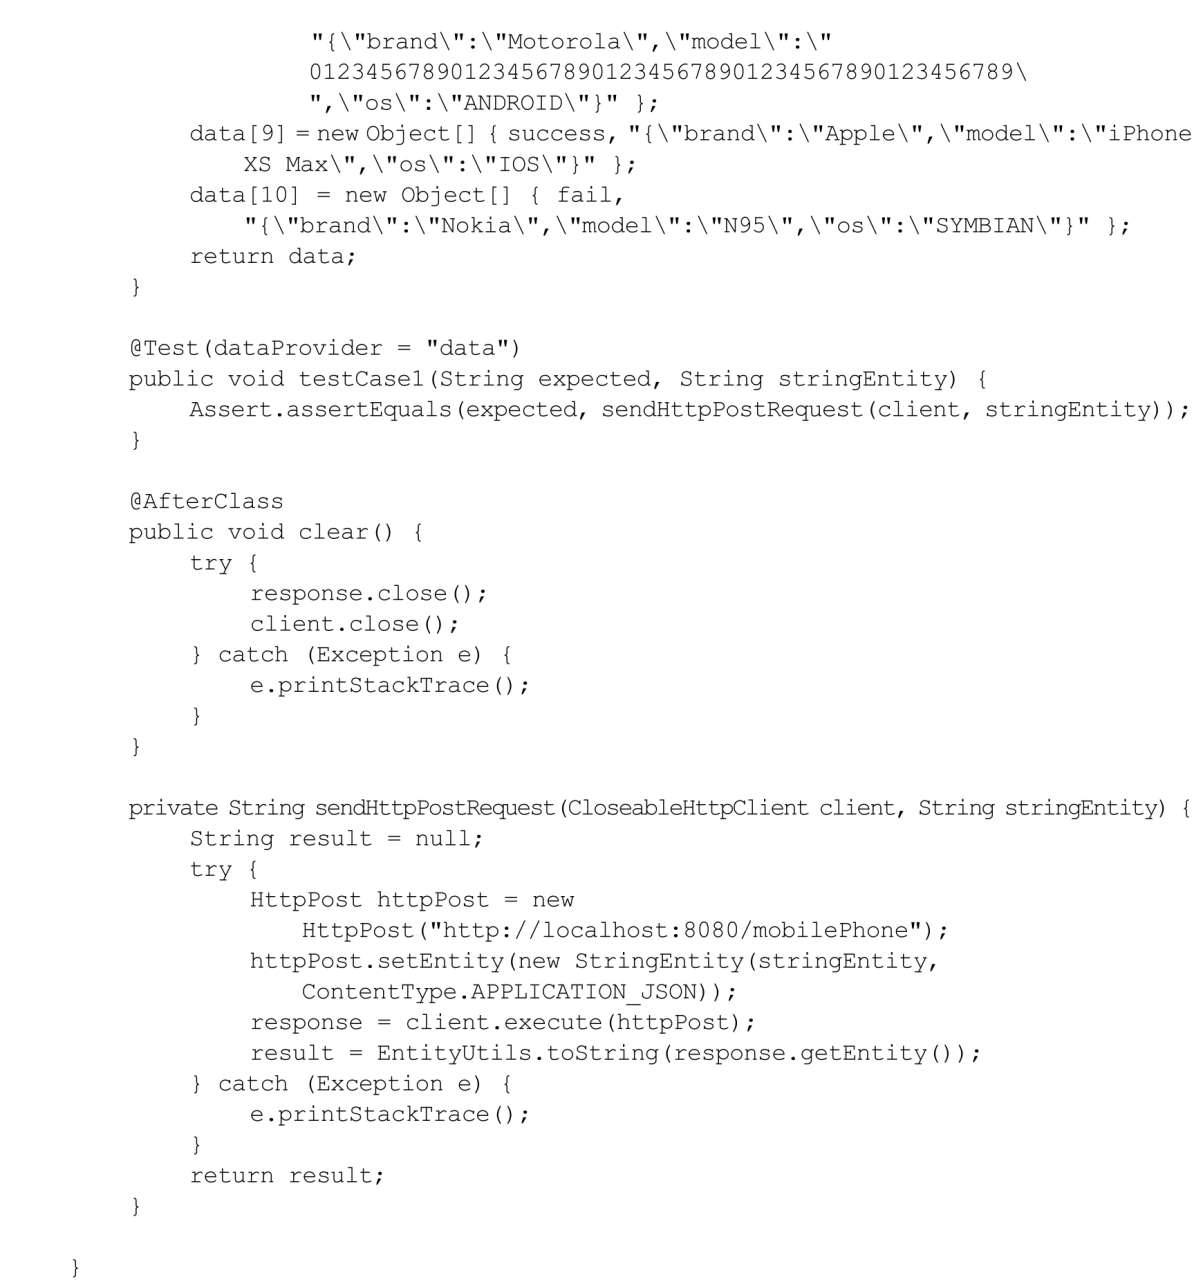
上例中有 11 个自动化测试用例,但通过观察可以发现入参和期望值很相似,因此代码看上去很冗余,有没有简化的方法呢?答案是肯定的。第 3 章曾介绍过数据分离,这里就派上用场了。删除 SaveMobilePhoneTest 中的内容,输入以下内容:

保存代码,选择「Run As → TestNG Suite」选项,测试报告如图 4-5 所示。
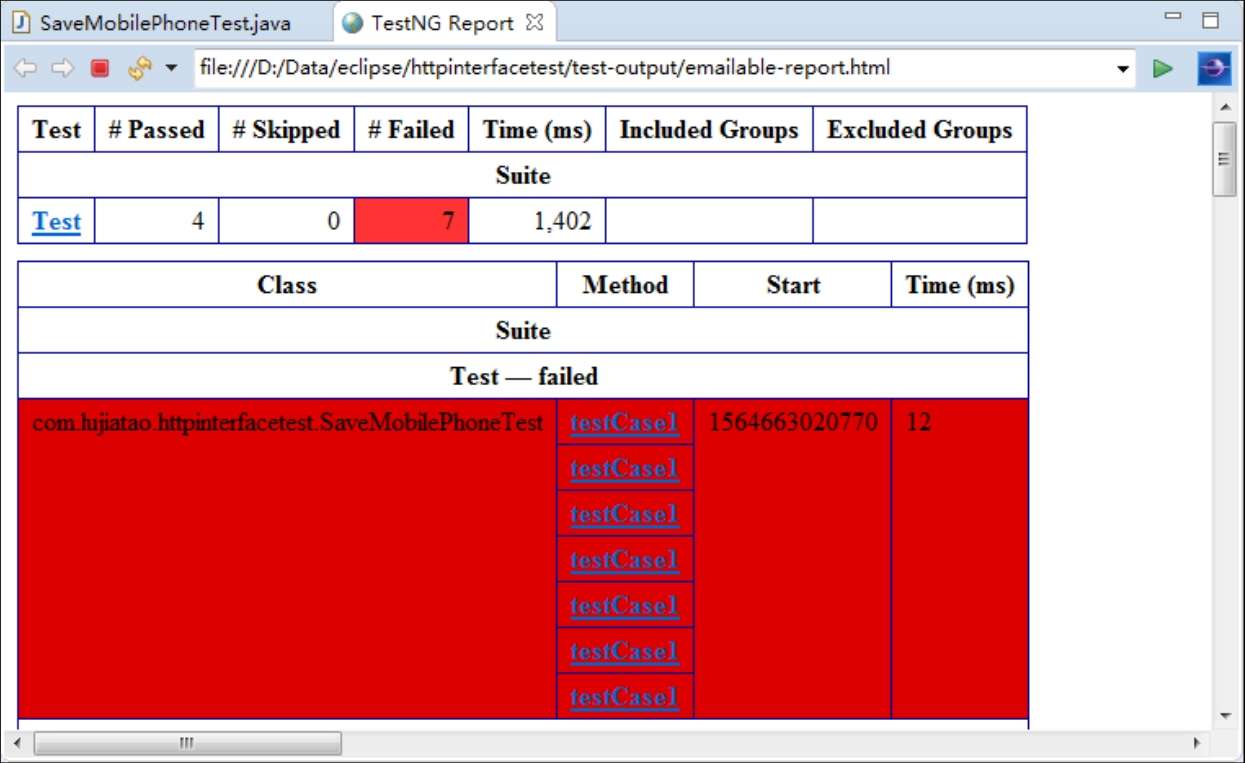
图 4-5
这里使用了@DataProvider 注解修饰一个方法,该方法用于提供测试数据,测试数据包括期望值和请求的实体字符串。
4.解析 JSON 字符串
RESTful 接口通过 JSON 传输数据,以上的例子我们都将 JSON 字符串当作「一般字符串」对待了,实际上可以通过对 JSON 字符串的解析进行更细粒度的控制。作为示例讲解,这里删除了 testCase2~testCase11,仅保留 testCase1:
package cn.edu.bjut;

import org.apache.http.client.methods.CloseableHttpResponse;
import org.apache.http.client.methods.HttpPost;
import org.apache.http.entity.ContentType;
import org.apache.http.entity.StringEntity;
import org.apache.http.impl.client.CloseableHttpClient;
import org.apache.http.impl.client.HttpClients;
import org.apache.http.util.EntityUtils;
import org.json.JSONObject;
import org.testng.Assert;
import org.testng.annotations.AfterClass;
import org.testng.annotations.BeforeClass;
import org.testng.annotations.Test;

public class SaveMobilePhoneTest {
    private CloseableHttpClient client;
    private CloseableHttpResponse response;

    @BeforeClass
    public void init() {
        client = HttpClients.createDefault();
    }

    @Test
    public void testCase1() {
        JSONObject expected = new JSONObject().put("code", 0).put("message", "保存成功!");
        JSONObject stringEntity = new JSONObject().put("brand", "Motorola").put("model", "moto Z Play").put("os",
                "ANDROID");
        JSONObject actual = sendHttpPostRequest(client, stringEntity.toString());
        if (!(expected.get("code") == actual.get("code")) || !(expected.get("message").equals(actual.get("message")))) {
            Assert.fail("失败!");
        }
    }

    @AfterClass
    public void clear() {
        try {
            response.close();
            client.close();
        } catch (Exception e) {
            e.printStackTrace();
        }
    }

    private JSONObject sendHttpPostRequest(CloseableHttpClient client, String stringEntity) {
        JSONObject result = null;
        try {
            HttpPost httpPost = new HttpPost("http://localhost:8080/mobilePhone");
            httpPost.setEntity(new StringEntity(stringEntity, ContentType.APPLICATION_JSON));
            response = client.execute(httpPost);
            result = new JSONObject(EntityUtils.toString(response.getEntity()));
        } catch (Exception e) {
            e.printStackTrace();
        }
        return result;
    }

}
在 testCase1 中,将预期结果、入参和实际结果都用 JSONObject 对象表示,包括断言也是通过操作 JSONObject 对象完成的,整个过程看不到「糟心」的字符串。这样做的好处是将 RESTful 请求的请求体和响应体完全「JSON」化,便于进一步封装,并且与字符串也实现了「解耦」。
4.5.2 SOAP 接口自动化测试
1.自动化测试用例编写
在 cn.edu.bjut.httpinterfacetest Package 中创建名为 GetMobilePhoneSoapTest 的 Class,在 GetMobilePhoneSoapTest 中输入以下内容:

修改 testng.xml 文件,修改<;class>;标签中的 name 属性值,见以下粗体部分内容:

保存所做的修改,在 testng.xml 上用鼠标右击,从弹出的快捷菜单中选择「Run As → TestNG Suite」选项,测试报告如图 4-6 所示。

图 4-6
测试用例均通过测试,与预期一致。
2.解析 XML 字符串
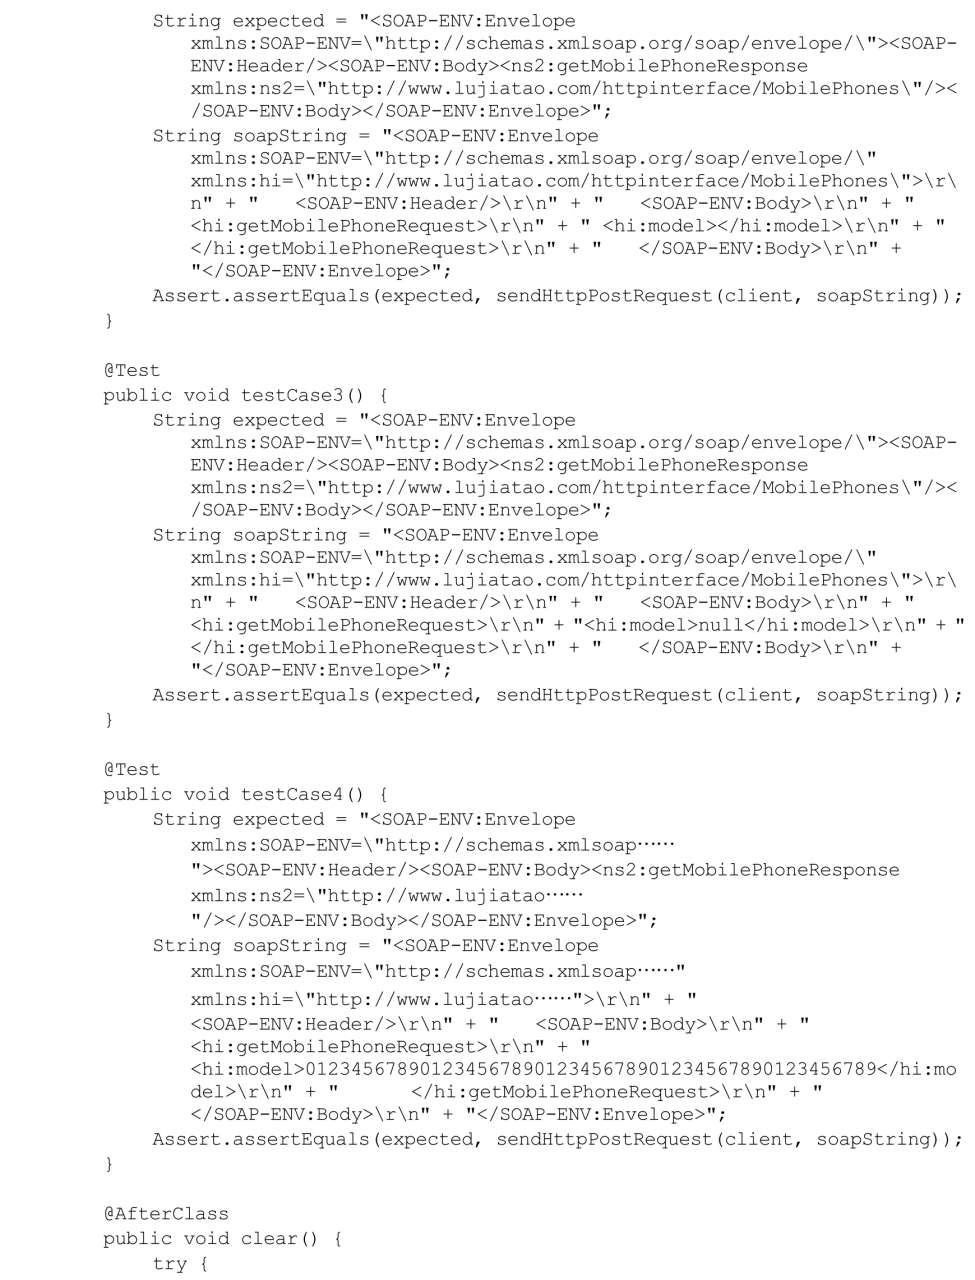
直接处理 XML 字符串虽然能解决问题,但是代码可读性很差。这里使用 DOM4J 处理 XML 字符串。作为示例讲解,这里仅保留了 testCase1:
下面对代码进行说明。
GetMobilePhoneSoapTest.java


import java.util.HashMap;
import java.util.Map;

import org.apache.http.client.methods.CloseableHttpResponse;
import org.apache.http.client.methods.HttpPost;
import org.apache.http.entity.ContentType;
import org.apache.http.entity.StringEntity;
import org.apache.http.impl.client.CloseableHttpClient;
import org.apache.http.impl.client.HttpClients;
import org.apache.http.util.EntityUtils;
import org.dom4j.Document;
import org.dom4j.DocumentHelper;
import org.dom4j.Element;
import org.dom4j.XPath;
import org.testng.Assert;
import org.testng.annotations.AfterClass;
import org.testng.annotations.BeforeClass;
import org.testng.annotations.Test;

public class GetMobilePhoneSoapTest {
    private CloseableHttpClient client;
    private CloseableHttpResponse response;

    @BeforeClass
    public void init() {
        client = HttpClients.createDefault();
    }

    @Test
    public void testCase1() {
        // 构建期望XML
        Document expected = DocumentHelper.createDocument();
        Element root = expected.addElement("SOAP-ENV:Envelope").addAttribute("xmlns:SOAP-ENV",
                "http://schemas.xmlsoap.org/soap/envelope/");
        root.addNamespace("SOAP-ENV", "http://schemas.xmlsoap.org/soap/envelope/");
        root.addElement("SOAP-ENV:Header");
        Element body = root.addElement("SOAP-ENV:Body");
        Element node = body.addNamespace("ns2", "http://www.lujiatao.com/httpinterface/MobilePhones")
                .addElement("ns2:getMobilePhoneResponse")
                .addAttribute("xmlns:ns2", "http://www.lujiatao.com/httpinterface/MobilePhones");
        Element nodeChild = node.addElement("ns2:mobilePhone");
        nodeChild.addElement("ns2:brand").addText("Apple");
        nodeChild.addElement("ns2:model").addText("iPhone 6S");
        nodeChild.addElement("ns2:os").addText("IOS");
        // 构建期望XML对应的XPath
        Map<String, String> xmlMap = new HashMap<>();
        xmlMap.put("ns2", "http://www.lujiatao.com/httpinterface/MobilePhones");
        XPath xPath1 = expected.createXPath("//ns2:brand");
        XPath xPath2 = expected.createXPath("//ns2:model");
        XPath xPath3 = expected.createXPath("//ns2:os");
        xPath1.setNamespaceURIs(xmlMap);
        xPath2.setNamespaceURIs(xmlMap);
        xPath3.setNamespaceURIs(xmlMap);
        // 构建入参XML
        Document soapString = DocumentHelper.createDocument();
        Element root2 = soapString.addElement("SOAP-ENV:Envelope")
                .addAttribute("xmlns:SOAP-ENV", "http://schemas.xmlsoap.org/soap/envelope/")
                .addAttribute("xmlns:hi", "http://www.lujiatao.com/httpinterface/MobilePhones");
        root2.addNamespace("SOAP-ENV", "http://schemas.xmlsoap.org/soap/envelope/");
        root2.addNamespace("hi", "http://www.lujiatao.com/httpinterface/MobilePhones");
        root2.addElement("SOAP-ENV:Header");
        Element body2 = root2.addElement("SOAP-ENV:Body");
        Element node2 = body2.addElement("hi:getMobilePhoneRequest");
        node2.addElement("hi:model").addText("iPhone 6S");
        // 接收响应XML并断言
        Document actual = sendHttpPostRequest(client, soapString.asXML());
        if (!(xPath1.selectSingleNode(expected).getText().equals(xPath1.selectSingleNode(actual).getText()))
                || !(xPath2.selectSingleNode(expected).getText().equals(xPath2.selectSingleNode(actual).getText()))
                || !(xPath3.selectSingleNode(expected).getText().equals(xPath3.selectSingleNode(actual).getText()))) {
            Assert.fail("失败!");
        }
    }

    @AfterClass
    public void clear() {
        try {
            response.close();
            client.close();
        } catch (Exception e) {
            e.printStackTrace();
        }
    }

    private Document sendHttpPostRequest(CloseableHttpClient client, String soapString) {
        Document result = null;
        try {
            HttpPost httpPost = new HttpPost("http://localhost:8080/MobilePhones");
            httpPost.setEntity(new StringEntity(soapString, ContentType.TEXT_XML));
            response = client.execute(httpPost);
            result = DocumentHelper.parseText(EntityUtils.toString(response.getEntity()));
        } catch (Exception e) {
            e.printStackTrace();
        }
        return result;
    }

}
① 使用 DOM4J 中的 API 构建期望值,实际上一个是 Document 对象。
② 后续断言会使用 XPath 方式查找期望值和实际值中的指定数据,因此这里先构建 XPath。
③ 使用 DOM4J 中的 API 构建入参。
④ 首先接收实际值(也是一个 Document 对象),然后通过 XPath 获得节点,最后通过对节点的文本进行比较完成断言。