在新建项目成功之后我们可以做一个简单的动态增删查改。
1.在models文件夹下新建models.go,根据模型新建表
package models

import (
	"github.com/astaxie/beego/orm"
	_ "github.com/go-sql-driver/mysql"
	"time"
)

//定义User实体
type User struct {
	Id         int64
	Name       string
	Created    time.Time `orm:"index"`
	Age        int64     `orm:"index"`
	LastUpdate time.Time `orm:"index"`
	High       int64
	Weight     int64
	Introduce  string `orm:"size(500)"`
	Phone      string
	Mail       string
	Adress     string
	work       string
}

func RegisterDB() {
	//注册
	orm.RegisterModel(new(User))
	//注册驱动
	//orm.RegisterDriver("mysql", orm.db_mysql)
	//注册默认数据库
	orm.RegisterDataBase("default", "mysql", "root:123456@/myApp?charset=utf8", 30)

}
2.修改main.go,调用models.go中数据库注册
package main

import (
	"github.com/astaxie/beego"
	"github.com/astaxie/beego/orm"
	_ "github.com/go-sql-driver/mysql"
	"myApp/models"
	_ "myApp/routers"
)

//注册数据模型
func init() {
	//注册数据库
	models.RegisterDB()
}
func main() {
	//开启调试模式,打印到控制台
	orm.Debug = true
	//自动建表
	orm.RunSyncdb("default", false, true)
	beego.Run()
}
3.启动项目,自动新建表
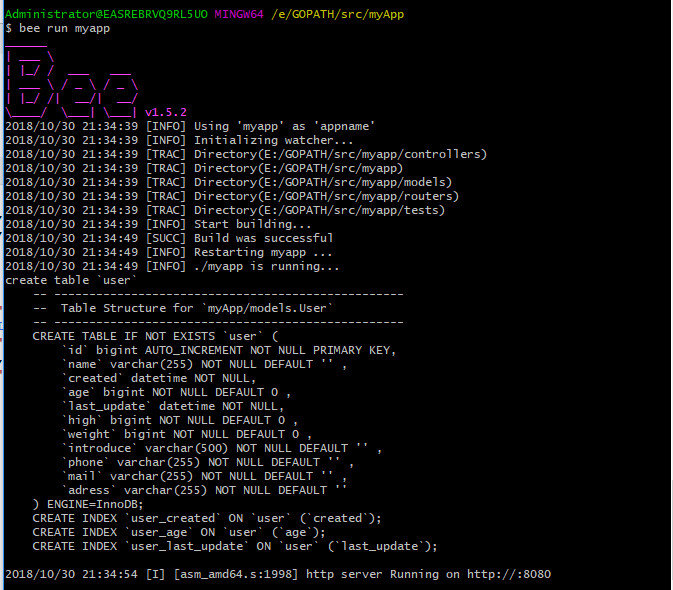
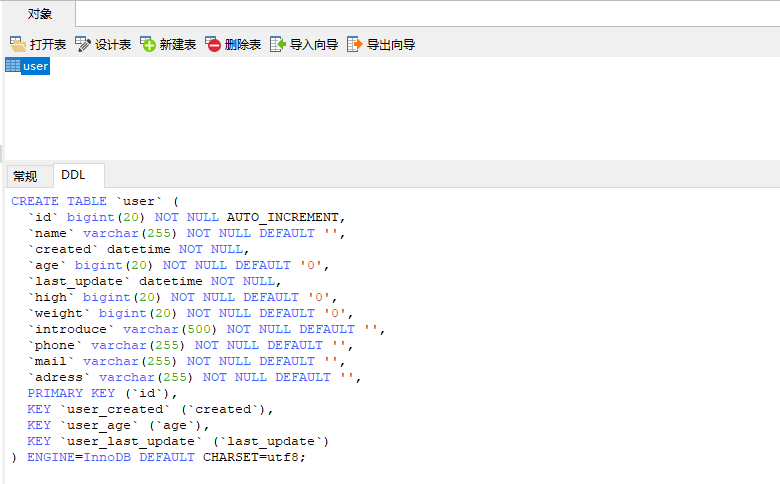
4.