步骤1:先运行,看到效果,再学习
步骤2:模仿和排错
步骤3:效果
步骤4:jar
步骤5:导入到当前项目中
步骤6:TestSpring
步骤 1 : 先运行,看到效果,再学习
老规矩,先下载下载区(点击进入)的可运行项目,配置运行起来,确认可用之后,再学习做了哪些步骤以达到这样的效果。
步骤 2 : 模仿和排错
在确保可运行项目能够正确无误地运行之后,再严格照着教程的步骤,对代码模仿一遍。
模仿过程难免代码有出入,导致无法得到期望的运行结果,此时此刻通过比较正确答案 ( 可运行项目 ) 和自己的代码,来定位问题所在。
采用这种方式,学习有效果,排错有效率,可以较为明显地提升学习速度,跨过学习路上的各个槛。
推荐使用diffmerge软件,进行文件夹比较。把你自己做的项目文件夹,和我的可运行项目文件夹进行比较。
这个软件很牛逼的,可以知道文件夹里哪两个文件不对,并且很明显地标记出来
这里提供了绿色安装和使用教程:diffmerge 下载和使用教程
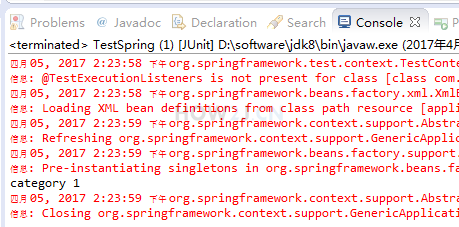
步骤 3 : 效果
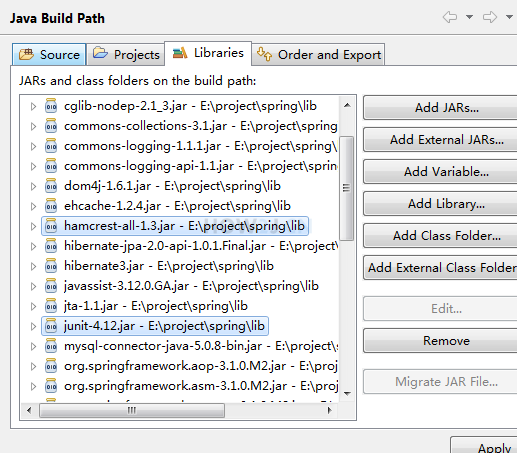
步骤 4 : jar
注解方式用到了junit,所以需要在下载区(点击进入)下载:
junit-4.12.jar和hamcrest-all-1.3.jar
步骤 5 : 导入到当前项目中
把jar包导入到项目中,导包办法:右键 project->properties->java build path->libaries->add external jars
步骤 6 : TestSpring
修改TestSpring, 并运行
1. @RunWith(SpringJUnit4ClassRunner.class)
表示这是一个Spring的测试类
2. @ContextConfiguration("classpath:applicationContext.xml")
定位Spring的配置文件
3. @Autowired
给这个测试类装配Category对象
4. @Test
测试逻辑,打印c对象的名称

|
|
更多内容,点击了解: https://how2j.cn/k/spring/spring-annotation-test/1133.html