idea2020完整web开发(struts2+spring+hibernate)
idea破解
第一步: 下载最新的 IDEA 2020.3.2 版本安装包
https://www.jetbrains.com/idea/download/
第二步:正常安装后运行,点免费试用
第三步:执行破解文件,新建一个Java工程, IDEA 破解补丁 BetterIntelliJ.zip拖入 IDEA 界面中
第四步:重启idea
第五步:依次点击help->register->Add New License->Activation code ->复制粘贴激活码
第六步:检查是否破解成功help->about(应该是2099年)
破解文件链接:https://pan.baidu.com/s/1clmO0_ruStsMD4Js-vkxuA
提取码:0110
Struts2
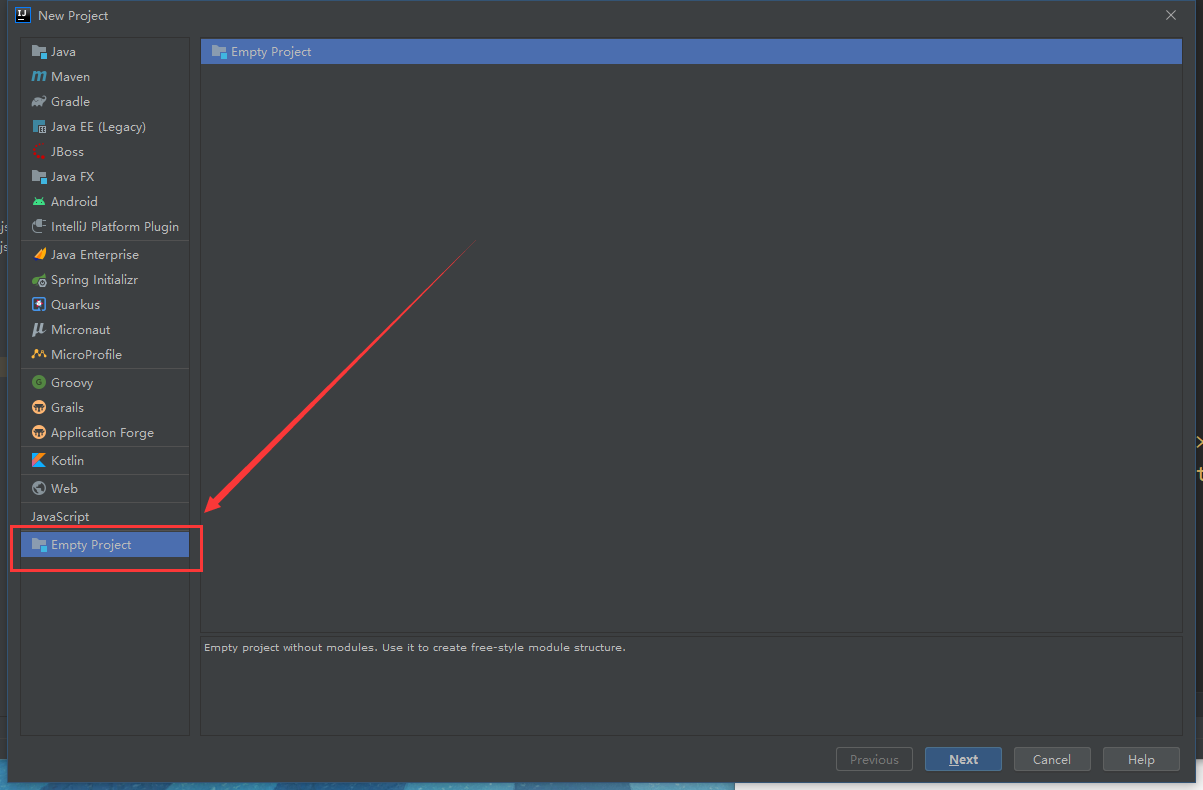
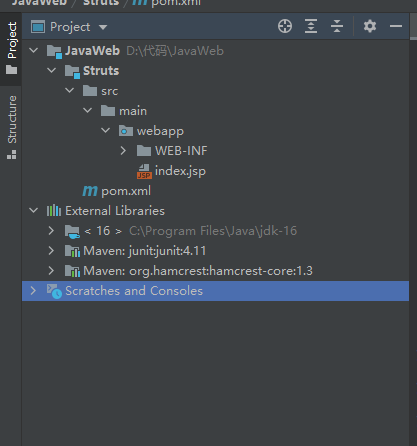
新建空白项目
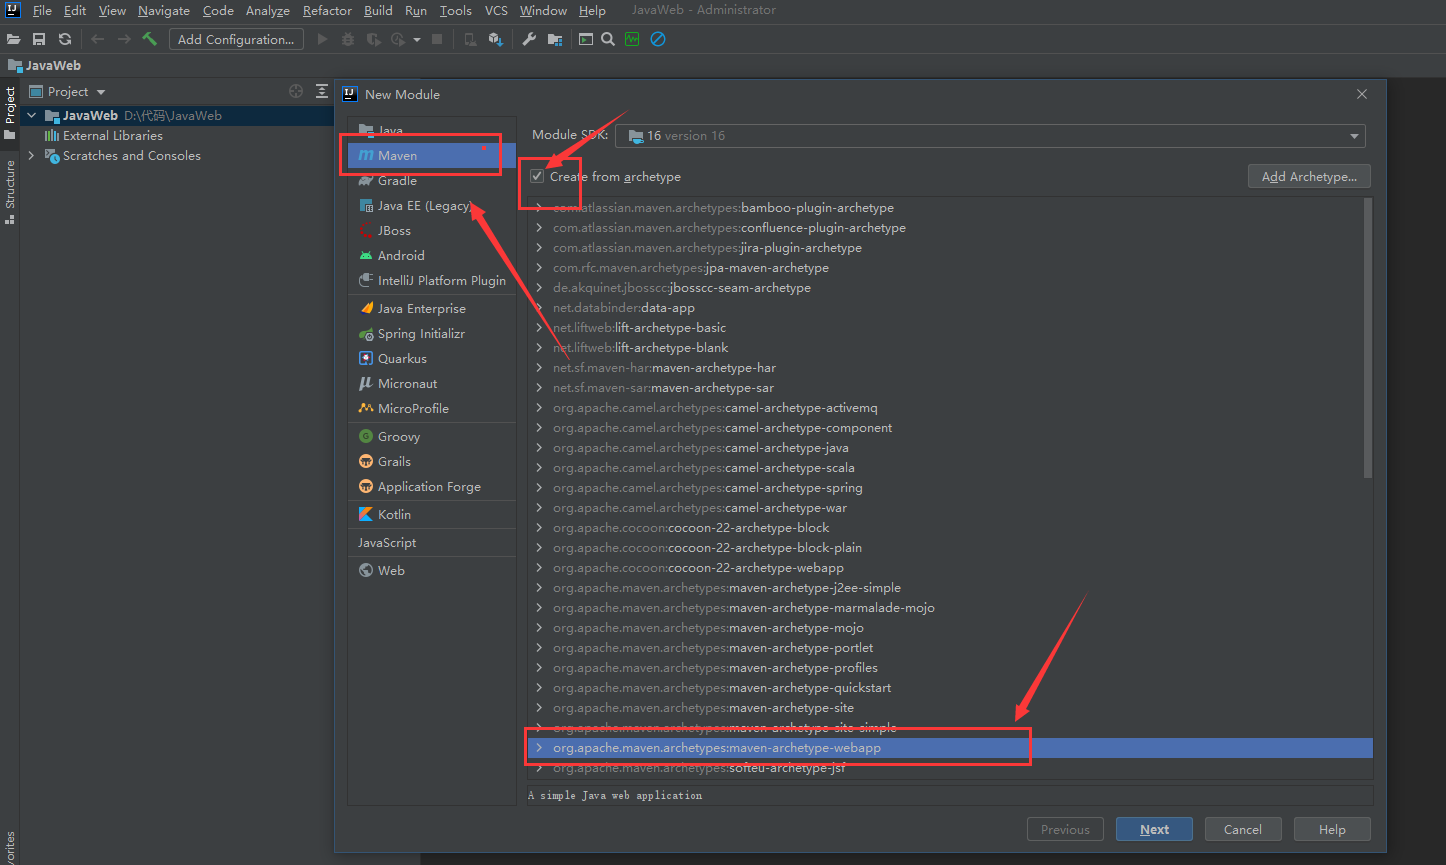
maven工具
maven工具网站 https://mvnrepository.com/
添加maven项目管理包
设置包路径


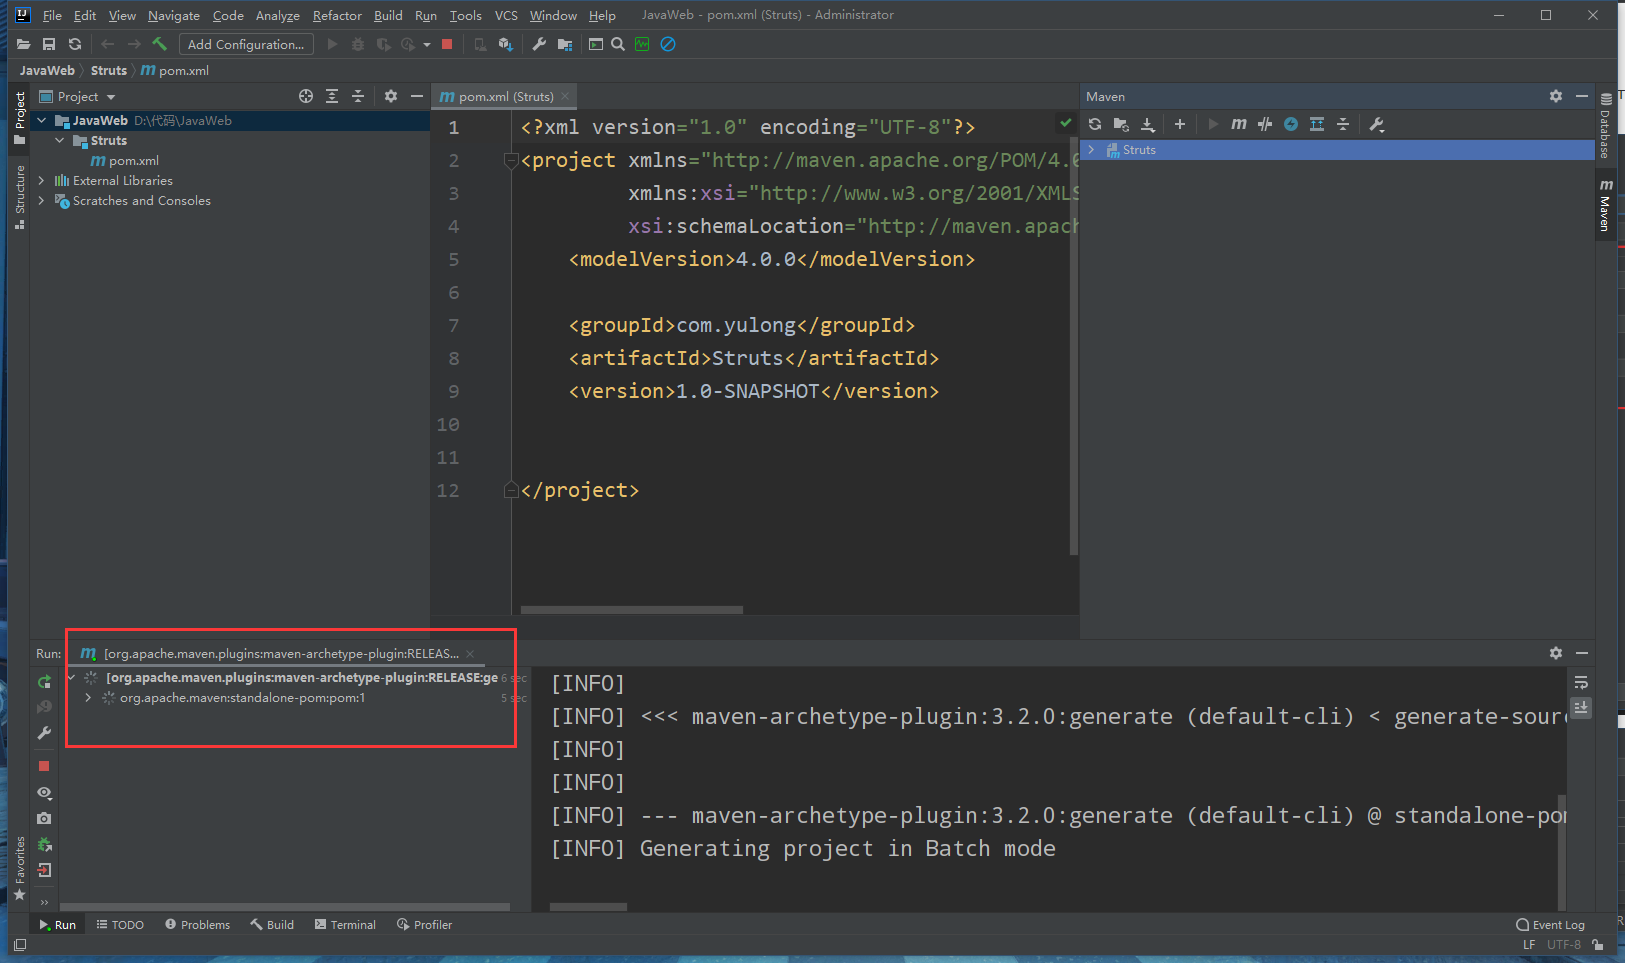
等待maven导入完成
tomcat

添加tomcat包

配置web服务
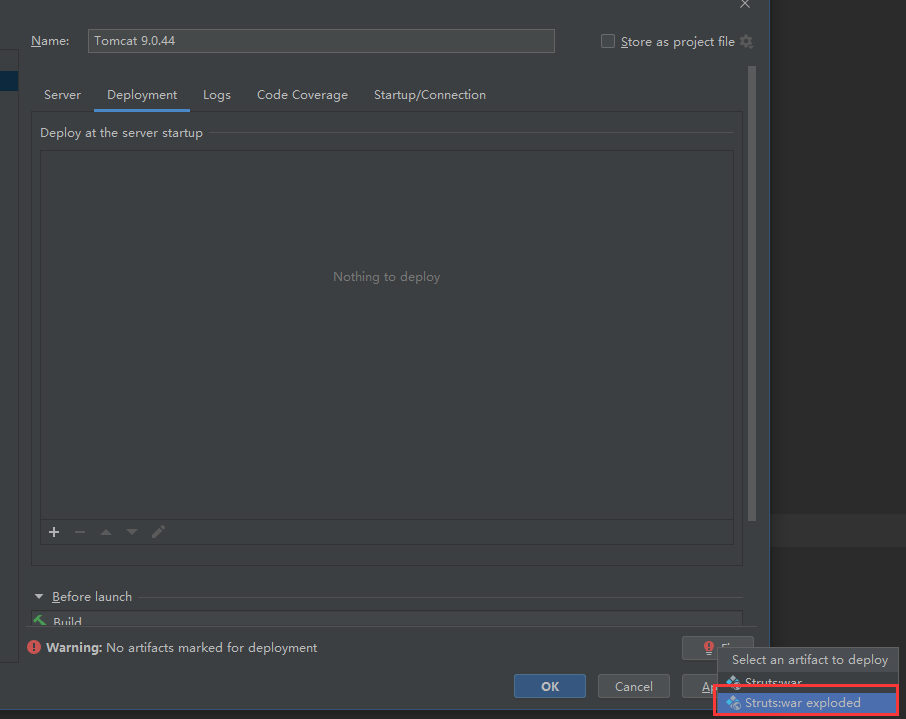
设置路径后,apply设置

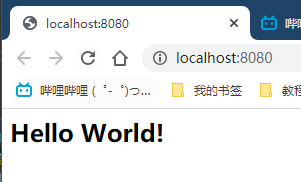
配置完成,点击启动

出现以下内容,则表明web服务运行成功
新建文件夹Java和resources,存放.xml文件和.java文件
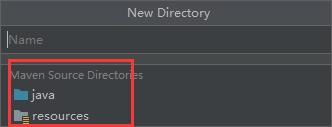
在rescourses中建立xml文件,在Java中建立.java文件
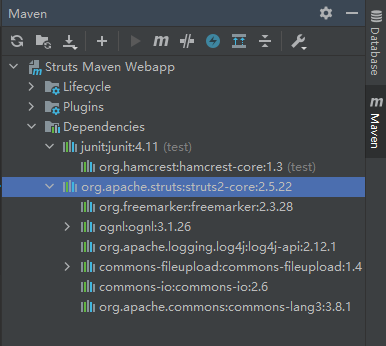
在pom.xml中添加struts2
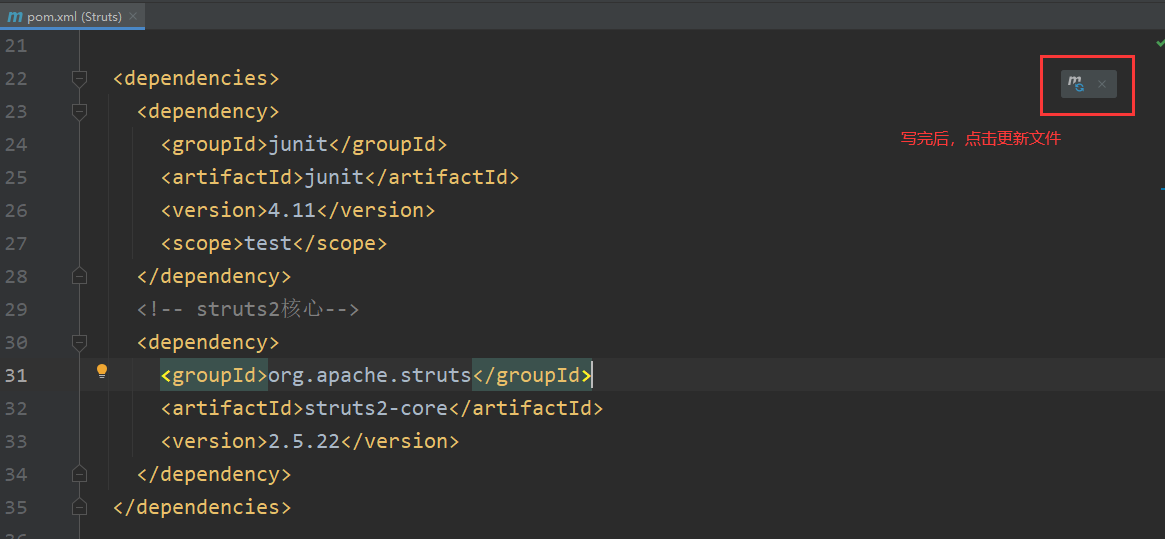
代码如下:
<dependency>
  <groupId>org.apache.struts</groupId>
  <artifactId>struts2-core</artifactId>
  <version>2.5.22</version>
</dependency>
安装后项目结构如下
struts2核心文件
配置web.xml文件,直接全部替换
<?xml version="1.0" encoding="UTF-8"?>
<web-app xmlns:xsi="http://www.w3.org/2001/XMLSchema-instance"
         xmlns="http://xmlns.jcp.org/xml/ns/javaee"
         xsi:schemaLocation="http://xmlns.jcp.org/xml/ns/javaee http://xmlns.jcp.org/xml/ns/javaee/web-app_4_0.xsd"
         id="WebApp_ID" version="4.0">
  <filter>
  <!-- 过滤器名称,自定义,命名为struts2-->
    <filter-name>struts2</filter-name>
  <!--  过滤器核心类  -->
    <filter-class>org.apache.struts2.dispatcher.filter.StrutsPrepareAndExecuteFilter</filter-class>
  </filter>
  <filter-mapping>
  <!--过滤器名称,自定义,命名为struts2-->
    <filter-name>struts2</filter-name>
  <!--过滤范围-->
    <url-pattern>/*</url-pattern>
  </filter-mapping>
</web-app>
以下为测试案例(可忽略)
文件配置已经完成,下面编写用例测试框架是否能运行
案例:获取用户名(login.jsp---->HelloAction.class----->struts.xml------->show.jsp)
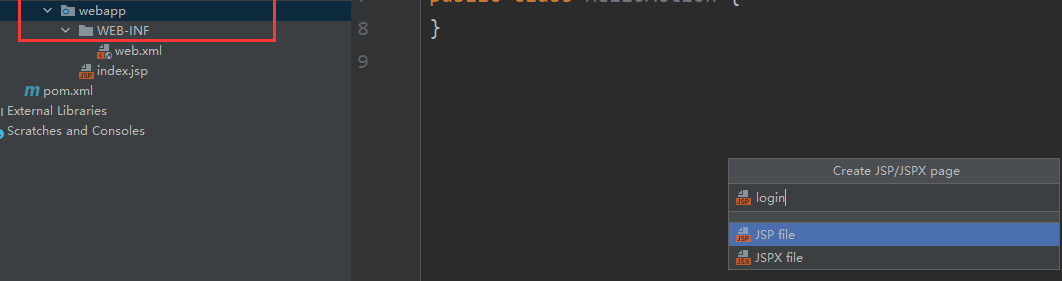
login.jsp(必须在webapp文件下,不能是WEB-INF,否则识别不到)
代码如下:
<%@ page contentType="text/html;charset=UTF-8" language="java" %>
<html>
<head>
    <title>用户登录</title>
</head>
<body>
<form action="Hello.action" method="post">
    <div>
        <label>用户名:</label>
        <input type="text" name="username">
    </div>
    <div>
        <input type="submit" value="登录">
    </div>
</form>
</body>
</html>
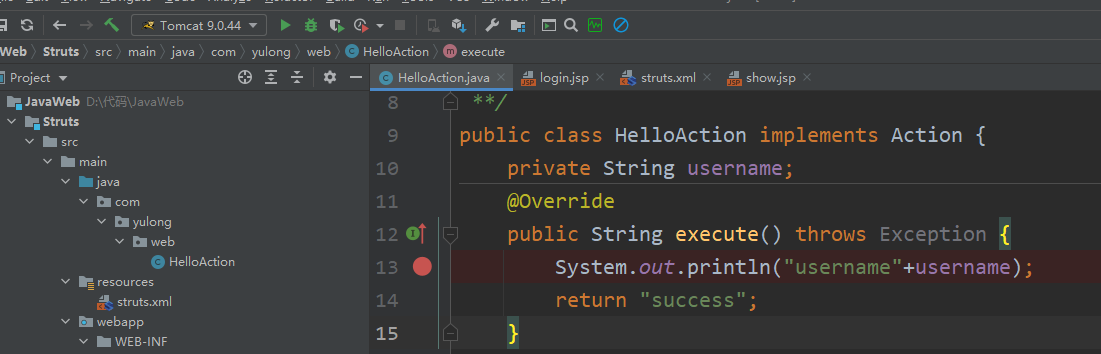
HelloAction.class,在Java文件夹下新建action文件(编写交互代码)

代码如下:
public class HelloAction implements Action {
private String username;
@Override
public String execute() throws Exception {
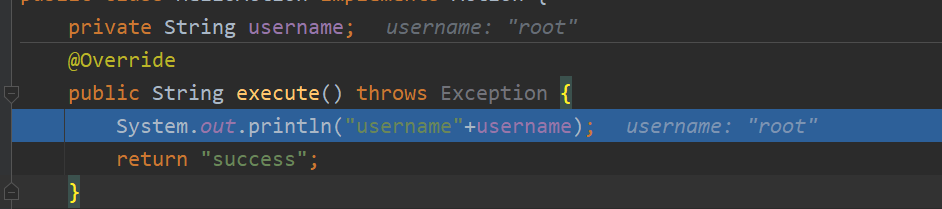
System.out.println("username"+username);
return "success";
}
public String getUsername() {
return username;
}
public void setUsername(String username) {
this.username = username;
}
}
注意Action的类型

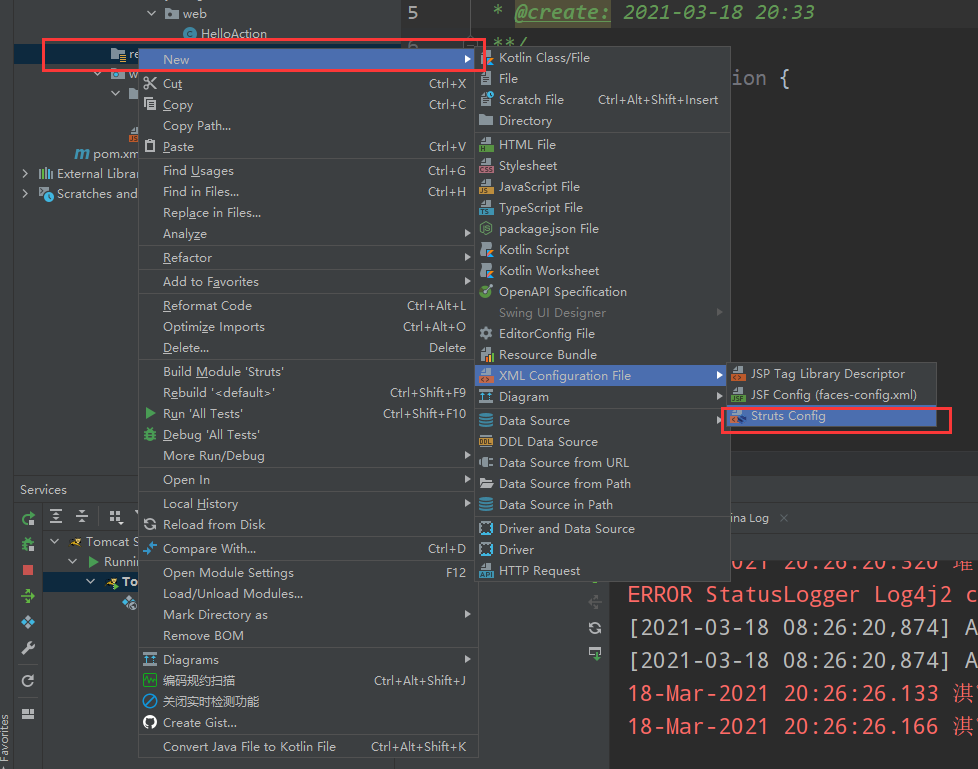
在rescourses文件下新建struts.xml,命名为struts(必须是这个名字)
添加如下代码:
<struts>
    <package name="default" extends="struts-default" namespace="/">
        <action name="Hello" class="com.yulong.web.HelloAction">
            <result name="success">/show.jsp</result>
        </action>
    </package>
</struts>
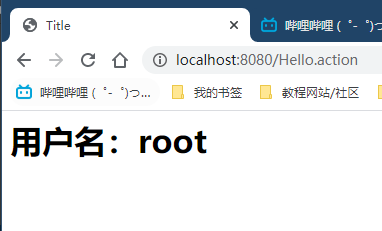
添加跳转页面show.jsp,在body里接收信息
<h1>用户名:${username}</h1>
添加断点,debug启动
地址栏切换到login.jsp文件
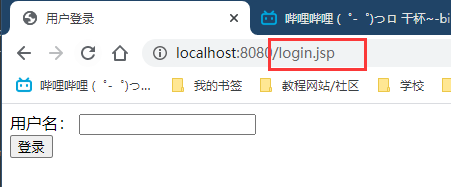
输入一个用户名,debug跳转到idea,显示了用户名,说明经过框架过滤,传参成功
正常运行后输出