一.Spring框架简介
1.什么是Spring
Spring是一个开源的轻量级应用开发框架,目的在于简化企业应用程序的开发,减少侵入;它提供的IOC和AOP应用,可以将组件的耦合度降至最低,便于系统日后的维护和升级;同时它也为系统提供了一个整体的解决方法,开发者除了可以应用它本身所提供的功能外,也可以与第三方框架和技术整合应用,可以自由选择采用哪种技术进行开发。Spring的本质即是管理软件中的对象,如何创建对象和维护对象之间的关系。
二.Spring容器和Bean管理
1.Spring容器简介
在Spring中,任何Java类和Javabean都被当成Bean处理,而这些Bean则通过容器进行管理和应用。Spring容器实现了IOC和AOP机制,这些机制可以简化Bean对象的创建和Bean对象之间的解耦。分为BeanFactory和ApplicationContext两种类型,其中ApplicationContext继承自BeanFactory接口,拥有更多的企业级方法,一般推荐使用该类型
2.Spring容器的实例化
介绍完Spring容器的基本概念之后,来对Spring容器进行实例化。
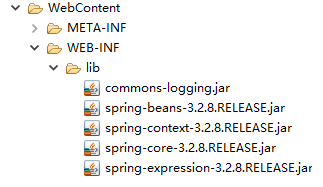
①创建java项目,导入相关jar包
在Eclipse中新建一个Dynamic Web Project,就将它命名为SpringStudy,然后在lib文件夹下导入Spring相关的5个jar包
②新建Spring配置文件
在src下新建ApplicationContext.xml文件,在配置文件中加入以下代码:
 1 <?xml version="1.0" encoding="UTF-8"?>
 2
 3  <beans xmlns="http://www.springframework.org/schema/beans" xmlns:xsi="http://www.w3.org/2001/XMLSchema-instance"
 4 xmlns:context="http://www.springframework.org/schema/context" xmlns:jdbc="http://www.springframework.org/schema/jdbc"
 5 xmlns:jee="http://www.springframework.org/schema/jee" xmlns:tx="http://www.springframework.org/schema/tx"
 6 xmlns:jpa="http://www.springframework.org/schema/data/jpa"
 7 xsi:schemaLocation="
 8 http://www.springframework.org/schema/beans http://www.springframework.org/schema/beans/spring-beans-3.2.xsd
 9 http://www.springframework.org/schema/context http://www.springframework.org/schema/context/spring-context-3.2.xsd
10 http://www.springframework.org/schema/jdbc http://www.springframework.org/schema/jdbc/spring-jdbc-3.2.xsd
11 http://www.springframework.org/schema/jee http://www.springframework.org/schema/jee/spring-jee-3.2.xsd
12 http://www.springframework.org/schema/tx http://www.springframework.org/schema/tx/spring-tx-3.2.xsd
13 http://www.springframework.org/schema/data/jpa http://www.springframework.org/schema/data/jpa/spring-jpa-1.3.xsd">
14 </beans>
③新建测试类
导入JUnit4,进行单元测试,在TestCase类使用ApplicationContext进行容器的实例化,添加以下代码:
package com.liu.Test;

import org.junit.Test;
import org.springframework.context.ApplicationContext;
import org.springframework.context.support.ClassPathXmlApplicationContext;

public class TestCase {
    @Test
    public void test01(){
        String str = "ApplicationContext.xml";
        ApplicationContext ac = new ClassPathXmlApplicationContext(str);
        System.out.println(ac);
    }
}
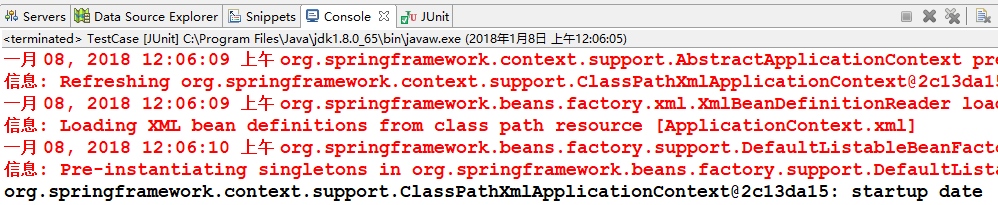
运行test01方法,控制台输出如下结果即实例化成功:
整个工程的结构如下图所示:
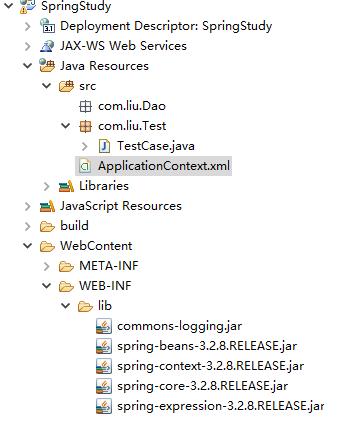
至此我们已经成功的实例化了Spring容器