nacos:服务治理
fegin:负载均衡
sentinel:分布式系统的流量防卫兵
sleuth+zipkin:链路追踪
前提软件安装
nacos:
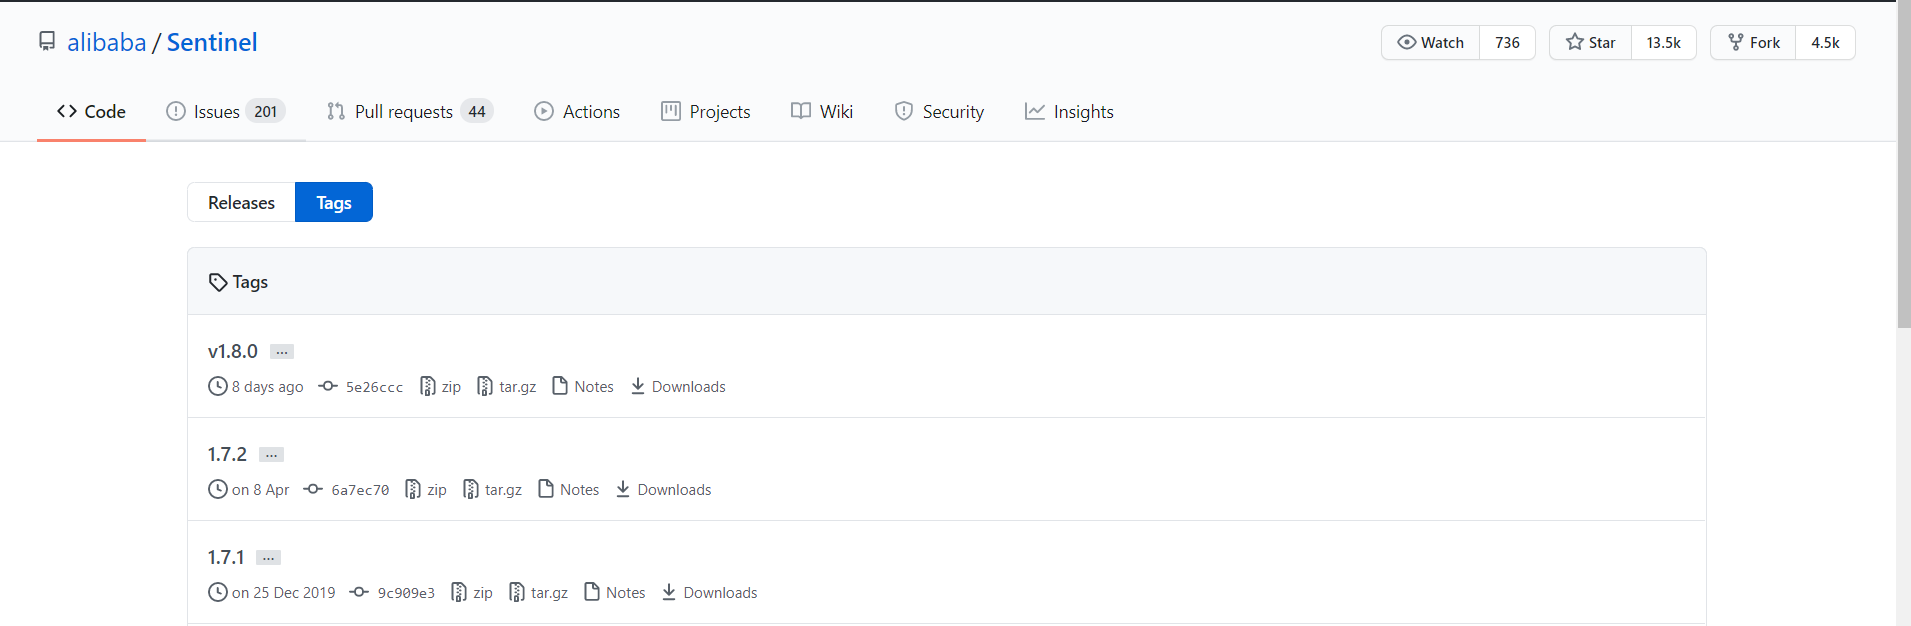
github下载地址:https://github.com/alibaba/nacos/tags
码云下载地址:https://gitee.com/mirrors/Nacos
百度云盘:链接:https://pan.baidu.com/s/1KSMbDfWU0lhQxrkojwqoCQ 提取码:xalg
nacos快速开始:https://nacos.io/zh-cn/docs/quick-start.html
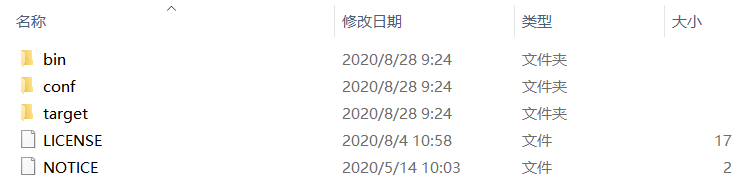
- 下载完成之后,解压,进入项目目录
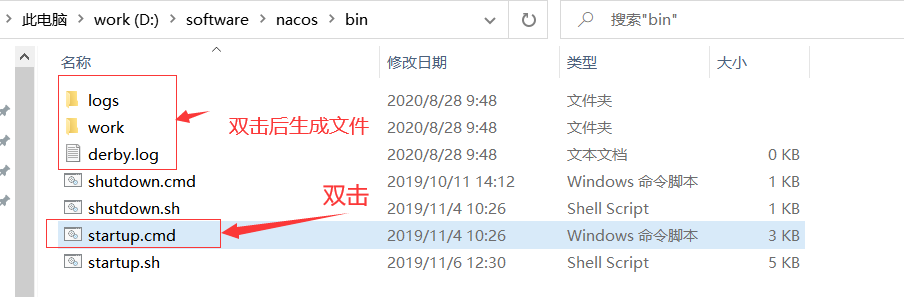
- 进入解压后的bin目录,运行startup.cmd启动nacos
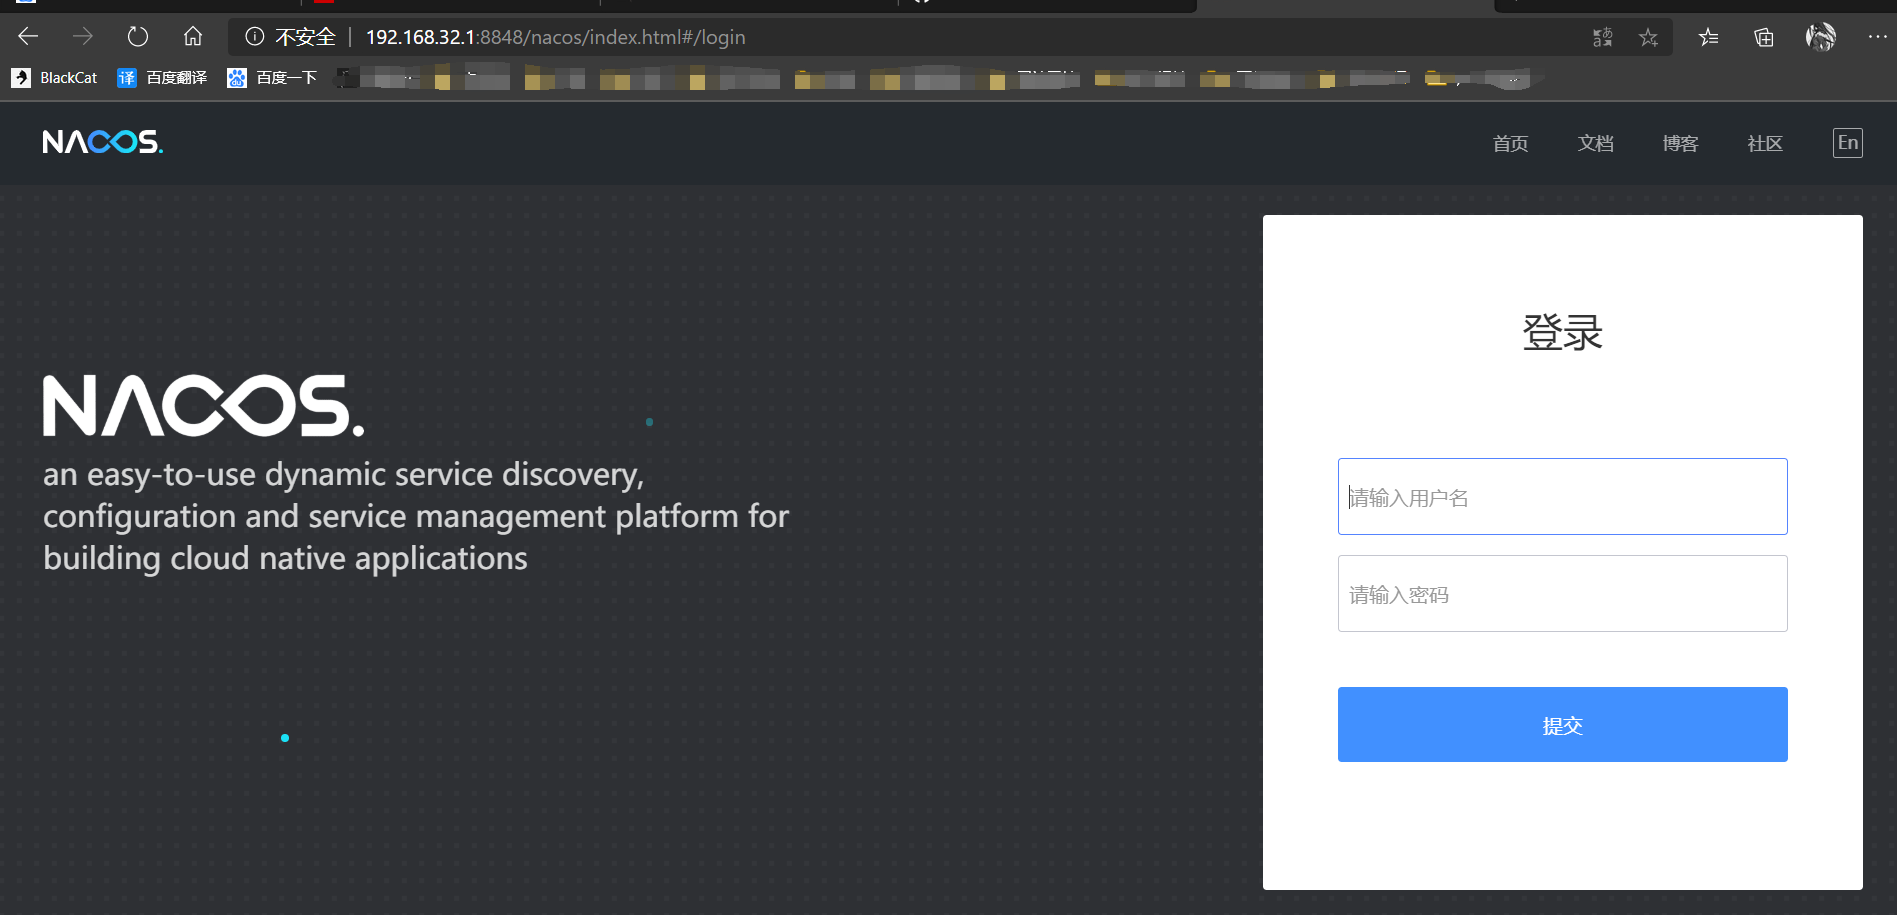
nacos 默认用户名、密码均为 nacos
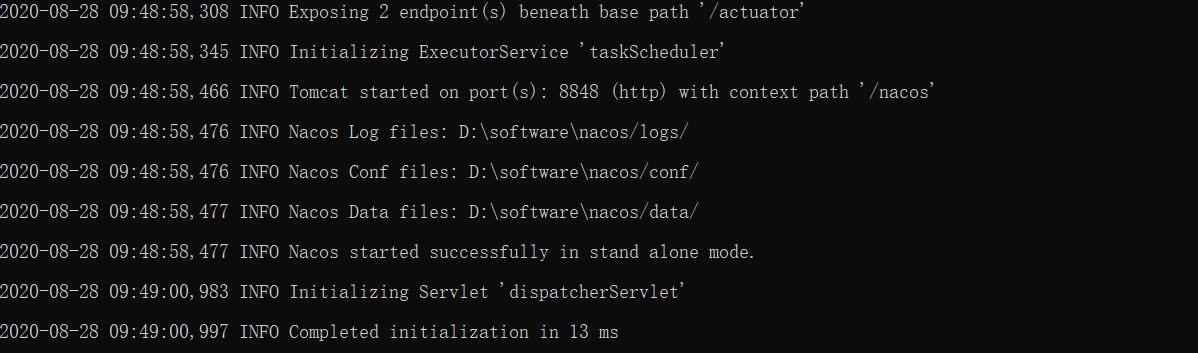
- nacos已成功安装运行!
zipkin:
java -jar D:/software/zipkin-server-2.12.9-exec.jar
- zipkin访问地址:http://localhost:9411/zipkin/
Sentinel
不安装该软件,项目也可以运行,只是无法访问控制台,进行监控。
GitHub 地址:https://github.com/alibaba/Sentinel
百度云地址:链接:https://pan.baidu.com/s/1OKg-Q8lXtHhT7ihIUhPtxA 提取码:3oaq
命令启动:
java -jar D:/software/sentinel-dashboard-1.7.1.jar
访问地址: http://localhost:8080/ , Sentinel 登录页面,输入默认登录账号密码均为 sentinel,都是小写。

创建springbootcloud项目
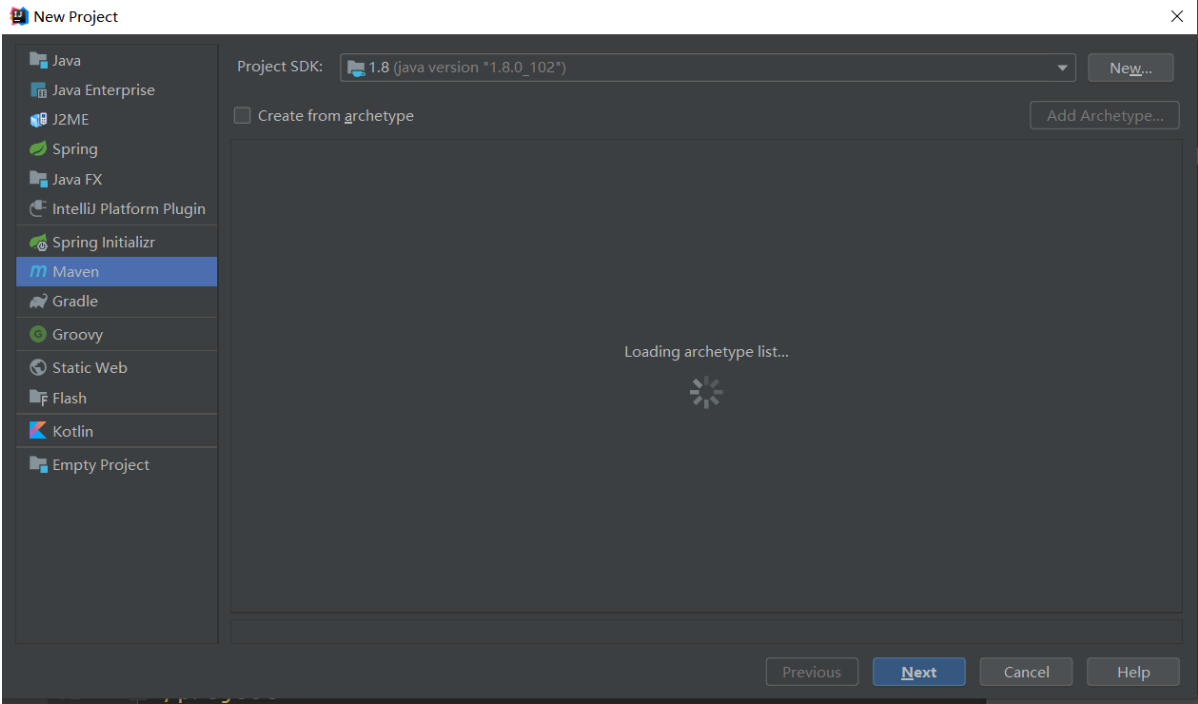
1. 新建个maven根项目。
后面就是输入项目名称,选择本项目地址就不一一描述了。
2. 建立子项目。maven项目。

后面操作步骤同上面差不多。
3. 根项目的pom.xml
<?xml version="1.0" encoding="UTF-8"?>
<project xmlns="http://maven.apache.org/POM/4.0.0"
         xmlns:xsi="http://www.w3.org/2001/XMLSchema-instance"
         xsi:schemaLocation="http://maven.apache.org/POM/4.0.0 http://maven.apache.org/xsd/maven-4.0.0.xsd">
    <modelVersion>4.0.0</modelVersion>
    <parent>
        <groupId>org.springframework.boot</groupId>
        <artifactId>spring-boot-starter-parent</artifactId>
        <version>2.1.3.RELEASE</version>
    </parent>
    <groupId>com.blackcat</groupId>
    <artifactId>demo-springbootcloud-alibaba</artifactId>
    <packaging>pom</packaging>
    <version>1.0-SNAPSHOT</version>
    <modules>
        <module>consumer</module>
        <module>provider</module>
    </modules>
    <properties>
        <java.version>1.8</java.version>
        <project.build.sourceEncoding>UTF-8</project.build.sourceEncoding>
        <project.reporting.outputEncoding>UTF-8</project.reporting.outputEncoding>
        <spring-cloud.version>Greenwich.RELEASE</spring-cloud.version>
        <spring-cloud-alibaba.version>2.1.0.RELEASE</spring-cloud-alibaba.version>
        <swagger.version>2.4.0</swagger.version>
    </properties>
    <dependencyManagement>
        <dependencies>
            <!-- spring-cloud -->
            <dependency>
                <groupId>org.springframework.cloud</groupId>
                <artifactId>spring-cloud-dependencies</artifactId>
                <version>${spring-cloud.version}</version>
                <type>pom</type>
                <scope>import</scope>
            </dependency>
            <dependency>
                <groupId>com.alibaba.cloud</groupId>
                <artifactId>spring-cloud-alibaba-dependencies</artifactId>
                <version>${spring-cloud-alibaba.version}</version>
                <type>pom</type>
                <scope>import</scope>
            </dependency>
            <!-- swagger-ui -->
            <dependency>
                <groupId>io.springfox</groupId>
                <artifactId>springfox-swagger2</artifactId>
                <version>${swagger.version}</version>
            </dependency>
            <dependency>
                <groupId>io.springfox</groupId>
                <artifactId>springfox-swagger-ui</artifactId>
                <version>${swagger.version}</version>
            </dependency>
            <!-- nacos -->
            <dependency>
                <groupId>com.alibaba.cloud</groupId>
                <artifactId>spring-cloud-starter-alibaba-nacos-discovery</artifactId>
            </dependency>
            <dependency>
                <groupId>com.alibaba.cloud</groupId>
                <artifactId>spring-cloud-starter-alibaba-nacos-config</artifactId>
            </dependency>
        </dependencies>
    </dependencyManagement>
    <dependencies>
        <!--sleuth-->
        <dependency>
            <groupId>org.springframework.cloud</groupId>
            <artifactId>spring-cloud-starter-sleuth</artifactId>
        </dependency>
        <!--zipkin-->
        <dependency>
            <groupId>org.springframework.cloud</groupId>
            <artifactId>spring-cloud-starter-zipkin</artifactId>
        </dependency>
    </dependencies>
</project>
4. 提供者示例
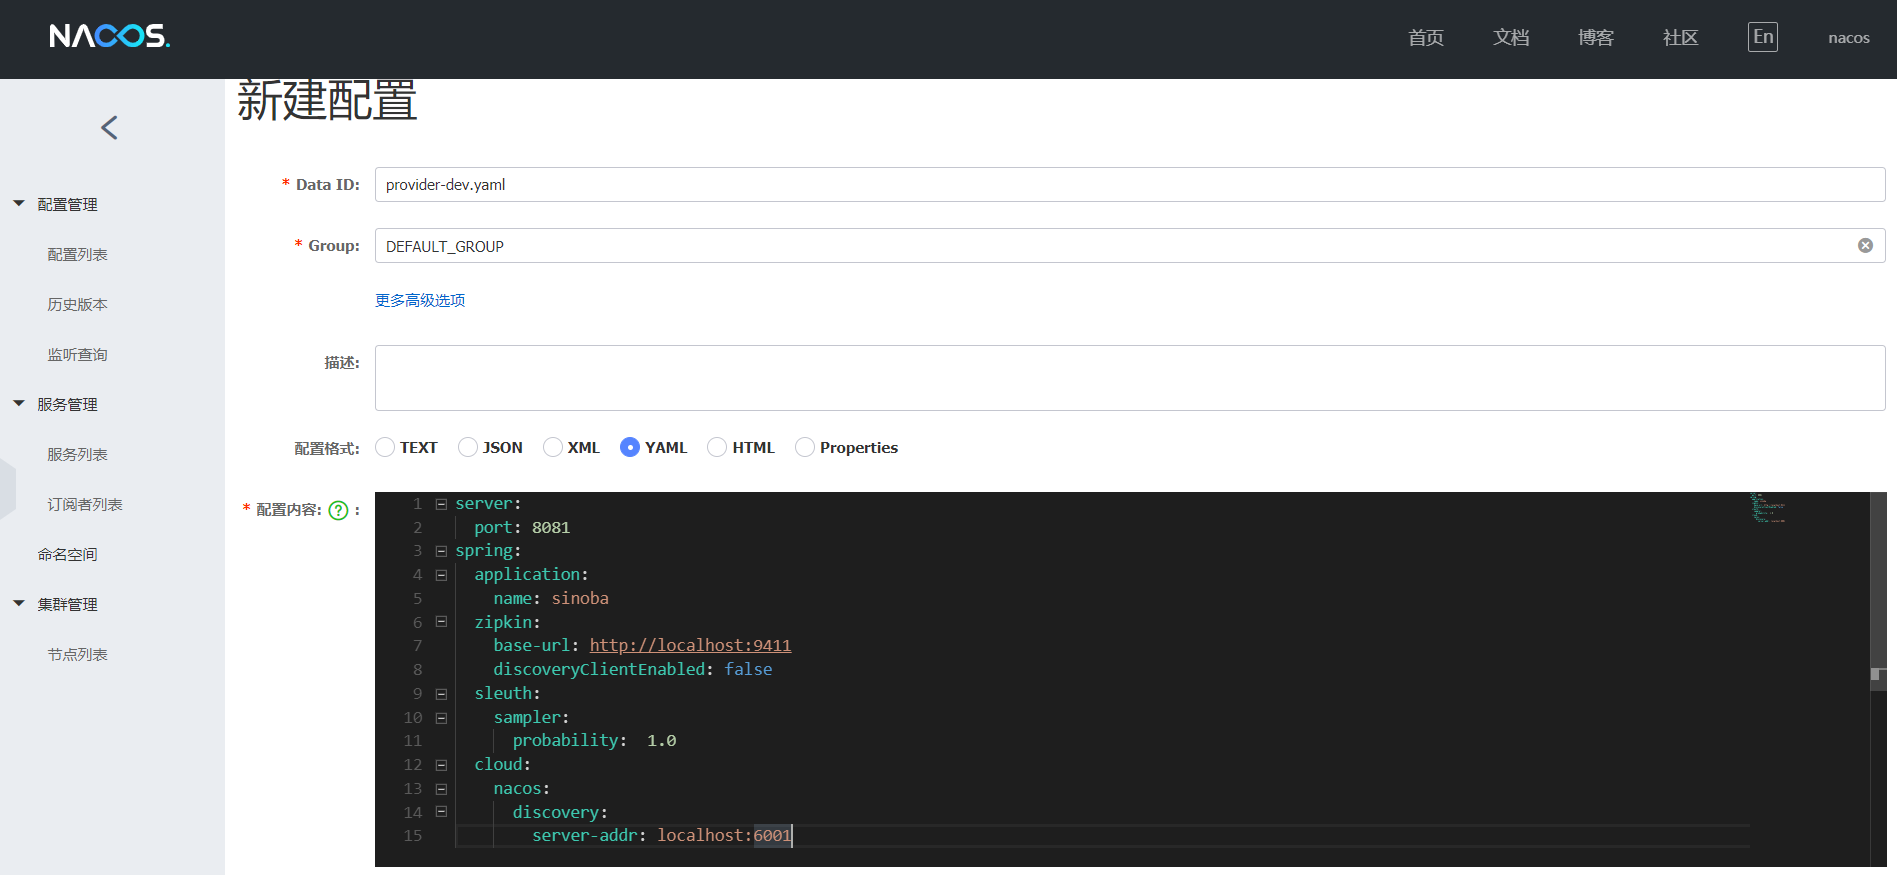
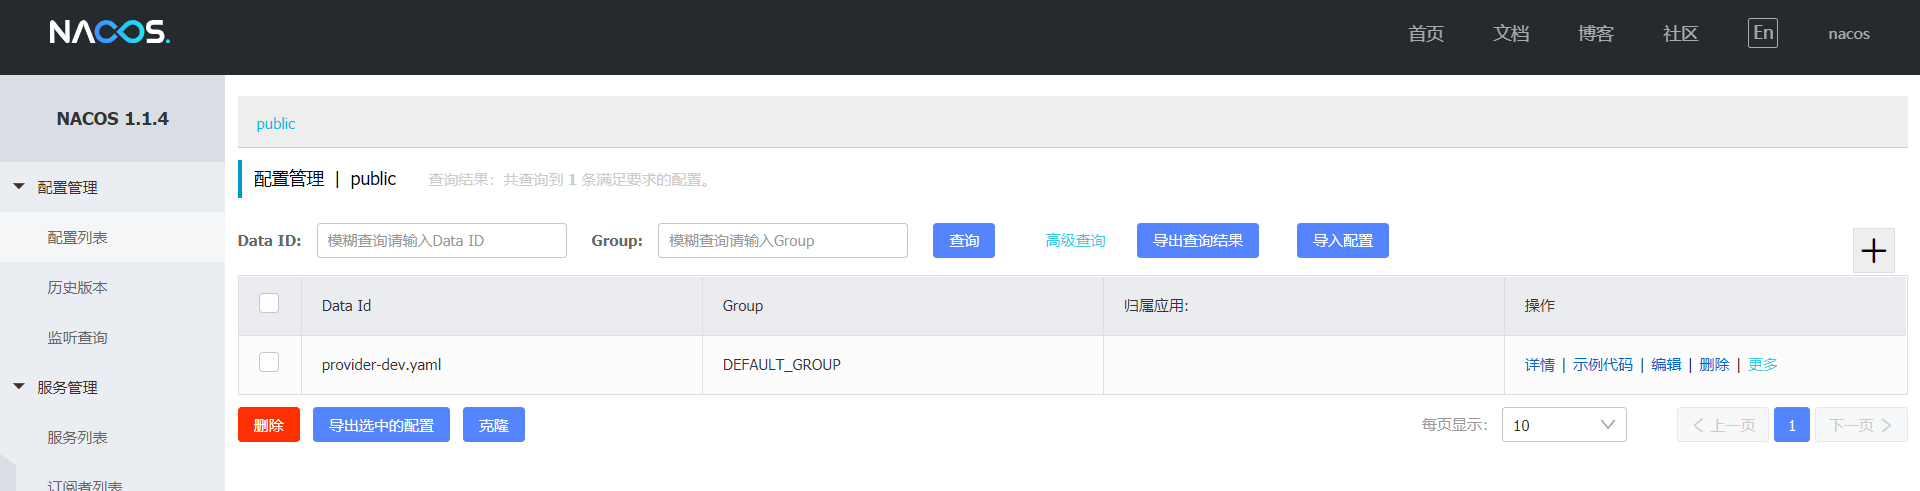
4.1 nacos添加配置文件,填完发布。

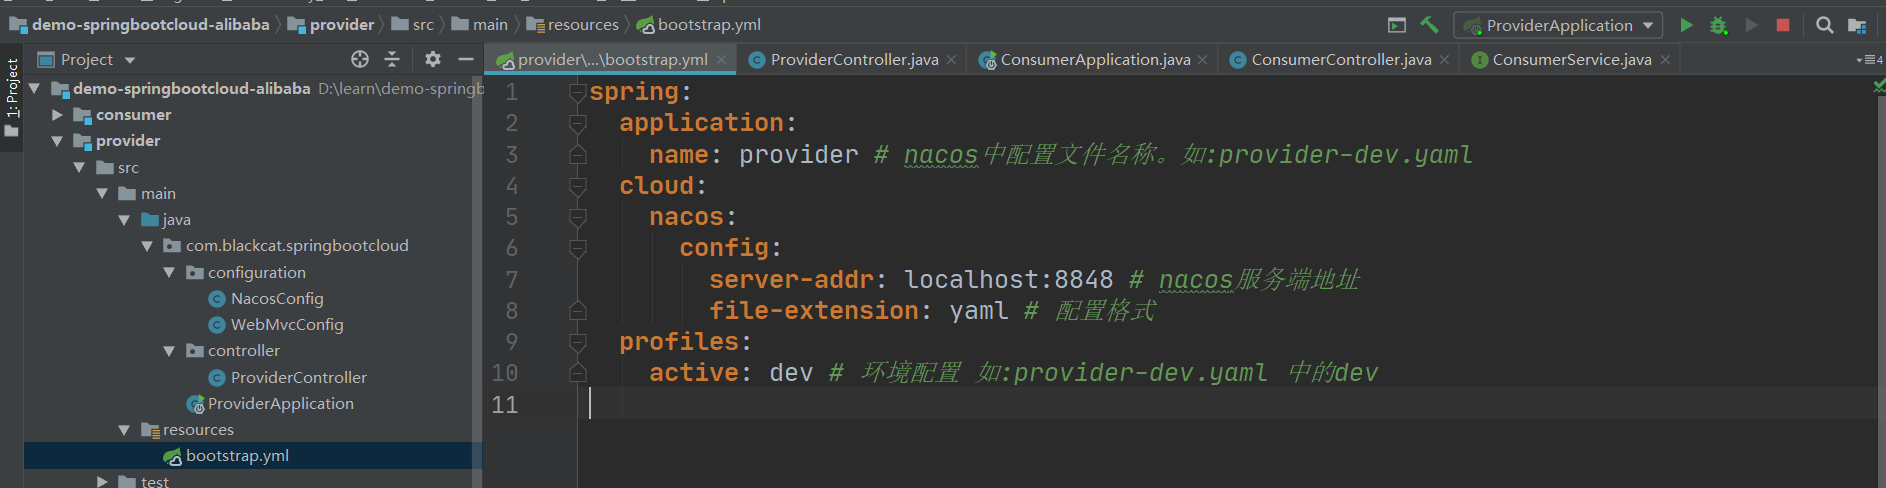
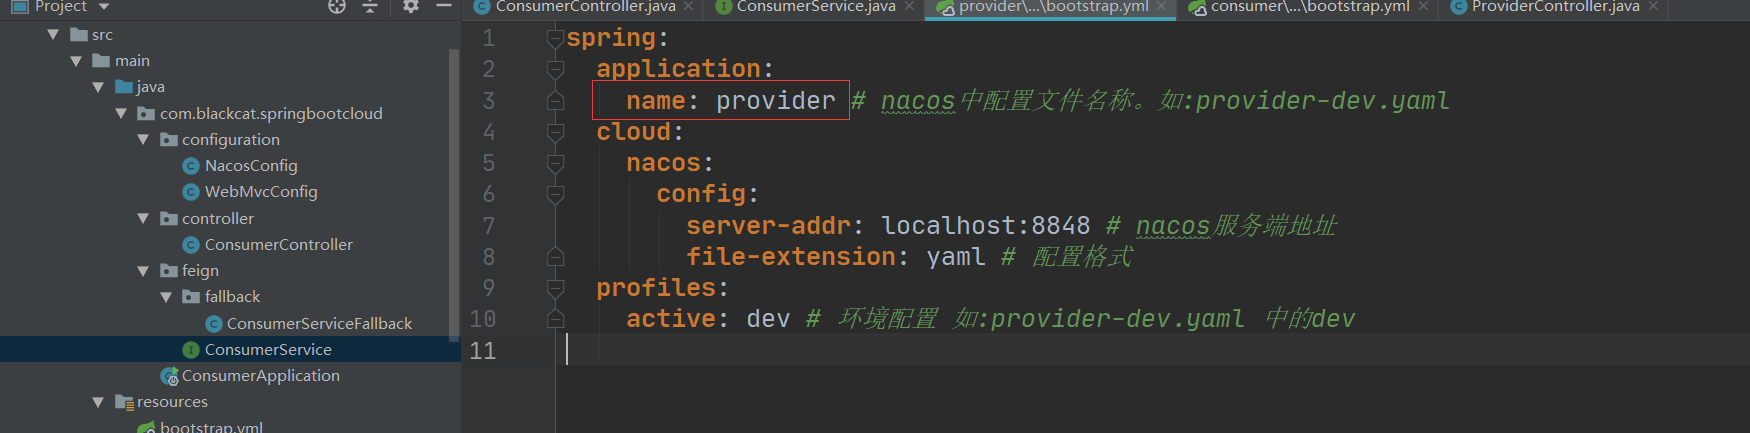
4.2 项目添加bootstrap.xml
spring:
  application:
    name: provider # nacos中配置文件名称。如:provider-dev.yaml
  cloud:
    nacos:
      config:
        server-addr: localhost:8848 # nacos服务端地址
        file-extension: yaml # 配置格式
  profiles:
    active: dev # 环境配置 如:provider-dev.yaml 中的dev
nacos 的provider-dev-yaml
server:
  port: 8081
spring:
  application:
    name: provider
  zipkin:
    base-url: http://localhost:9411
    discoveryClientEnabled: false
  sleuth:
    sampler:
      probability:  1.0
  cloud:
    nacos:
      discovery:
        server-addr: localhost:8848
4.3 项目结构
源码后面会附出,就不每个类的代码就一一附出了。
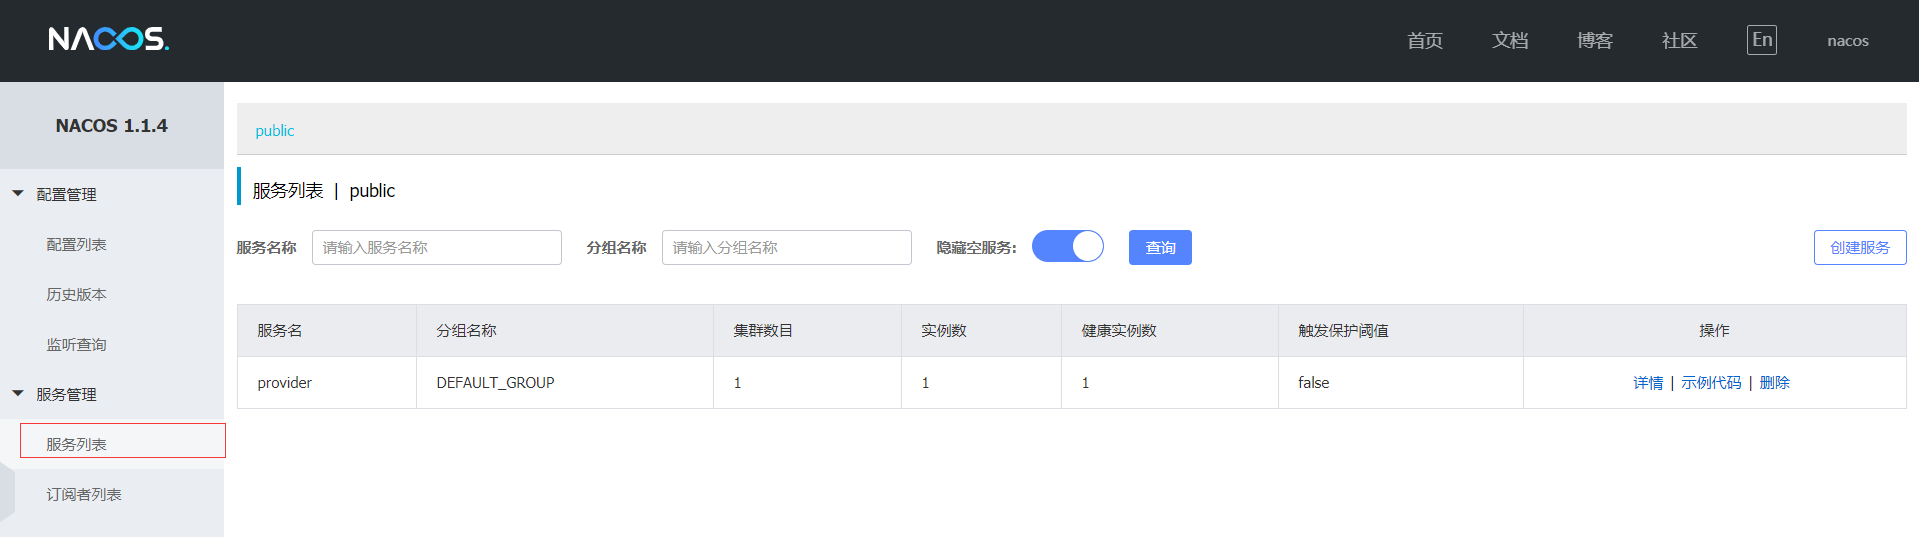
4.4 项目启动后,查看nacos。
每启动一个服务,就会在服务列表中看到。
5. 消费者示例
5.1 项目结构
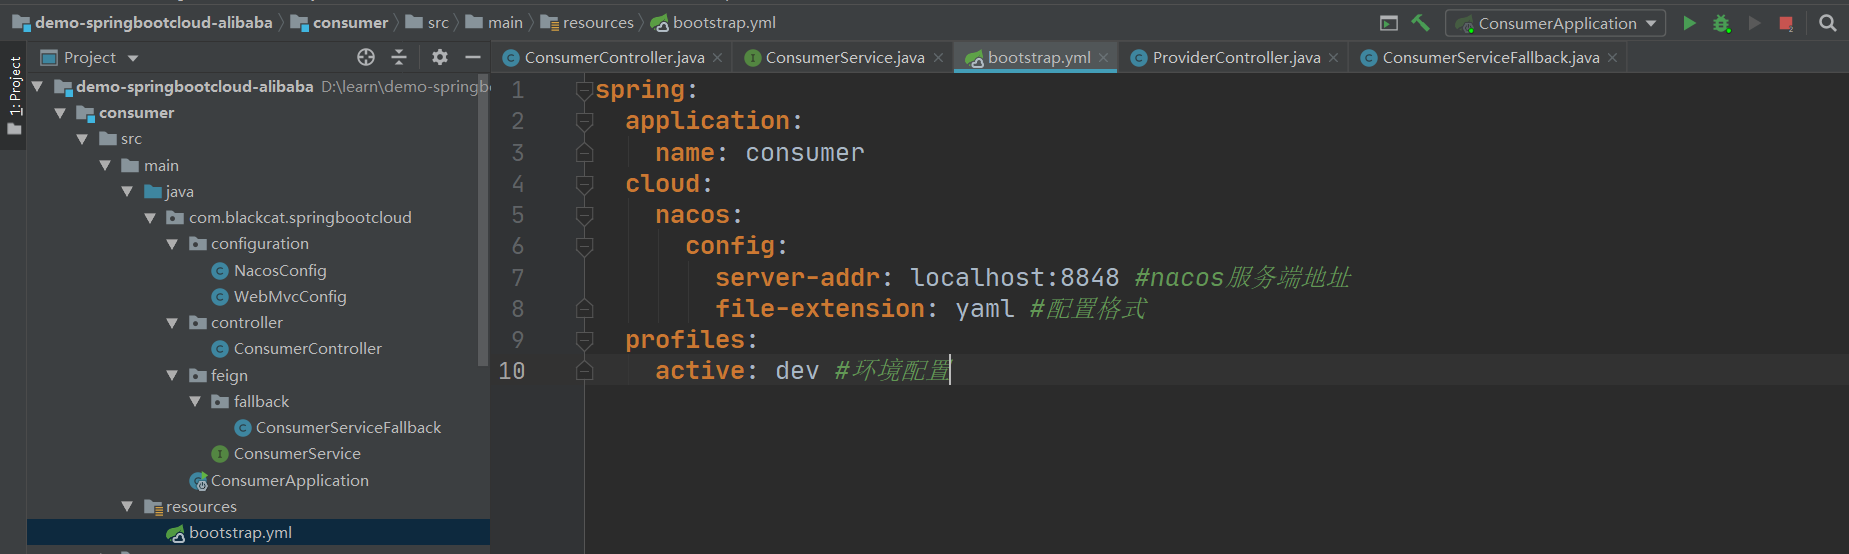
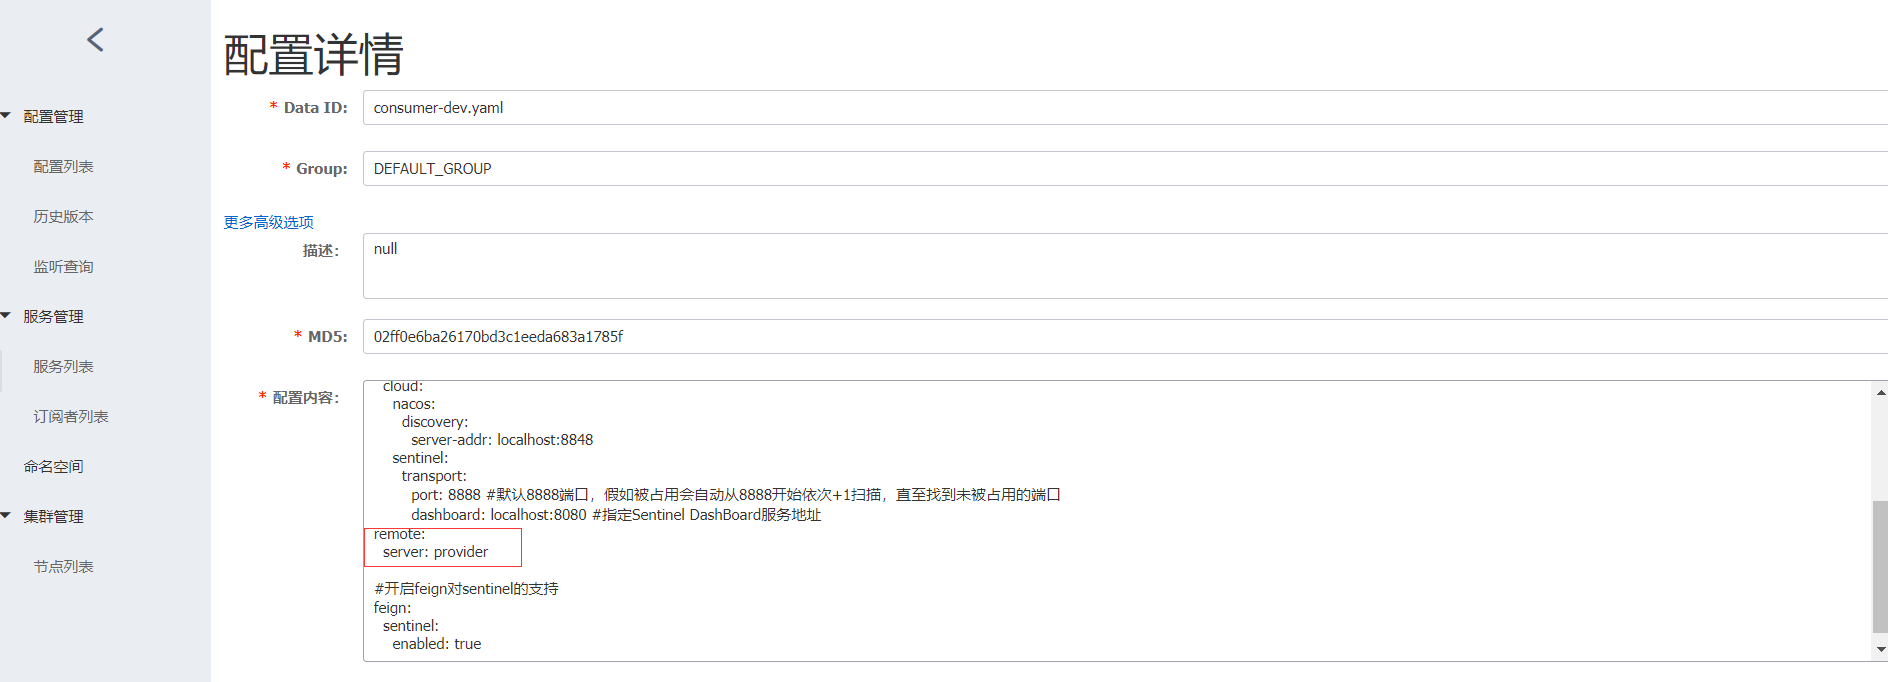
5.2 nacos 的consumer-dev-yaml
server:
  port: 8082
spring:
  application:
    name: consumer
  zipkin:
    base-url: http://localhost:9411
    discoveryClientEnabled: false
  sleuth:
    sampler:
      probability:  1.0 #采样百分比  0.0 - 1.0
  cloud:
    nacos:
      discovery:
        server-addr: localhost:8848
    sentinel:
      transport:
        port: 8888 #默认8888端口,假如被占用会自动从8888开始依次+1扫描,直至找到未被占用的端口
        dashboard: localhost:8080 #指定Sentinel DashBoard服务地址
remote:
  server: provider
#开启feign对sentinel的支持
feign:
  sentinel:
    enabled: true
5.3 主要代码
package com.blackcat.springbootcloud.feign;
import com.blackcat.springbootcloud.feign.fallback.ConsumerServiceFallback;
import org.springframework.cloud.openfeign.FeignClient;
import org.springframework.web.bind.annotation.RequestMapping;
/**
  * <p> 描述 :
  * @author : blackcat
  * @date  : 2020/8/28 16:14
 *
 *  ${remote.server} 为配置文件中的配置
 *  server:为提供者服务名称,如:provider-dev.yaml
 */
@FeignClient(value = "${remote.server}",fallback = ConsumerServiceFallback.class)
public interface ConsumerService {
    /**
     * <p> 描述 :
     * @author : blackcat
     * @date  : 2020/8/28 16:16
     *
     * /provider/test 为提供者示例的方法链接
    */
    @RequestMapping("/provider/test")
    String test();
}
ConsumerServiceFallback:为当访问/provider/test访问不到,就会调用该类的方法。
package com.blackcat.springbootcloud.feign.fallback;
import com.blackcat.springbootcloud.feign.ConsumerService;
import org.springframework.stereotype.Service;
@Service
public class ConsumerServiceFallback implements ConsumerService {
    @Override
    public String test() {
        return "访问失败";
    }
}
5.4 访问结果

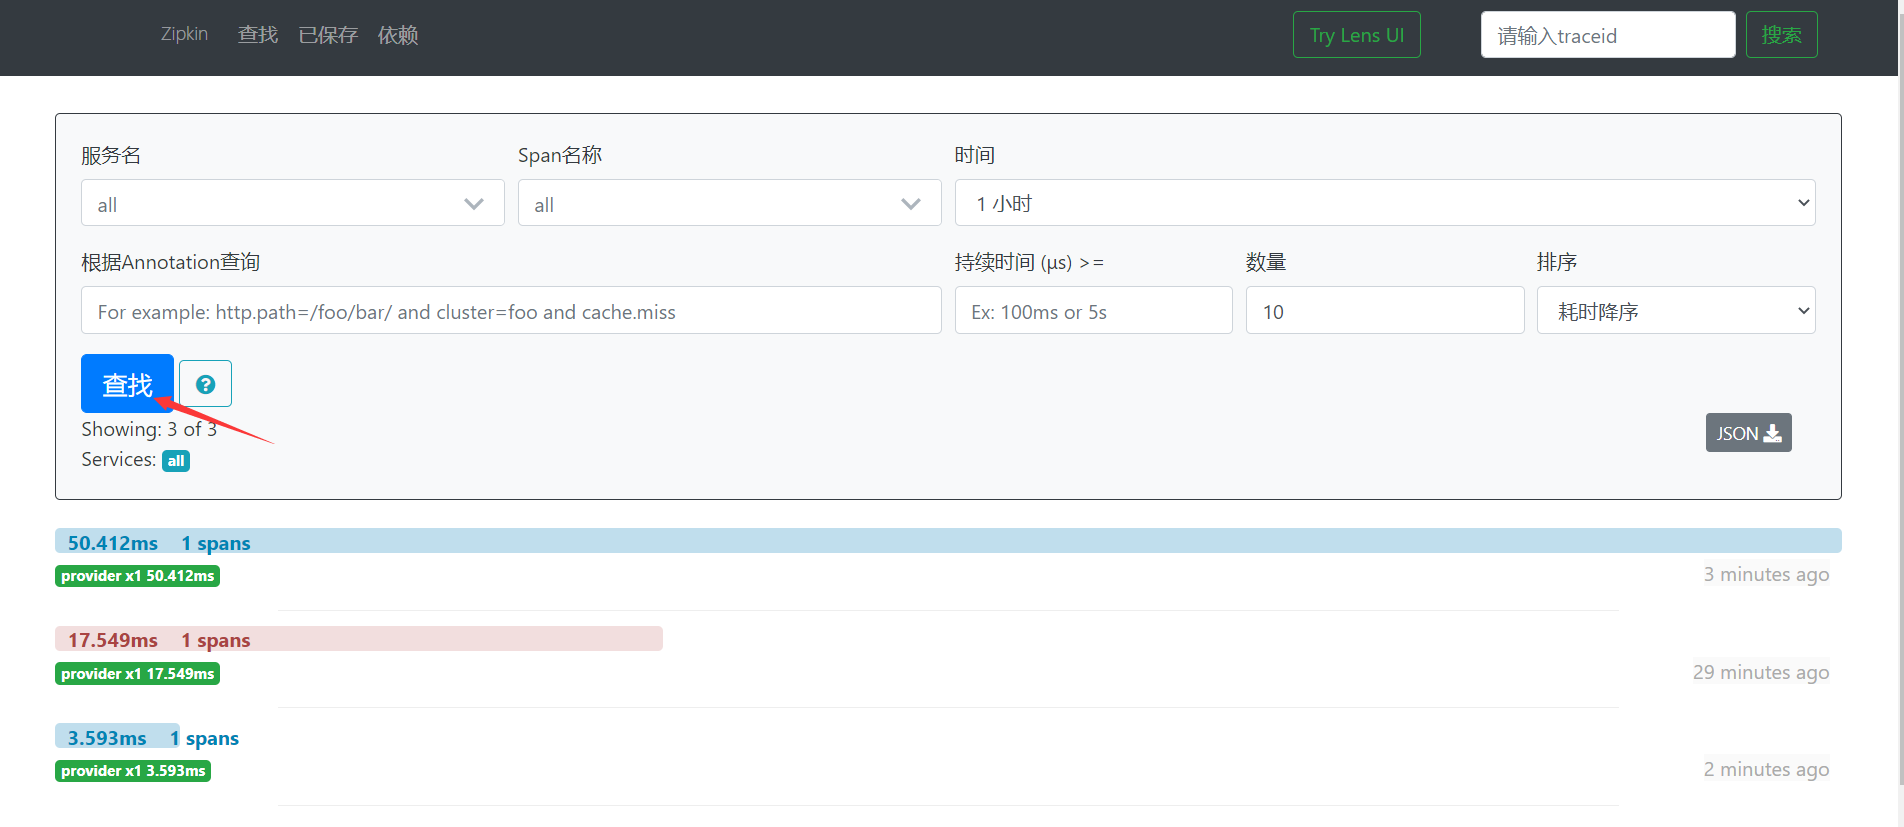
zipkin 控制台
Zipkin 是一个开放源代码分布式的跟踪系统,每个服务向zipkin报告计时数据,zipkin会根据调用关系通过Zipkin UI生成依赖关系图。
访问方法后,点击查询,会显示查询记录。
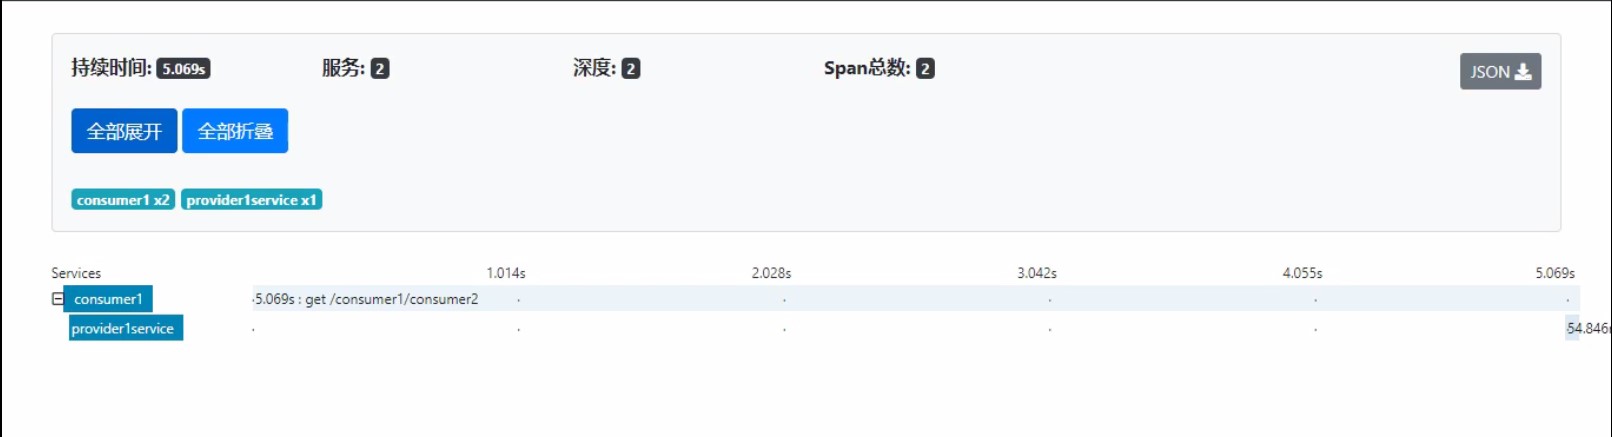
点击方法记录,会有详细的调用信息,用时。
根据下发示例,可以看出那个两个方法用时,就知道每个方法的用时,就知道问题出在何处。
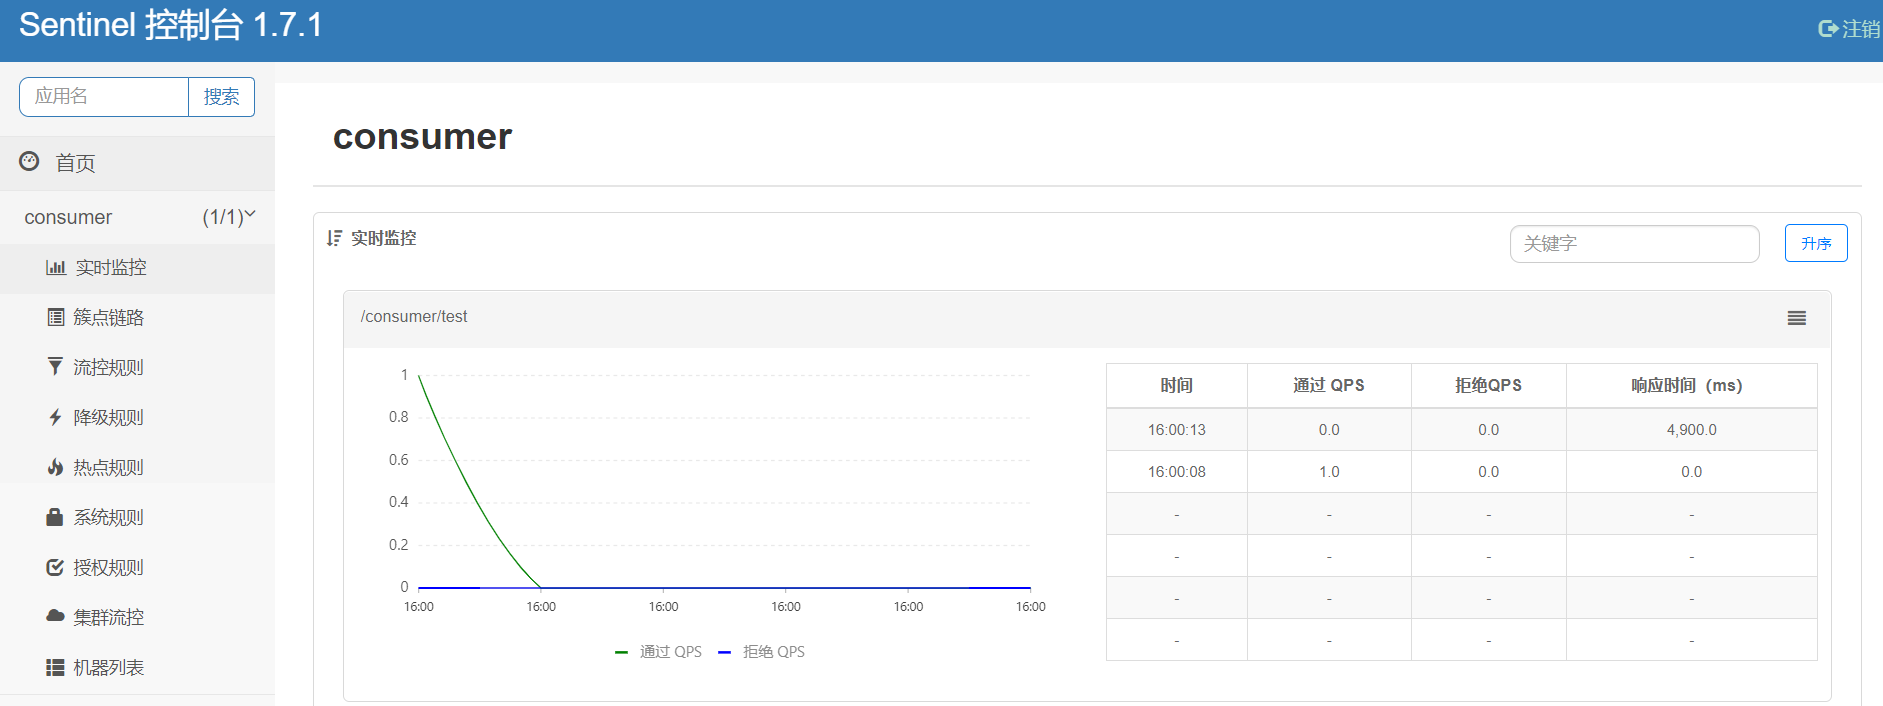
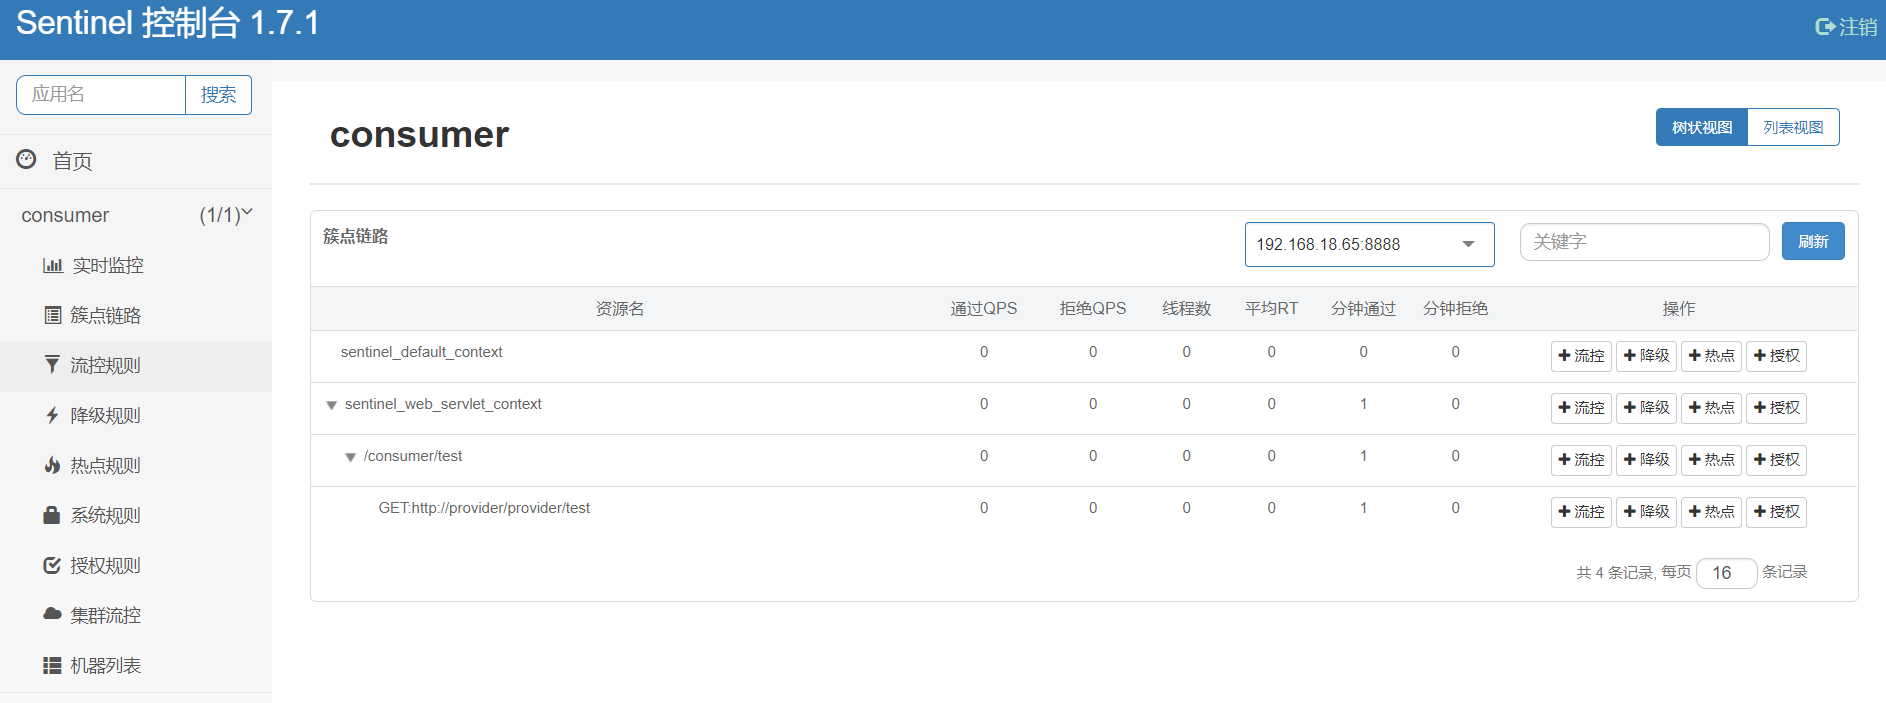
sentinel 控制台
示例源码
https://gitee.com/kylin_lawliet/demo-springbootcloud-alibaba.git