1、基本下载安装
#按照ELK系列一博客安装启动即可,没有大坑,注意一下权限即可
chmod -R 777 ./elasticsearch
#此外没有java的,注意安装下JDK,我这次部署的环境是CentOS-7.x,使用yum安装
sudo yum -y list java*
sudo yum install java-1.8.0-openjdk.x86_64
2、集群配置:
2.1、配置过程
编辑好elasticseach-1的配置之后,复制出elasticsearch-2,然后修改结点名称、http端口和tcp端口,启动两个进程实例
大坑:
要记得删除复制出来的elasticsearch-2中的data目录下的所有文件
rm -rf ./elasticsearch-2/data/*
2.2、配置文件详解
# ======================== Elasticsearch Configuration =========================
#
# NOTE: Elasticsearch comes with reasonable defaults for most settings.
#       Before you set out to tweak and tune the configuration, make sure you
#       understand what are you trying to accomplish and the consequences.
#
# The primary way of configuring a node is via this file. This template lists
# the most important settings you may want to configure for a production cluster.
#
# Please consult the documentation for further information on configuration options:
# https://www.elastic.co/guide/en/elasticsearch/reference/index.html
#
# ---------------------------------- Cluster -----------------------------------
#
# Use a descriptive name for your cluster:
#
cluster.name: XXXXXX    #集群名称
#
# ------------------------------------ Node ------------------------------------
#
# Use a descriptive name for the node:
#
node.name: ES02    #结点名称
node.master: true    #主结点标识
#node.data: false    #数据结点标识

#
# Add custom attributes to the node:
#
#node.attr.rack: r1
#
# ----------------------------------- Paths ------------------------------------
#
# Path to directory where to store the data (separate multiple locations by comma):
#
path.data: /xxxxx/elasticsearch-x/data
#
# Path to log files:
#
path.logs: /xxxxx/elasticsearch-x/logs
#
# ----------------------------------- Memory -----------------------------------
#
# Lock the memory on startup:
#
#bootstrap.memory_lock: true
#bootstrap.system_call_filter: false
#
# Make sure that the heap size is set to about half the memory available
# on the system and that the owner of the process is allowed to use this
# limit.
#
# Elasticsearch performs poorly when the system is swapping the memory.
#
# ---------------------------------- Network -----------------------------------
#
# Set the bind address to a specific IP (IPv4 or IPv6):
#
#network.host: 192.168.0.1
#
# Set a custom port for HTTP:
#
http.port: 9201 #web服务的端口
http.cors.enabled: true
http.cors.allow-origin: "*"
http.cors.allow-headers: Authorization,X-Requested-With,Content-Length,Content-Type
#
# For more information, consult the network module documentation.
#
# --------------------------------- Discovery ----------------------------------
#
# Pass an initial list of hosts to perform discovery when new node is started:
# The default list of hosts is ["127.0.0.1", "[::1]"]
#
discovery.zen.ping.unicast.hosts: ["127.0.0.1:9300", "127.0.0.1:9301"]    #结点发现功能
#
# Prevent the "split brain" by configuring the majority of nodes (total number of master-eligible nodes / 2 + 1):
#
discovery.zen.minimum_master_nodes: 1    #最小master节点数,配置后不按照上方的算法计算最小节点数,按照配置的节点数选举合适数量的master节点
#
# For more information, consult the zen discovery module documentation.
#
# ---------------------------------- Gateway -----------------------------------
#
# Block initial recovery after a full cluster restart until N nodes are started:
#
#gateway.recover_after_nodes: 3
#
# For more information, consult the gateway module documentation.
#
# ---------------------------------- Various -----------------------------------
#
# Require explicit names when deleting indices:
#
#action.destructive_requires_name: true
transport.tcp.port: 9301   #集群的心跳打点端口
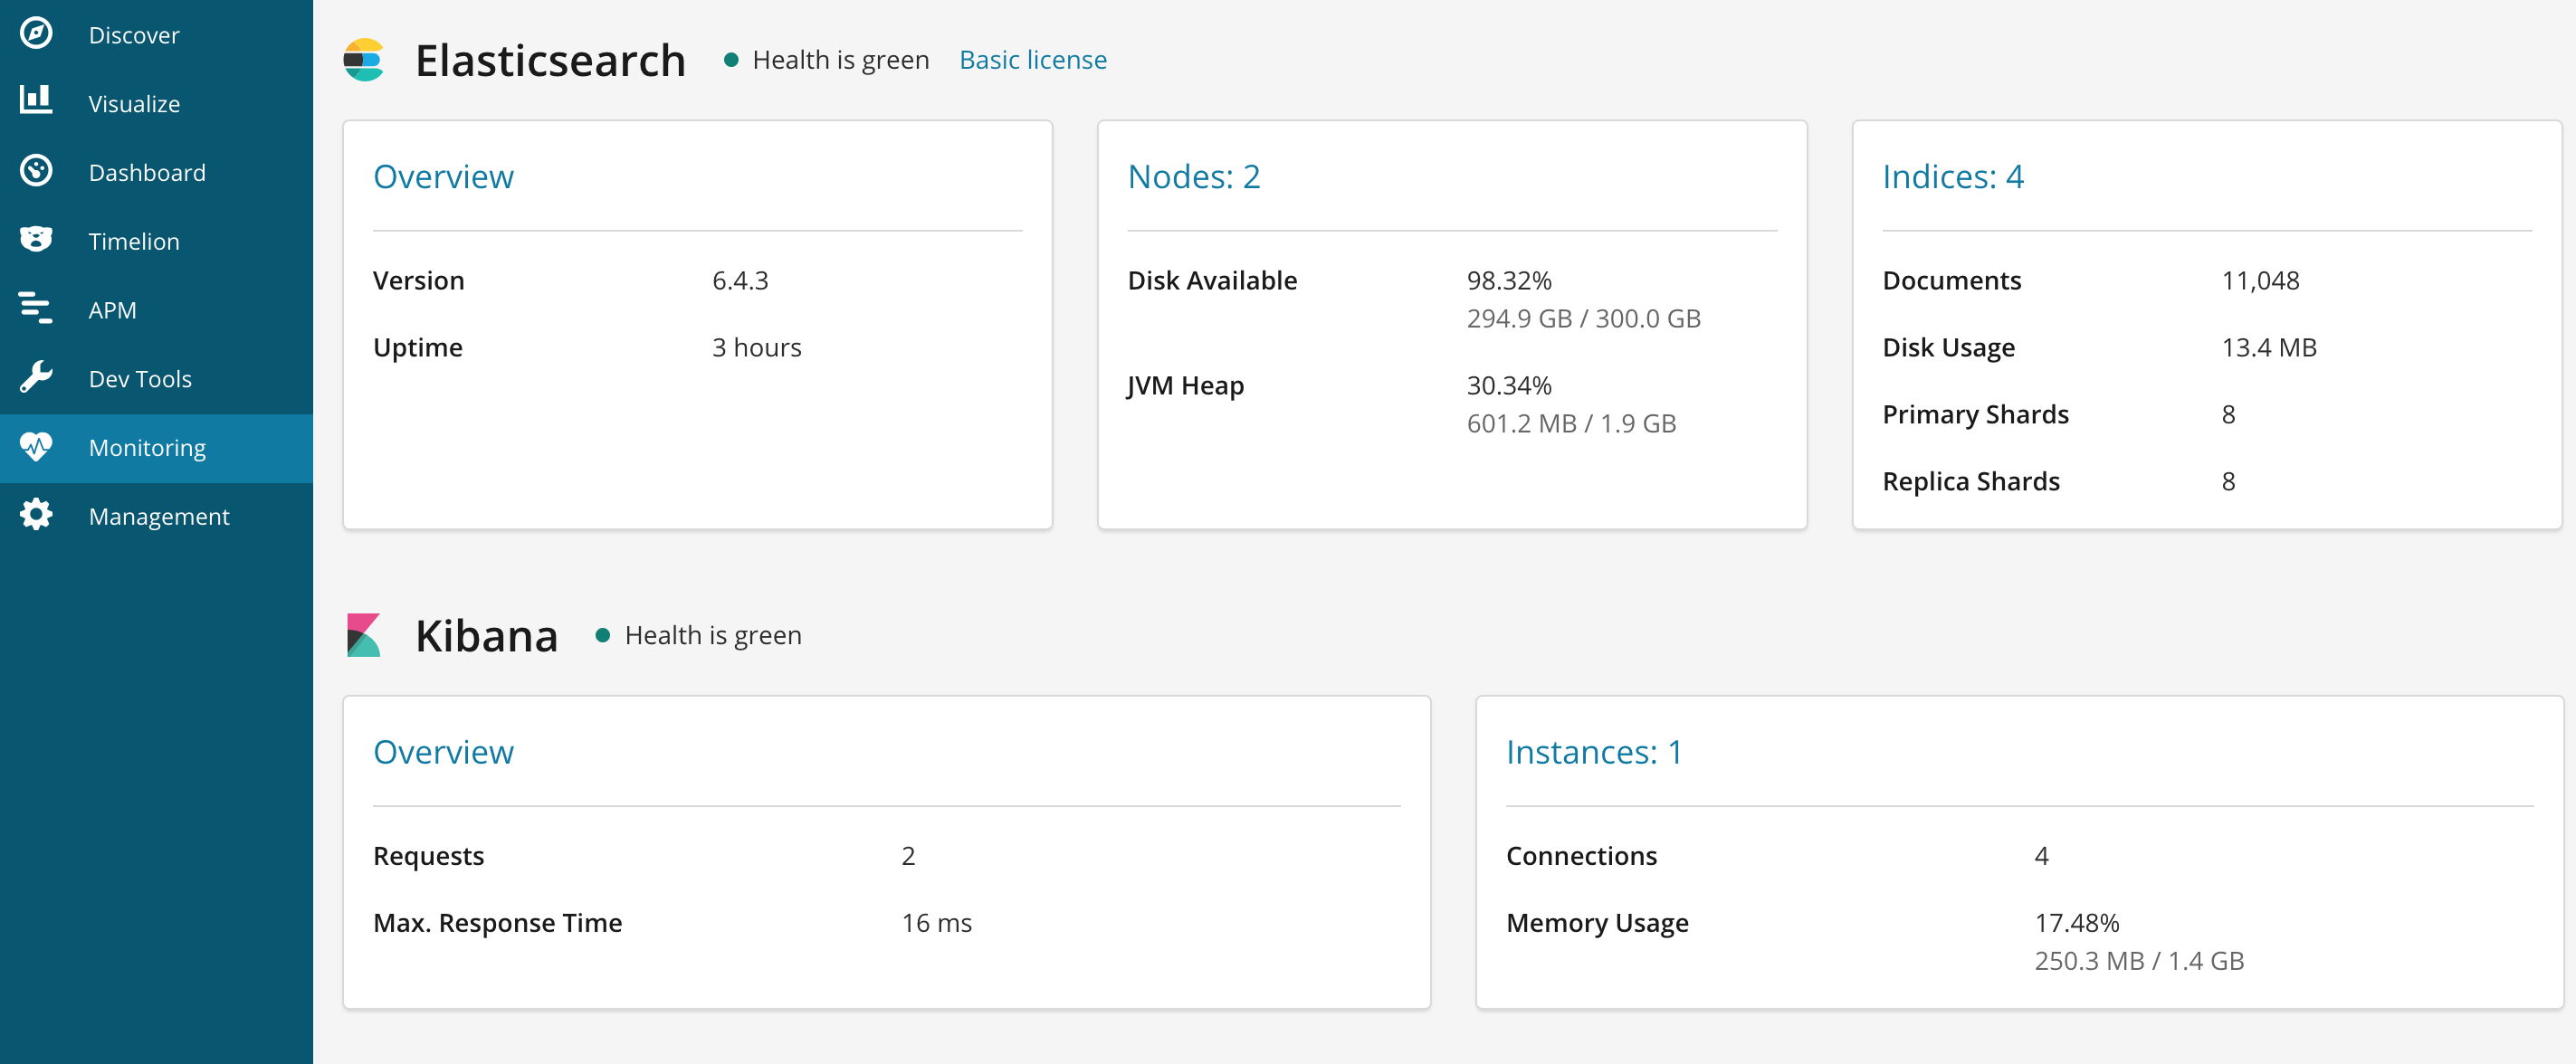
2.3、验证与状态监控:
curl -XGET 'http://127.0.0.1:9200/_cat/nodes?pretty'

