总体来说UICollectionView和UITableView大体上比较相似,唯一的不同就是我们在使用UICollectionView的时候需要自定义UICollectionView的cell,而且它还需要先注册xib,同时 我们还要实现
UICollectionViewDelegate,UICollectionViewDataSource代理协议,如果必要的话也要实现
UICollectionViewDelegateFlowLayout代理协议;
一,首先创建 UICollectionViewFlowLayOut
1 UICollectionViewFlowLayout * layOut = [[UICollectionViewFlowLayout alloc]init];
2     layOut.itemSize = CGSizeMake((screenWidth - 40)/3, (screenWidth - 40)/3); //设置item的大小
3     layOut.scrollDirection = UICollectionViewScrollDirectionVertical; //设置布局方式
4 layOut.sectionInset = UIEdgeInsetsMake(10, 10,0, 10); //设置距离上 左 下 右
二,添加 UICollectionView
1 UICollectionView * collectionView = [[UICollectionView alloc]initWithFrame:CGRectMake(0, 0, screenWidth, self.view.frame.size.height - 64) collectionViewLayout:layOut];
2     collectionView.backgroundColor = [UIColor whiteColor];
3     collectionView.delegate = self;
4     collectionView.dataSource = self;
5     collectionView.scrollEnabled = NO;
6     [self.view addSubview:collectionView];
三,collectionView注册xib
1 [collectionView registerNib:[UINib nibWithNibName:@"CollectionViewCell" bundle:nil] forCellWithReuseIdentifier:@"cell"]; //注册xib文件
四,实现代理协议
1 //实现代理协议
2 - (NSInteger)collectionView:(UICollectionView *)collectionView numberOfItemsInSection:(NSInteger)section{
3     return 8;
4 }
5 - (UICollectionViewCell *)collectionView:(UICollectionView *)collectionView cellForItemAtIndexPath:(NSIndexPath *)indexPath{
6     CollectionViewCell * cell = [collectionView dequeueReusableCellWithReuseIdentifier:@"cell" forIndexPath:indexPath];
7     cell.img.image = [UIImage imageNamed:@"image1"];
8     return cell;
9 }
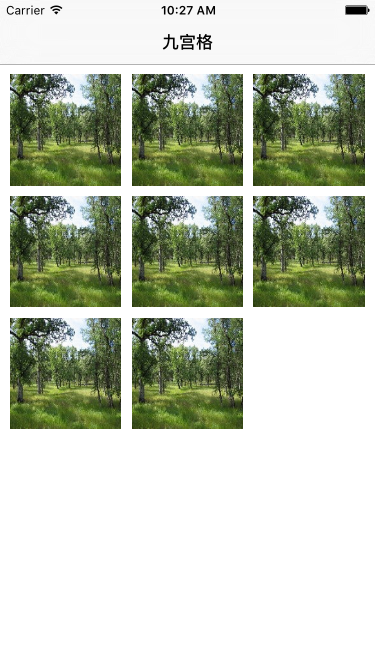
五,展示效果
六,UICollectionView功能十分强大,同时也能够实现不规则的瀑布流效果,希望小伙伴可以自己去发现,探索