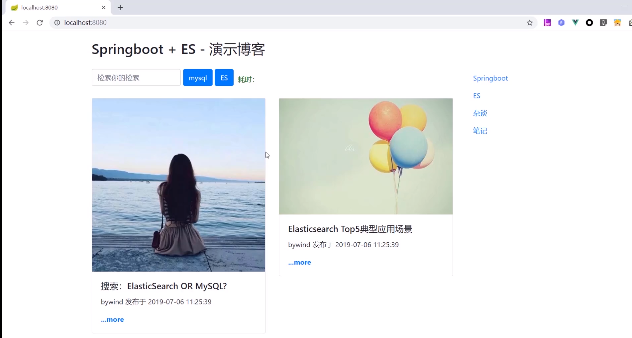
项目效果预览:

安装成功的效果图:
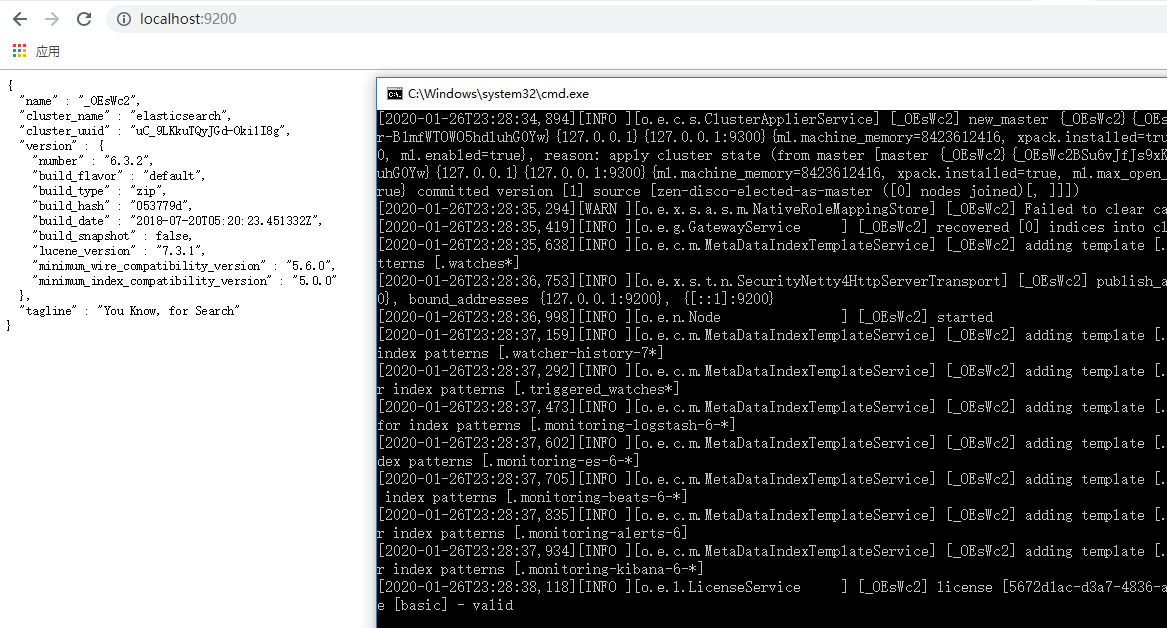
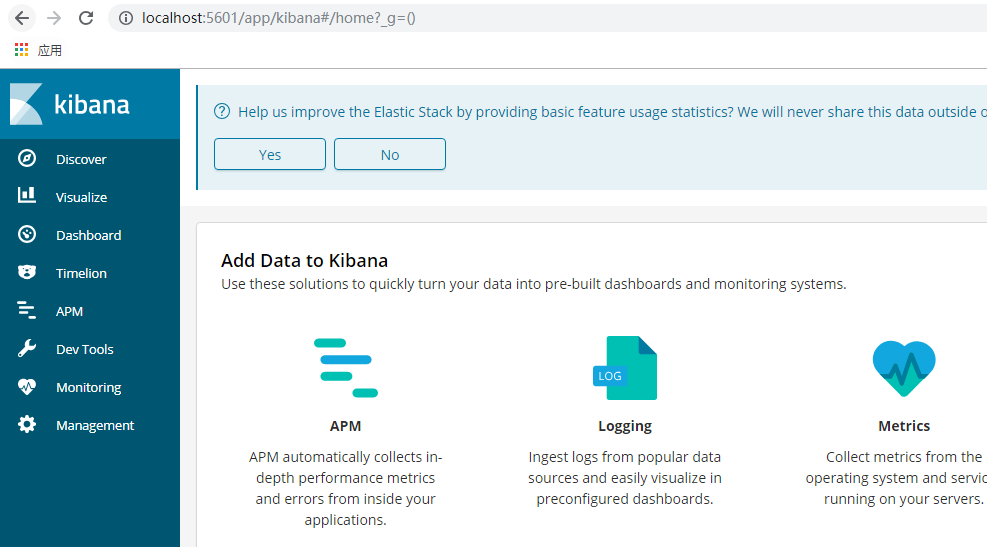
kibana安装:
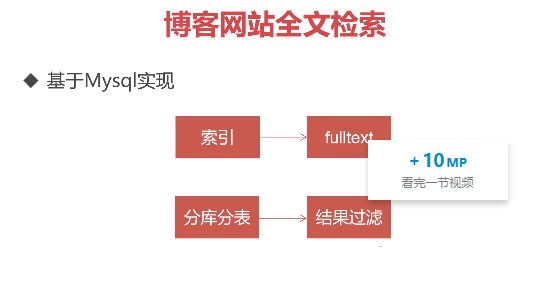
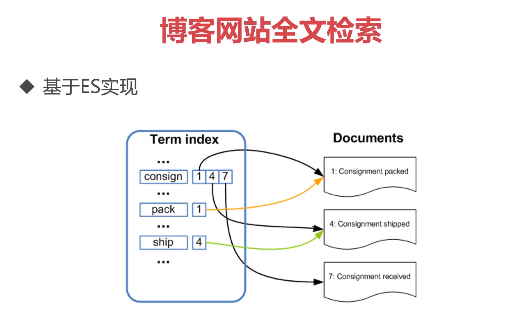
ES使用的是倒排索引

参考:https://www.yuque.com/gaohanghang/vx5cb2/aa576g#HuZ1N
《Springboot + ElasticSearch 构建博客检索系统》
视频地址:https://www.imooc.com/learn/1161
代码地址:https://github.com/gaohanghang/springboot-blog-es
我所使用的 elasticsearch、logstash、kibana的版本均为 7.5.0 最新版
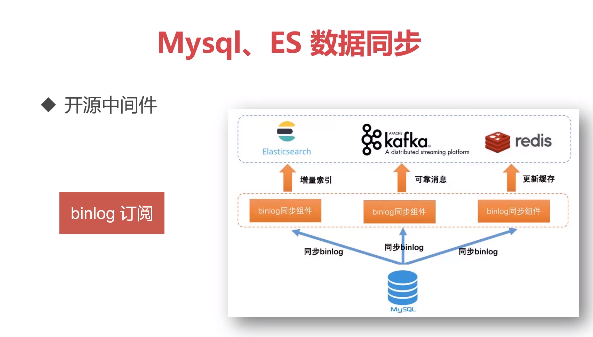
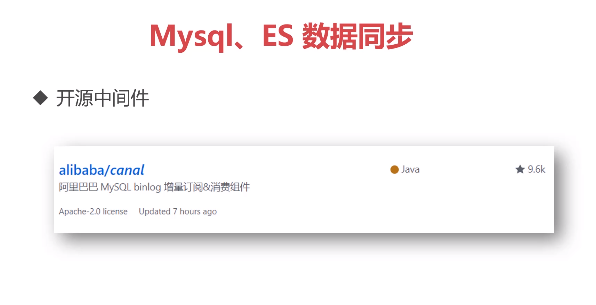
简介:从实际需求分析开始,打造个人博客检索系统。内容涵盖 ES安装、ES基本概念和数据类型、Mysql 到 ES 数据同步、SpringBoot 操作 ES。通过本课,让学员对ES有一个初步认识,理解ES的一些适用场景,以及如何使用springboot来同ES进行交互。
第1章 课程介绍
1-1 课程导学


- 可以反复看
- 上手做
- 学会应用
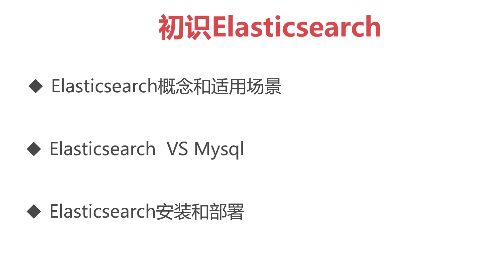
第2章 初识 ElassticSearch
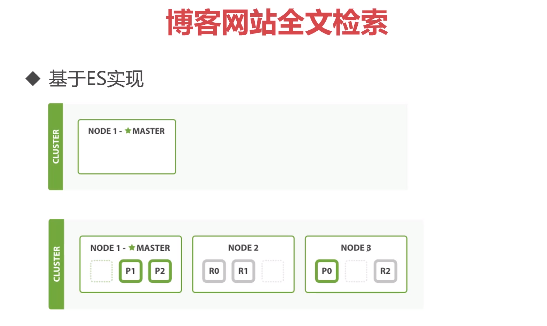
2-1 ElasticSearch 概念和适用场景

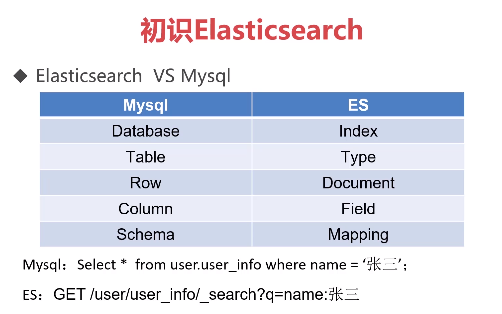
2-2 ElasticSearch 数据类型,和关系型数据库对比

2-3 安装 ES、postman、Kibana


2-4 演示 postman、kibana对ES的交互
PostMan
Get 查看所有索引

localhost:9200/_all

PUT 创建索引-test

localhost:9200/test


DEL 删除索引-test

localhost:9200/test


PUT 创建索引-person-1

localhost:9200/person


PUT 新增数据-person-1

localhost:9200/person/_doc/1

{
    "first_name" : "John",
  "last_name" : "Smith",
  "age" : 25,
  "about" : "I love to go rock climbing",
  "interests" : [ "sports", "music" ]
}

PUT 新增数据-person-2

localhost:9200/person/_doc/2

{
    "first_name" : "Eric",
  "last_name" : "Smith",
  "age" : 23,
  "about" : "I love basketball",
  "interests" : [ "sports", "reading" ]
}

GET 搜索数据-person-id

localhost:9200/person/_doc/1

GET 搜索数据-person-name

localhost:9200/person/_doc/_search?q=first_name:john

{
  "took": 56,
  "timed_out": false,
  "_shards": {
    "total": 1,
    "successful": 1,
    "skipped": 0,
    "failed": 0
  },
  "hits": {
    "total": {
      "value": 1,
      "relation": "eq"
    },