Sentry 为我们提供应用程序的错误跟踪,使我们能够快速定位到错误所在的文件和行号。
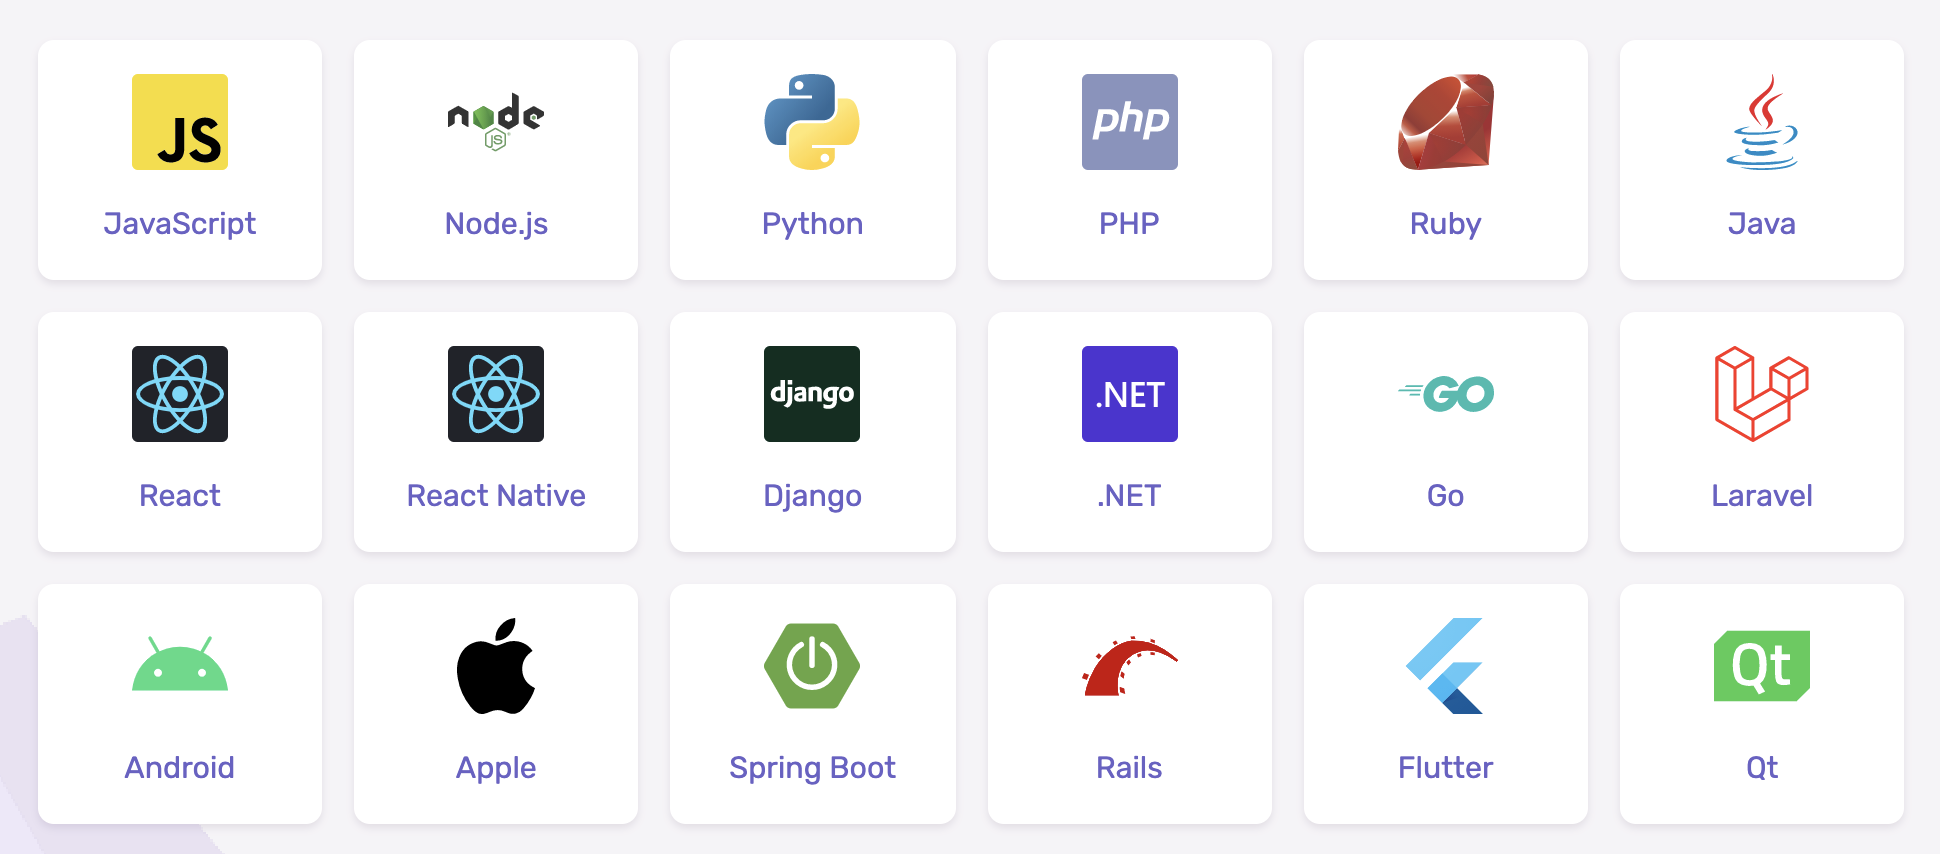
以下是官网支持语言和框架的部分截图:
准备工作
自 2020 年 12 月 4 日起,Sentry 默认使用 Python 3。 Sentry 21.1.0 之后的版本不在支持 Python2。
- Python 3
- Docker 20.10.6
- Sentry 21.5.1
安装 Python 3
安装方式可在 Python 官网下载最新的安装包,也可以使用 brew 方式安装。
这里使用 brew 方式安装:
brew install python
安装完成后,使用下面命令查看 Python 版本:
由于 Mac 自带 Python 版本是 2.x,需要将命令改成
python3
python3 --version
如果觉得 python3 命令怪怪的,我们可以在 .bash_profile 文件增加一行。
# 查看 python 3 路径
which python3

# 将 python 指定到 python 3 位置
echo "# python
 alias python=/Library/Frameworks/Python.framework/Versions/3.9/bin/python3" >> ~/.bash_profile

# 记得修改完后,需要 source 一下
source ~/.bash_profile
现在使用 python --version 来验证一下我们的配置。

安装 Docker
这里直接从官网下载:
https://www.docker.com/get-started
安装完成后,设置一下镜像源:
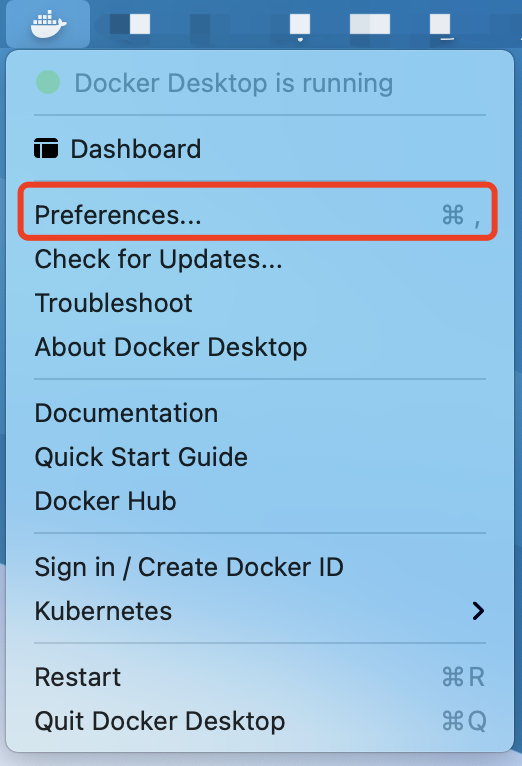
点击顶部任务栏的 Docker 图标,选择 Preferences...
接下来,点击左边的 Docker Engine,在右边输入区域增加 registry-mirrors 配置。
{
	...
	"registry-mirrors": ["https://registry.cn-hangzhou.aliyuncs.com"]
}
再右下角点击 Apply & Restart 按钮,保存并重启 Docker。
安装 Sentry
Sentry 官方提供了非常便捷的安装方式,只需在终端执行以下安装命令即可。从 github 上下载最新的 Sentry 版本:
https://github.com/getsentry/onpremise/releases
下载完成后,进入到保存的下载目录解压,然后使用以下命令安装:
安装过程中如果不想被 “是否创建用户” 的提示阻止,可以加上
--no-user-prompt。
./install.sh
在执行安装过程中,出现 ./install/_lib.sh: line 15: realpath: command not found 错误。
解决办法:
https://github.com/getsentry/onpremise/issues/941
brew install coreutils
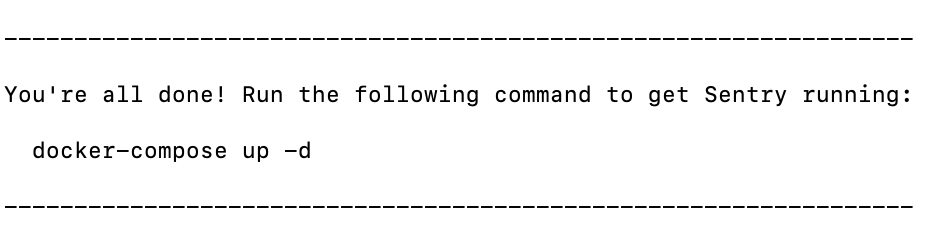
安装 coreutils 后,再执行 ./install.sh。
当看到下图表示已经全部完成了,执行 docker-compose up -d 命令。
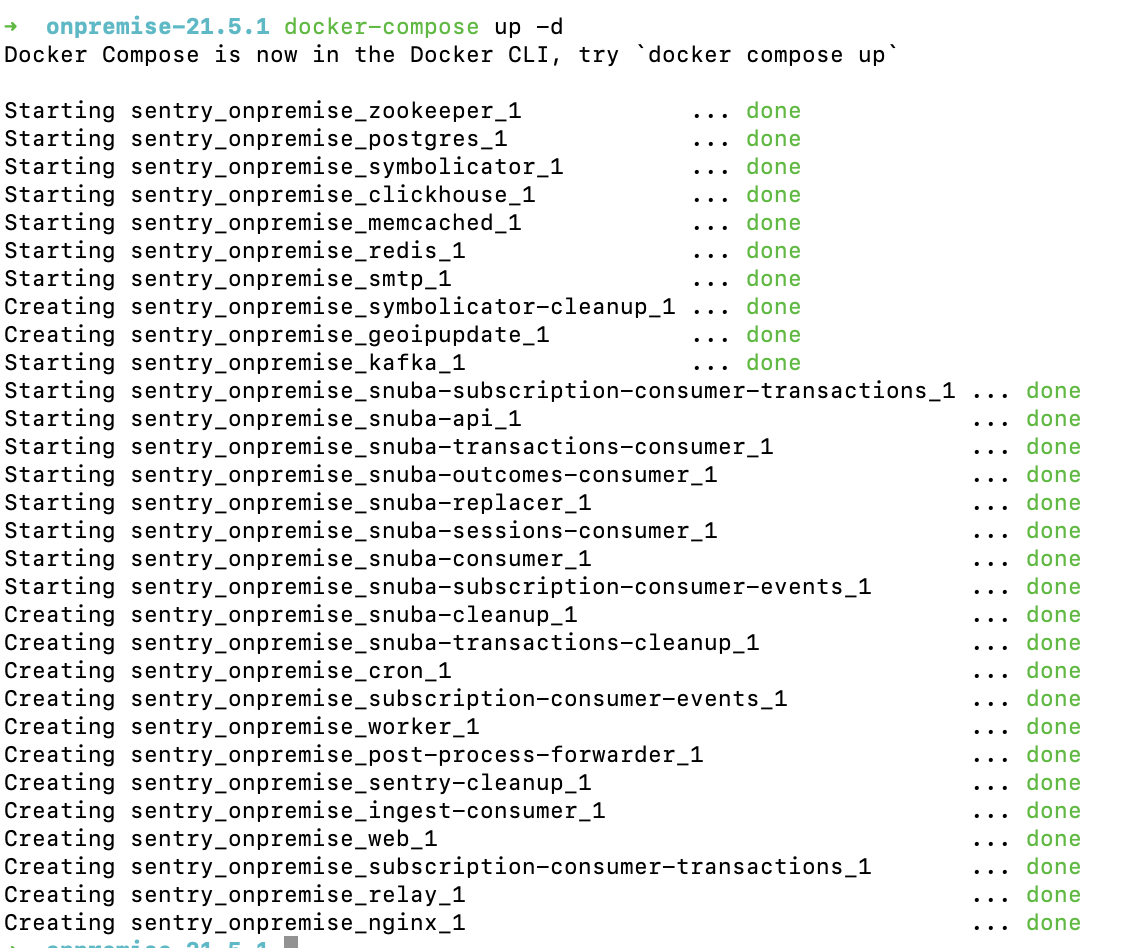
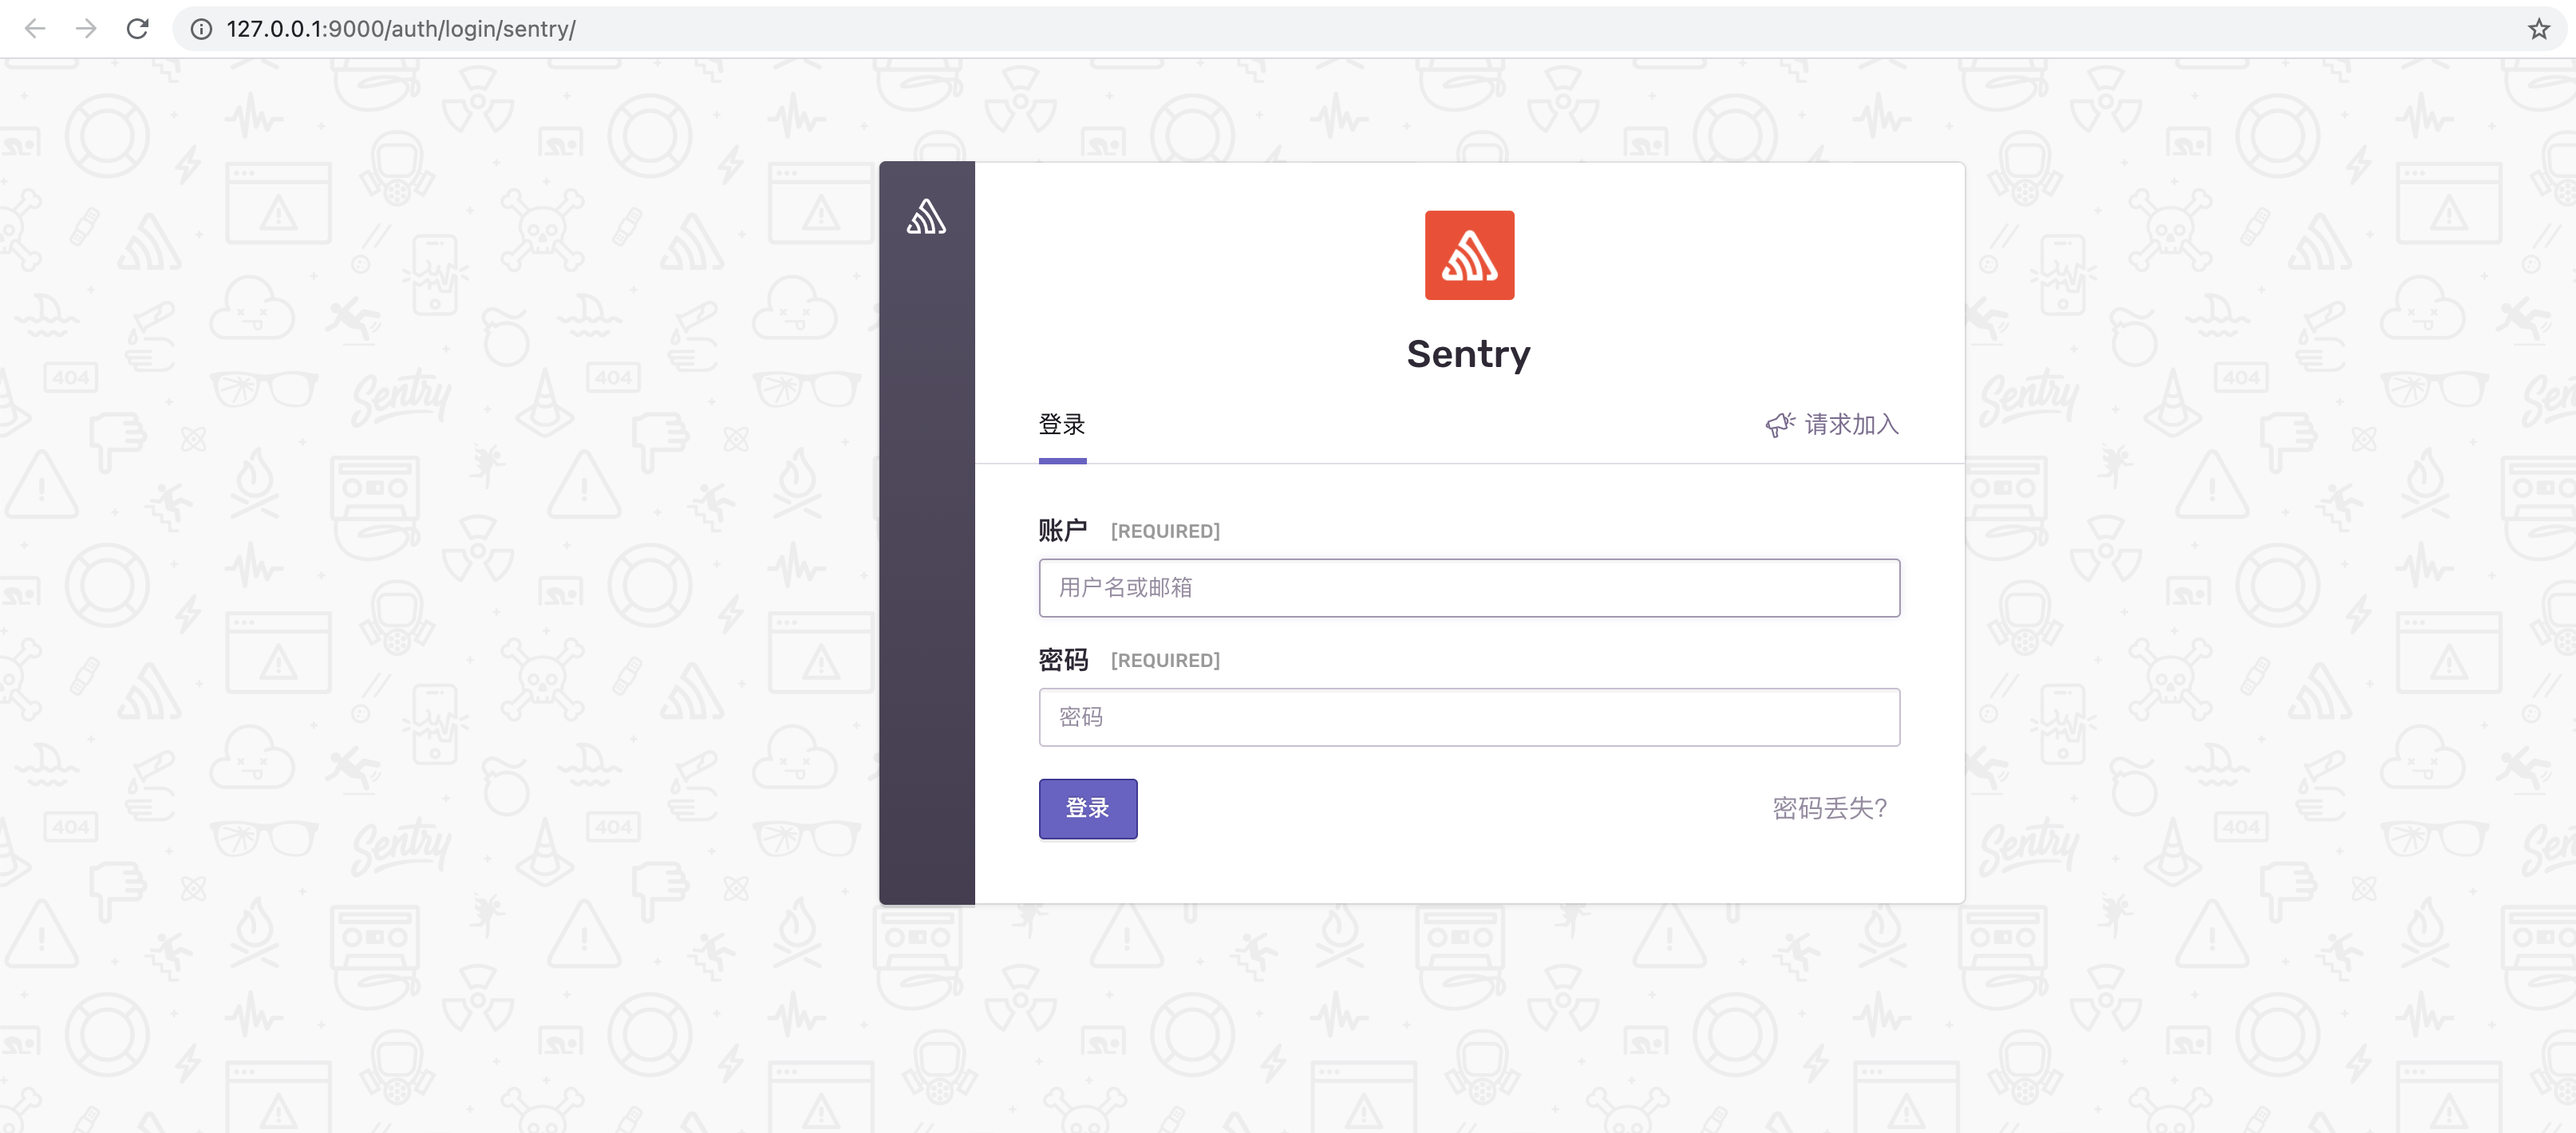
没有出现错误,到这可以看看效果了,在浏览器中打开 http://127.0.0.1:9000/
添加账号
如果安装时跳过账号创建,在终端进入 onpremise 目录执行下面命令,创建超级用户(管理员):
docker-compose run --rm web createuser --superuser --force-update
superuser 表示创建管理员。
force-update 表示覆盖存在的用户。
参考资料
- https://develop.sentry.dev/self-hosted/
- https://github.com/getsentry/onpremise
- https://github.com/getsentry/onpremise/issues/941