简要记录一下。
环境准备
虚拟机环境
lz@starnight:~$ sudo -i
[sudo] password for lz:
root@starnight:~# cat /etc/issue
Ubuntu 16.04.2 LTS
 l
更新系统
root@starnight:~# sudo apt-get update
安装Apache
root@starnight:~# sudo apt-get install apache2
root@starnight:~# apache2 -v
Server version: Apache/2.4.18 (Ubuntu)
Server built:   2018-04-18T14:53:04
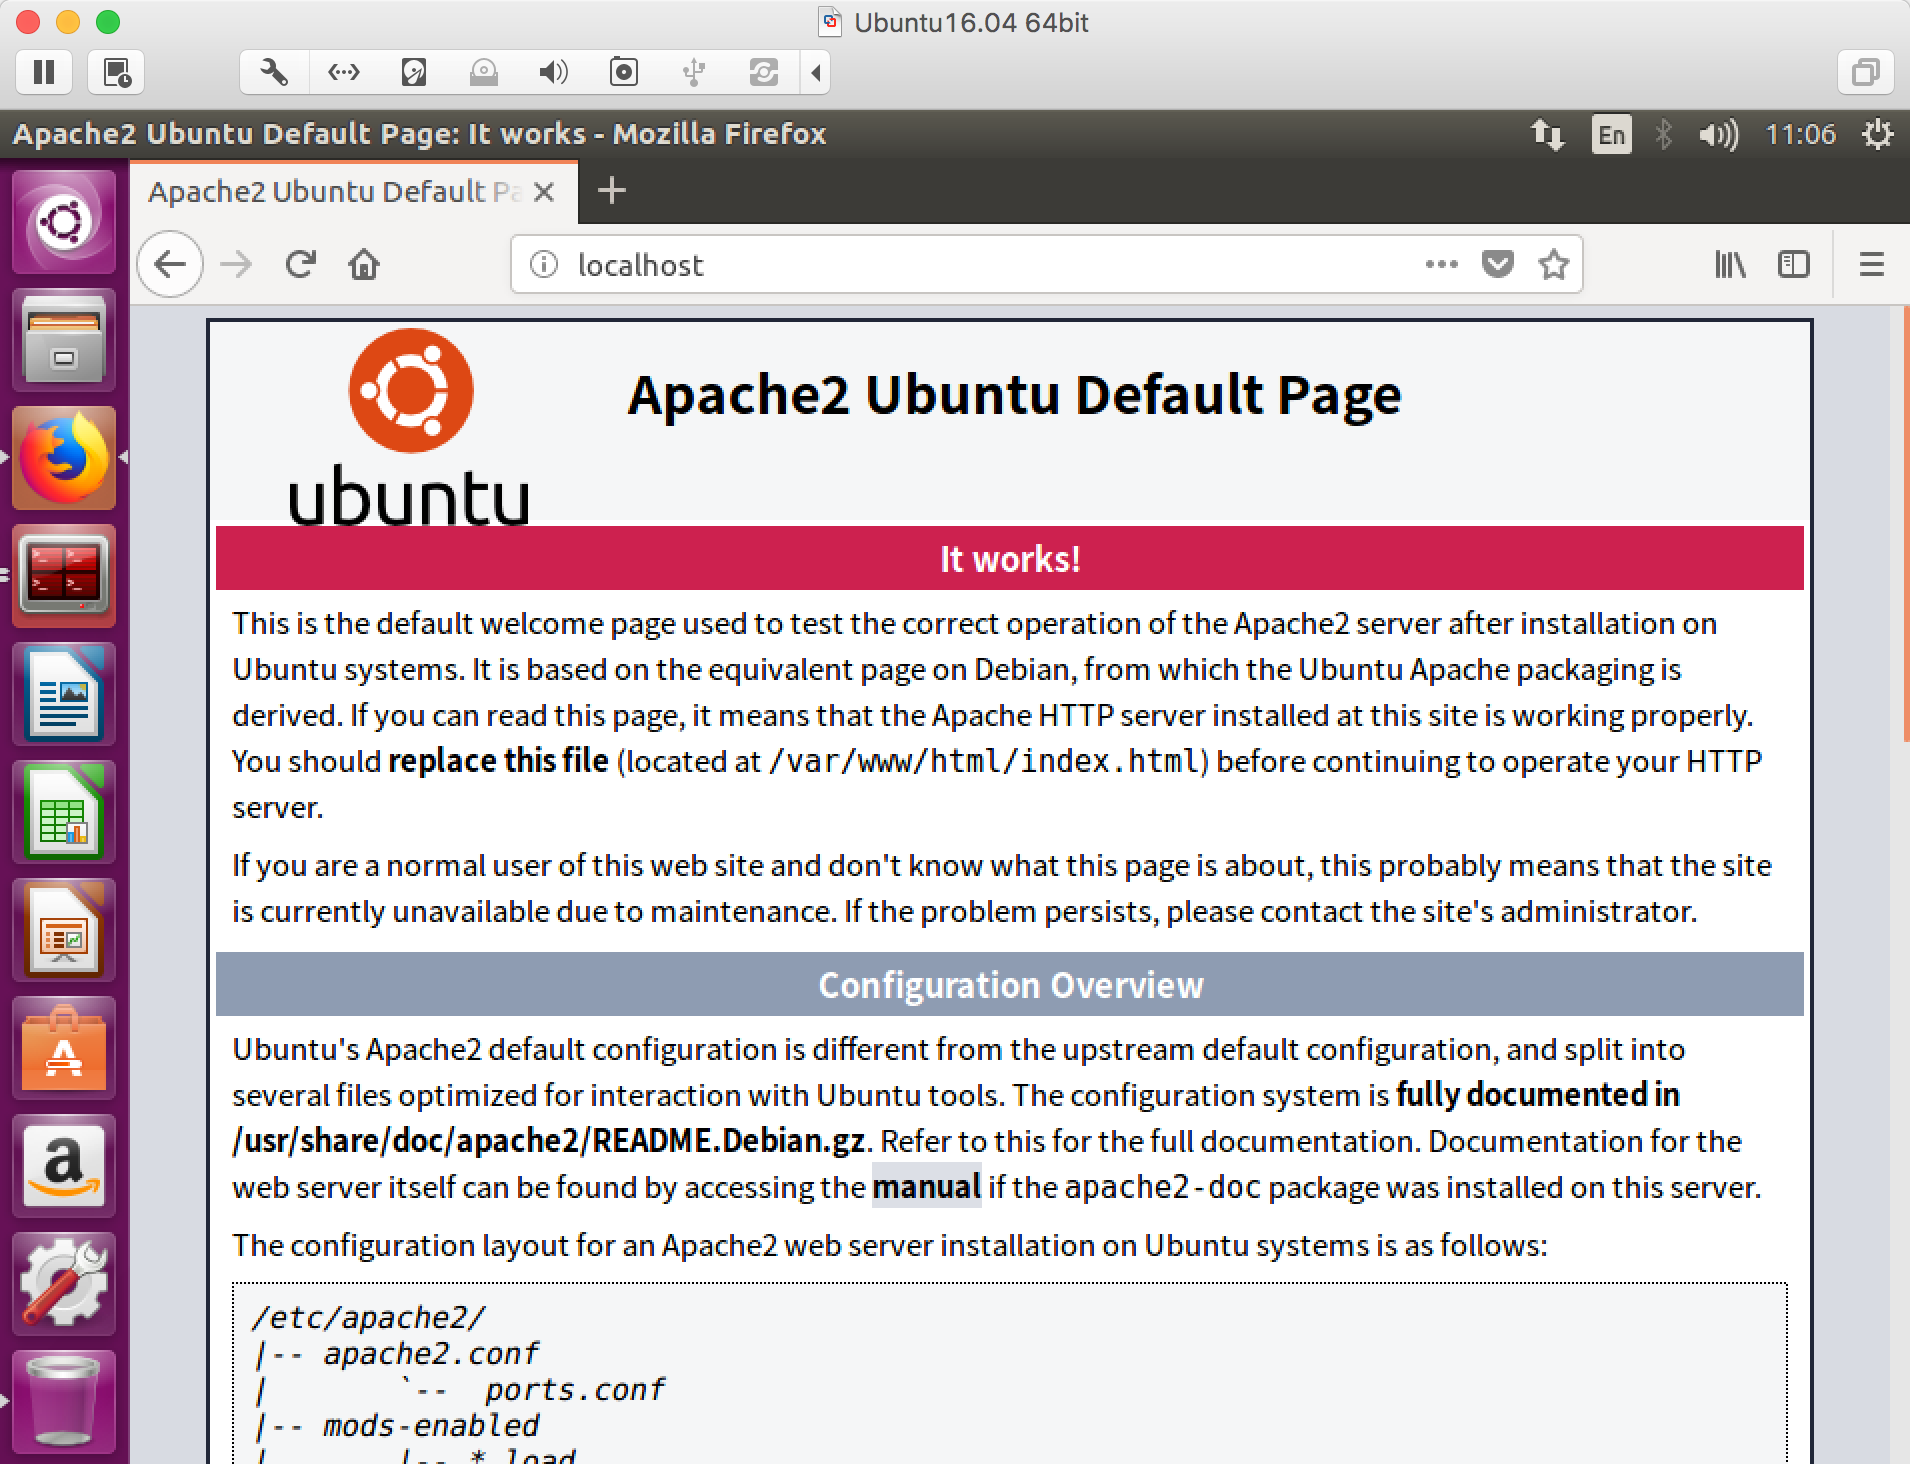
默认的Web路径:/var/www/html
root@starnight:/var/www/html# pwd
/var/www/html
root@starnight:/var/www/html# ls
index.html
访问本地地址:localhost或127.0.0.1
安装PHP
root@starnight:~# sudo apt-get install php7.0
root@starnight:~# php7.0 -v
PHP 7.0.28-0ubuntu0.16.04.1 (cli) ( NTS )
Copyright (c) 1997-2017 The PHP Group
Zend Engine v3.0.0, Copyright (c) 1998-2017 Zend Technologies
    with Zend OPcache v7.0.28-0ubuntu0.16.04.1, Copyright (c) 1999-2017, by Zend Technologies
root@starnight:~# sudo apt-get install libapache2-mod-php7.0
安装MySQL
root@starnight:~# sudo apt-get install mysql-server
在安装过程中会提示输入/重复密码。
root@starnight:~# sudo apt-get install php7.0-mysql
到这里LAMP环境就算是安装成功了。
虚拟目录
如果机器上要部署多个Web项目,可以通过不同端口进行指定。
例如:在Web Root下有个项目helo,我想直接通过ip:port的形式进行访问。
root@starnight:/var/www/html/helo# pwd
/var/www/html/helo
root@starnight:/var/www/html/helo# ls
index.php
这里可以通过配置虚拟目录来实现。
root@starnight:/var/www/html/helo# cat /etc/apache2/ports.conf
在Listen 80添加你想设置的端口,如8080
root@starnight:/var/www/html/helo# cat /etc/apache2/ports.conf
# If you just change the port or add more ports here, you will likely also
# have to change the VirtualHost statement in
# /etc/apache2/sites-enabled/000-default.conf

Listen 80
Listen 8080
<IfModule ssl_module>
    Listen 443
</IfModule>

<IfModule mod_gnutls.c>
    Listen 443
</IfModule>

# vim: syntax=apache ts=4 sw=4 sts=4 sr noet
设置虚拟目录:
root@starnight:/var/www/html/helo# cat /etc/apache2/sites-available/000-default.conf
copy 一份里面原有的内容,只需要更改port和DocumentRoot两项即可(本地环境,不涉及域名的问题,也可以进行相应的修改)
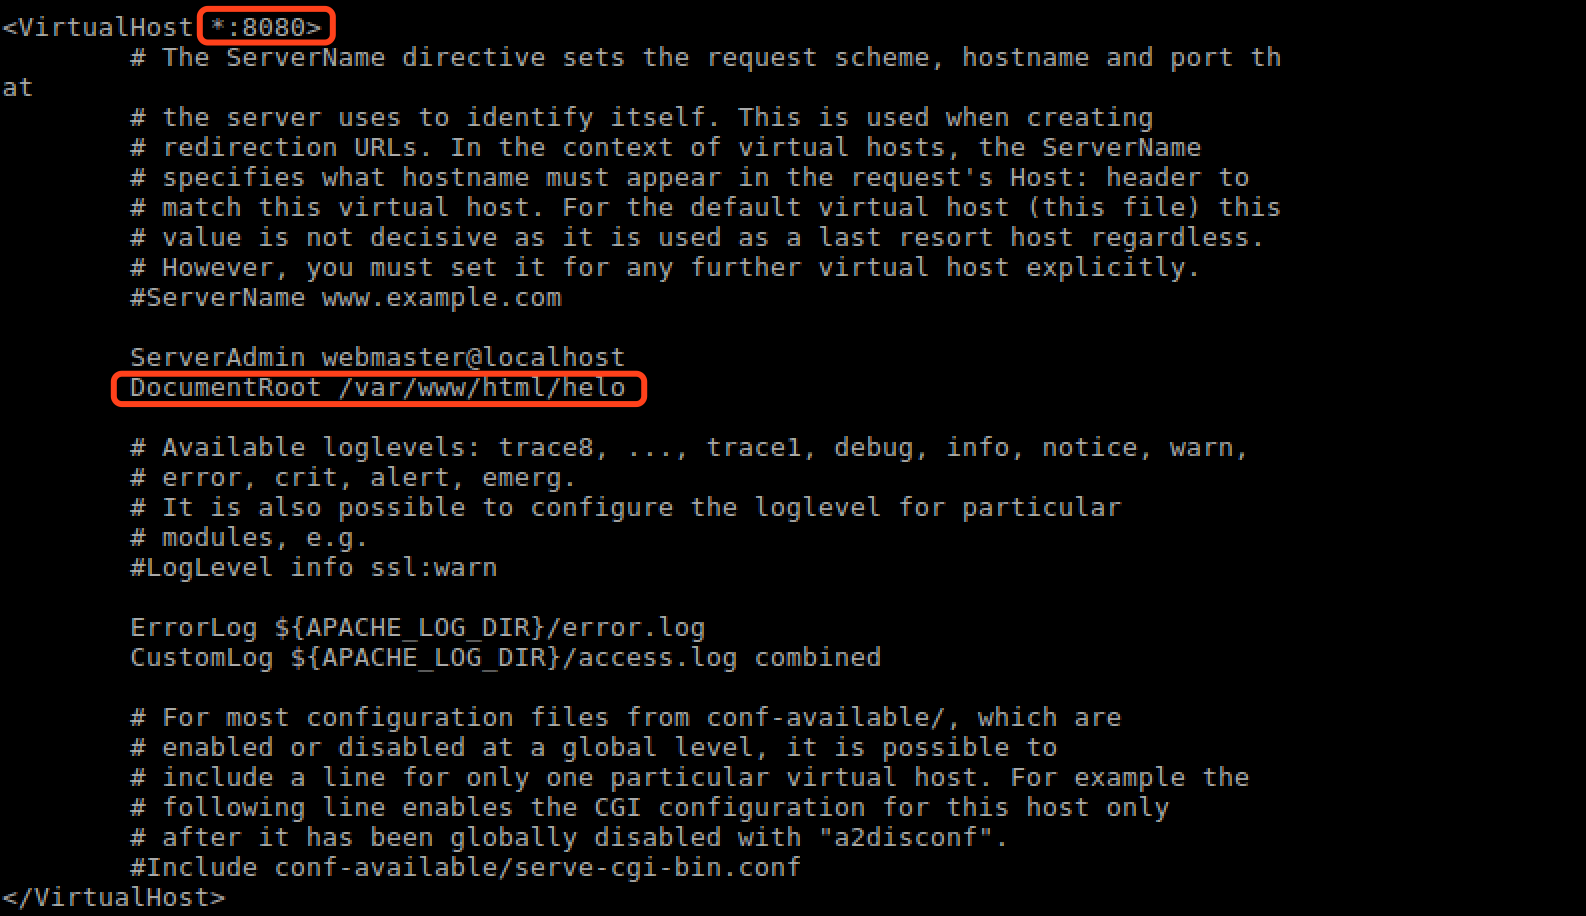
端口设置:8080,路径:/var/www/html/helo
重启apache2服务:
root@starnight:/var/www/html/helo# sudo /etc/init.d/apache2 restart
访问本地ip:port
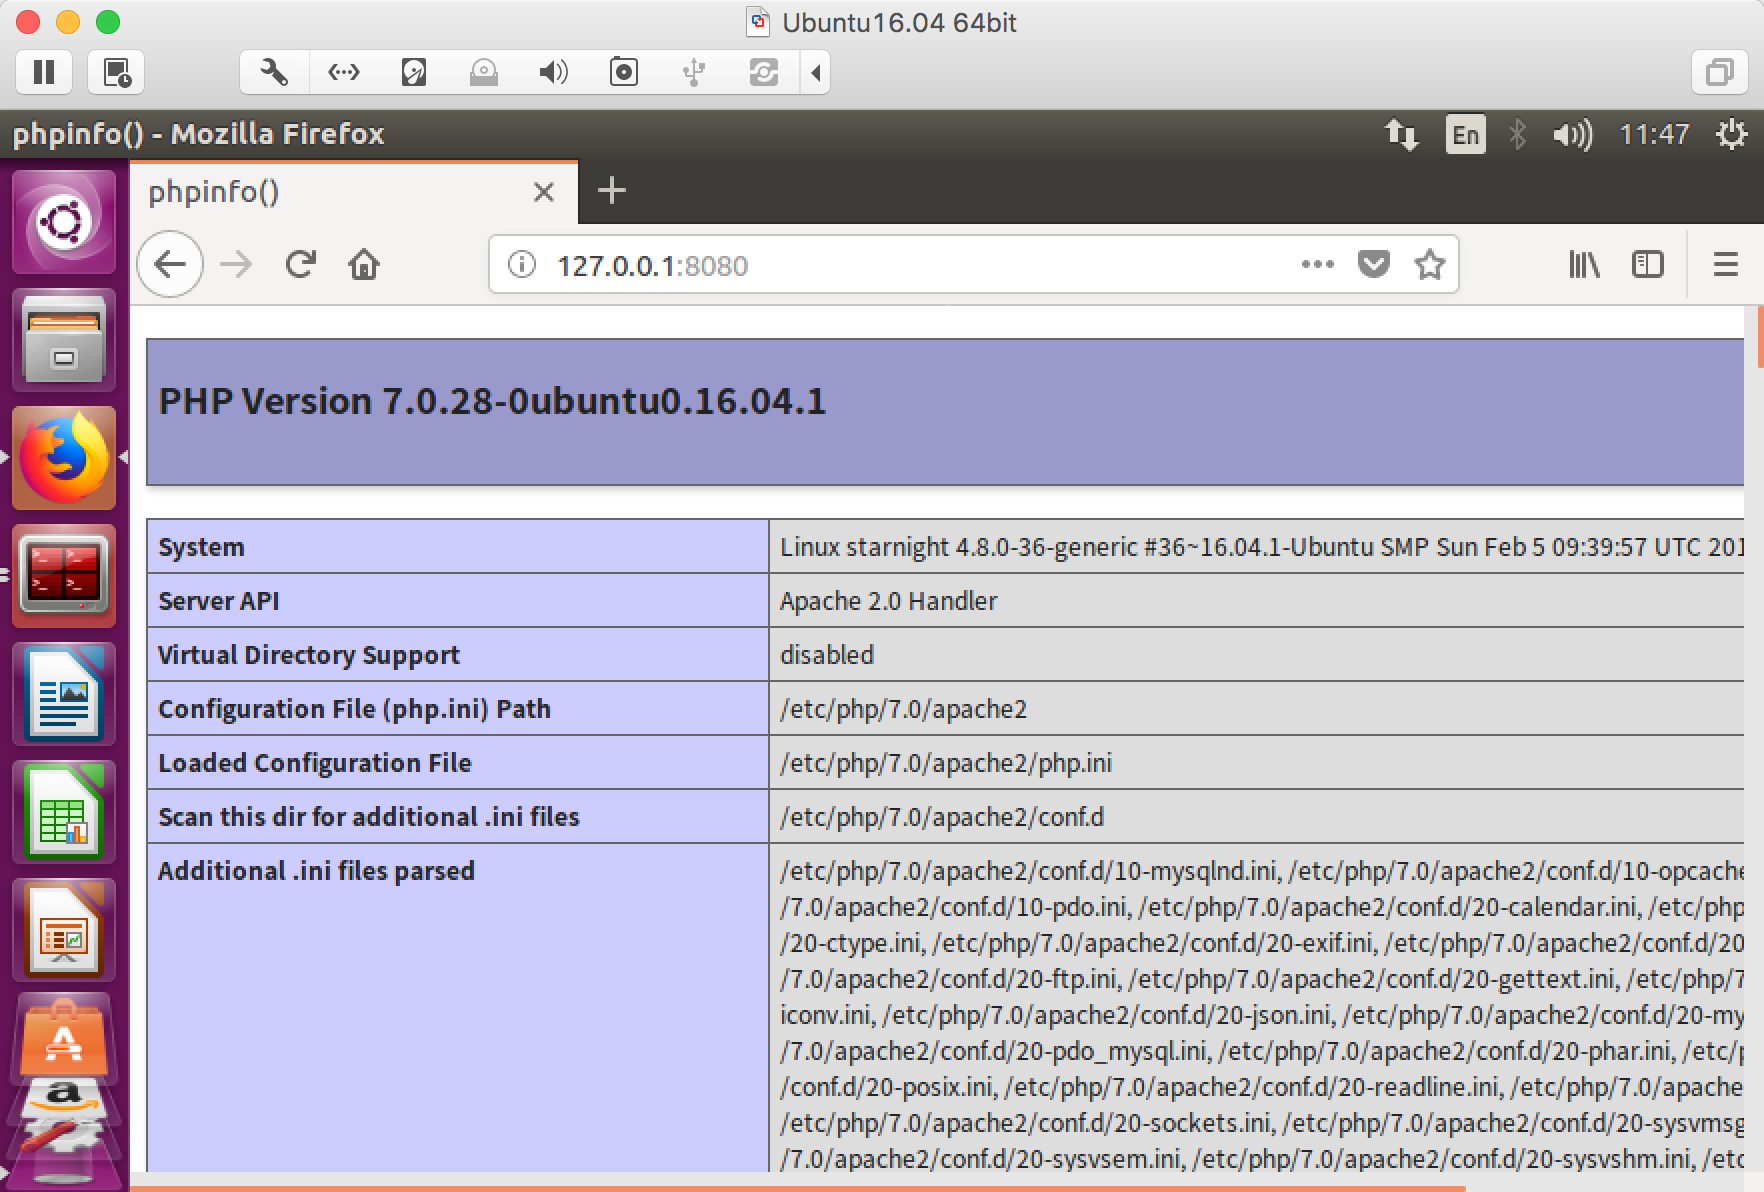
对,index.php的内容就是那个经典的phpinfo()。