Redis 开发
1.源码安装Python环境
Python官网:https://www.python.org/
#下载Python3.6.4安装包
[root@db03 ~]# wget https://www.python.org/ftp/python/3.6.4/Python-3.6.4.tgz
#生成Python环境安装文件
[root@db03 ~]# ./configure --prefix=/usr/local/python3.6.4 --with-ssl
#编译
[root@db03 ~]# make
#安装
[root@db03 ~]# make install
#软链接python3命令
[root@db03 ~]# ln -s /usr/local/python3.6.4/bin/python3 /usr/bin/
#软链接pip3命令
[root@db03 ~]# ln -s /usr/local/python3.6.4/bin/pip3  /usr/bin/
2.安装python连接redis驱动
Python连接redis驱动网站:http://www.redis.cn/clients
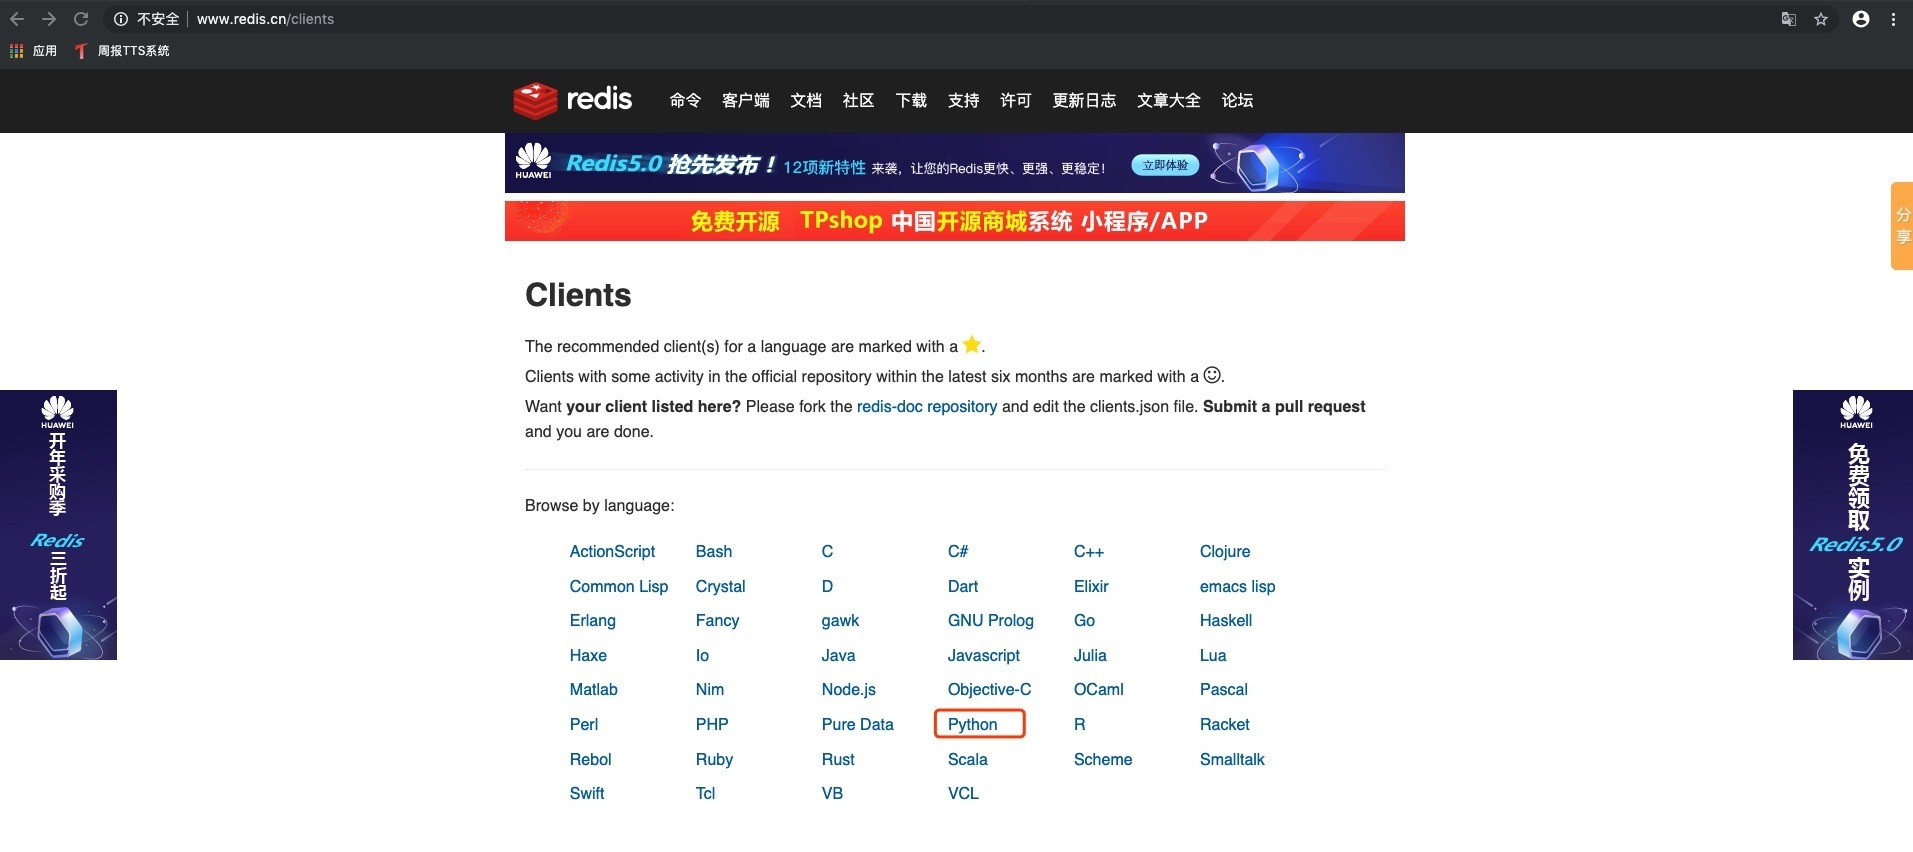

打开github仓库,然后可以下载驱动器的包
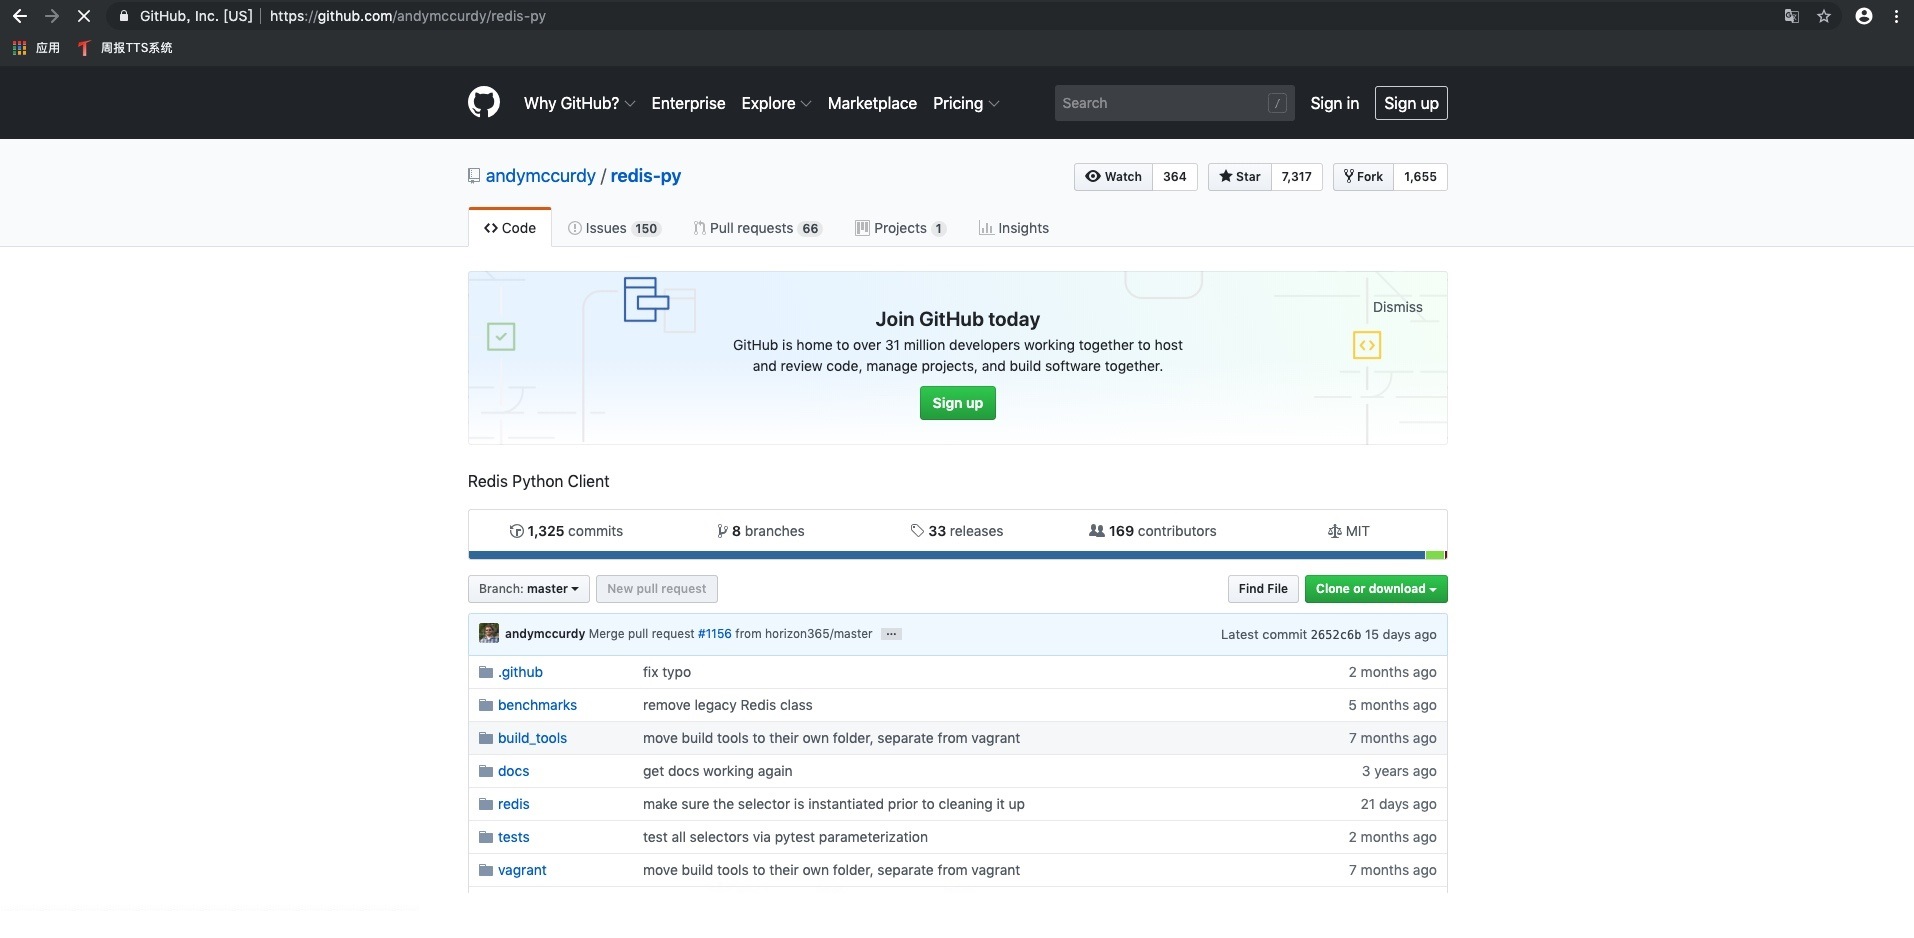
也可以使用pip安装redis驱动
[root@db01 Python-3.6.4]# pip3 install redis
Collecting redis
  Downloading https://files.pythonhosted.org/packages/ac/a7/cff10cc5f1180834a3ed564d148fb4329c989cbb1f2e196fc9a10fa07072/redis-3.2.1-py2.py3-none-any.whl (65kB)
    100% |████████████████████████████████| 71kB 120kB/s
Installing collected packages: redis
Successfully installed redis-3.2.1
You are using pip version 9.0.1, however version 19.0.3 is available.
You should consider upgrading via the 'pip install --upgrade pip' command.
3.Python连接单台Redis API
安装redis
#下载
[root@db01 src]# wget http://download.redis.io/releases/redis-3.2.12.tar.gz
#解压
[root@db01 src]# tar xf redis-3.2.12.tar.gz
#移动到指定目录
[root@db01 src]# mv redis-3.2.12 /application/
#做软链接
[root@db01 src]# ln -s /application/redis-3.2.12 /application/redis
#进入redis目录
[root@db01 src]# cd /application/redis
#编译
[root@db01 redis]# make
#添加环境变量
[root@db01 redis]# vim /etc/profile.d/redis.sh
export PATH="/application/redis/src:$PATH"
#创建配置文件存放目录
[root@db01 ~]# mkdir -p /data/6379
#编辑redis配置文件
[root@db01 ~]# vim /data/6379/redis.conf
port 6379
daemonize yes
pidfile /data/6379/redis.pid
logfile "/data/6379/redis.log"
dbfilename dump.rdb
dir /data/6379
protected-mode no
appendonly yes
requirepass  zls
#启动redis
[root@db01 ~]# redis-server /data/6379/redis.conf
#连接redis
[root@db01 ~]# redis-cli -a zls
#设置key
127.0.0.1:6379> set name zls
OK
使用Python连接redis
#连接Python终端
[root@db01 ~]# python3
Python 3.6.4 (default, Apr  8 2019, 17:12:35)
[GCC 4.4.7 20120313 (Red Hat 4.4.7-4)] on linux
Type "help", "copyright", "credits" or "license" for more information.
>>>

#导入redis模块
>>> import redis
#设置redis连接变量
>>> r = redis.StrictRedis(host='localhost', port=6379, db=0,password='zls')
#获取刚才创建的key
>>> r.get('name')
b'zls'
#创建一个key
>>> r.set('age', '18')
True
#退出Python终端
>>> quit()
#连接redis
[root@db01 ~]# redis-cli -a zls
#查看是否有刚才创建的key
127.0.0.1:6379> KEYS *
#查看age的值
127.0.0.1:6379> get age
"18"
4.Python连接Redis Sentinel API
一般在企业中,Redis是不会使用单台,大部分企业都是以集群的形式存在的,所以我们需要知道,Python如何连接Redis集群的API,当然我们讲的集群,有Sentinel和Redis Cluster。
#启动Redis多实例
[root@db01 ~]# redis-server /data/6380/redis.conf
[root@db01 ~]# redis-server /data/6381/redis.conf
[root@db01 ~]# redis-server /data/6382/redis.conf
#启动Redis Sentinel
[root@db01 ~]# redis-sentinel /data/26380/sentinel.conf &
#连接python终端
[root@db01 ~]# python3
Python 3.6.4 (default, Apr  8 2019, 17:12:35)
[GCC 4.4.7 20120313 (Red Hat 4.4.7-4)] on linux
Type "help", "copyright", "credits" or "license" for more information.

#导入Redis Sentinel模块
>>> from redis.sentinel import Sentinel
#设置连接信息变量
>>> sentinel = Sentinel([('localhost', 26380)], socket_timeout=0.1)
#获取主库,从库信息
>>> sentinel.discover_master('mymaster')
>>> sentinel.discover_slaves('mymaster')
#配置读写分离,写节点
>>> master = sentinel.master_for('mymaster', socket_timeout=0.1,password="zls")
#配置读写分离,读节点
>>> slave = sentinel.slave_for('mymaster', socket_timeout=0.1,password="zls")
#读写分离测试key
>>> master.set('zls', 'handsome')
>>> slave.get('zls')
'handsome'
5.Python连接Redis Cluster
Redis Cluster的连接并操作(python2.7.2以上版本才支持redis cluster,我们选择的是3.6.4)
https://github.com/Grokzen/redis-py-cluster
#安装Python连接Redis Cluster驱动
[root@db01 ~]# pip3 install redis-py-cluster
Collecting redis-py-cluster
  Downloading https://files.pythonhosted.org/packages/6d/02/b2458f900496d1e573ada7ffd882efe62aeee992eab1222411fe08aa5f75/redis-py-cluster-1.3.6.tar.gz
Collecting redis==2.10.6 (from redis-py-cluster)
  Downloading https://files.pythonhosted.org/packages/3b/f6/7a76333cf0b9251ecf49efff635015171843d9b977e4ffcf59f9c4428052/redis-2.10.6-py2.py3-none-any.whl (64kB)
    100% |████████████████████████████████| 71kB 26kB/s
Installing collected packages: redis, redis-py-cluster
  Found existing installation: redis 3.2.1
    Uninstalling redis-3.2.1:
      Successfully uninstalled redis-3.2.1
  Running setup.py install for redis-py-cluster ... done
Successfully installed redis-2.10.6 redis-py-cluster-1.3.6
You are using pip version 9.0.1, however version 19.0.3 is available.
You should consider upgrading via the 'pip install --upgrade pip' command.
#启动Redis Cluster集群
[root@db01 ~]# redis-server /data/7000/redis.conf
[root@db01 ~]# redis-server /data/7001/redis.conf
[root@db01 ~]# redis-server /data/7002/redis.conf
[root@db01 ~]# redis-server /data/7003/redis.conf
[root@db01 ~]# redis-server /data/7004/redis.conf
[root@db01 ~]# redis-server /data/7005/redis.conf
#连接Python终端
[root@db01 ~]# python3
Python 3.6.4 (default, Apr  8 2019, 17:12:35)
[GCC 4.4.7 20120313 (Red Hat 4.4.7-4)] on linux
Type "help", "copyright", "credits" or "license" for more information.
#导入Redis Cluster模块
>>> from rediscluster import StrictRedisCluster
#设置登录redis集群变量
>>> startup_nodes = [{"host": "127.0.0.1", "port": "7000"}]
#设置连接变量
>>> rc = StrictRedisCluster(startup_nodes=startup_nodes, decode_responses=True)
#测试设置key
>>> rc.set("foo", "bar")
True
#查询key
>>> print(rc.get("foo"))
bar
6.Redis缓存故障概念
缓存穿透
概念:
访问一个不存在的key,缓存不起作用,请求会穿透到DB,流量大时DB会挂掉。
解决方案:
采用布隆过滤器,使用一个足够大的bitmap,用于存储可能访问的key,不存在的key直接被过滤;
访问key未在DB查询到值,也将空值写进缓存,但可以设置较短过期时间。
缓存雪崩
概念:
大量的key设置了相同的过期时间,导致在缓存在同一时刻全部失效,造成瞬时DB请求量大、压力骤增,引起雪崩。
解决方案:
可以给缓存设置过期时间时加上一个随机值时间,使得每个key的过期时间分布开来,不会集中在同一时刻失效。
缓存击穿
概念:
一个存在的key,在缓存过期的一刻,同时有大量的请求,这些请求都会击穿到DB,造成瞬时DB请求量大、压力骤增。
解决方案:
在访问key之前,采用SETNX(set if not exists)来设置另一个短期key来锁住当前key的访问,访问结束再删除该短期key。