一、定时器setInterval-------常用的,反复循环的
   <input type="button" value="停止" id="btn">
    <script>
    //定时器setInterval(参数1,参数2)
    //参数1----->函数
    //参数2----->事件----单位毫秒-----1000毫秒=1秒
    //执行过程:页面加载完毕后,过了多少时间,执行一次函数的代码,然后又过了多少时间,又执行一次函数的代码..
    //返回值是定时器的id
    //清理定时器用clearInterval(id)
    var timeId=setInterval(function(){
    //设置了一个定时器,一秒控制台输出 "哈哈"
        console.log("哈哈");
    },1000)
    document.getElementById("btn").onclick=function(){
    //点击按钮,停止定时器,参数是要清理的定时器的id
        window.clearInterval(timeId);
    };
    </script>
二、定时器setTimeout-------一次性的
   <input type="button" value="停止" id="btn">
    <script>
        //定时器setTimeout(参数1,参数2)
        //参数1----->函数
        //参数2----->事件----单位毫秒-----1000毫秒=1秒
        //执行过程:页面加载完毕后,过了多少时间,执行一次函数的代码(只执行一次)
        //返回值是定时器的id
        //清理定时器用clearTimeout----虽然是一次性的定时器,但是也要清理,不然会一直占内存
        var timeId = setTimeout(function () {
            //设置了一个定时器,一秒控制台输出 "哈哈"
            console.log("哈哈");
        }, 1000)
        document.getElementById("btn").onclick = function () {
            //点击按钮,停止定时器,参数是要清理的定时器的id
            window.clearTimeout(timeId);
        };
    </script>
三、案例
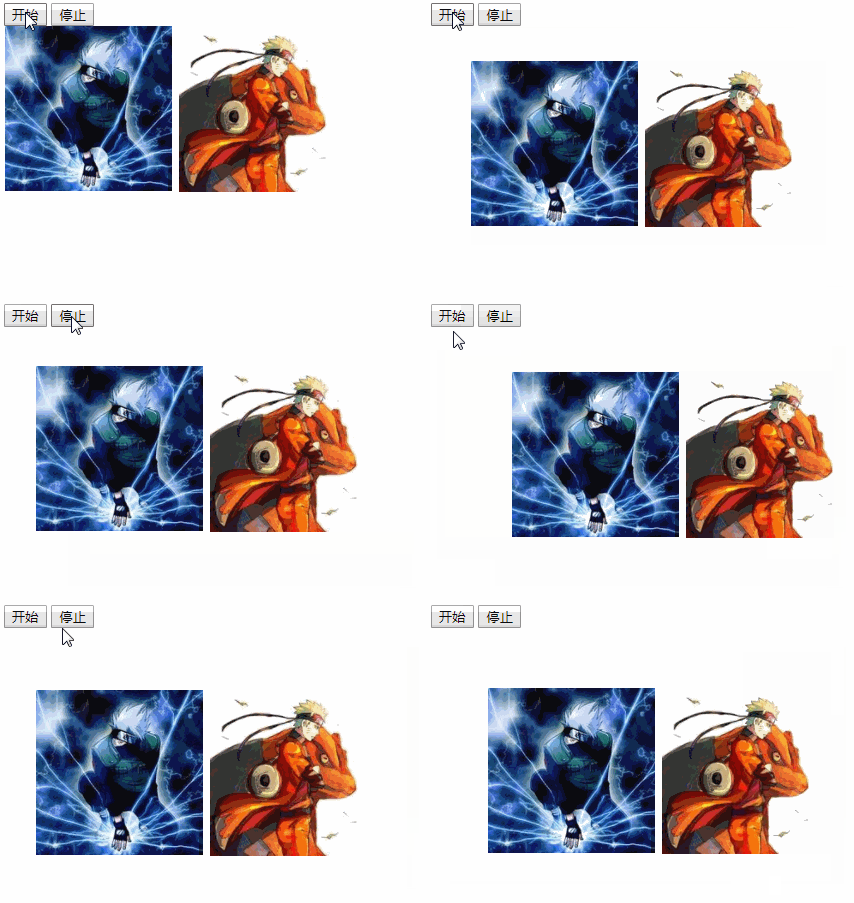
<!-- 例1:摇晃的图片 -->
    <input type="button" value="开始" id="btn1">
    <input type="button" value="停止" id="btn2">
    <div id="dv">
        <img src="1.png" alt="">
        <img src="2.png" alt="">
    </div>
    <!-- 设置了一个div里面放了两张图片 -->
    <script>
        var timeId="";//设置这个的为了后面的清除时间能够访问到这个id
        document.getElementById("btn1").onclick=function(){
            //设置定时器
                timeId=setInterval(function(){
                var x=parseInt(Math.random()*100+1);
                var y=parseInt(Math.random()*100+1);
                document.getElementById("dv").style.marginLeft=x+"px";
                document.getElementById("dv").style.marginTop=y+"px";
            },100)
        };
        document.getElementById("btn2").onclick=function(){
            //清除定时器
            clearInterval(timeId);
        };
    </script>
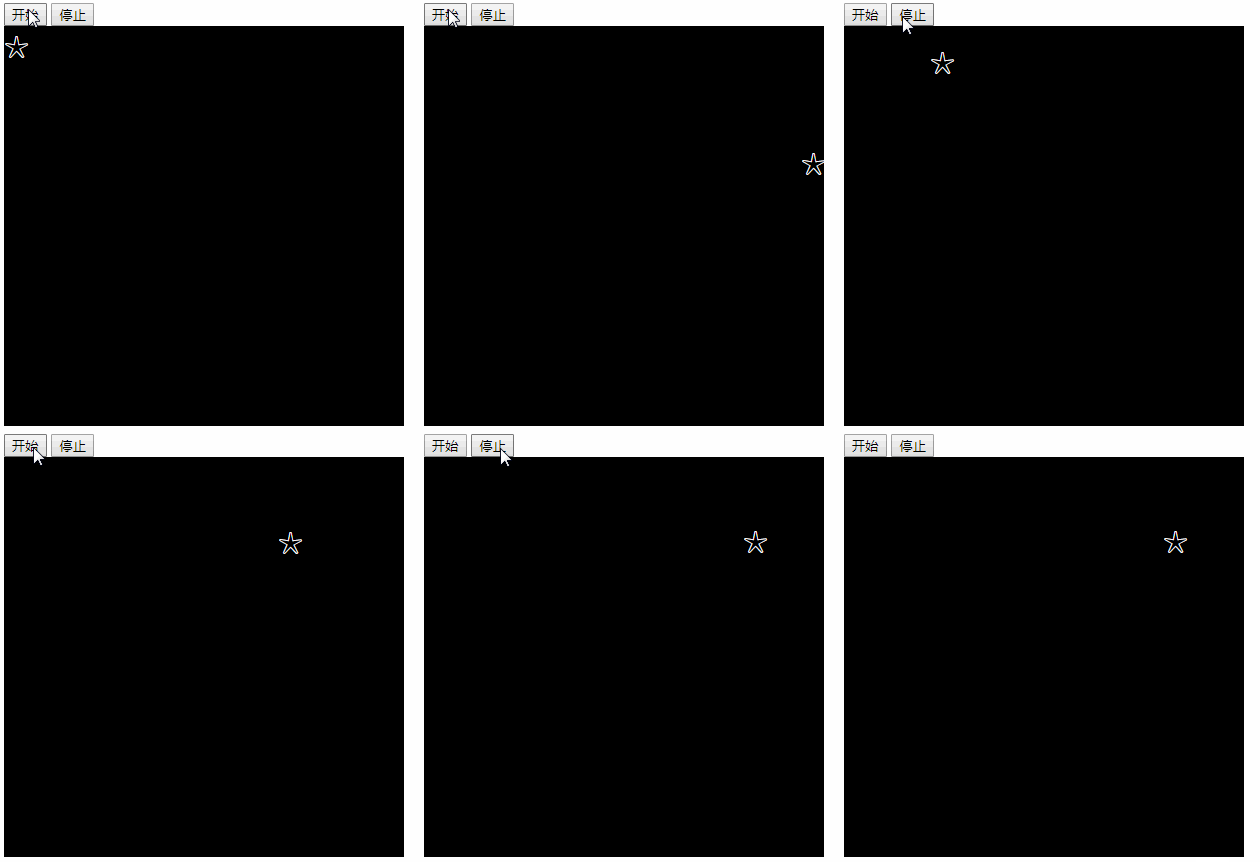
<!-- 例2: 闪动的星星 -->
    <input type="button" value="开始" id="btn1">
    <input type="button" value="停止" id="btn2">
    <div id="dv">
        <span>☆</span>
    </div>
    <!-- 1.设置了一个div宽高400,背景黑色和一个span标签里放一个☆
         2.特别注意,span是行内元素,如果设置成块元素,需要防止外边距塌陷,div设置overflow: hidden
         3.还有一种方法就是用定位做,利用left和top的移动实现效果 -->
    <script>
        var timeId="";
        document.getElementById("btn1").onclick=function(){
            //设置定时器
            timeId=setInterval(function(){
                var x=parseInt(Math.random()*400+1);
                var y=parseInt(Math.random()*400+1);
                document.getElementById("dv").firstElementChild.style.marginLeft=x+"px";
                document.getElementById("dv").firstElementChild.style.marginTop=y+"px";
            },10)
        };
        document.getElementById("btn2").onclick=function(){
            //清除定时器
            clearInterval(timeId);
        };
    </script>
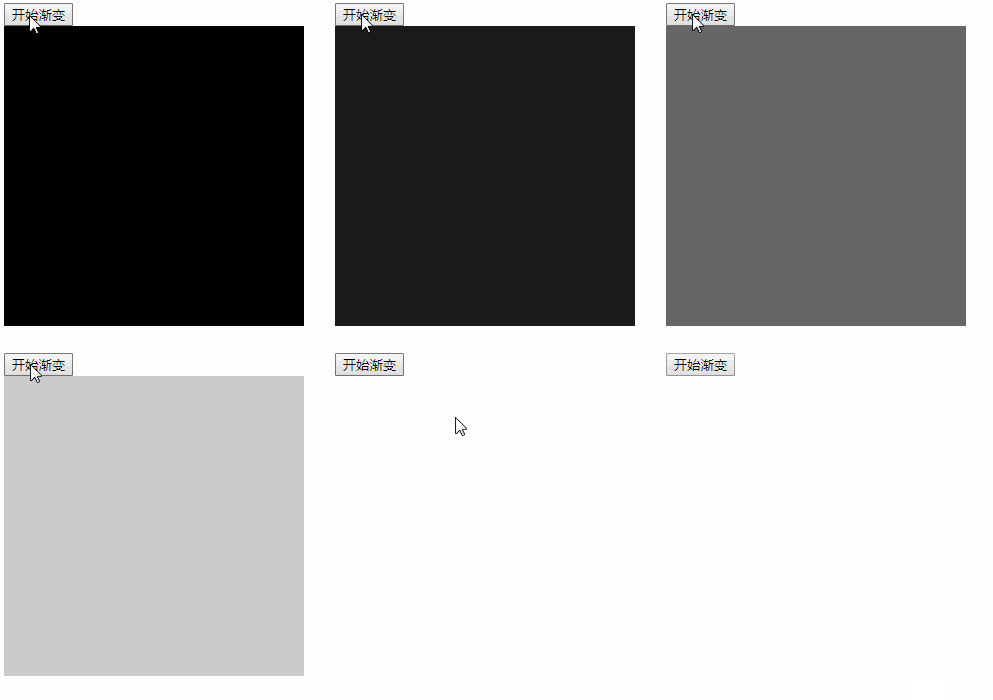
<!--例3: div背景渐变 -->
    <input type="button" value="开始渐变" id="btn">
    <div id="dv" style=" 300px;height: 300px;background-color: black"></div>
    <script>
        document.getElementById("btn").onclick=function(){
            //默认是10,不设置为1,是小数的bug,还有要写在定时器外面
            var opacity=10;
            //设置定时器
            timeId=setInterval(function(){
                //每执行一次定时器,透明度变化一次
                opacity--;
                //如果透明度小于0了就清除定时器
                if(opacity<=0){
                    clearInterval(timeId);
                }
                //改变div的透明度
                document.getElementById("dv").style.opacity=opacity/10;
            },500)
        };
    </script>
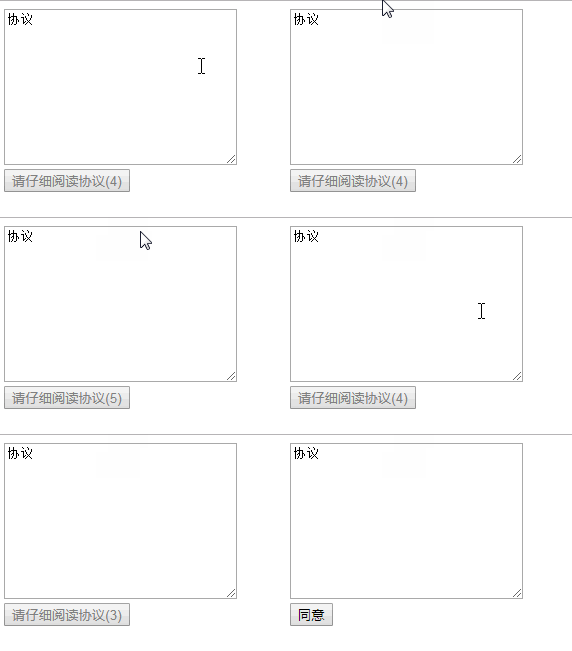
<!-- 例4:协议强制倒计时 -->
    <textarea name="" id="tt" cols="30" rows="10">协议</textarea><br>
    <input type="button" value="请仔细阅读协议(5)" id="btn" disabled>
    <script>
            var time=5;
            var timeId=setInterval(function(){
                time--;
                document.getElementById("btn").value="请仔细阅读协议("+time+")";
                if(time<=0){
                    clearInterval(timeId);
                    document.getElementById("btn").disabled=false;
                    document.getElementById("btn").value="同意";
                }
            },1000)
    </script>
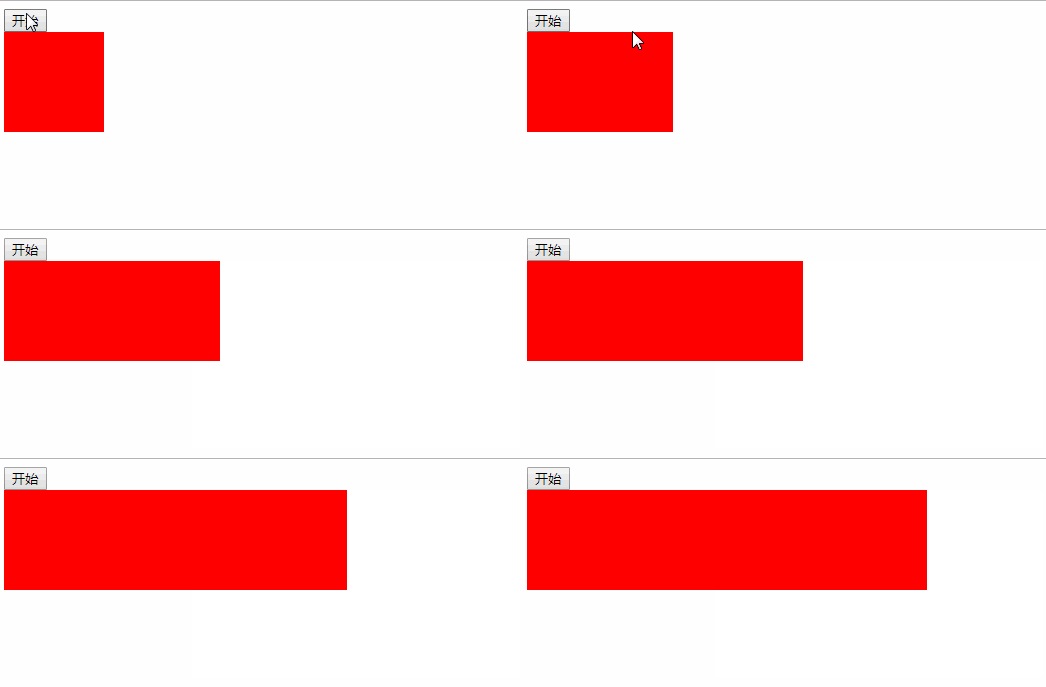
 <!-- 例5:div变宽动画 -->
    <input type="button" value="开始" id="btn">
    <div id="dv" style=" 100px;height: 100px;background: red;"></div>
    <script>
        document.getElementById("btn").onclick=function(){
            var width=100;
            var timeId=setInterval(function(){
                width++;
                if(width>=400){
                    clearInterval(timeId);
                }
                document.getElementById("dv").style.width=width+"px";
            },10)
        };
    </script>
