安装MySQL主要有两种方法:一种是通过源码自行编译安装,这种适合高级用户定制MySQL的特性,这里不做说明;另一种是通过编译过的二进制文件进行安装。二进制文件安装的方法又分为两种:一种是不针对特定平台的通用安装方法,使用的二进制文件是后缀为.tar.gz的压缩文件;第二种是使用RPM或其他包进行安装,这种安装进程会自动完成系统的相关配置,所以比较方便。
下载安装包:
官方下载地址:
http://dev.mysql.com/downloads/mysql/#downloads
或镜像文件下载:
http://dev.mysql.com/downloads/mirrors.html
这里采用rpm文件的安装步骤:
1.检查是否已安装,grep的-i选项表示匹配时忽略大小写
rpm -qa|grep -i mysql

可见已经安装了库文件,应该先卸载,不然会出现覆盖错误。注意卸载时使用了--nodeps选项,忽略了依赖关系:
sudo rpm -e mysql-libs-5.1.66-2.el6_3.i686 --nodeps
2. 安装MySQL的服务器端软件,注意切换到root用户:
rpm -ivh MySQL-server-5.1.73-1.glibc23.i386.rpm

安装完成后,安装进程会在Linux中添加一个mysql组,以及属于mysql组的用户mysql。可通过id命令查看:
id mysql

MySQL服务器安装之后虽然配置了相关文件,但并没有自动启动mysqld服务,需自行启动:
service mysql start

可通过检查端口是否开启来查看MySQL是否正常启动:
netstat -anp|grep 3306

3.安装MySQL的客户端软件:
rpm -ivh MySQL-client-5.1.73-1.glibc23.i386.rpm

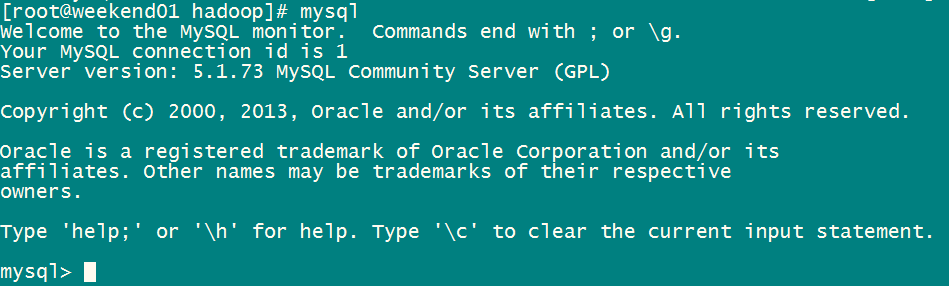
直接输入mysql:
4.配置用户密码:
查看当前mysql的所有用户:select * from mysql.user
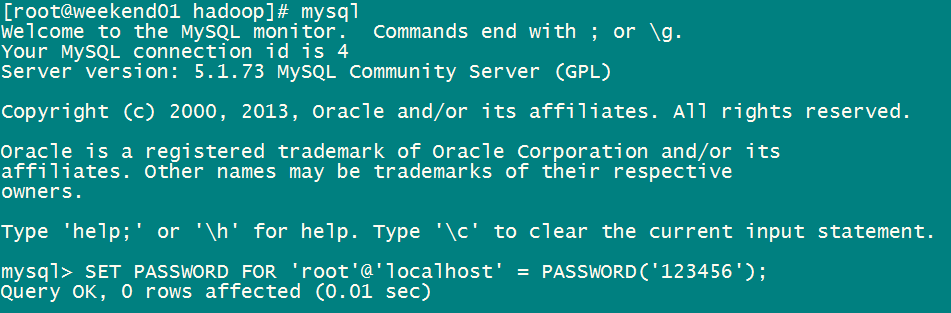
方法1: 用SET PASSWORD命令
mysql -u root
mysql> SET PASSWORD FOR 'root'@'localhost' = PASSWORD('newpass');
方法2:用mysqladmin
mysqladmin -u root password "newpass"
如果root已经设置过密码,采用如下方法
mysqladmin -u root password oldpass "newpass"
方法3: 用UPDATE直接编辑user表
mysql -u root
mysql> use mysql;
mysql> UPDATE user SET Password = PASSWORD('newpass') WHERE user = 'root';
mysql> FLUSH PRIVILEGES;
在丢失root密码的时候,可以这样
mysqld_safe --skip-grant-tables&
mysql -u root mysql
mysql> UPDATE user SET password=PASSWORD("new password") WHERE user='root';
mysql> FLUSH PRIVILEGES;
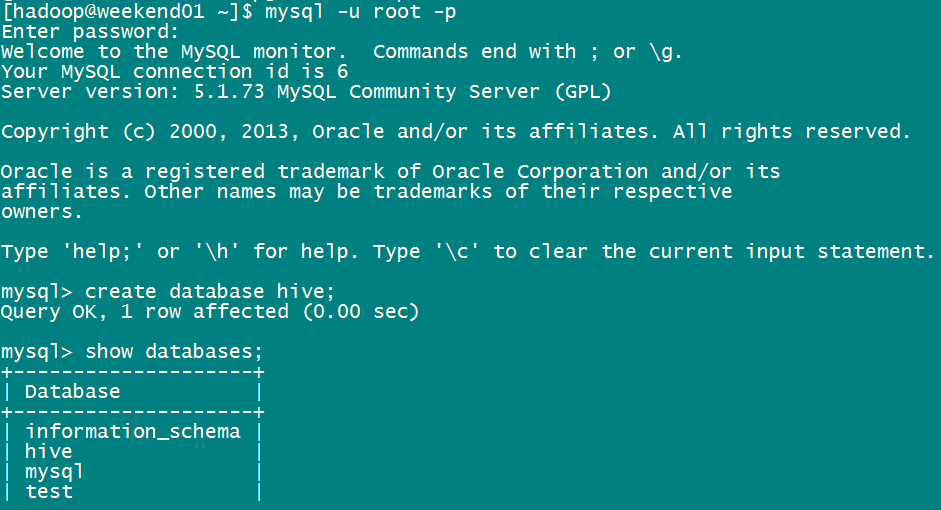
比如使用第一种方法:
这样就可以通过密码登录了。
补充:
不知道删了什么东西,然后启动的时候报错:
Starting MySQL.Manager of pid-file quit without updating file.[FAILED]
查看mysql的出错日志文件。一般会是/var/lib/mysql/mysql.error,注意mysql.error不用创建的。出错日志如下:
170307 21:04:52 mysqld_safe Starting mysqld daemon with databases from /var/lib/mysql
170307 21:04:52 [Note] Plugin 'FEDERATED' is disabled.
/usr/sbin/mysqld: Table 'mysql.plugin' doesn't exist
170307 21:04:52 [ERROR] Can't open the mysql.plugin table. Please run mysql_upgrade to create it.
170307 21:04:52 InnoDB: Initializing buffer pool, size = 8.0M
170307 21:04:52 InnoDB: Completed initialization of buffer pool
InnoDB: The first specified data file ./ibdata1 did not exist:
InnoDB: a new database to be created!
170307 21:04:52 InnoDB: Setting file ./ibdata1 size to 10 MB
InnoDB: Database physically writes the file full: wait...
170307 21:04:52 InnoDB: Log file ./ib_logfile0 did not exist: new to be created
InnoDB: Setting log file ./ib_logfile0 size to 5 MB
InnoDB: Database physically writes the file full: wait...
170307 21:04:52 InnoDB: Log file ./ib_logfile1 did not exist: new to be created
InnoDB: Setting log file ./ib_logfile1 size to 5 MB
InnoDB: Database physically writes the file full: wait...
InnoDB: Doublewrite buffer not found: creating new
InnoDB: Doublewrite buffer created
InnoDB: Creating foreign key constraint system tables
InnoDB: Foreign key constraint system tables created
170307 21:04:53 InnoDB: Started; log sequence number 0 0
170307 21:04:53 [ERROR] Fatal error: Can't open and lock privilege tables: Table 'mysql.host' doesn't exist
170307 21:04:53 mysqld_safe mysqld from pid file /var/lib/mysql/weekend01.pid ended
原因:
table ‘mysql.host’不存在的原因是因为新安装的mysql服务后,一般需要执行数据库初始化操作 ,从而生成与权限相关的表,执行命令如下:
/usr/bin/mysql_install_db --user=mysql
以上命令中的mysql_install_db与你安装的mysql服务位置有关,如果不知道在哪,可以使用find / -name mysql_install_db找到其位置,然后执行上面的命令。
find / -name mysql_install_db