WebSocket.之.基础入门-前端发送消息
在《WebSocket.之.基础入门-建立连接》的代码基础之上,进行添加代码。代码只改动了:TestSocket.java 和 index.jsp 两个文件。
项目结构如下图:

TestSocket.java
 1 package com.charles.socket;
 2
 3 import javax.websocket.OnMessage;
 4 import javax.websocket.OnOpen;
 5 import javax.websocket.Session;
 6 import javax.websocket.server.ServerEndpoint;
 7
 8 @ServerEndpoint(value = "/helloSocket")
 9 public class TestSocket {
10
11     /***
12      * 当建立链接时,调用的方法.
13      * @param session
14      */
15     @OnOpen
16     public void open(Session session) {
17
18         System.out.println("开始建立了链接...");
19         System.out.println("当前session的id是:" + session.getId());
20     }
21
22     /***
23      * 处理消息的方法.
24      * @param session
25      */
26     @OnMessage
27     public void message(Session session, String data) {
28
29         System.out.println("开始处理消息...");
30         System.out.println("当前session的id是:" + session.getId());
31         System.out.println("从前端页面传过来的数据是:" + data);
32     }
33 }
index.jsp 代码如下:
 1 <%@ page language="java" contentType="text/html; charset=UTF-8" pageEncoding="UTF-8"%>
 2 <!DOCTYPE html PUBLIC "-//W3C//DTD HTML 4.01 Transitional//EN" "http://www.w3.org/TR/html4/loose.dtd">
 3 <html>
 4 <head>
 5 <meta http-equiv="Content-Type" content="text/html; charset=UTF-8">
 6 <title>Charles-WebSocket</title>
 7
 8 <script type="text/javascript">
 9
10     var websocket = null;
11     var target = "ws://localhost:8080/websocket/helloSocket";
12
13     function buildConnection() {
14
15         if('WebSocket' in window) {
16             websocket = new WebSocket(target);
17         } else if('MozWebSocket' in window) {
18             websocket = MozWebSocket(target);
19         } else {
20             window.alert("浏览器不支持WebSocket");
21         }
22     }
23
24     // 往后台服务器发送消息.
25     function sendMessage() {
26
27         var sendmsg = document.getElementById("sendMsg").value;
28         console.log("发送的消息:" + sendmsg);
29
30         // 发送至后台服务器中.
31         websocket.send(sendmsg);
32     }
33
34 </script>
35 </head>
36 <body>
37
38     <button onclick="buildConnection();">开始建立链接</button>
39     <hr>
40     <input id="sendMsg" /> <button onclick="sendMessage();">消息发送</button>
41
42 </body>
43 </html>
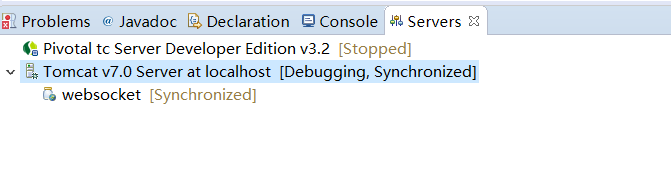
运行我们的项目,注意 :由于是Websocket是建立了长连接,所以当你改动了代码,之后,建议重新启动服务器。
打开浏览器,输入地址:http://localhost:8080/websocket,访问我们的项目。
注意:
和后台交互的时候,一定要先点击:开始建立连接。你懂的...没有建立连接的话,是不能发送消息的。
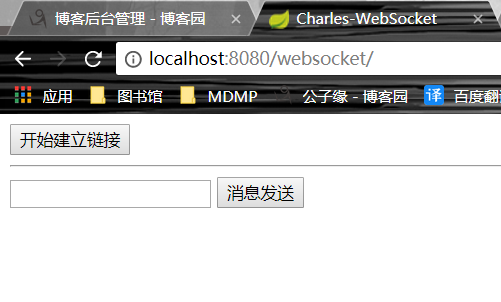
先点击,开始建立连接,然后在文本框中输入内容:我是Charles,点击消息发送,在看后台日志。

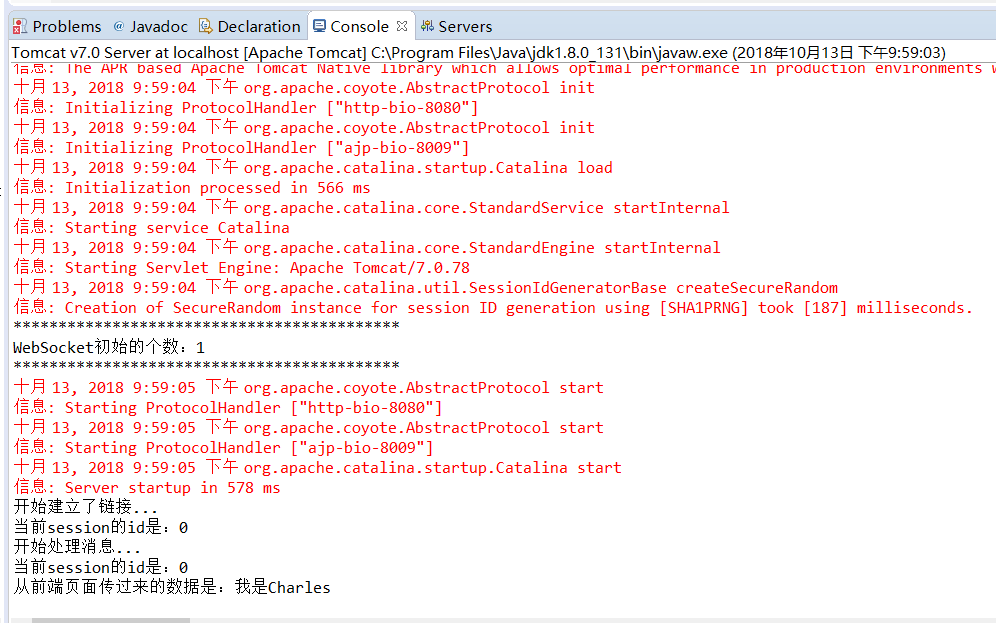
后端成功接受到了前端发送的消息。
如有问题,欢迎纠正!!!
如有转载,请标明源处: https://www.cnblogs.com/Charles-Yuan/p/9784458.html