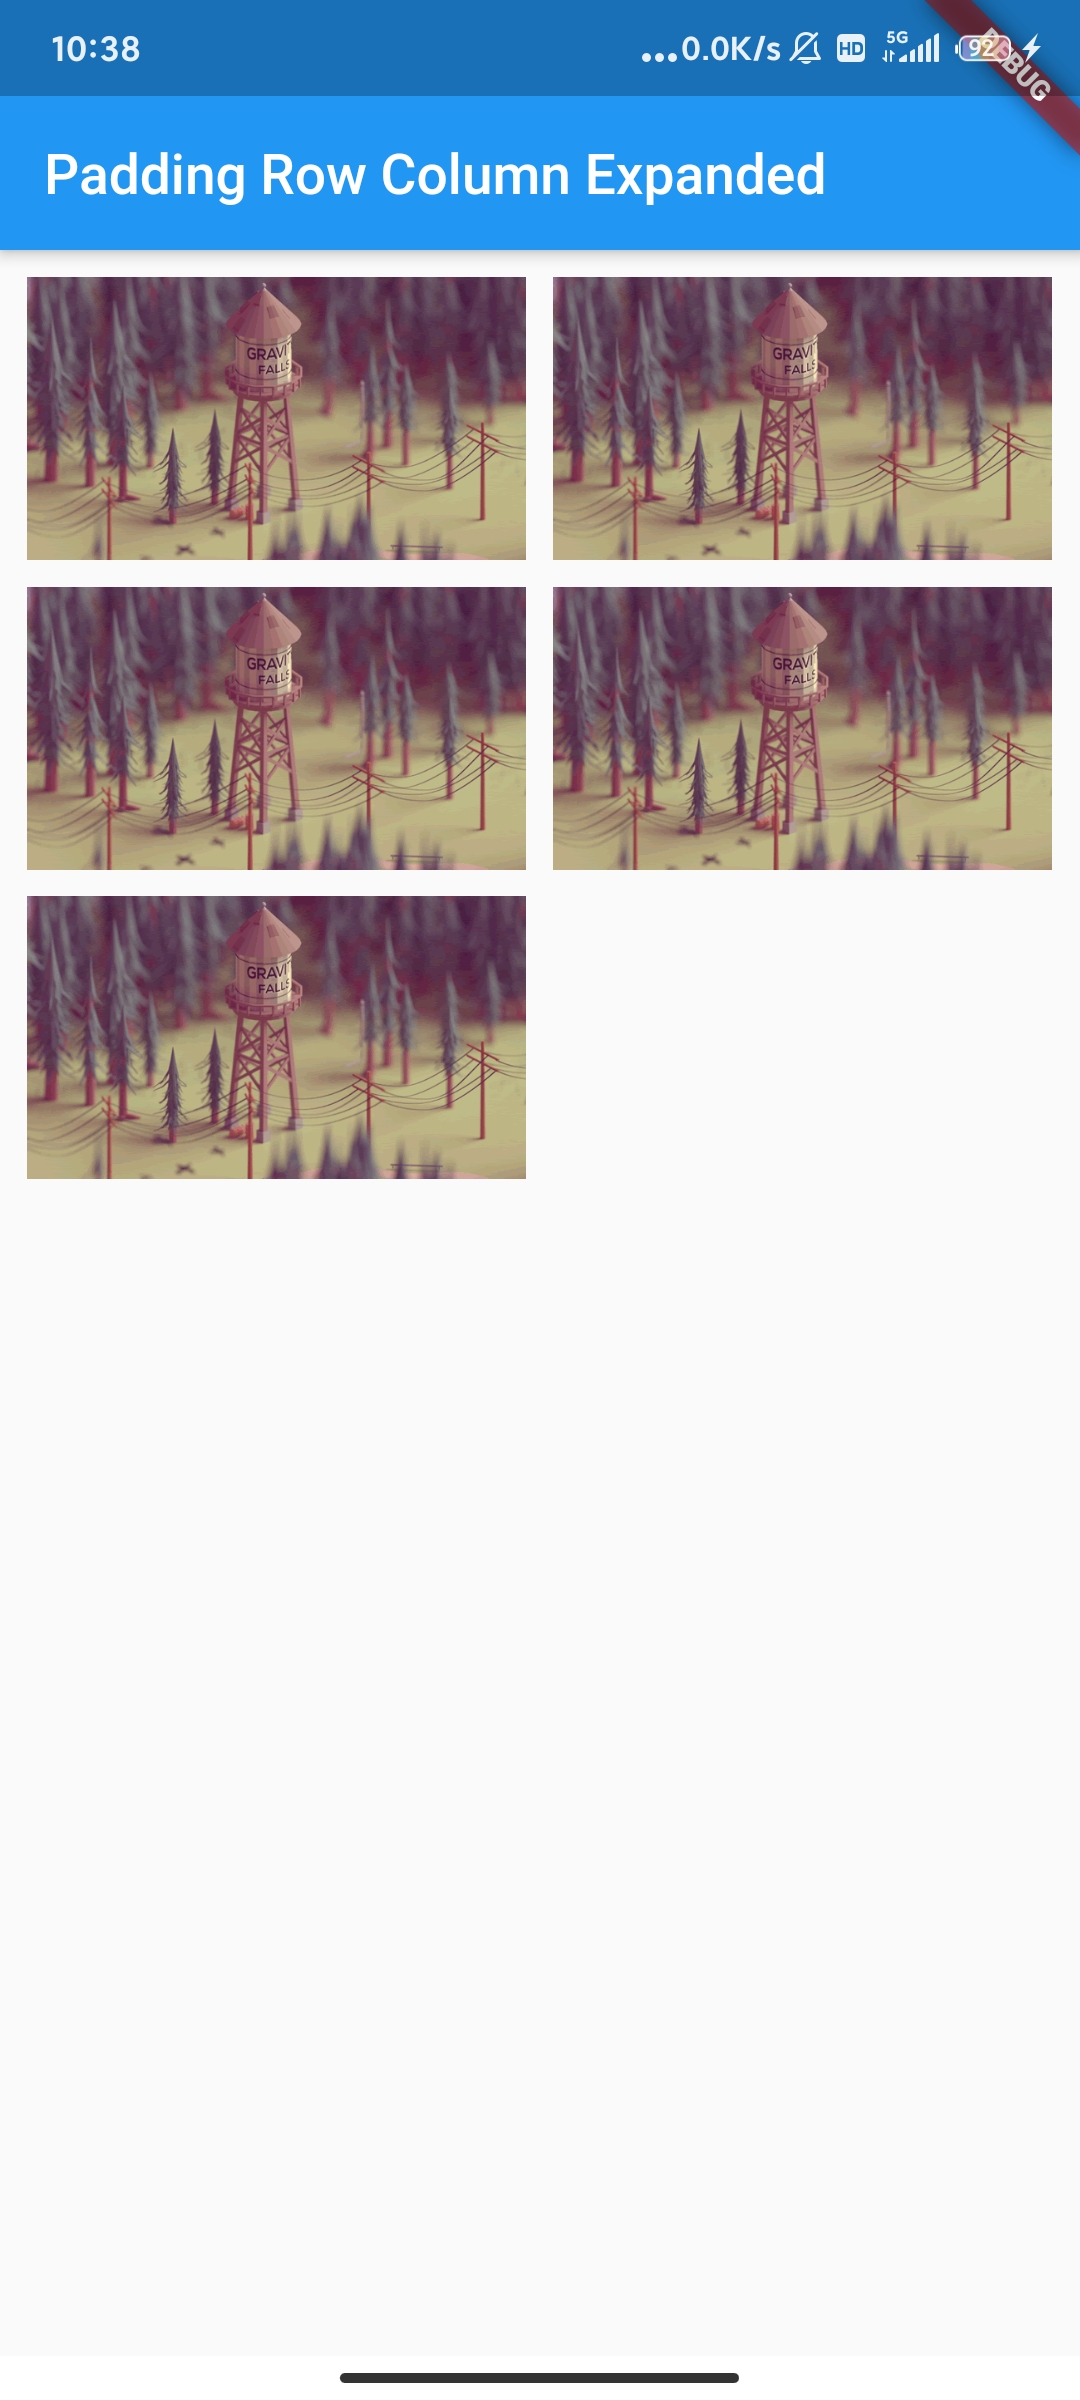
抛开逻辑不说,具有好的布局能力才可以做到符合设计图符合上级口味的界面,此篇亦是布局讲解:
 1 import 'package:flutter/material.dart';
 2 import 'res/listData.dart';
 3
 4 void main(){
 5   runApp(MyApp());
 6 }
 7 //
 8 class MyApp extends StatelessWidget{
 9   @override
10   Widget build(BuildContext context) {
11     // TODO: implement build
12     return MaterialApp(
13       home: Scaffold(
14       appBar: AppBar(
15         title: Text('Padding Row Column Expanded'),
16       ),
17         body: HomeContent(),
18       ),
19     );
20   }
21 }
22
23 //Padding组件
24 class HomeContent extends StatelessWidget{
25   @override
26   Widget build(BuildContext context) {
27     // TODO: implement build
28     return Padding(
29         padding: EdgeInsets.fromLTRB(0, 0, 10, 0),
30         child: GridView.count(
31             crossAxisCount: 2,
32           childAspectRatio: 1.7,
33           children:<Widget> [
34             Padding(
35               padding: EdgeInsets.fromLTRB(10, 10, 0, 0),
36               child: Image.network("https://www.itying.com/images/flutter/1.png",
37                   fit: BoxFit.cover),
38             ),
39             Padding(
40               padding: EdgeInsets.fromLTRB(10, 10, 0, 0),
41               child: Image.network("https://www.itying.com/images/flutter/1.png",
42                   fit: BoxFit.cover),
43             ),
44             Padding(
45               padding: EdgeInsets.fromLTRB(10, 10, 0, 0),
46               child: Image.network("https://www.itying.com/images/flutter/1.png",
47                   fit: BoxFit.cover),
48             ),
49             Padding(
50               padding: EdgeInsets.fromLTRB(10, 10, 0, 0),
51               child: Image.network("https://www.itying.com/images/flutter/1.png",
52                   fit: BoxFit.cover),
53             ),
54             Padding(
55               padding: EdgeInsets.fromLTRB(10, 10, 0, 0),
56               child: Image.network("https://www.itying.com/images/flutter/1.png",
57                   fit: BoxFit.cover),
58             ),
59           ],
60         ),
61     );
62   }
63 }
//封装的icon
class IconContainer extends StatelessWidget{
  double size = 32.0;//可选的写默认值
  Color color = Colors.red;//可选的写默认值
  IconData icon;
  IconContainer(this.icon,{this.color,this.size}){}
@override
  Widget build(BuildContext context) {
    // TODO: implement build
    return Container(
      height: 100.0,
       100.0,
      color: this.color,
      child: Center(
        child: Icon(this.icon,size: this.size,color: Colors.white),
      ),
    );
  }
}
效果如下:
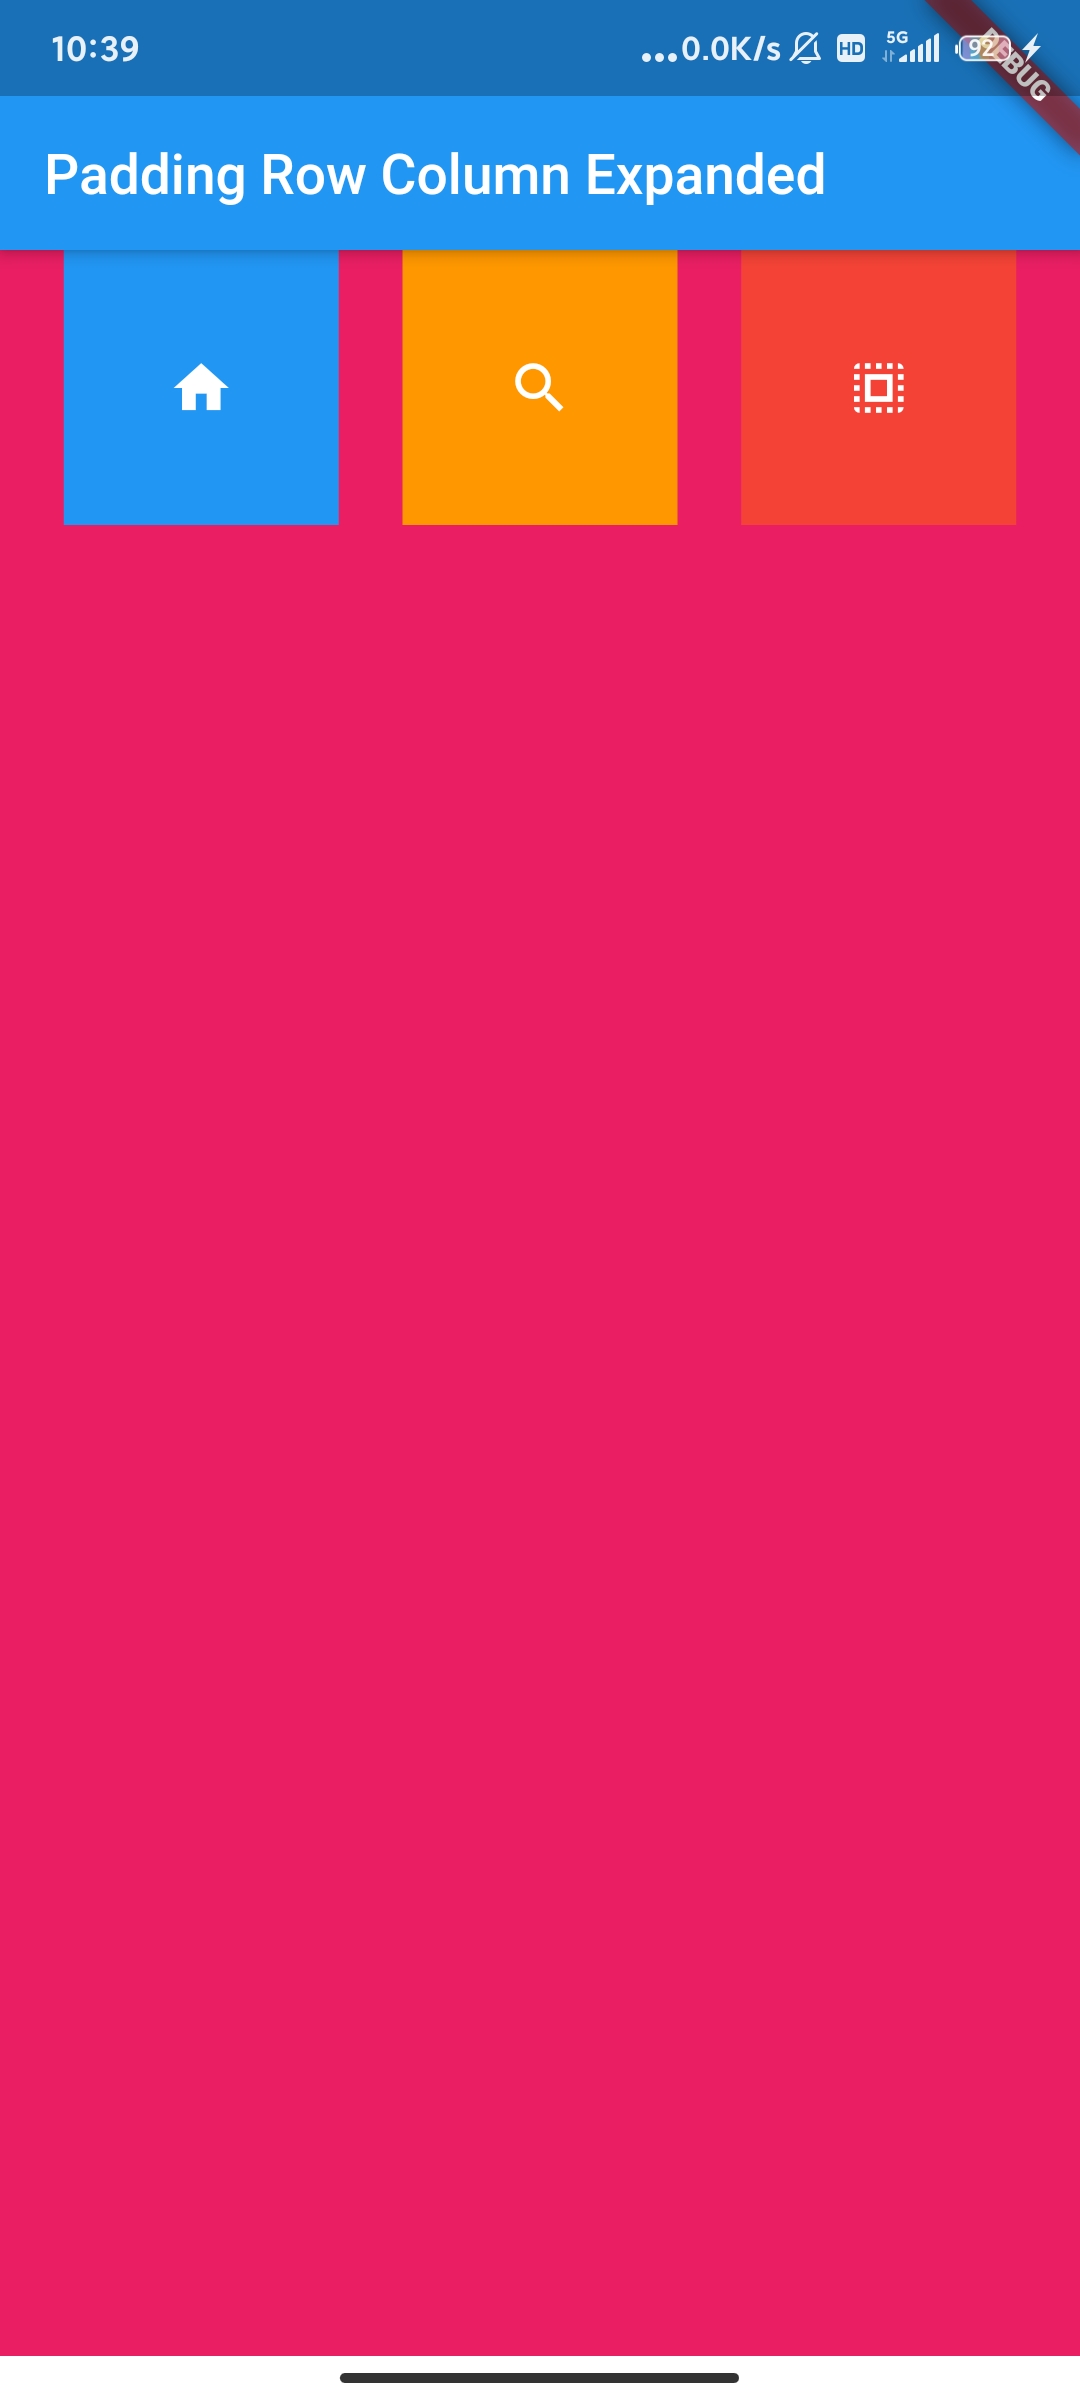
Row水平布局组件:
 1 //Row水平布局组件:
 2 /*
 3     mainAxisAlignment 主轴的排列方式
 4     crossAxisAlignment次轴的排列方式
 5     children 组件子元素
 6  */
 7 class HomeContent2 extends StatelessWidget{
 8   @override
 9   Widget build(BuildContext context) {
10     // TODO: implement build
11     return Container(
12       height: 800.0,
13        500.0,
14       color: Colors.pink,
15       child: Row(
16         mainAxisAlignment:MainAxisAlignment.spaceEvenly,
17         crossAxisAlignment: CrossAxisAlignment.start,
18         children: <Widget>[
19           IconContainer(Icons.home,color:Colors.blue),
20           IconContainer(Icons.search,color:Colors.orange),
21           IconContainer(Icons.select_all,color:Colors.red)
22         ],
23       ),
24     );
25   }
26 }
效果图:
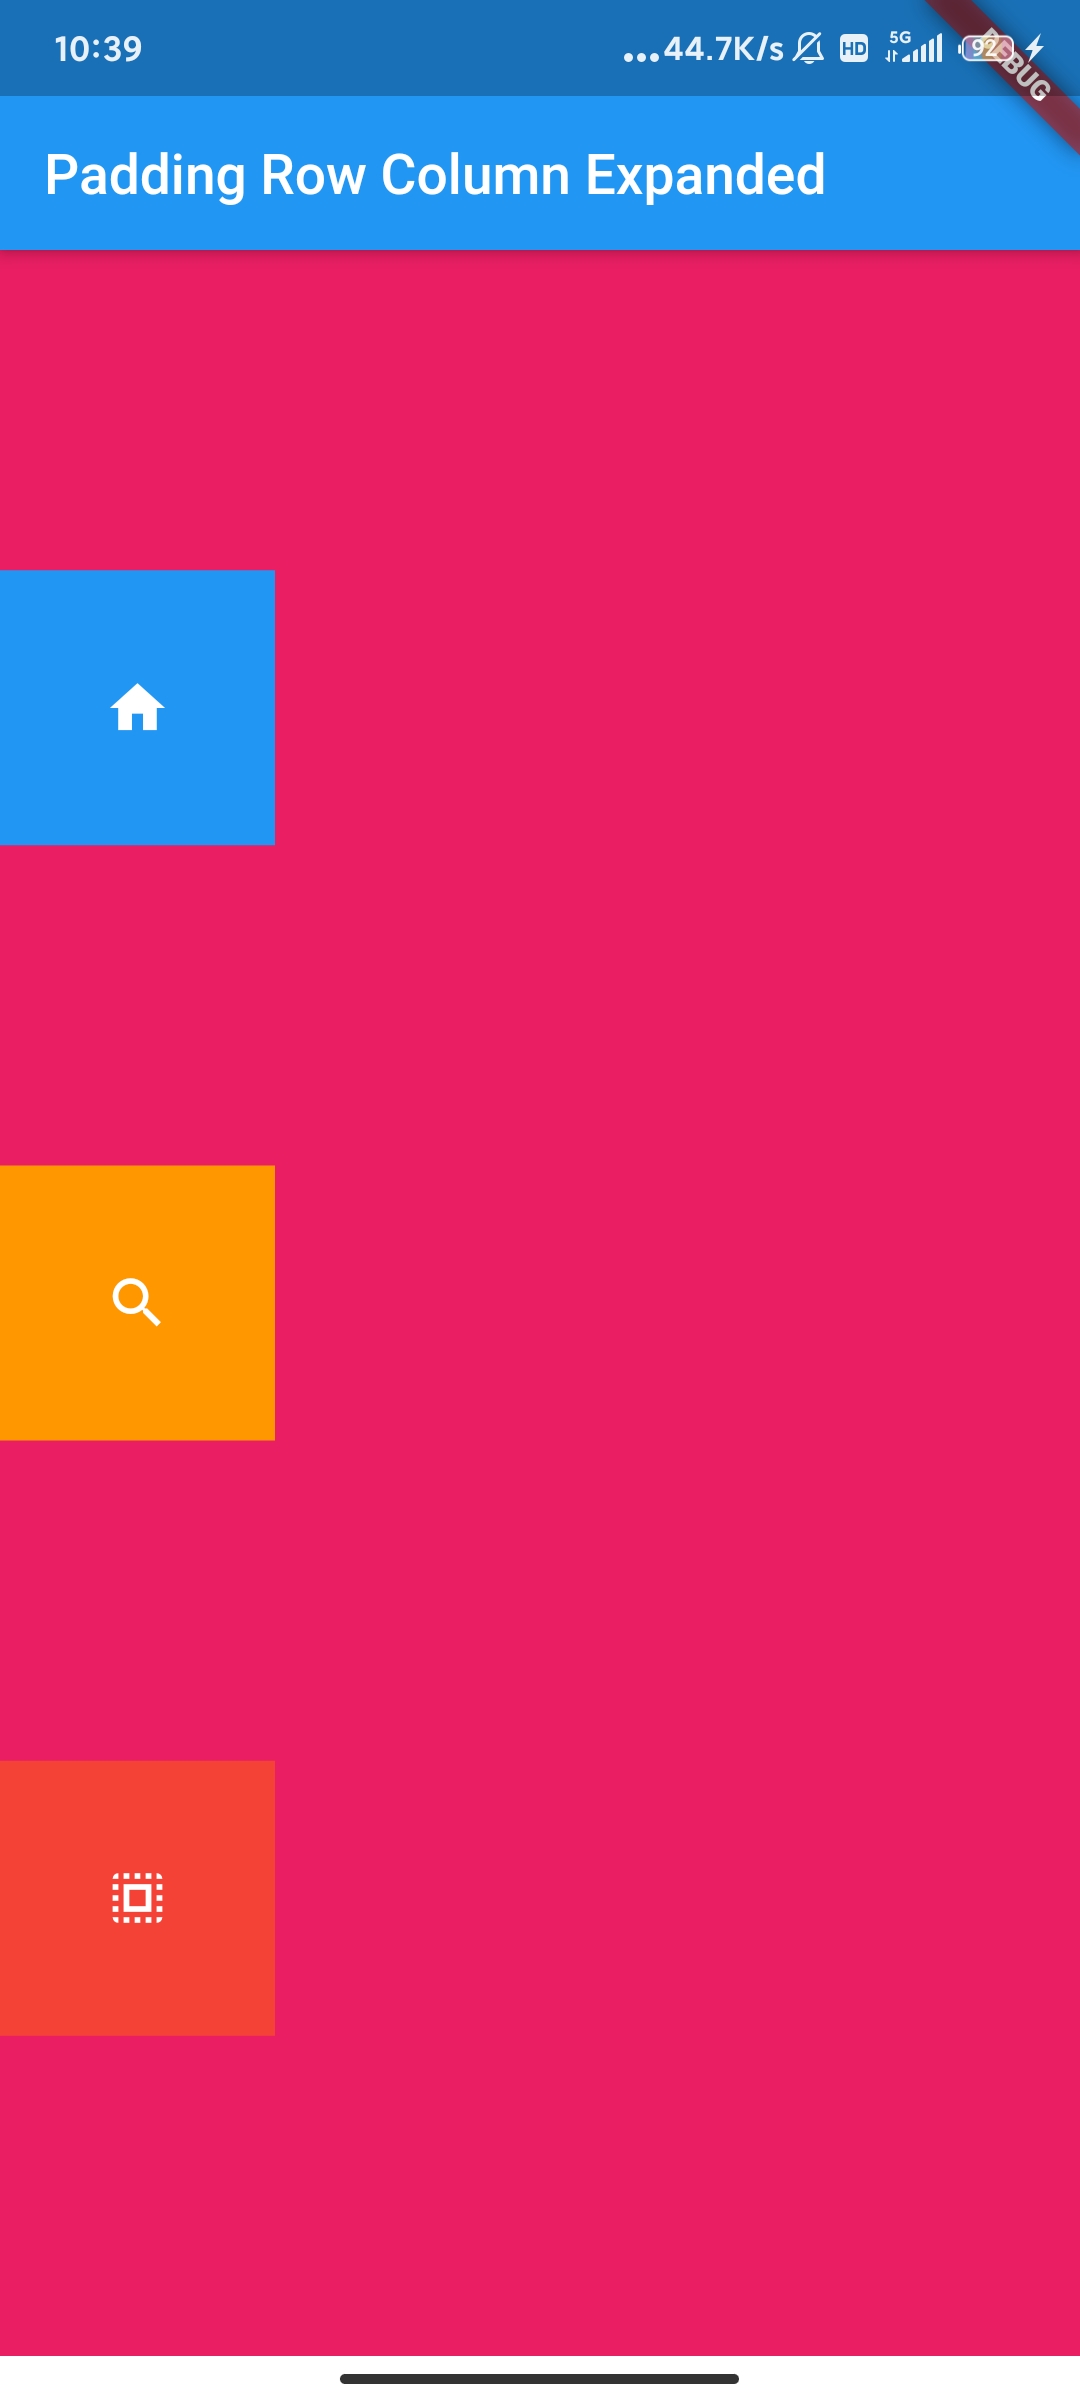
Column 垂直布局组件:
 1 /*
 2 Column 垂直布局组件:
 3 mainAxisAlignment 主轴的排列方式
 4 crossAxisAlignment 次轴的排列方式
 5 children 组件子元素;
 6
 7 */
 8 class HomeContent3 extends StatelessWidget{
 9   @override
10   Widget build(BuildContext context) {
11     // TODO: implement build
12     return Container(
13       height: 800.0,
14        400.0,
15       color: Colors.pink,
16       child: Column(
17           mainAxisAlignment: MainAxisAlignment.spaceEvenly,
18           crossAxisAlignment:CrossAxisAlignment.start,
19           children: <Widget>[
20             IconContainer(Icons.home,color:Colors.blue),
21             IconContainer(Icons.search,color: Colors.orange),
22             IconContainer(Icons.select_all,color:Colors.red)
23           ],
24       ),
25     );
26   }
27 }
效果图:
Expanded 类似于css的flex布局:
 1 //Expanded 类似于css的flex布局
 2 class HomeContent4 extends StatelessWidget{
 3   @override
 4   Widget build(BuildContext context) {
 5     // TODO: implement build
 6     return Row(
 7       children: <Widget>[
 8         Expanded(
 9           flex: 1,
10             child: IconContainer(Icons.home,color: Colors.orange),
11         ),
12         IconContainer(Icons.search,color: Colors.blue)
13
14       ],
15     );
16   }
17 }
效果图:

综合使用:
 1 class comprehensive extends StatelessWidget{
 2   @override
 3   Widget build(BuildContext context) {
 4     // TODO: implement build
 5     return Column(
 6       children:<Widget> [
 7         Row(
 8           children: <Widget>[
 9             Expanded(
10               child:Container(
11                 height: 200.0,
12                 color: Colors.black26,
13                 child: Text("你好 demo"),
14               ),
15             )
16           ],
17         ),
18           SizedBox(height: 10.0,),
19         Row(
20           children:<Widget>[
21
22
23             Expanded(
24               flex: 2,
25                 child:Container(
26                   height:180.0,
27                     child:Image.network("https://www.itying.com/images/flutter/1.png",fit: BoxFit.cover)
28                 )
29             ),
30             SizedBox( 10.0),
31             Expanded(
32                 flex: 1,
33                 child:Container(
34                   height: 180.0,
35                   child:ListView(
36
37
38                     children:<Widget> [
39                       Container(
40                       height:85.0,
41                       child:Image.network("https://www.itying.com/images/flutter/1.png",fit: BoxFit.cover),
42     ),
43                       SizedBox(height: 10.0),
44                       Container(
45                         height:85.0,
46                         child:Image.network("https://www.itying.com/images/flutter/1.png",fit: BoxFit.cover),
47                       ),
48                     ],
49                   )
50                 )
51             ),
52           ]
53         )
54       ],
55     );
56   }
57 }
效果图:
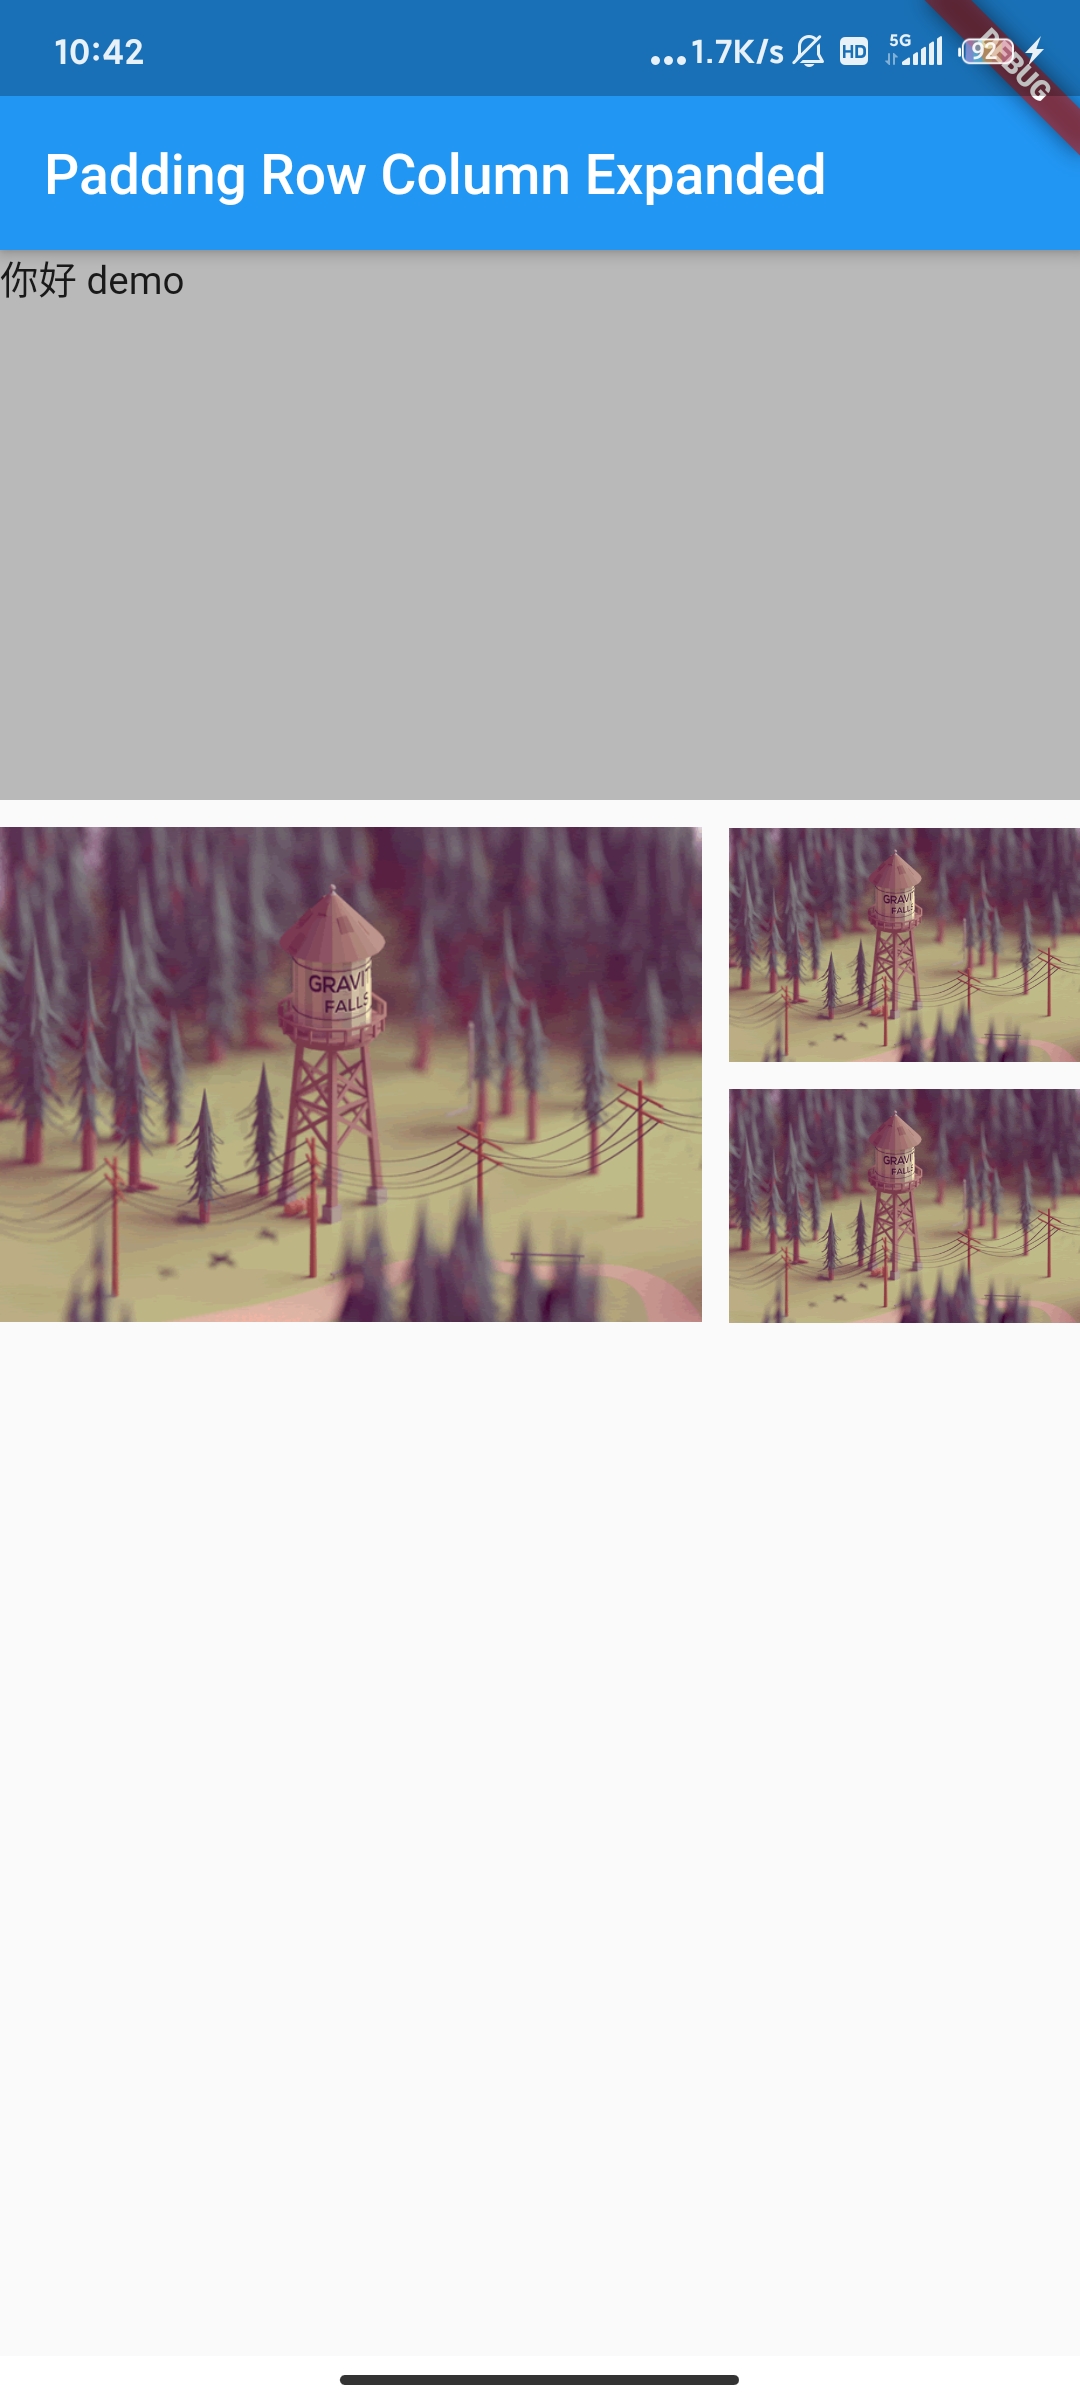
当我们能完成这类布局就已经可以完成大部分设计需求了!