介绍
Spring Boot跟Spring MVC不太一样,Spring MVC建新项目的时候是要配置很多东西的,而Spring Boot讲究的是快速,提供了很多默认配置,所以新建一个项目不需要手动配置任何东西,并且个性化配置也比Spring MVC简单很多。
创建新项目
- 创建一个新项目,Maven
- 输入GroupId和ArtifactId
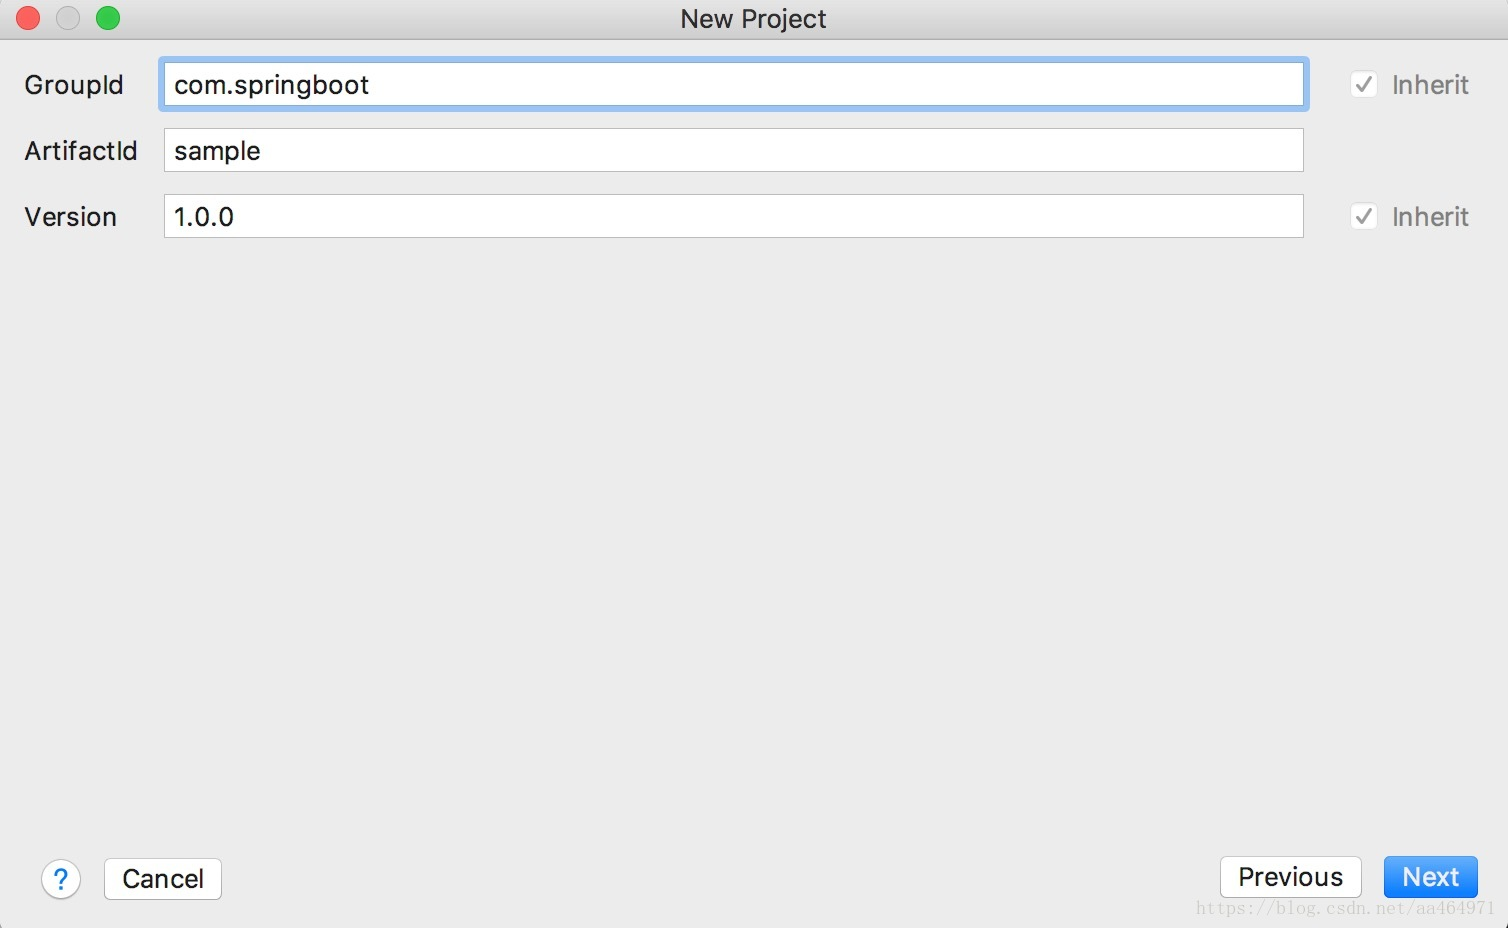
- 输入项目名称并指定项目存放的路径

- 引入SpringBoot
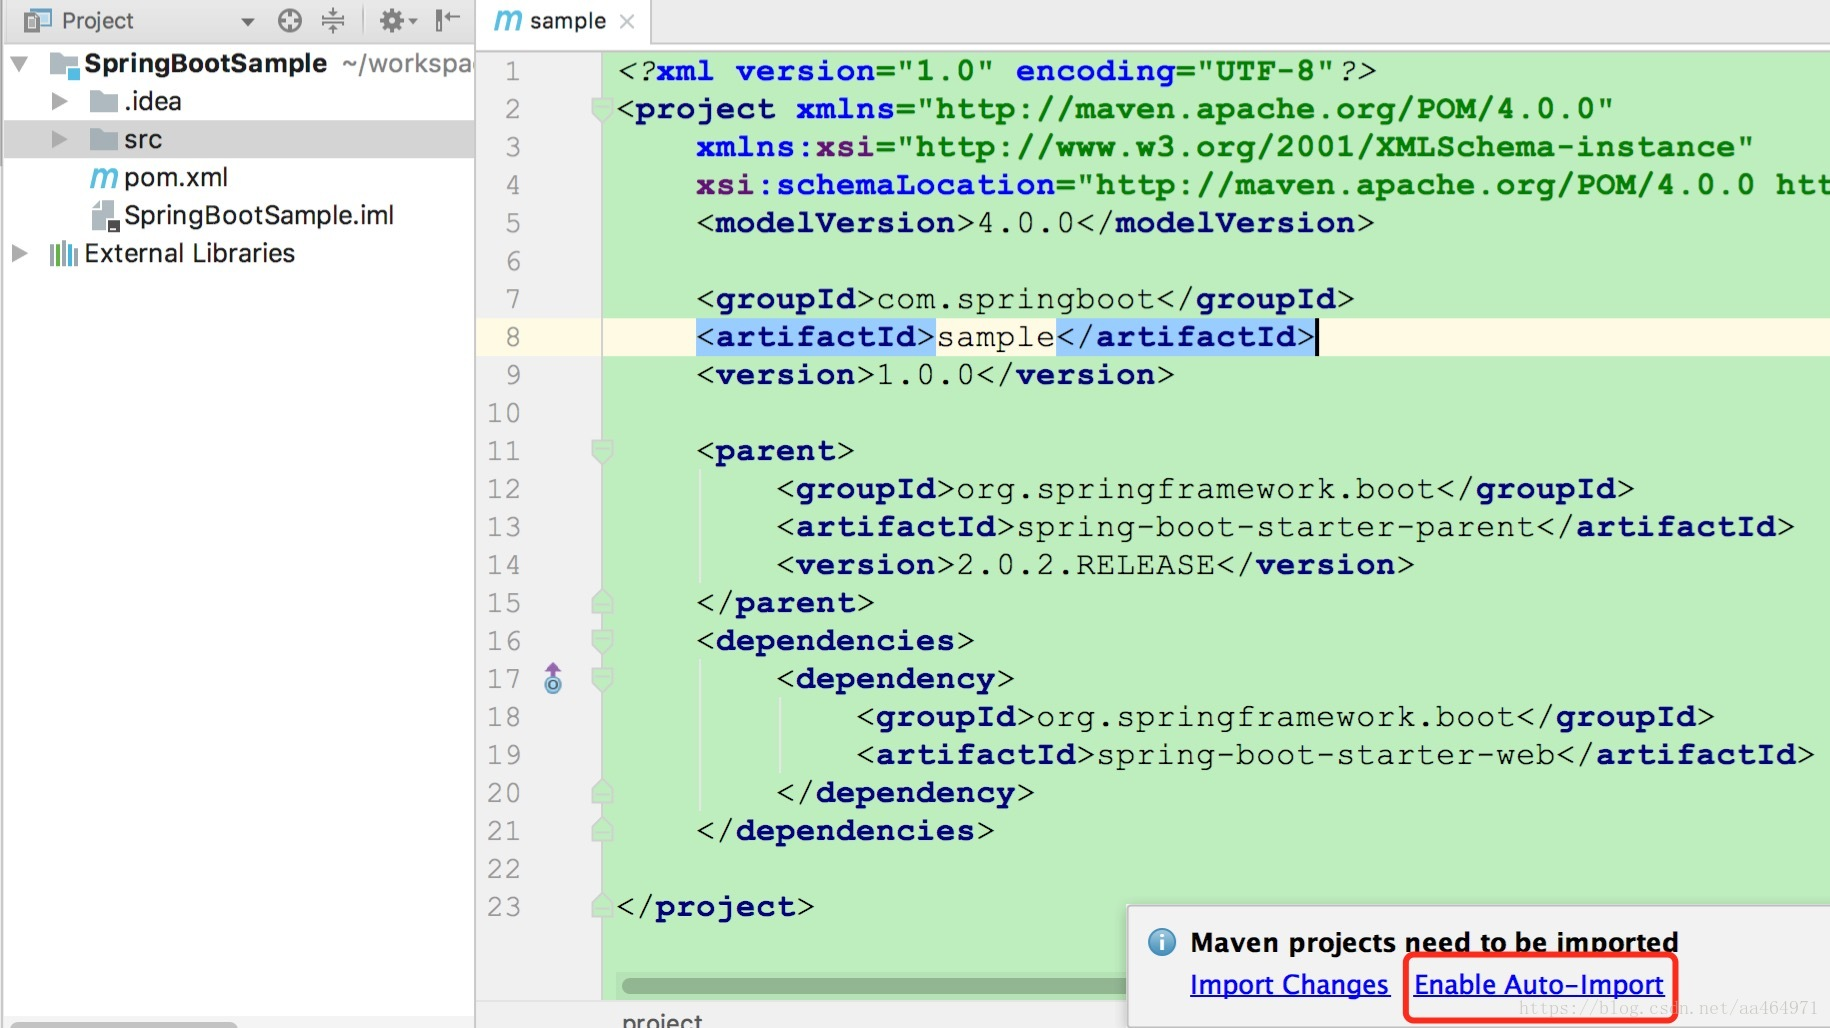
打开pom.xml,引入SpringBoot
 1 <parent>
 2     <groupId>org.springframework.boot</groupId>
 3     <artifactId>spring-boot-starter-parent</artifactId>
 4     <version>2.0.2.RELEASE</version>
 5 </parent>
 6 <dependencies>
 7     <dependency>
 8         <groupId>org.springframework.boot</groupId>
 9         <artifactId>spring-boot-starter-web</artifactId>
10     </dependency>
11 </dependencies>
如果提示是否需要开启自动导入,选择Enable Auto-Import,否则更改了pom.xml不会自动更新
- 创建Application
创建SampleApplication,加上注解@SpringBootApplication,这个类的main方法就会成为整个程序的入口,@EnableAutoConfiguration开启自动配置,如果有需要,可以通过@ComponentScan再指定自动扫描的包
 1 package com.springboot.sample;
 2
 3 import org.springframework.boot.SpringApplication;
 4 import org.springframework.boot.autoconfigure.EnableAutoConfiguration;
 5 import org.springframework.boot.autoconfigure.SpringBootApplication;
 6
 7 @EnableAutoConfiguration
 8 @SpringBootApplication
 9 public class SampleApplication {
10
11     public static void main(String[] args) throws Exception {
12         SpringApplication.run(SampleApplication.class, args);
13     }
14
15 }
- 创建Controller
- 创建SampleController,并注解@Controller,加上访问路径的注解
- 在SampleController内创建一个home方法,在方法上注解@RequestMapping("/"),这样就根目录的访问路径注册到这个方法上,当访问http://localhost:8080的时候,就会执行这个方法
- 这里还注解了@ResponseBody,表示输出Hello World!字符串
 1 package com.springboot.sample.controller;
 2
 3 import org.springframework.stereotype.Controller;
 4 import org.springframework.web.bind.annotation.RequestMapping;
 5 import org.springframework.web.bind.annotation.ResponseBody;
 6
 7 @Controller
 8 public class SampleController {
 9     /**
10      * ResponseBody样例
11      * @return
12      */
13     @RequestMapping("/")
14     @ResponseBody
15     String home() {
16         return "Hello World!";
17     }
18 }
- 运行配置
Run - Run Configurations
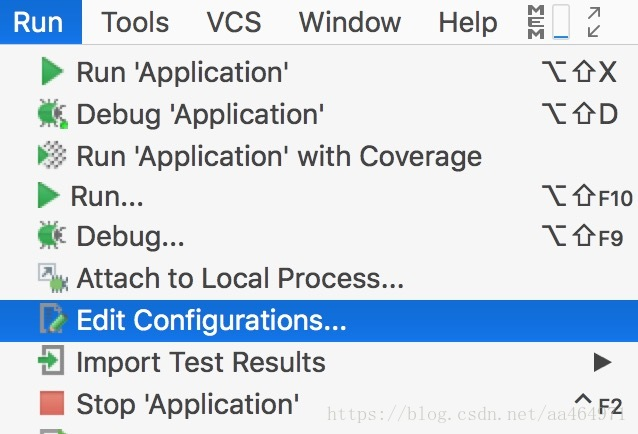
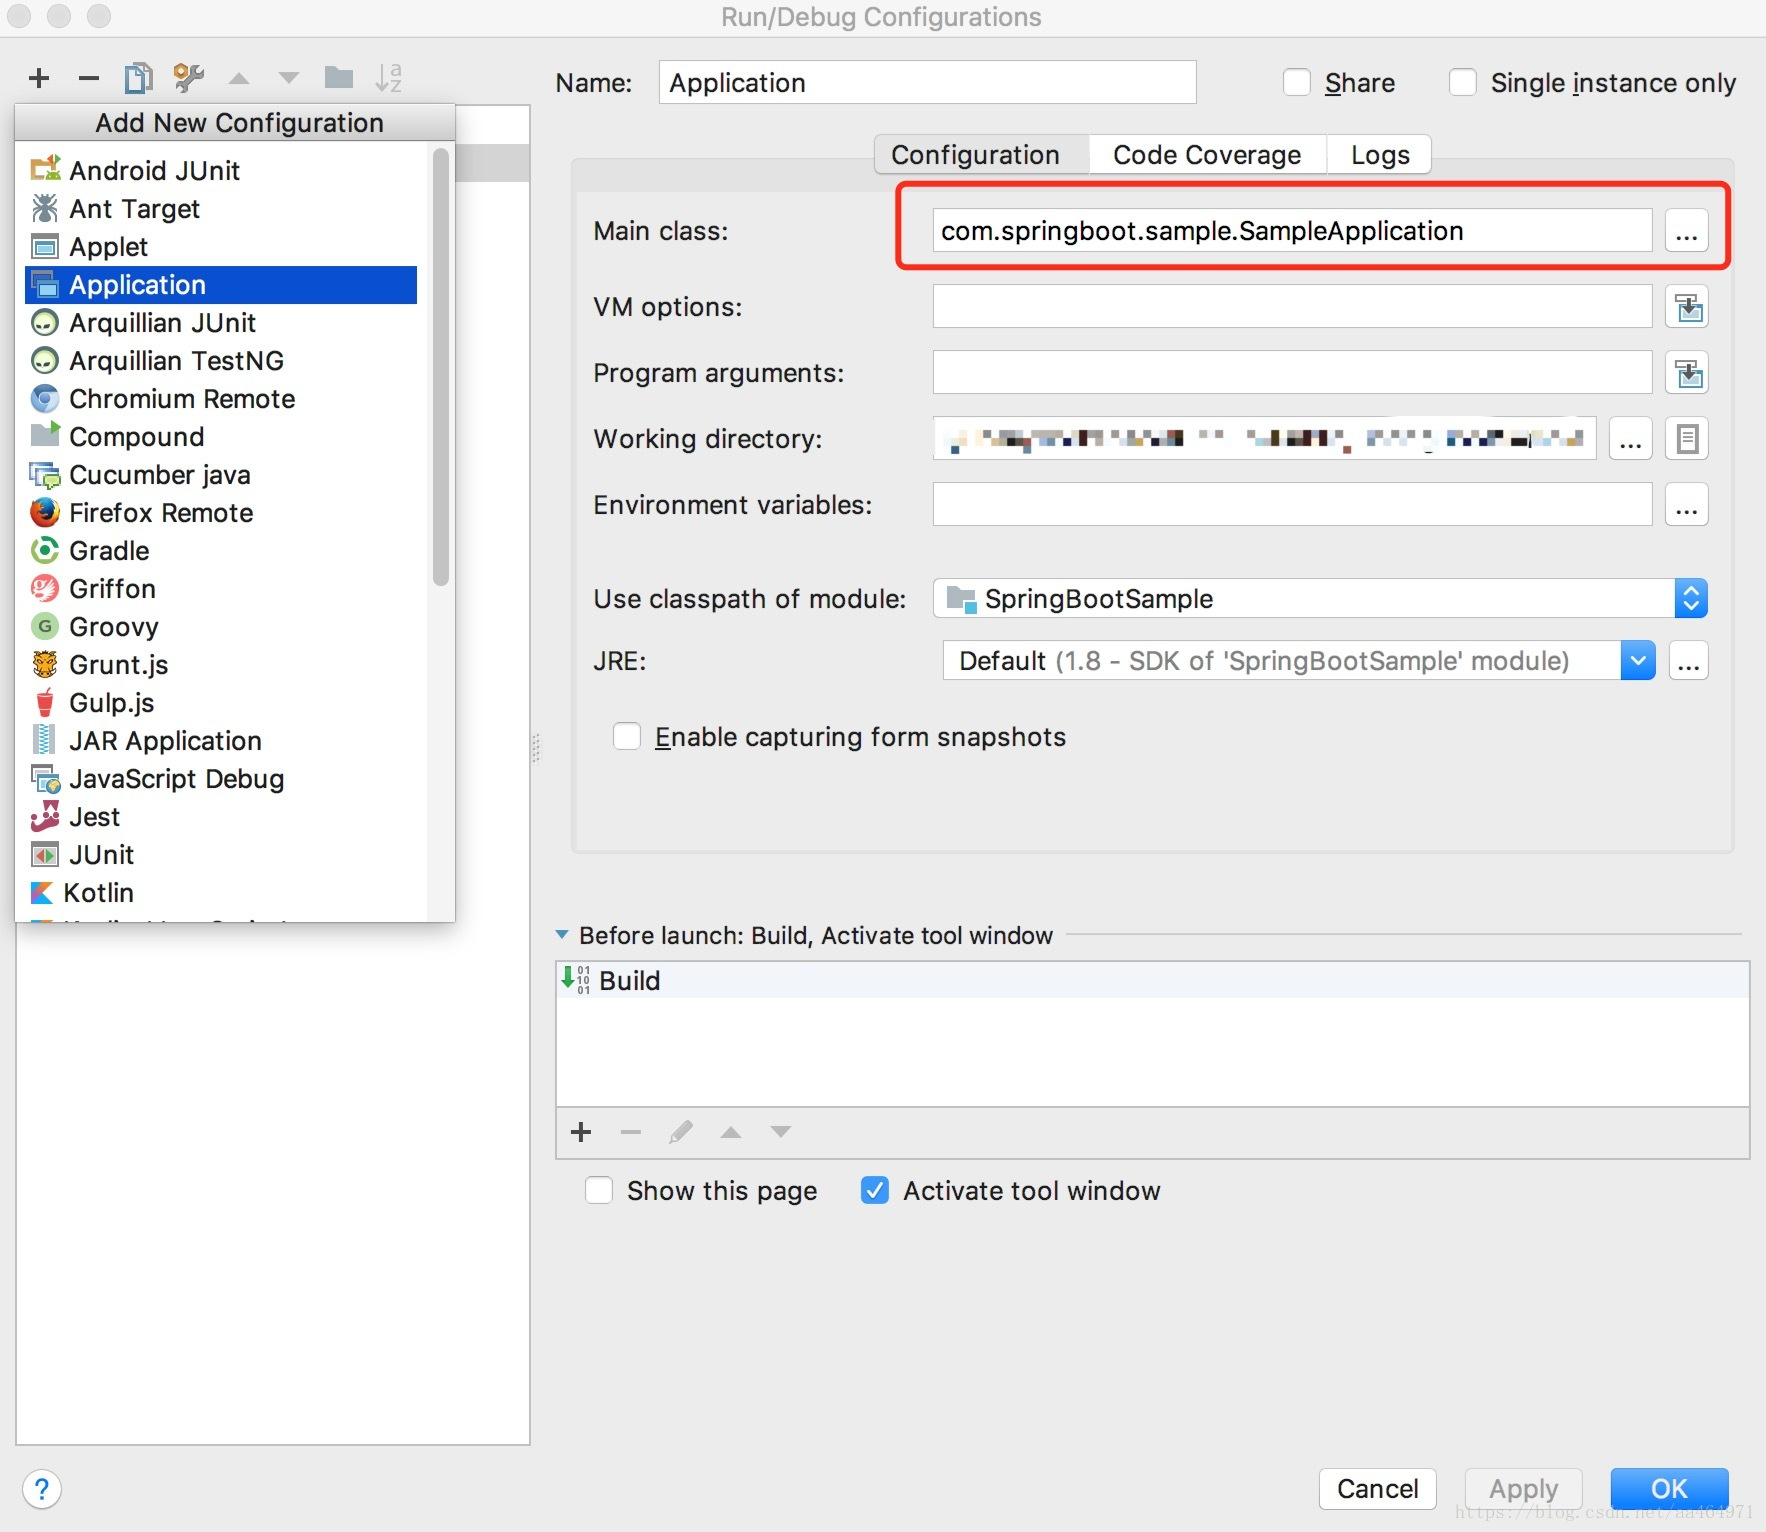
+ - Applicaltion,Main-Class选择最开始创建的SampleApplication
Spring Boot是不需要发布到外部Tomcat的,所以确定后直接运行即可
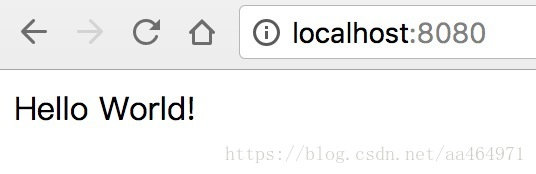
- 测试
运行完成后,在浏览器访问http://localhost:8080,就可以看到SampleController的home方法返回的Hello World!了
-
thymeleaf支持
在Spring Boot中,官方是不推荐使用JSP的,所以我们需要用thymeleaf模板
- 引入thymeleaf
pom.xml加入依赖
<!--thymeleaf-->
<dependency>
    <groupId>org.springframework.boot</groupId>
    <artifactId>spring-boot-starter-thymeleaf</artifactId>
</dependency>
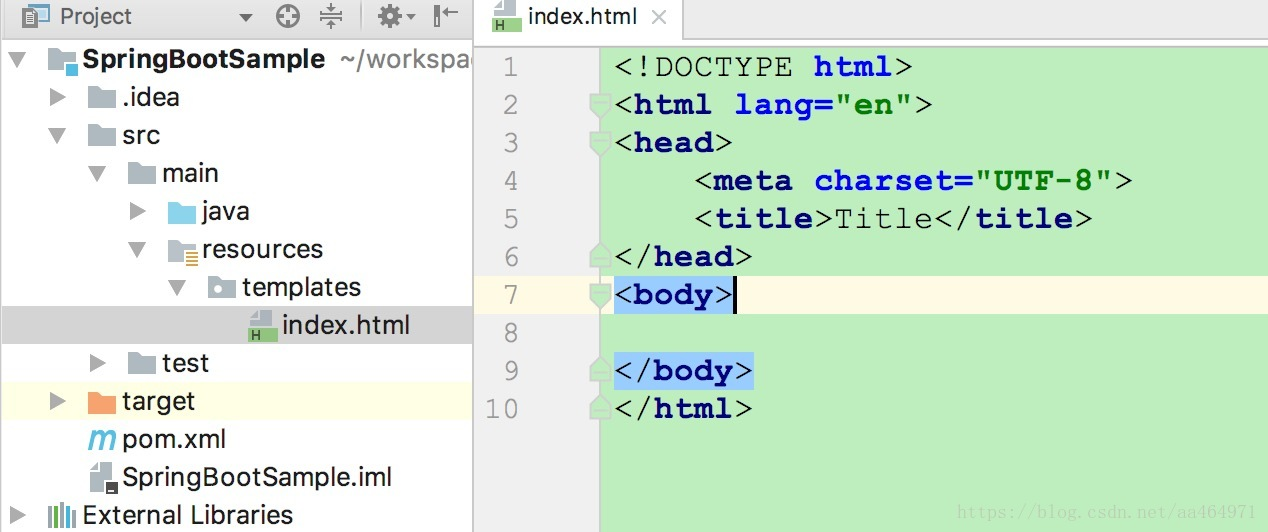
- 创建模板html
在resources文件夹下创建templates文件夹,再创建一个index.html
- 配置访问路径
在之前创建的SampleController增加了一个index方法,路径配置到/index,这里加入一个message参数传到页面,再return "index",这样当访问http://localhost:8080/index的时候,就会跳转到resources/templates文件夹下面的index.html
/**
 * thymeleaf样例
 * @return
 */
@RequestMapping("/index")
String index(Model model) {
    model.addAttribute("message","Hello Thymeleaf");
    return "index";
}
- 在模板html获取参数
在index.html中,用thymeleaf语法获取SampleController添加的message参数。
<p th:text="${message}"></p>
注意还要在html标签上加上命名空间
xmlns:th="http://www.w3.org/1999/xhtml"
如果你用的是Vue,还需要在script标签上加上th:inline
<script th:inline="javascript">

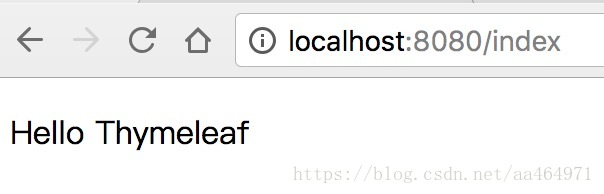
- 测试
在浏览器访问http://localhost:8080/index
-
导出可执行jar
在pom.xml指定包类型并添加插件
<packaging>jar</packaging>
<build>
    <plugins>
        <plugin>
            <groupId>org.springframework.boot</groupId>
            <artifactId>spring-boot-maven-plugin</artifactId>
        </plugin>
    </plugins>
</build>
执行package命令
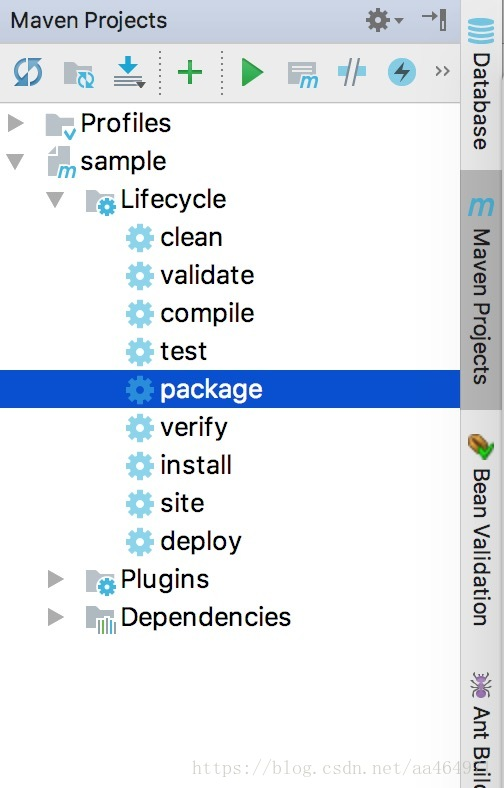
等待编译成功,会在工程目录的target文件夹下生成一个jar
- 运行jar
命令行cd到target目录
java -jar sample-1.0.0.jar