1.安装并启动Nacos Server
先看看官方的安装说明
It is super easy to get started with your first project.
Step 1: Download the binary package
You can download the package from the latest stable release.
Take release nacos-server-1.0.0.zip for example.
unzip nacos-server-1.0.0.zip
cd nacos/bin
Step 2: Start Server
On the Linux/Unix/Mac platform, run the following command to start server with standalone mode:
sh startup.sh -m standaloneOn the Windows platform, run the following command to start server with standalone mode. Alternatively, you can also double-click the startup.cmd to run NacosServer.
cmd startup.cmd -m standaloneFor more details, see quick-start.
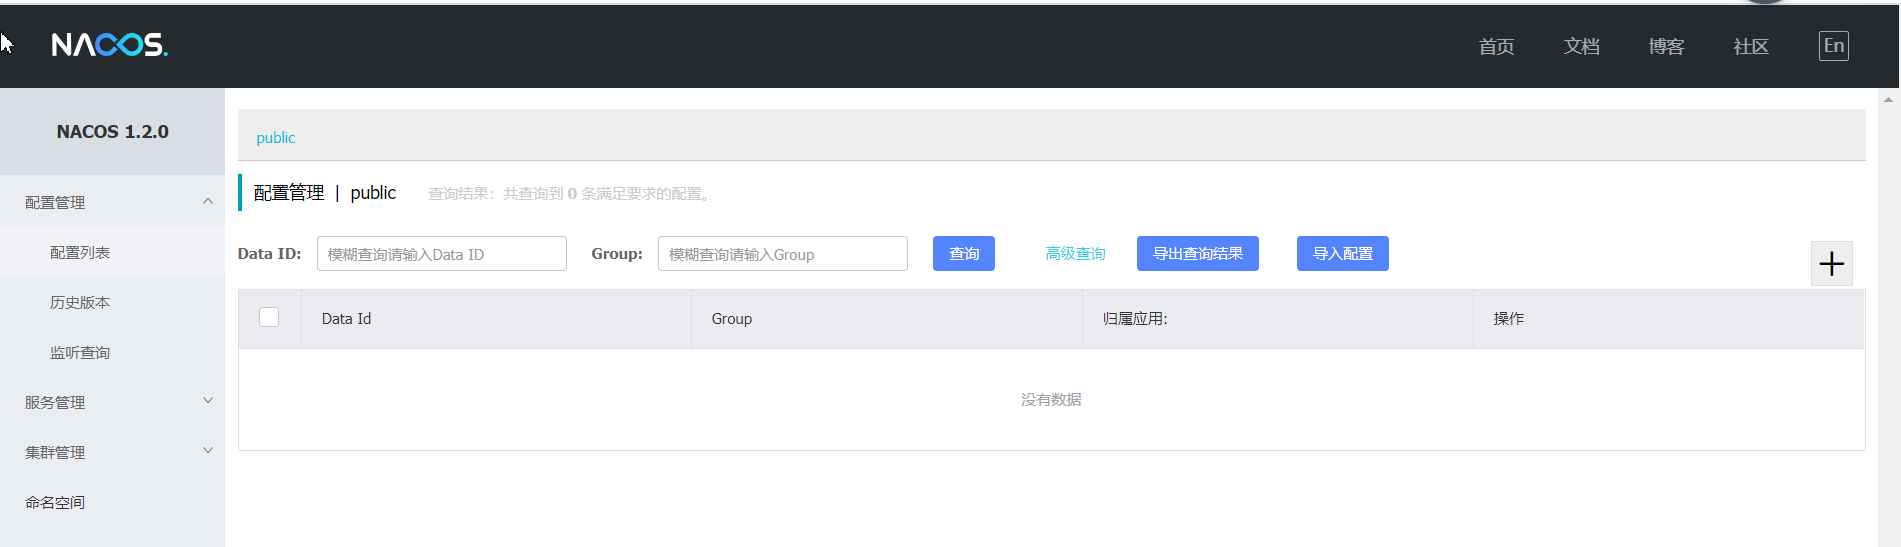
按照上述步骤安装成功后,访问本地Nacos Server呈现结果如下图:
2.创建Nacos Service Provider
- Add the Nacos Spring Cloud dependency.
<dependency> <groupId>com.alibaba.cloud</groupId> <artifactId>spring-cloud-starter-alibaba-nacos-discovery</artifactId> <version>${latest.version}</version> </dependency>Note: Version 2.1.x.RELEASE is compatible with the Spring Boot 2.1.x line. Version 2.0.x.RELEASE is compatible with the Spring Boot 2.0.x line. Version 1.5.x.RELEASE is compatible with the Spring Boot 1.5.x line.
- Configure the service provider, so that it can register its services to the Nacos server.
i. Add the Nacos server address in
application.properties:server.port=8070 spring.application.name=service-provider spring.cloud.nacos.discovery.server-addr=127.0.0.1:8848ii. Enable service discovery by adding the Spring Cloud native annotation of
@EnableDiscoveryClient:@SpringBootApplication @EnableDiscoveryClient public class NacosProviderApplication { public static void main(String[] args) { SpringApplication.run(NacosProviderApplication.class, args); } @RestController class EchoController { @RequestMapping(value = "/echo/{string}", method = RequestMethod.GET) public String echo(@PathVariable String string) { return "Hello Nacos Discovery " + string; } } }
3.创建Nacos Service Consumer
- Configure the service consumer so that it can discover the services that it would like to call on the Nacos server.
i. Configure the Nacos server address in
application.properties:server.port=8080 spring.application.name=service-consumer spring.cloud.nacos.discovery.server-addr=127.0.0.1:8848ii. Add the Spring Cloud native annotation of
@EnableDiscoveryClientto enable service discovery. Add the@LoadBalancedannotation for the RestTemplate instance, and enable the integration of@LoadBalancedand Ribbon:@SpringBootApplication @EnableDiscoveryClient public class NacosConsumerApplication { @LoadBalanced @Bean public RestTemplate restTemplate() { return new RestTemplate(); } public static void main(String[] args) { SpringApplication.run(NacosConsumerApplication.class, args); } @RestController public class TestController { private final RestTemplate restTemplate; @Autowired public TestController(RestTemplate restTemplate) {this.restTemplate = restTemplate;} @RequestMapping(value = "/echo/{str}", method = RequestMethod.GET) public String echo(@PathVariable String str) { return restTemplate.getForObject("http://service-provider/echo/" + str, String.class); } } }
4.运行及测试
Start
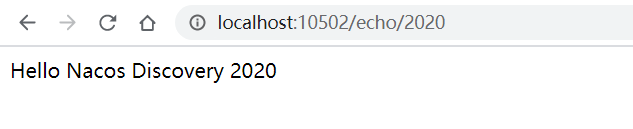
ProviderApplicationandConsumerApplication, and callhttp://localhost:8080/echo/2018. You will get a returned message ofHello Nacos Discovery 2018.
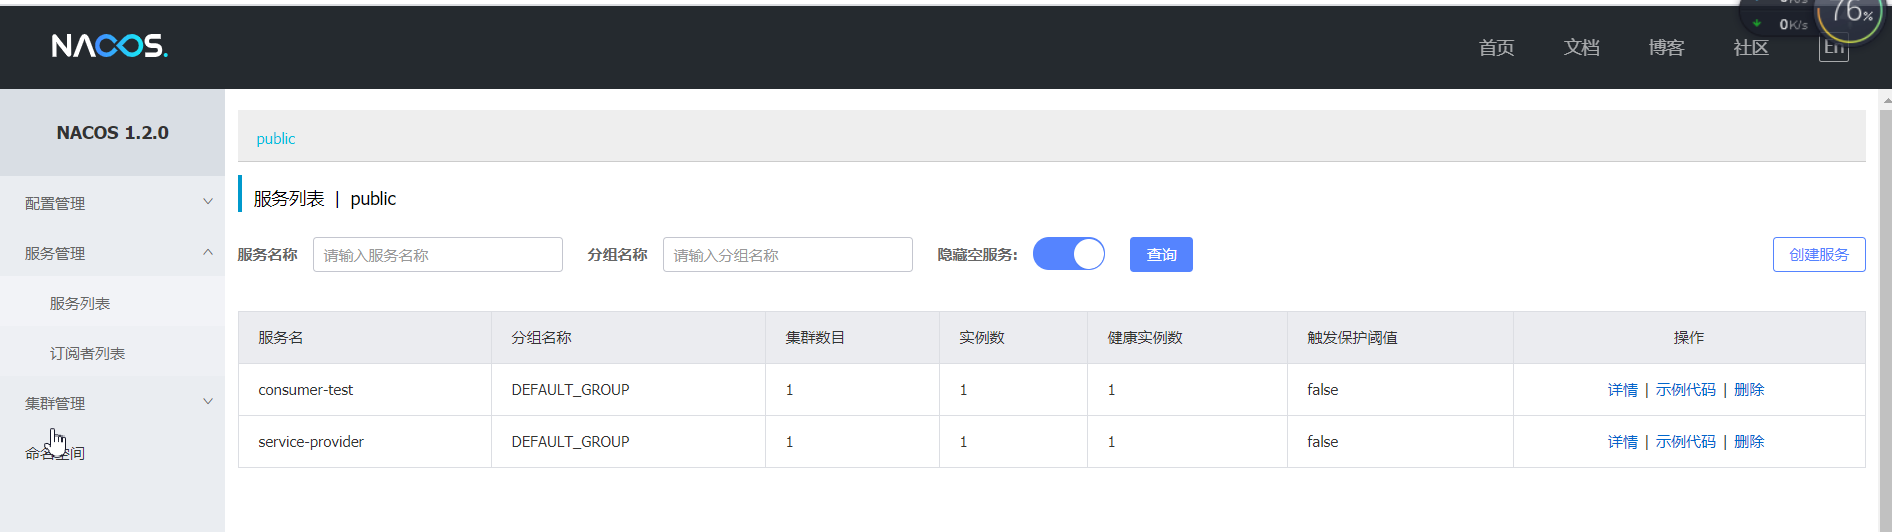
Nacos Service Provider和Nacos Service Consumer成功启动后,从Nacos Server管理页面应该可以看到这两个服务
调用本地Nacos Service Consumer中提供的测试方法,结果如下图