tomcat+nginx+keepalived的配置
1.在官网上下载Tomcat

2.将压缩包解压,并且移动到/opt/data/的目录下。
tar -zxvf apache-tomcat-9.0.10.tar.gz
mv ./apache-tomcat-9.0.10 /opt/data/
3.进入到Tomcat的解压包的目录下,使用命令启动Tomcat。
cd /opt/data/apache-tomcat-9.0.10
./bin/startup.sh
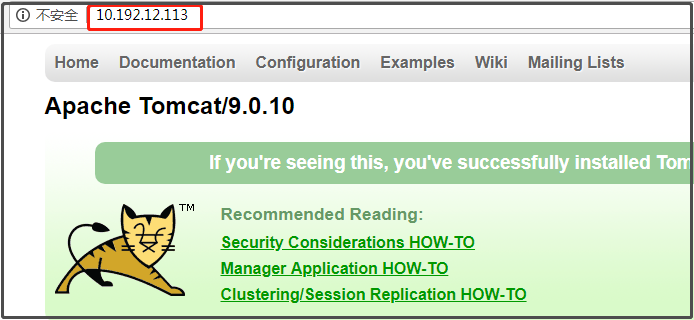
4.打开浏览器,输入部署Tomcat的虚拟机的IP和Tomcat的端口号。
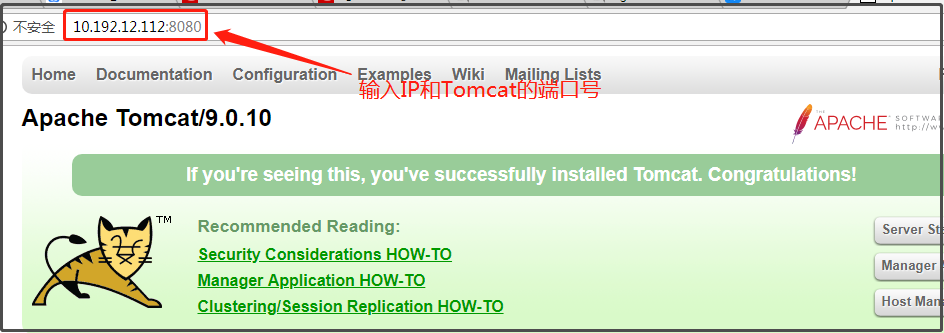
=======================展示如上界面表示Tomcat部署成功==========================
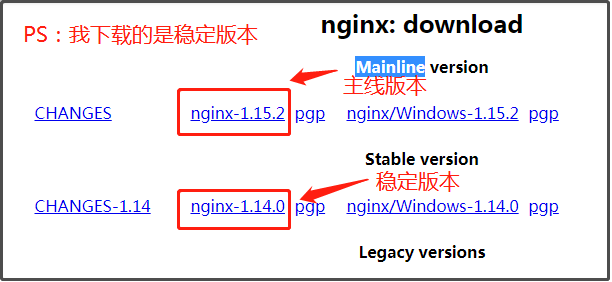
1.在NGINX官网上下载压缩包。
2.使用以下命令安装NGINX。
tar -zxvf nginx-1.14.0.tar.gz
cd nginx-1.14.0
yum -y install gcc pcre-devel openssl openssl-devel//需要安装gcc
mkdir /opt/data/nginx
./configure --prefix=/opt/data/nginx
make
make install
3.使用以下命令在安装NGINX的目录下开启NGINX。
cd /opt/data/nginx/sbin
./nginx
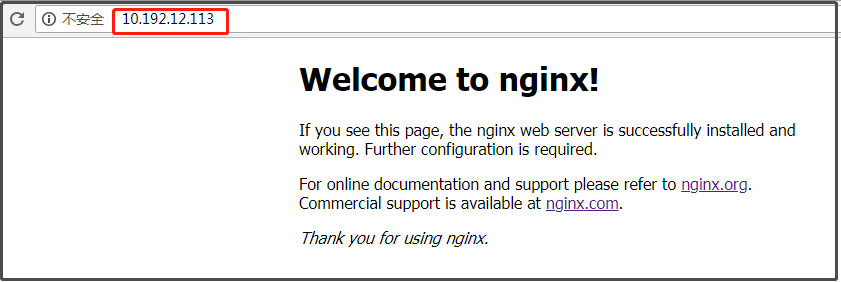
4.在浏览器中输入虚拟机的IP可以看到NGINX的欢迎界面。
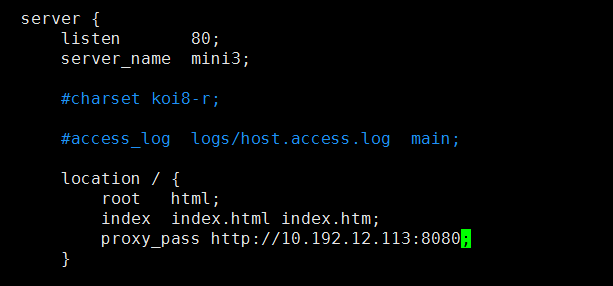
5.配置NGINX的反向代理。
vim /opt/data/nginx/conf/nginx.conf
listen       80;
        server_name  mini3;  #nginx所在服务器的主机名

        #charset koi8-r;

        #access_log  logs/host.access.log  main;

        location / {
            root   html;
            index  index.html index.htm;
            proxy_pass http://10.192.12.113:8080;#代理服务器:tomcat
        }
6.保存退出,开启Tomcat,重启NGINX,刷新页面,发现不用输入端口号直接进入了Tomcat的欢迎界面。
cd /opt/data/apache-tomcat-9.0.10/
./bin/startup.sh
cd /opt/data/nginx/sbin
./nginx -s reload
==============================以上NGINX的配置基本完成=================================
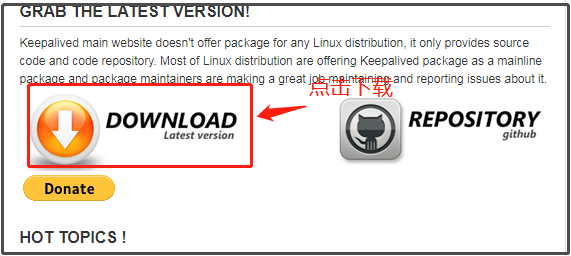
1.在keepalived官网上下载最新版本的压缩包。
2.使用以下命令安装keepalived。
tar -zxf keepalived-2.0.6.tar.gz
mkdir /opt/data/keepalived
cd /opt/app/keepalived-2.0.6
./configure --prefix=/opt/data/keepalived
make && make install