switchPicture.py
from PyQt5.QtCore import *
from PyQt5.QtWidgets import *
from PyQt5.QtGui import *
import numpy as np
import cv2
import sys

class MyWidget(QWidget):
    def __init__(self, parent = None):
        super().__init__(parent)
        self.setWindowTitle(self.tr('显示图片'))
        self.resize(500,400)
        self.label = QLabel(self)
        self.label.setFrameShape(QFrame.Box)
        self.label.setAlignment(Qt.AlignCenter)
        img = cv2.imread('girl_1.jpg')
        #cv2.imshow('111',img)
        #cv2.waitKey(0)
        width = img.shape[1]
        height = img.shape[0]
        print('cv2,  '+str(width)+' height: '+str(height))
        cv2.cvtColor(img, cv2.COLOR_BGR2RGB,img)
        qt_img = QImage(img.data,width,height,QImage.Format_RGB888)
        #print(type(qt_img))

        #self.label.setPixmap(QPixmap.fromImage(qt_img))

        self.label.setGeometry(0, 0, 400, 300)
        n_width = qt_img.width()
        n_height = qt_img.height()
        print('Qt,  '+str(n_width)+' height: '+str(n_height))
        if n_width / 400 >= n_height / 300:
            ratio = n_width / 400
        else:
            ratio = n_height / 300
        new_width = n_width / ratio
        new_height = n_height / ratio
        new_img = qt_img.scaled(new_width, new_height, Qt.KeepAspectRatio)
        self.label.setPixmap(QPixmap.fromImage(new_img))


if __name__ == '__main__':
    app = QApplication(sys.argv)
    widget = MyWidget()
    widget.show()
    #print(widget.children())
    sys.exit(app.exec_())
img是<class 'numpy.ndarray'>类型的,img.shape是一个包含三个元素的元祖,img.data是<class 'memoryview'>类型的。
numpy中是这样解释ndarray.data的:
data
Python buffer object pointing to the start of the array's data.
所以我们可以将ndarray.data理解为一个指向存储array数组数据的内存的指针。
再来看QImage的构造函数:
 1  |  QImage()
 2  |  QImage(QSize, QImage.Format)
 3  |  QImage(int, int, QImage.Format)
 4  |  QImage(bytes, int, int, QImage.Format)
 5  |  QImage(sip.voidptr, int, int, QImage.Format)
 6  |  QImage(bytes, int, int, int, QImage.Format)
 7  |  QImage(sip.voidptr, int, int, int, QImage.Format)
 8  |  QImage(List[str])
 9  |  QImage(str, format: str = None)
10  |  QImage(QImage)
11  |  QImage(Any)
我们在上面的程序中用到的是第5个构造函数,下面解释一下第5个构造函数的各个参数:
@sip.voidptr: 把它理解为一个地址,这个地址指向的内存,存储的是图片的所有像素点的值
@int:代表图像的宽度
@int:代表图像的高度
@QImage.Format:图像是BGR格式还是RGB格式,等等
在上面的程序中,我们用cv2.imread()读取的图片,将结果存在img中(img是一个np.ndarray数组),然后我们再将img.data传递给QImage的构造函数。
在这,我不禁有一个疑惑,将img.data传递给QImage,QImage是如何解析它并生成图片的呢?
以下是我的理解:
img.data指向的内存连续存储着的许多整形数字,这些数字每三个或几个为一组表示一个像素点,在内存中没有所谓的图片的行和列之分,那么QImage是如何区分出图片有多少行,有多少列呢?
QImage的构造函数中有两个int型变量,他们分别是图片的宽度和高度,QImage就是通过这两个数字来识别图片有多少行和多少列的。在最后的参数QImage.Format,它的作用就是让QImage知道
应该让几个数字一组表示一个像素点。
有时,我们使用第5个构造函数会出现图像扭曲的问题,这是我们应该用第7个构造函数QImage(sip.voidptr, int, int, int, QImage.Format),第三个int型参数表示的是每行有多少个字节
将上面程序中对应项改为下面的程序就可以了,我这里又增加了一个channel变量,用于计算每行有多少字节。
channel = img.shape[2]
qt_img = QImage(img1.data,width,height,width*channel,QImage.Format_RGB888)
出现扭曲的原因是QImage构造函数不知道图片一行有多少个像素点了。
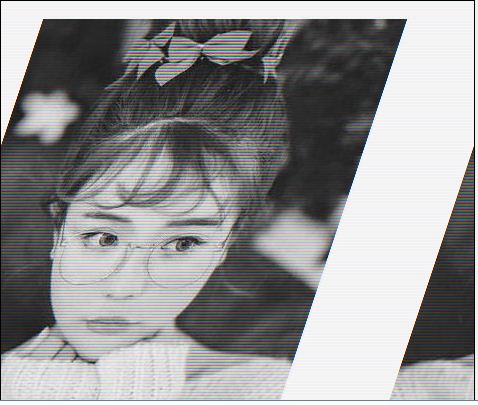
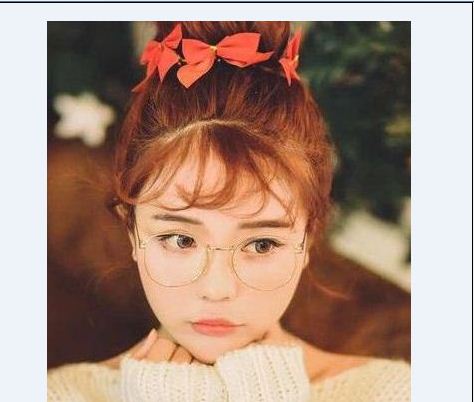
下面是正常显示和扭曲的图片:
正常:
扭曲: