title: iOS二维码操作
date: 2016-05-11 16:51:31
iOS-ScanningCode
功能:扫描二维码、条形码,生成二维码。具体使用请看项目。github地址 喜欢的朋友们给个星星吧。萌萌哒。
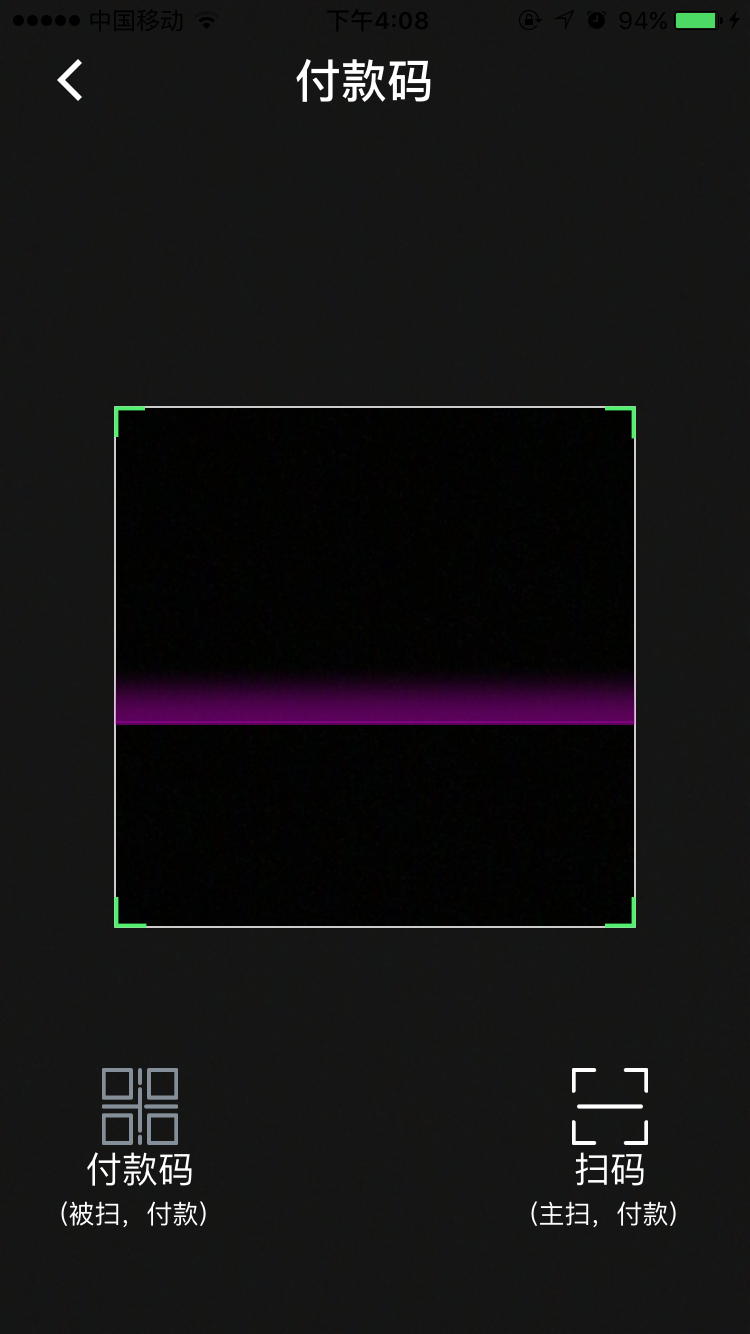
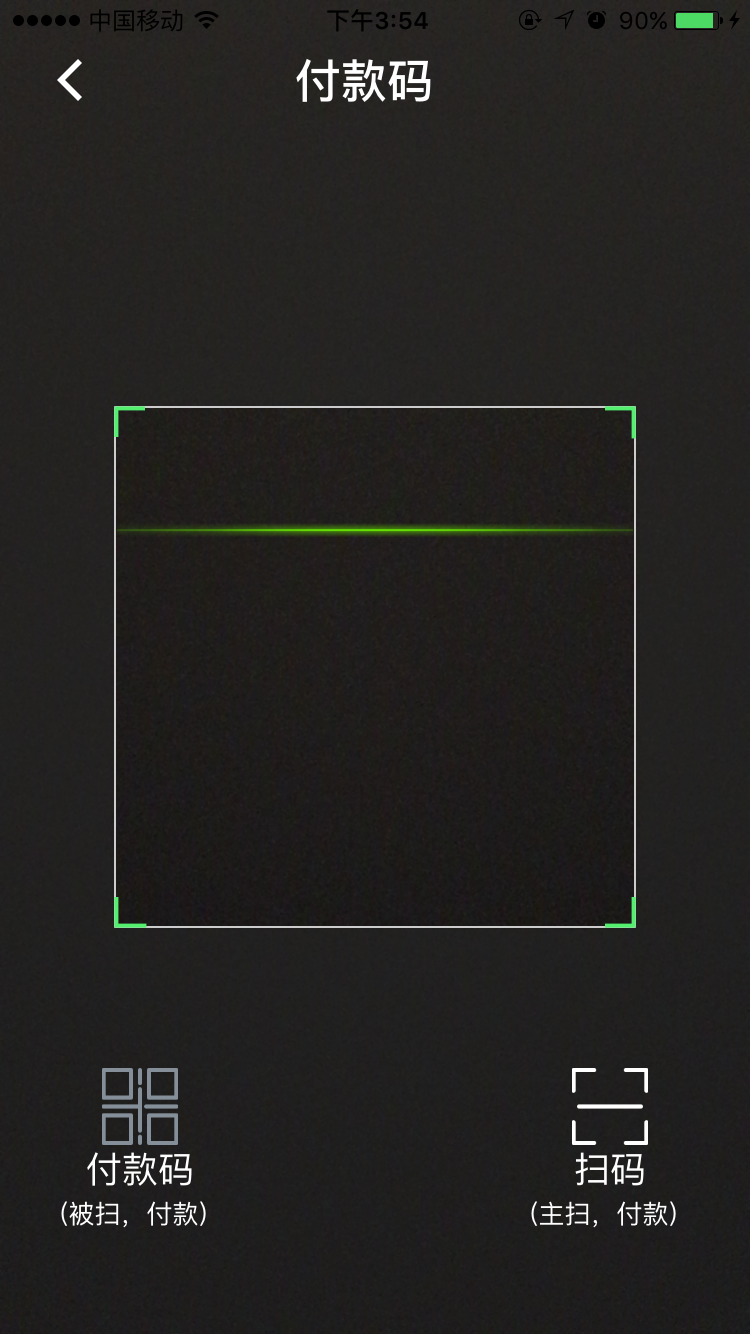
- Image Displey(图片展示)


使用方法
-
首先,你需要把项目中的XYLScaningCodeKit文件夹拖拽到你的项目任意位置,然后就可以开始使用了。
-
添加二维码界面
假如你需要在项目中需要使用生成二维码的功能,仅仅需要引入头文件和创建二维码视图并添加就可以了。例如这样:
#import "XYLScaningCode.h"

@interface ViewController ()
@property(strong, nonatomic)XYLBinaryCodeView *binaryCodeView;  //二维码界面
@end

@implementation ViewController

- (void)viewDidLoad {
    [super viewDidLoad];
    self.view.backgroundColor = [UIColor blackColor];
    //设置生成二维码界面
    self.binaryCodeView = [[XYLBinaryCodeView alloc]initWithFrame:[UIScreen mainScreen].bounds];
    //设置二维码的内容
    self.binaryCodeView.inputData = @"www.baidu.com";
    [self.view insertSubview:self.binaryCodeView atIndex:1];
}
-
添加扫描二维码、条形码功能
假如你需要使用扫码的功能,那代码稍微多一点点,多的部分就是开始扫码、读取扫码结果、处理扫码结果那部分。
同样的,你也需要引入上面的头文件;
然后就是一些逻辑了,不用太担心,因为我会有很多的注释,而且后面还会详细分析。代码如下:
#import "ViewController.h"
#import "XYLScaningCode.h"

@interface ViewController ()<UIAlertViewDelegate, AVCaptureMetadataOutputObjectsDelegate, XYLScanViewDelegate, UIImagePickerControllerDelegate, UINavigationControllerDelegate>
{
    AVCaptureDevice *frontCamera;  //前置摄像机
    AVCaptureDevice *backCamera;  //后置摄像机
    AVCaptureSession *session;         //捕捉对象
    AVCaptureVideoPreviewLayer *previewLayer;
    AVCaptureInput *input;              //输入流
    AVCaptureMetadataOutput *output;//输出流
    BOOL isTorchOn;
}

@property (nonatomic, assign) XYLScaningWarningTone tone;
@property (nonatomic, strong) XYLScanView *overView;    //扫码界面
@property(strong, nonatomic)XYLBinaryCodeView *binaryCodeView;  //二维码界面
@property(weak, nonatomic)XYLToolButton *scanButton;
@property(weak, nonatomic)XYLToolButton *payCodeButton;
@property(weak, nonatomic)UILabel *titleLabel;
@end

@implementation ViewController

- (void)viewDidLoad {
    [super viewDidLoad];
    self.view.backgroundColor = [UIColor blackColor];
    [self scanSelected];
}

    //点击扫码
-(void)scanSelected
{
    if (![self.overView isDisplayedInScreen])
    {
#if TARGET_IPHONE_SIMULATOR
    UIAlertController *simulatorAlert = [UIAlertController alertControllerWithTitle:nil message:@"虚拟机不支持相机" preferredStyle:UIAlertControllerStyleActionSheet];
    [simulatorAlert addAction:[UIAlertAction actionWithTitle:@"好吧" style:UIAlertActionStyleDefault handler:^(UIAlertAction * _Nonnull action) {
        return;
    }]];
    [self presentViewController:simulatorAlert animated:YES completion:nil];

#elif TARGET_OS_IPHONE
    //判断相机权限
    [self isVideoUseable];
    self.binaryCodeView.hidden = YES;
    if (self.overView) {
        self.overView.hidden = NO;
    }else{
        //添加扫面界面视图
        [self initOverView];
        [self initCapture];
        [self config];
        [self initUI];
        [self addGesture];
    }
#endif
    }
}

-(void)isVideoUseable
{
    AVAuthorizationStatus authStatus = [AVCaptureDevice authorizationStatusForMediaType:AVMediaTypeVideo];
    if (authStatus == AVAuthorizationStatusRestricted || authStatus == AVAuthorizationStatusDenied)
    {
        UIAlertController *simulatorAlert = [UIAlertController alertControllerWithTitle:nil message:@"相机权限未开通,请打开" preferredStyle:UIAlertControllerStyleActionSheet];
        [simulatorAlert addAction:[UIAlertAction actionWithTitle:@"好吧" style:UIAlertActionStyleDefault handler:^(UIAlertAction * _Nonnull action) {
            return;
        }]];
        [self presentViewController:simulatorAlert animated:YES completion:nil];
    }
}
/**
 *  添加扫码视图
 */
- (void)initOverView
{
    if (!_overView) {
        _overView = [[XYLScanView alloc]initWithFrame:[UIScreen mainScreen].bounds lineMode:XYLScaningLineModeDeafult ineMoveMode:XYLScaningLineMoveModeUpAndDown];
        _overView.delegate = self;
        [self.view insertSubview:_overView atIndex:1];
    }
}

//设置扫描反馈模式:这里是声音提示
- (void)config{
    _tone = XYLScaningWarningToneSound;
}
- 系统方法捕捉二维码、条形码信息
- (void)initCapture
{
    //创建捕捉会话
    session = [[AVCaptureSession alloc]init];
    //高质量采集率
    [session setSessionPreset:AVCaptureSessionPresetHigh];

    //获取摄像设备
    NSArray *devices = [AVCaptureDevice devicesWithMediaType:AVMediaTypeVideo];
    for (AVCaptureDevice *camera in devices) {
        if (camera.position == AVCaptureDevicePositionFront) {
            frontCamera = camera;
        }else{
            backCamera = camera;
        }
    }
    //创建输入流
    input = [AVCaptureDeviceInput deviceInputWithDevice:backCamera error:nil];

    //输出流
    output = [[AVCaptureMetadataOutput alloc]init];
    //设置代理 在主线程里刷新
    [output setMetadataObjectsDelegate:self queue:dispatch_get_main_queue()];

    //添加输入设备(数据从摄像头输入)
    if ([session canAddInput:input]) {
        [session addInput:input];
    }
    //添加输出数据
    if ([session canAddOutput:output]) {
        [session addOutput:output];
    }
    //设置设置输入元数据的类型(如下设置条形码和二维码兼容)
    output.metadataObjectTypes = @[AVMetadataObjectTypeEAN13Code,
                                   AVMetadataObjectTypeEAN8Code,
                                   AVMetadataObjectTypeCode128Code,
                                   AVMetadataObjectTypeQRCode];

    //添加扫描图层
    previewLayer = [AVCaptureVideoPreviewLayer layerWithSession:session];
    previewLayer.videoGravity = AVLayerVideoGravityResizeAspectFill;
    previewLayer.frame = self.view.layer.bounds;
    [self.view.layer insertSublayer:previewLayer atIndex:0];

    //开始捕获
    [session startRunning];


    CGFloat screenHeight = ScreenSize.height;
    CGFloat screenWidth = ScreenSize.width;
    CGRect cropRect = CGRectMake((screenWidth - TransparentArea([_overView width], [_overView height]).width) / 2,
                                 (screenHeight - TransparentArea([_overView width], [_overView height]).height) / 2,
                                 TransparentArea([_overView width], [_overView height]).width,
                                 TransparentArea([_overView width], [_overView height]).height);
    //设置扫描区域
    [output setRectOfInterest:CGRectMake(cropRect.origin.y / screenHeight,
                                         cropRect.origin.x / screenWidth,
                                         cropRect.size.height / screenHeight,
                                         cropRect.size.width / screenWidth)];

}
- 获取结果
/**
 * 获取扫描数据
 */
- (void)captureOutput:(AVCaptureOutput *)captureOutput didOutputMetadataObjects:(NSArray *)metadataObjects fromConnection:(AVCaptureConnection *)connection
{
    NSString *stringValue;
    if (metadataObjects.count > 0) {
        AVMetadataMachineReadableCodeObject *metadateObject = [metadataObjects objectAtIndex:0];
        stringValue = metadateObject.stringValue;
        [self readingFinshedWithMessage:stringValue];
        [previewLayer removeFromSuperlayer];
    }
}

/**
 *  读取扫描结果
 */
- (void)readingFinshedWithMessage:(NSString *)msg
{
    if (msg) {
        [session stopRunning];

        [self playSystemSoundWithStyle:_tone];

        [self.overView stopMove];

        UIAlertController *alert = [UIAlertController alertControllerWithTitle:nil message:msg preferredStyle:UIAlertControllerStyleActionSheet];
        [alert addAction:[UIAlertAction actionWithTitle:@"确定" style:UIAlertActionStyleDefault handler:^(UIAlertAction * _Nonnull action) {
            NSLog(@"扫描出来结果%@",msg);
            //todo:在这里添加扫描结果后的处理
            [self.overView removeFromSuperview];
            self.overView = nil;
            [self payCodeSelected];
        }]];
        [self presentViewController:alert animated:YES completion:nil];
    }else
    {
        UIAlertController *alert = [UIAlertController alertControllerWithTitle:nil message:@"读取失败" preferredStyle:UIAlertControllerStyleActionSheet];
        [alert addAction:[UIAlertAction actionWithTitle:@"确定" style:UIAlertActionStyleDefault handler:^(UIAlertAction * _Nonnull action) {
            NSLog(@"点击了确定");
        }]];
        [self presentViewController:alert animated:true completion:nil];
    }
}
- 扫码成功声音提示
/**
 *  展示声音提示
 */
- (void)playSystemSoundWithStyle:(XYLScaningWarningTone)tone{

    NSString *path = [NSString stringWithFormat:@"%@/scan.wav", [[NSBundle mainBundle] resourcePath]];
    SystemSoundID soundID;
    NSURL *filePath = [NSURL fileURLWithPath:path isDirectory:NO];
    AudioServicesCreateSystemSoundID((__bridge CFURLRef)(filePath), &soundID);
    switch (tone) {
        case XYLScaningWarningToneSound:
            AudioServicesPlaySystemSound(soundID);
            break;
        case XYLScaningWarningToneVibrate:
            AudioServicesPlaySystemSound(kSystemSoundID_Vibrate);
            break;
        case XYLScaningWarningToneSoundAndVibrate:
            AudioServicesPlaySystemSound(soundID);
            AudioServicesPlaySystemSound(kSystemSoundID_Vibrate);
            break;
        default:
            break;
    }
}
-
说明
你可能看到了,添加扫码功能的时候,要遵循更多的协议,这是因为这里使用了AVFoundation框架Apple原生扫描二维码的一些功能,只需要遵循这些协议就可以调用里面的功能了。例如这里的获取扫码结果的方法
/**
 * 获取扫描数据
 */
- (void)captureOutput:(AVCaptureOutput *)captureOutput didOutputMetadataObjects:(NSArray *)metadataObjects fromConnection:(AVCaptureConnection *)connection;
而其余的,这里详细的注释就可以帮助你理解这些代码了,如果想深入了解具体实现过程,建议可以看一下源码github地址。