Spring Boot深度课程系列
峰哥说技术—2020庚子年重磅推出、战胜病毒、我们在行动

07 峰哥说技术:SpringBoot 正好Thymeleaf视图
Spring Boot视图介绍
虽然现在慢慢在流行前后端分离开发,但是还是有一些公司在做前后端不分的开发,而在前后端不分的开发中,我们就会需要后端页面模板(实际上,即使前后端分离,也会在一些场景下需要使用页面模板,例如邮件发送模板)。
早期的 Spring Boot 中还支持使用 Velocity 作为页面模板,现在的 Spring Boot 中已经不支持 Velocity 了,页面模板主要支持 Thymeleaf 和 Freemarker ,其中Thymeleaf是官方推荐的视图技术。当然,作为 Java 最基本的页面模板 Jsp ,Spring Boot 也是支持的,只是使用比较麻烦。下面针对这三种模板技术进行介绍。
整合Thymeleaf模板
Thymeleaf 是新一代 Java 模板引擎,它类似于 Velocity、FreeMarker 等传统 Java 模板引擎,但是与传统 Java 模板引擎不同的是,Thymeleaf 支持 HTML 原型。
它既可以让前端工程师在浏览器中直接打开查看样式,也可以让后端工程师结合真实数据查看显示效果,同时,SpringBoot 提供了 Thymeleaf 自动化配置解决方案,因此在 SpringBoot 中使用 Thymeleaf 非常方便。
事实上, Thymeleaf 除了展示基本的 HTML ,进行页面渲染之外,也可以作为一个 HTML 片段进行渲染,例如我们在做邮件发送时,可以使用 Thymeleaf 作为邮件发送模板。
另外,由于 Thymeleaf 模板后缀为 .html,可以直接被浏览器打开,因此,预览时非常方便。
实施步骤
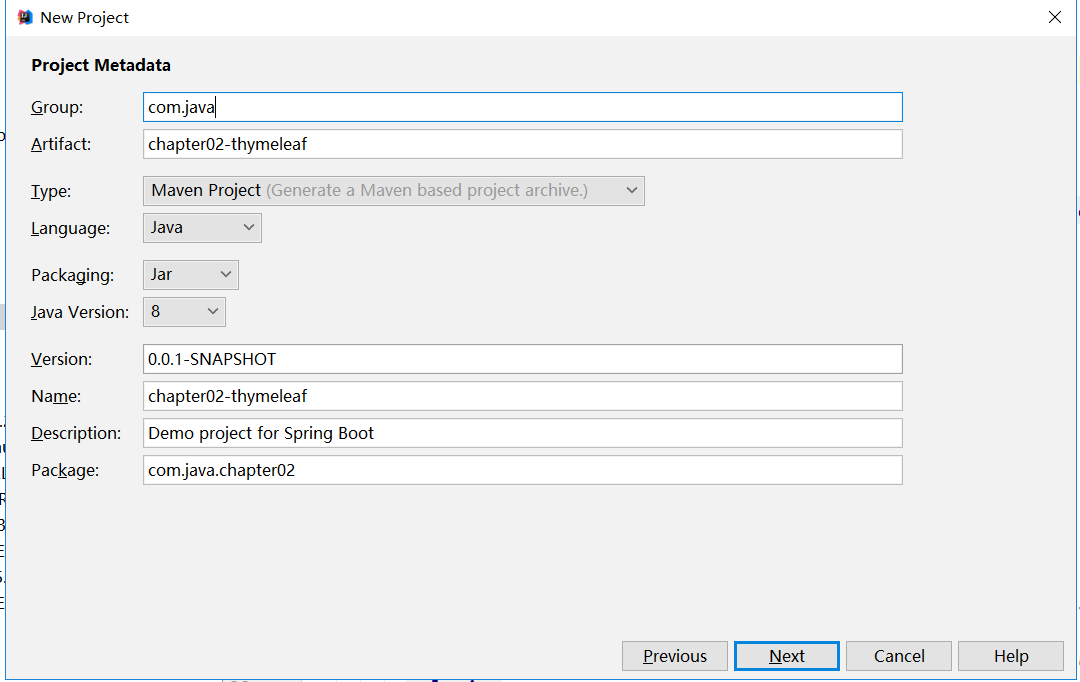
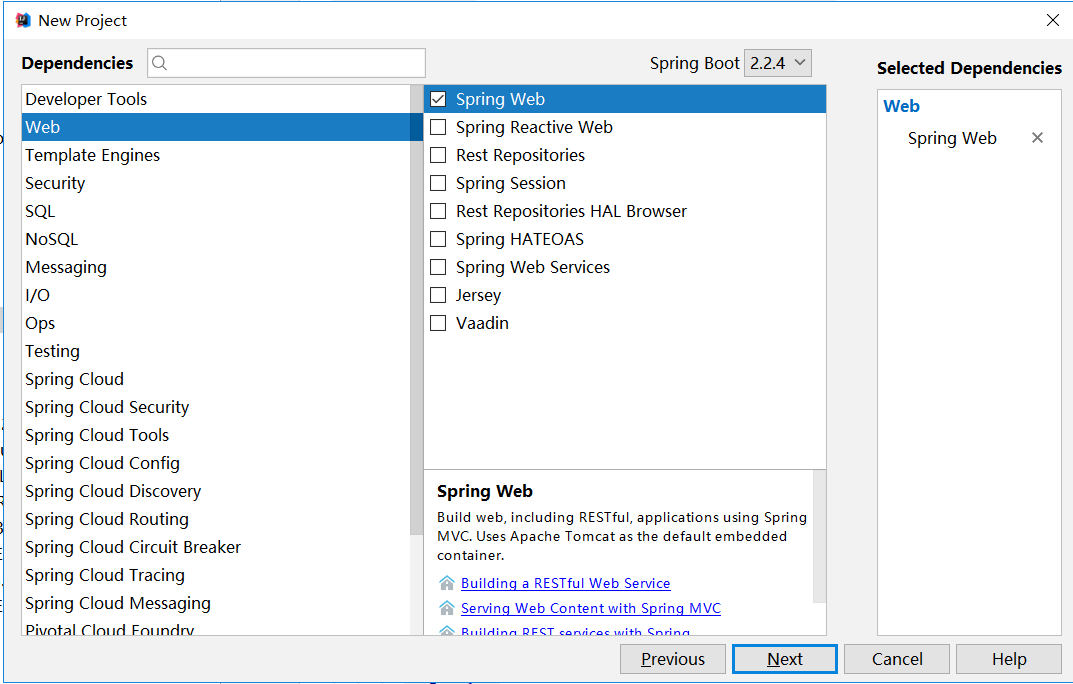
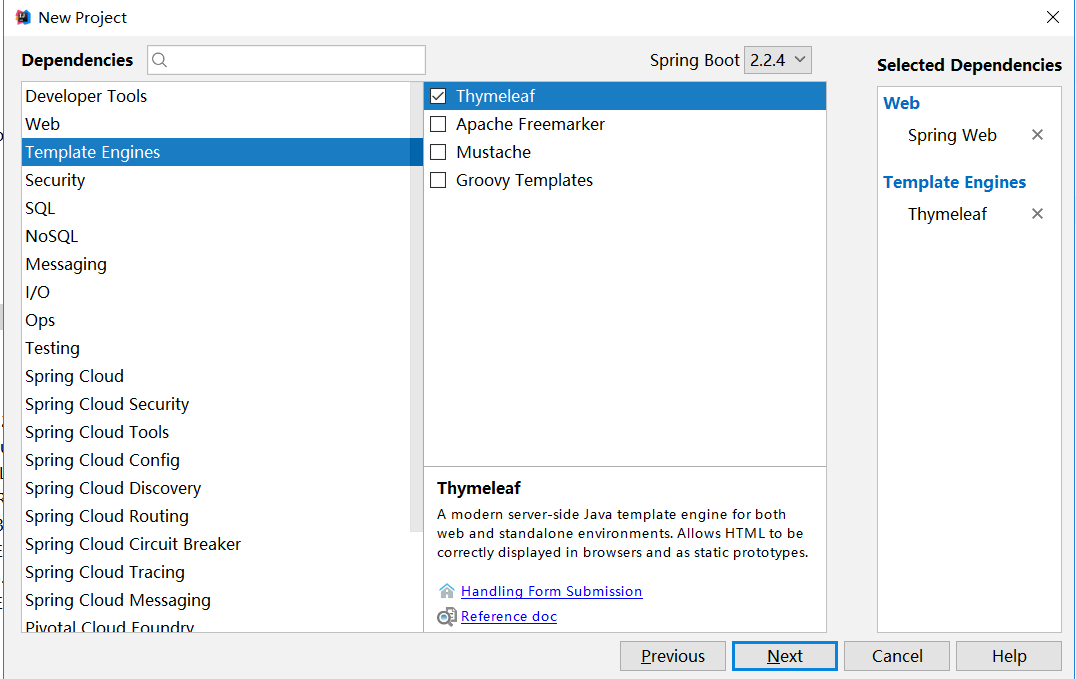
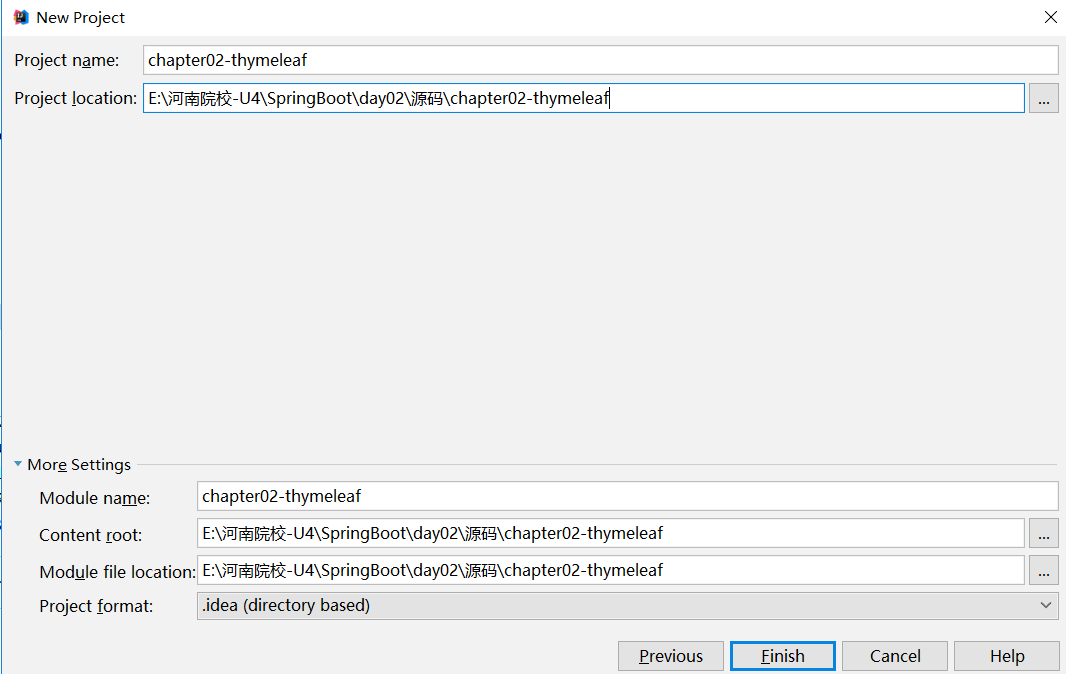
1)创建工程,添加Thymeleaf依赖和web依赖。如下图所示:


pom.xml中添加依赖如下:
|
<dependency>
<groupId>org.springframework.boot</groupId>
<artifactId>spring-boot-starter-thymeleaf</artifactId>
</dependency>
<dependency>
<groupId>org.springframework.boot</groupId>
<artifactId>spring-boot-starter-web</artifactId>
</dependency>
|
由于我们对于启动器的使用经验不足,带着大家看看thymeleaf启动器,然后通过该启动器的学习,教会大家遇到问题的时候随机应变,从而灵活的掌握怎么对默认的属性进行配置,达到举一反三的效果。那么我们可以打开ThymeleafProperties类,查看源代码,然后基于源代码进行分析。
|
@ConfigurationProperties(
prefix = "spring.thymeleaf"
)
public class ThymeleafProperties {
private static final Charset DEFAULT_ENCODING;
public static final String DEFAULT_PREFIX = "classpath:/templates/";
public static final String DEFAULT_SUFFIX = ".html";
private boolean checkTemplate = true;
private boolean checkTemplateLocation = true;
private String prefix = "classpath:/templates/";
private String suffix = ".html";
private String mode = "HTML";
private Charset encoding;
private boolean cache;
private Integer templateResolverOrder;
private String[] viewNames;
private String[] excludedViewNames;
private boolean enableSpringElCompiler;
private boolean renderHiddenMarkersBeforeCheckboxes;
private boolean enabled;
private final ThymeleafProperties.Servlet servlet;
private final ThymeleafProperties.Reactive reactive;
public ThymeleafProperties() {
this.encoding = DEFAULT_ENCODING;
this.cache = true;
this.renderHiddenMarkersBeforeCheckboxes = false;
this.enabled = true;
this.servlet = new ThymeleafProperties.Servlet();
this.reactive = new ThymeleafProperties.Reactive();
}
//剩余省略...
}
|
首先通过 @ConfigurationProperties 注解,将 application.properties 前为 spring.thymeleaf 的配置和这个类中的属性绑定。前三个 static 变量定义了默认的编码格式、视图解析器的前缀、后缀等。从前三行配置中,可以看出来,Thymeleaf 模板的默认位置在 resources/templates 目录下,默认的后缀是 html 。这些配置,如果开发者不自己提供,则使用 默认的,如果自己提供,则在 application.properties 中以 spring.thymeleaf开始相关的配置。
2)创建包entity,编写Book类
|
package com.java.chapter02.entity;
public class Book {
private Integer id;
private String name;
private String author;
public Book() {
}
public Book(Integer id, String name, String author) {
this.id = id;
this.name = name;
this.author = author;
}
//getter和setter省略...
}
|
3)编写IndexController
|
package com.java.chapter02.controller;
import com.java.chapter02.entity.Book;
import org.springframework.stereotype.Controller;
import org.springframework.ui.Model;
import org.springframework.web.bind.annotation.GetMapping;
import java.util.ArrayList;
import java.util.List;
@Controller
public class IndexController {
@GetMapping("/index")
public String index(Model model){
List<Book> list=new ArrayList<>();
Book book1=new Book(1,"罗贯中","三国演义");
Book book2=new Book(2,"曹雪芹","红楼梦");
Book book3=new Book(3,"吴承恩","西游记");
Book book4=new Book(4,"施耐庵","水浒传");
list.add(book1);
list.add(book2);
list.add(book3);
list.add(book4);
model.addAttribute("list",list);
return "index";
}
}
|
4)在templates文件夹下面,编写页面index.html,实现隔行变色。
|
<!DOCTYPE html >
<html lang="en" xmlns:th="http://www.thymeleaf.org">
<head>
<meta charset="UTF-8">
<title>书籍列表展示</title>
<style type="text/css">
.odd{
}
</style>
</head>
<body>
<table border="1" cellpadding="1" cellspacing="1" width="400" th:if="${list!=null&& list.size()>0}">
<tr th:each="book,index : ${list}" th:class="${index.odd}?'odd'">
<td th:text="${book.id}"></td>
<td th:text="${book.name}"></td>
<td th:text="${book.author}"></td>
</tr>
</table>
</body>
</html>
|
这里要注意的是要导入thymeleaf命名空间,里面的循环标签和jsp的JSTL有所区别,请大家注意。在 Thymeleaf 中,通过 th:each 指令来遍历一个集合,数据的展示通过 th:text 指令来实现。index是迭代本行的索引。Th:class是设置样式,index.odd是索引是偶数行的。如果是偶数行那么就使用样式odd。Book就是每次迭代的变量。其他的和jsp中用法差不多,不多解释。
5)测试
在浏览器中输入:http://localhost:8080/index,最后的结果如下,大家可以测试一下。

如果大家对thymeleaf语法感兴趣,其实非常简单,还要部分没有讲解到的地方可以参考下面的链接进行学习,链接地址如下: https://www.cnblogs.com/msi-chen/p/10974009.html#_label1_9。


