目的:
第一种普通方式
第二种方式骚操作
Eureka自我保护机制
Eureka集群搭建
说的通俗易懂一点就是,同一个项目部署在多个服务器上。
当注册中心扛不住高并发的时候,这时候 要用集群来扛;
今天介绍搭建的两种方式:
第一种方式普通方式:
在上篇博客的基础上再构建两个项目,而这两个项目的配置又不能都是本地,开3个虚拟机又太麻烦,所以我们直接配置本机hosts来实现本机的域名映射
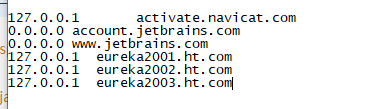
进入你的系统文件:C:WindowsSystem32driversetc 找到hosts文件,然后加上你的域名映射,后面在yml文件中配置
127.0.0.1  eureka2001.ht.com
127.0.0.1  eureka2002.ht.com
127.0.0.1  eureka2003.ht.com
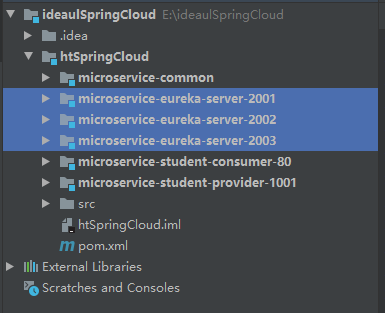
创建三个POM依赖相同的Springboot项目
microservice-eureka-server-2001
microservice-eureka-server-2002
microservice-eureka-server-2003
pom依赖
<?xml version="1.0" encoding="UTF-8"?>
<project xmlns="http://maven.apache.org/POM/4.0.0" xmlns:xsi="http://www.w3.org/2001/XMLSchema-instance"
         xsi:schemaLocation="http://maven.apache.org/POM/4.0.0 https://maven.apache.org/xsd/maven-4.0.0.xsd">
    <modelVersion>4.0.0</modelVersion>
    <parent>
        <groupId>com.ht</groupId>
        <artifactId>htSpringCloud</artifactId>
        <version>1.0-SNAPSHOT</version>
    </parent>
    <artifactId>microservice-eureka-server-2003</artifactId>

    <properties>
        <java.version>1.8</java.version>
    </properties>

    <dependencies>
        <dependency>
            <groupId>org.springframework.cloud</groupId>
            <artifactId>spring-cloud-starter-eureka-server</artifactId>
        </dependency>
        <dependency>
            <groupId>org.springframework.boot</groupId>
            <artifactId>spring-boot-starter-test</artifactId>
            <scope>test</scope>
        </dependency>
        <!--  修改后立即生效,热部署  -->
        <dependency>
            <groupId>org.springframework</groupId>
            <artifactId>springloaded</artifactId>
        </dependency>
        <dependency>
            <groupId>org.springframework.boot</groupId>
            <artifactId>spring-boot-devtools</artifactId>
        </dependency>
    </dependencies>

    <build>
        <plugins>
            <plugin>
                <groupId>org.springframework.boot</groupId>
                <artifactId>spring-boot-maven-plugin</artifactId>
            </plugin>
        </plugins>
    </build>

</project>
第二步配置yml文件
microservice-eureka-server-2001
server:
  port: 2001
  context-path: /

eureka:
  instance:
    # 单机 hostname: localhost #eureka注册中心实例名称
    hostname: eureka2001.ht.com # 集群
  client:
    register-with-eureka: false     #false 由于该应用为注册中心,所以设置为false,代表不向注册中心注册自己。
    fetch-registry: false     #false 由于注册中心的职责就是维护服务实例,它并不需要去检索服务,所以也设置为false
    service-url:
      defaultZone: http://eureka2002.ht.com:2002/eureka/,http://eureka2003.ht.com:2003/eureka/ # 集群
microservice-eureka-server-2002
server:
  port: 2002
  context-path: /
eureka:
  instance:
    # 单机 hostname: localhost #eureka注册中心实例名称
    hostname: eureka2002.ht.com # 集群
  client:
    register-with-eureka: false     #false 由于该应用为注册中心,所以设置为false,代表不向注册中心注册自己。
    fetch-registry: false     #false 由于注册中心的职责就是维护服务实例,它并不需要去检索服务,所以也设置为false
    service-url:
      defaultZone: http://eureka2001.ht.com:2001/eureka/,http://eureka2003.ht.com:2003/eureka/ # 集群
      #单机defaultZone: http://${eureka.instance.hostname}:${server.port}/eureka/       #设置与Eureka注册中心交互的地址,查询服务和注册服务用到
microservice-eureka-server-2003
server:
  port: 2003
  context-path: /
eureka:
  instance:
    # 单机 hostname: localhost #eureka注册中心实例名称
    hostname: eureka2003.ht.com # 集群
  client:
    register-with-eureka: false     #false 由于该应用为注册中心,所以设置为false,代表不向注册中心注册自己。
    fetch-registry: false     #false 由于注册中心的职责就是维护服务实例,它并不需要去检索服务,所以也设置为false
    service-url:
      defaultZone: http://eureka2001.ht.com:2001/eureka/,http://eureka2002.ht.com:2002/eureka/ # 集群
      #单机defaultZone: http://${eureka.instance.hostname}:${server.port}/eureka/       #设置与Eureka注册中心交互的地址,查询服务和注册服务用到
给服务提供者修改的application.yml重新配置eureka
server:
  port: 1001
  context-path: /
spring:
  datasource:
    type: com.alibaba.druid.pool.DruidDataSource
    driver-class-name: com.mysql.jdbc.Driver
    url: jdbc:mysql://localhost:3306/test?useUnicode=true&characterEncoding=utf8
    username: root
    password: root
  jpa:
    hibernate:
      ddl-auto: update
    show-sql: true
eureka:
  instance:
    #eureka客户端主机实例名称
    hostname: localhost
    #客户端服务名
    appname: microservice-student
    #客户端实例名称
    instance-id: microservice-student:1001
    #显示IP
    prefer-ip-address: true
  client:
    service-url:
      defaultZone: http://eureka2001.ht.com:2001/eureka/,http://eureka2002.ht.com:2002/eureka/,http://eureka2003.ht.com:2003/eureka/
info:
  groupId: com.ht.htSpringCloud
  artifactId: microservice-student-provider-1001
  version: 1.0-SNAPSHOT
  userName: http://ht.com
  phone: 123456
记得在每个启动类加上注解@EnableEurekaServer
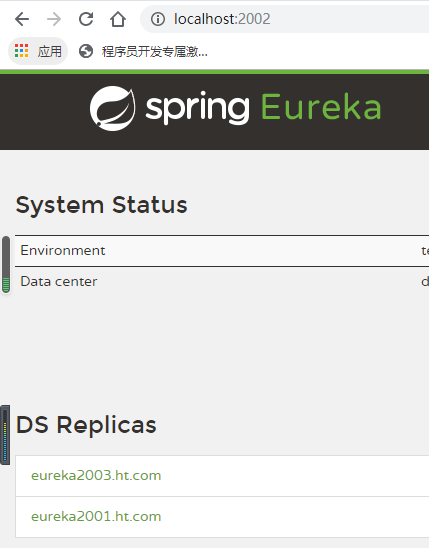
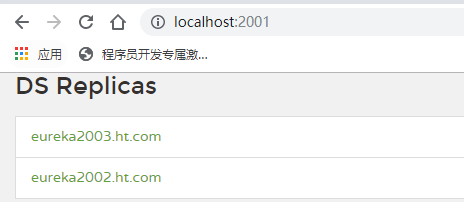
运行你自己所配置的文件路径
127.0.0.1 eureka2001.ht.com
127.0.0.1 eureka2002.ht.com
127.0.0.1 eureka2003.ht.com

第二种方式骚操作
上面eureka服务搭建,除了yml文件不一样,其他文件都一样,那么我们有什么办法能够将多个eureka服务集合到一个工程中去呢?
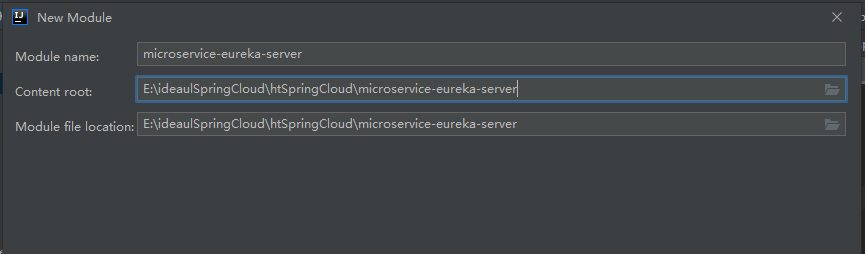
创建一个microservice-eureka-server(三合一)子工程
Pom依赖
<?xml version="1.0" encoding="UTF-8"?>
<project xmlns="http://maven.apache.org/POM/4.0.0" xmlns:xsi="http://www.w3.org/2001/XMLSchema-instance"
         xsi:schemaLocation="http://maven.apache.org/POM/4.0.0 https://maven.apache.org/xsd/maven-4.0.0.xsd">
    <modelVersion>4.0.0</modelVersion>
    <parent>
        <groupId>com.ht</groupId>
        <artifactId>htSpringCloud</artifactId>
        <version>1.0-SNAPSHOT</version>
    </parent>
    <artifactId>microservice-eureka-server</artifactId>

    <properties>
        <java.version>1.8</java.version>
    </properties>

    <dependencies>
        <dependency>
            <groupId>org.springframework.cloud</groupId>
            <artifactId>spring-cloud-starter-eureka-server</artifactId>
        </dependency>
        <dependency>
            <groupId>org.springframework.boot</groupId>
            <artifactId>spring-boot-starter-test</artifactId>
            <scope>test</scope>
        </dependency>
        <!-- 修改后立即生效,热部署 -->
        <dependency>
            <groupId>org.springframework</groupId>
            <artifactId>springloaded</artifactId>
        </dependency>
        <dependency>
            <groupId>org.springframework.boot</groupId>
            <artifactId>spring-boot-devtools</artifactId>
        </dependency>
    </dependencies>

    <build>
        <plugins>
            <plugin>
                <groupId>org.springframework.boot</groupId>
                <artifactId>spring-boot-maven-plugin</artifactId>
            </plugin>
        </plugins>
    </build>

</project>
配置yml文件
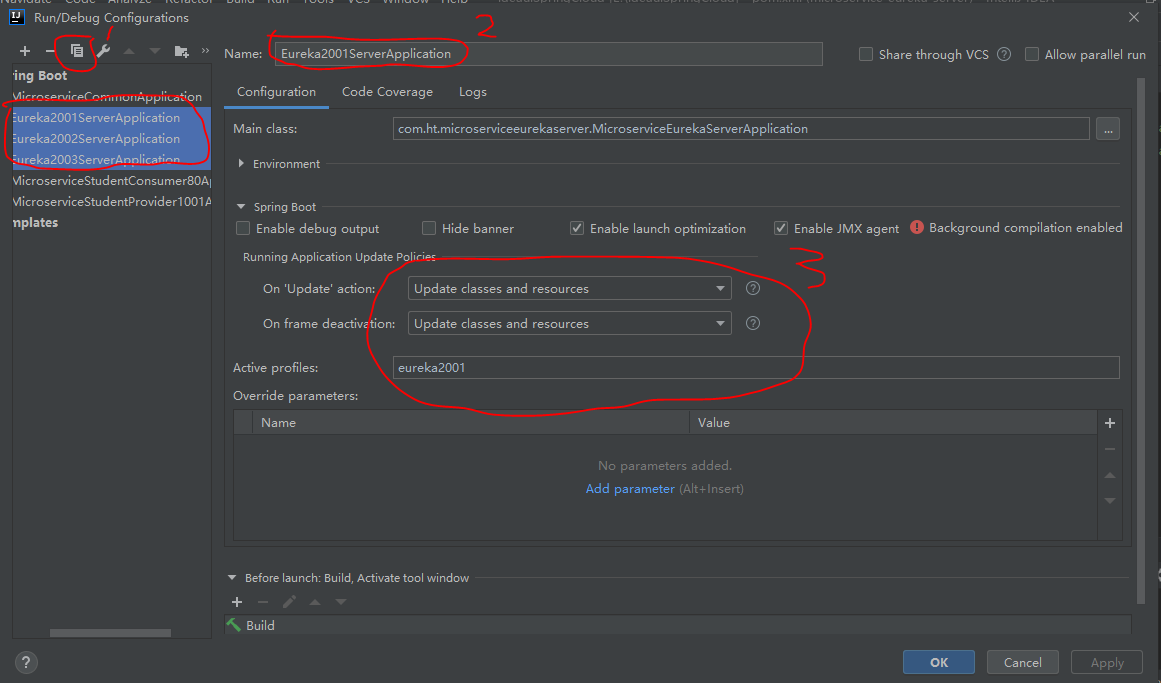
---
server:
  port: 2001
  context-path: /
eureka:
  instance:
    hostname: eureka2001.ht.com
  client:
    register-with-eureka: false
    fetch-registry: false
    service-url:
      defaultZone: http://eureka2002.ht.com:2002/eureka/,http://eureka2003.ht.com:2003/eureka/
spring:
  profiles: eureka2001
---
server:
  port: 2002
  context-path: /
eureka:
  instance:
    hostname: eureka2002.ht.com
  client:
    register-with-eureka: false
    fetch-registry: false
    service-url:
      defaultZone: http://eureka2001.ht.com:2001/eureka/,http://eureka2003.ht.com:2003/eureka/
spring:
  profiles: eureka2002
---
server:
  port: 2003
  context-path: /
eureka:
  instance:
    hostname: eureka2003.ht.com
  client:
    register-with-eureka: false
    fetch-registry: false
    service-url:
      defaultZone: http://eureka2001.ht.com:2001/eureka/,http://eureka2002.ht.com:2002/eureka/
spring:
  profiles: eureka2003
记得在启动类上添加@EnableEurekaServer
package com.ht.microserviceeurekaserver;
import org.springframework.boot.SpringApplication;
import org.springframework.boot.autoconfigure.SpringBootApplication;
import org.springframework.cloud.netflix.eureka.server.EnableEurekaServer;

@EnableEurekaServer
@SpringBootApplication
public class MicroserviceEurekaServerApplication {

    public static void main(String[] args) {
        SpringApplication.run(MicroserviceEurekaServerApplication.class, args);
    }

}
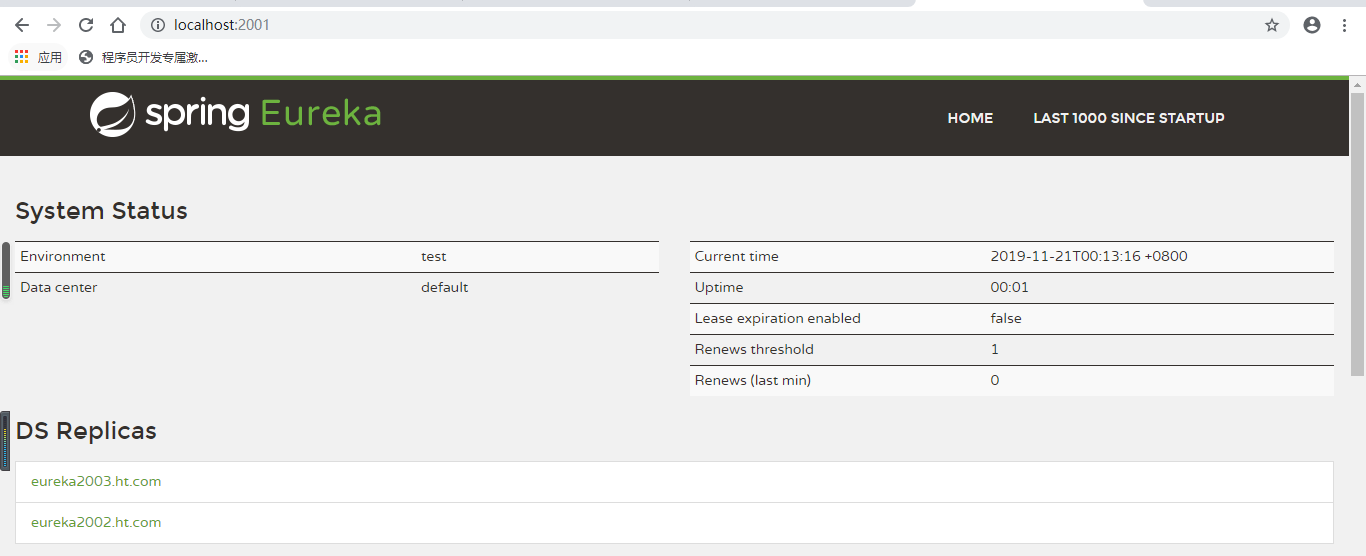
效果:
Eureka自我保护机制
如果在服务注册中心注册过的服务提供者突然失去了联系的话,服务注册中心不会立即注销掉该服务提供者的信息,而是会等个90秒再注销。
这样就使得Eureka集群更加的健壮和稳定
