iOS开发UI篇—无限轮播(新闻数据展示)
一、实现效果
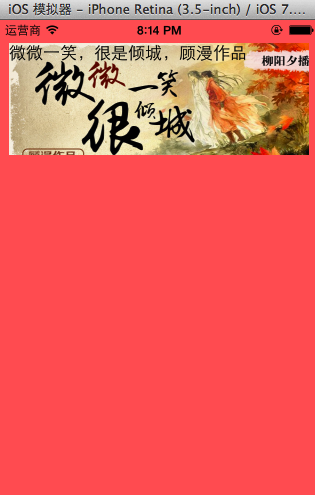
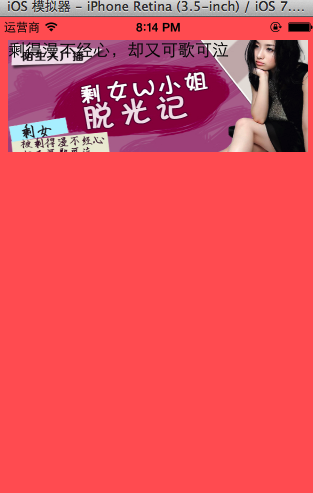
二、实现步骤
1.前期准备
(1)导入数据转模型的第三方框架MJExtension
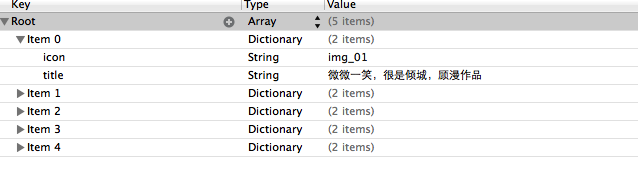
(2)向项目中添加保存有“新闻”数据的plist文件
(3)导入用到的图片素材
2.步骤和代码
(1)新建一个数据模型

该模型的代码设计如下:
YYnews.h文件

 1 //
 2 //  YYnews.h
 3 //  08-无限滚动(新闻数据展示)
 4 //
 5
 6 #import <Foundation/Foundation.h>
 7
 8 @interface YYnews : NSObject
 9 @property(nonatomic,copy)NSString *title;
10 @property(nonatomic,copy)NSString *icon;
11 @end
(2)新建一个继承自UICollectionViewCell的类,用于自定义cell。

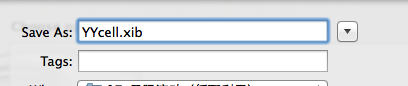
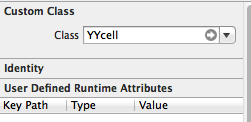
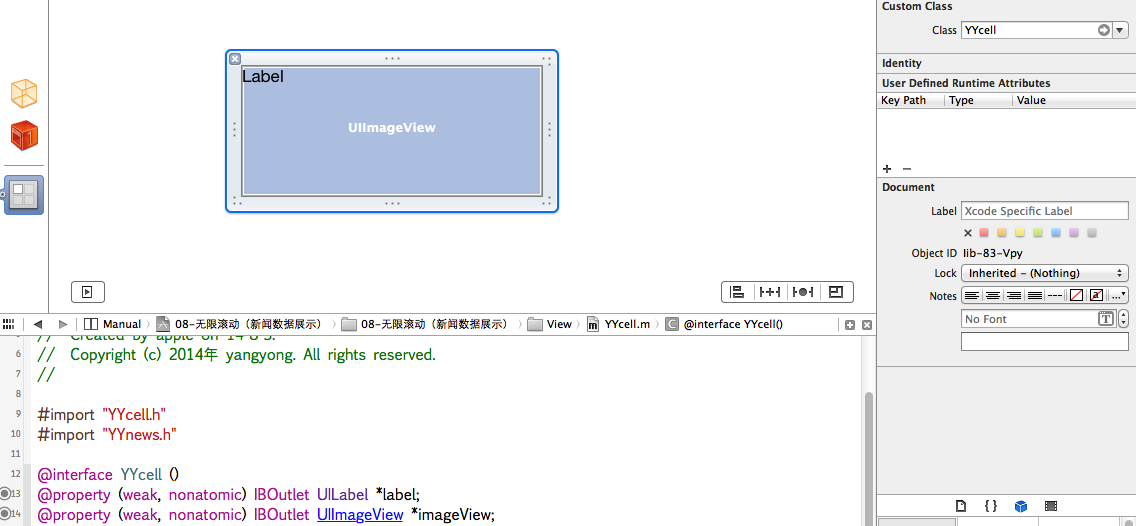
(3)新建一个xib文件,和自定义的cell做关联
代码设计如下:
YYcell.h文件
 1 //
 2 //  YYcell.h
 3 //  08-无限滚动(新闻数据展示)
 4 //
 5
 6 #import <UIKit/UIKit.h>
 7
 8 @class YYnews;
 9 @interface YYcell : UICollectionViewCell
10 @property(nonatomic,strong)YYnews *news;
11 @end
YYcell.m文件
 1 //
 2 //  YYcell.m
 3 //  08-无限滚动(新闻数据展示)
 4 //
 5
 6 #import "YYcell.h"
 7 #import "YYnews.h"
 8
 9 @interface YYcell ()
10 @property (weak, nonatomic) IBOutlet UILabel *label;
11 @property (weak, nonatomic) IBOutlet UIImageView *imageView;
12
13 @end
14 @implementation YYcell
15
16 -(void)setNews:(YYnews *)news
17 {
18     _news=news;
19     self.label.text=news.title;
20     self.imageView.image=[UIImage imageNamed:news.icon];
21 }
22
23 @end
(4)在主控制器中的代码处理
YYViewController.m文件
 1 //
 2 //  YYViewController.m
 3 //
 4 //
 5 //  Created by apple on 14-8-3.
 6 //  Copyright (c) 2014年 yangyong. All rights reserved.
 7 //
 8
 9 #import "YYViewController.h"
10 #import "MJExtension.h"
11 #import "YYnews.h"
12 #import "YYcell.h"
13
14 #define YYIDCell @"cell"
15
16 @interface YYViewController ()<UICollectionViewDataSource,UICollectionViewDelegate>
17 @property (weak, nonatomic) IBOutlet UICollectionView *collectinView;
18 @property(nonatomic,strong)NSArray *news;
19 @end
20
21 @implementation YYViewController
22
23 #pragma mark-懒加载
24 -(NSArray *)news
25 {
26     if (_news==nil) {
27         _news=[YYnews objectArrayWithFilename:@"newses.plist"];
28     }
29     return _news;
30 }
31 - (void)viewDidLoad
32 {
33     [super viewDidLoad];
34     //注册cell
35 //    [self.collectinView registerClass:[YYimageCell class] forCellWithReuseIdentifier:YYCell];
36     [self.collectinView registerNib:[UINib nibWithNibName:@"YYcell" bundle:nil] forCellWithReuseIdentifier:YYIDCell];
37
38 }
39
40 #pragma mark- UICollectionViewDataSource
41 //一共多少组,默认为1组
42 -(NSInteger)numberOfSectionsInCollectionView:(UICollectionView *)collectionView
43 {
44     return 1;
45 }
46 -(NSInteger)collectionView:(UICollectionView *)collectionView numberOfItemsInSection:(NSInteger)section
47 {
48     return self.news.count;
49 }
50
51 -(UICollectionViewCell *)collectionView:(UICollectionView *)collectionView cellForItemAtIndexPath:(NSIndexPath *)indexPath
52 {
53     YYcell *cell=[collectionView dequeueReusableCellWithReuseIdentifier:YYIDCell forIndexPath:indexPath];
54     cell.news=self.news[indexPath.item];
55     return cell;
56 }
57
58 #pragma mark-UICollectionViewDelegate
59 @end
3.补充说明
(1)如果collectionCell是以xib的方式自定义的,那么在注册cell的时候,需要使用另外一种方式。
[self.collectinView registerClass:[YYimageCell class] forCellWithReuseIdentifier:YYCell];
[self.collectinView registerNib:[UINib nibWithNibName:@"YYcell" bundle:nil] forCellWithReuseIdentifier:YYIDCell];
(2)在自定义xib的时候,使用collectionViewCell。并设置其标识为cell.
(3)打印查看cell的利用情况
